Rock painting is decorating smooth stones with acrylic paint, paint pens, or nail polish — a cheap, screen-free craft that works from about age three upward. The best way to paint rocks with kids is simple: collect flat stones, wash and dry them completely, lay down a base coat, add details in thin layers while each one dries, then seal the finished rock so the design resists chipping.
What I like about this one is the ratio. It costs very little, needs almost no setup, and the kids stay busy for an hour while you sit at the same table. If you have never done it, start with idea number one below and work up once they get bored with stripes.
This guide covers the supplies that actually matter, where to find rocks without breaking any rules, the six-step painting process, 25 rock painting ideas for kids from toddlers to tweens, how to seal the rocks so they survive outside, and what to do with all of them afterwards. Updated for October 2026.
Table of Contents
- Rock Painting Ideas for Kids at a Glance
- Which Ideas Work Best at Each Age?
- Ages 2 to 4: stamping, faces, and fingerprints
- Ages 5 to 8: recognisable pictures and patterns
- Ages 9 to 12: patterns, lettering, and scenes
- Mixed-age and classroom groups
- Rock Painting Supplies for Kids: What You Actually Need
- Paint versus paint pens versus nail polish
- Brushes, dotting tools, and workspace
- What to seal rocks with
- Where to Find Smooth Rocks to Paint
- Free spots that are actually allowed
- If you would rather not collect
- How to Prepare Rocks Before You Paint Them
- How to Paint Rocks with Kids: Step by Step
- 1. Wash, dry, and lay out the rocks
- 2. Sketch the design lightly
- 3. Apply the base coat
- 4. Add colour blocks and shapes
- 5. Add details once everything is dry
- 6. Let the rock dry fully, then seal it
- 25 Rock Painting Ideas for Kids, One by One
- 1. Rainbow stripes
- 2. Big dot mandala
- 3. Fish on the ocean
- 4. Owls and birds
- 5. Ladybugs
- 6. Butterflies
- 7. Cacti and succulents
- 8. Mushrooms
- 9. Galaxy swirl with stars
- 10. Emoji and smiley faces
- 11. Simple animal faces
- 12. Flowers and leaves
- 13. Pumpkin patch
- 14. Christmas story stones
- 15. Valentine hearts
- 16. Easter egg patterns
- 17. Mother’s Day message rocks
- 18. Alphabet rocks
- 19. Number and dice rocks
- 20. Tic-tac-toe rocks
- 21. Kindness rocks
- 22. Story stones for retelling
- 23. Thumbprint family rocks
- 24. Splatter paint
- 25. Garden markers
- How to Seal Painted Rocks So the Paint Lasts
- What to Do With Painted Rocks Afterwards
- Hide them for others to find
- Turn them into something useful
- Kindness rocks and leaving no trace
- Troubleshooting When Paint Won’t Stick
- Safety Notes for Kids Under Five
- Frequently Asked Questions
- What type of paint is best for rock painting with kids?
- What kind of paint will stay on a rock?
- How do I get paint to stick to rocks?
- What should I put on rocks before painting them?
- What are the easiest rock painting ideas for beginners?
- How old should kids be to paint rocks?
- Where to Start This Weekend
Rock Painting Ideas for Kids at a Glance
Every idea below is listed with the age it suits best, how hard it is, and roughly how long it takes. The times assume an adult has already washed the rocks and laid out the paint.
| Idea | Best age | Difficulty | Time |
|---|---|---|---|
| Rainbow stripes | 3+ | Easy | 10 min |
| Big dot mandala | 6+ | Easy | 20 min |
| Fish on the ocean | 4+ | Easy | 20 min |
| Owls and birds | 5+ | Easy | 25 min |
| Ladybugs | 3+ | Easy | 10 min |
| Butterflies | 4+ | Easy | 15 min |
| Cacti and succulents | 5+ | Easy | 20 min |
| Mushrooms | 5+ | Easy | 20 min |
| Galaxy swirl with stars | 6+ | Medium | 30 min |
| Emoji and smiley faces | 4+ | Easy | 10 min |
| Simple animal faces | 4+ | Easy | 15 min |
| Flowers and leaves | 3+ | Easy | 15 min |
| Pumpkin patch | 4+ | Easy | 20 min |
| Christmas story stones | 6+ | Medium | 40 min |
| Valentine hearts | 3+ | Easy | 10 min |
| Easter egg patterns | 3+ | Easy | 15 min |
| Mother’s Day message rocks | 4+ | Easy | 20 min |
| Alphabet rocks | 5+ | Medium | 30 min |
| Number and dice rocks | 4+ | Easy | 15 min |
| Tic-tac-toe rocks | 6+ | Easy | 15 min |
| Kindness rocks | 5+ | Easy | 20 min |
| Story stones for retelling | 6+ | Medium | 45 min |
| Thumbprint family rocks | 4+ | Easy | 20 min |
| Splatter paint | 6+ | Easy | 10 min |
| Garden markers | 5+ | Medium | 30 min |
Which Ideas Work Best at Each Age?
Most of the failures I hear about come from giving a four-year-old a fine detail brush and a mandala pattern. The skill gap is real: younger children can hold a chunky brush and stamp, older children can control a pen tip and plan a layout.
Ages 2 to 4: stamping, faces, and fingerprints
Fingerprints, big dots, thick stripes, and single stamped shapes work best here. Give them three or four colours and one flat rock each. Skip detail work entirely — frustration ends the session faster than boredom does.
Ages 5 to 8: recognisable pictures and patterns
This is where animals, flowers, rainbows, and holiday designs land. Kids this age can hold a thin brush if you dip it for them and hand it back handle-first. They can also manage two-step projects: base colour, then detail once it dries.
Ages 9 to 12: patterns, lettering, and scenes
Dotted mandalas, alphabets, numbers, and multi-object scenes fit here. Older kids enjoy the planning stage, so let them sketch the design on paper first with a pencil and hold the rock up to the light to check the shape.
Mixed-age and classroom groups
Give each child a different role if ages are spread out: the youngest does the base coat, the middle child adds shapes, the oldest adds detail and lettering. Painting the same set of stones as one big picture works too — one rock per section of a rainbow, sun, or garden scene.
Rock Painting Supplies for Kids: What You Actually Need
The honest answer is that you need about four things: something to paint with, a rock, a way to hold the paint, and a clear coat at the end. Everything else on craft supply lists is optional. Here is what each choice is actually good for.
Paint versus paint pens versus nail polish
Acrylic craft paint is the standard beginner choice. Rock is porous, and once acrylic paint dries it grips the surface and holds colour well. Paint pens are the easiest option for small hands and for detail work, because a marker needs no water, no dipping, and almost no cleanup.
Clear nail polish works on smooth, dense stones and gives a glossy finish, but it takes several thin coats to build up and it is fiddly for younger kids. Temporary craft paint and washable tempera will rub or peel off within days, which makes them a poor choice for anything you plan to keep.
| Option | Best for | Dries | Kid-friendliness |
|---|---|---|---|
| Acrylic craft paint | Base coats, fills, patterns | Minutes to touch-dry, longer to cure | High |
| Acrylic paint pens | Detail work, small rocks, low mess | Very fast between layers | Very high |
| Clear nail polish | Glossy finish on smooth stone | Slow, needs several coats | Medium |
| Puffy paint | Raised outlines and lettering | Slow, stays slightly soft | Medium |
| Temporary or washable paint | One-session indoor play only | Very fast | Very high |
If you want to spend nothing, three substitutes work surprisingly well: melted crayons dripped onto a baking sheet and used like wax, house paint scraps thinned with a little water, and a small tin of enamel craft paint that lasts for years because you use so little of it.
Brushes, dotting tools, and workspace
Get three brushes and nothing more: a wide flat one for base coats, a medium round for shapes, and a fine detail brush for lines and lettering. A cotton bud, the end of a pencil, and a bottle cap cover most dotting and stamping needs, so you can skip the specialty dotting tools until someone asks for them.
For the workspace, cover the table with a sheet of plain paper or a plastic tablecloth, set paint pots on a plate or a jar lid so they cannot tip, and put a damp cloth in reach. Painting outdoors on a blanket works well too, and wind keeps the paint smell down.
What to seal rocks with
A sealer is what turns a nice rock into one that survives a winter outside. It fills the gaps between paint and stone, so rain, frost, and fingers do not get underneath. There is a full comparison further down, but for most families one water-based clear coat brushed on by an adult is enough.
Where to Find Smooth Rocks to Paint
You need flat, smooth, palm-sized stones. Sharp, fractured, or flaky rocks shed grit and paint peels off them faster. If a rock feels gritty, scratches your palm, or breaks when you tap it, skip it.
Free spots that are actually allowed
Riverbanks and lake shores are the classic source, but the rule is the same almost everywhere: take nothing from a park, beach, or nature reserve unless the local rules say loose stones are fine to collect. Many beaches and protected shorelines prohibit it outright, and several national parks treat removing a rock as the same offence as removing a tree.
Safer free options: your own driveway, a gravel driveway or garden path on your property, the bank of a stream on private land you have permission to walk, a woodland trail where loose stones are plentiful and nothing is protected, or a landscaping site that lets you fill a bucket. Check with the council or land manager first if you are unsure — it takes one phone call.
If you would rather not collect
Garden centres sell bags of decorative pebbles and river stones by weight, and aquarium shops sell large smooth stones meant to be tumbled. Craft stores also stock flat wood and ceramic pieces if you want to practise designs before committing to rock. Buying in bulk once a year tends to be simpler than six separate trips to the river.
Do not dig stones out of streambeds or undercut banks; that damages habitat far more than a missing rock harms anyone.
How to Prepare Rocks Before You Paint Them
Paint fails on rocks for one main reason: the surface is dirty, damp, or too smooth. Washing and drying fixes most of it, and a base coat fixes the rest. Before you start, scrub each stone under running water with a brush and a drop of dish soap, rinse it, and let it dry completely — overnight is safest, and at minimum a few hours in the sun.
Once the rock is bone dry, scuff the surface lightly with coarse sandpaper or the abrasive side of a kitchen sponge. You are not trying to change the shape, just to give the paint something to grip instead of a glassy surface.
Then apply a base coat. Lay down one thin layer of white or another light colour, let it dry, and add a second layer only if the original colour shows through. A base coat hides the stone’s own colour, makes colours brighter, and stops fine details from disappearing into the grain of the rock. Skipping it is fine for a two-minute scribble but frustrating once a child is trying to paint a recognisable frog.
One more prep note: put each rock on a small square of paper or a jar lid while you work. It keeps wet paint off the table and gives a handle for turning the rock as you work around it.
How to Paint Rocks with Kids: Step by Step
Read this once and the six steps cover everything above. The whole process takes about an hour including drying time, and the only step an adult must handle is the sealer.
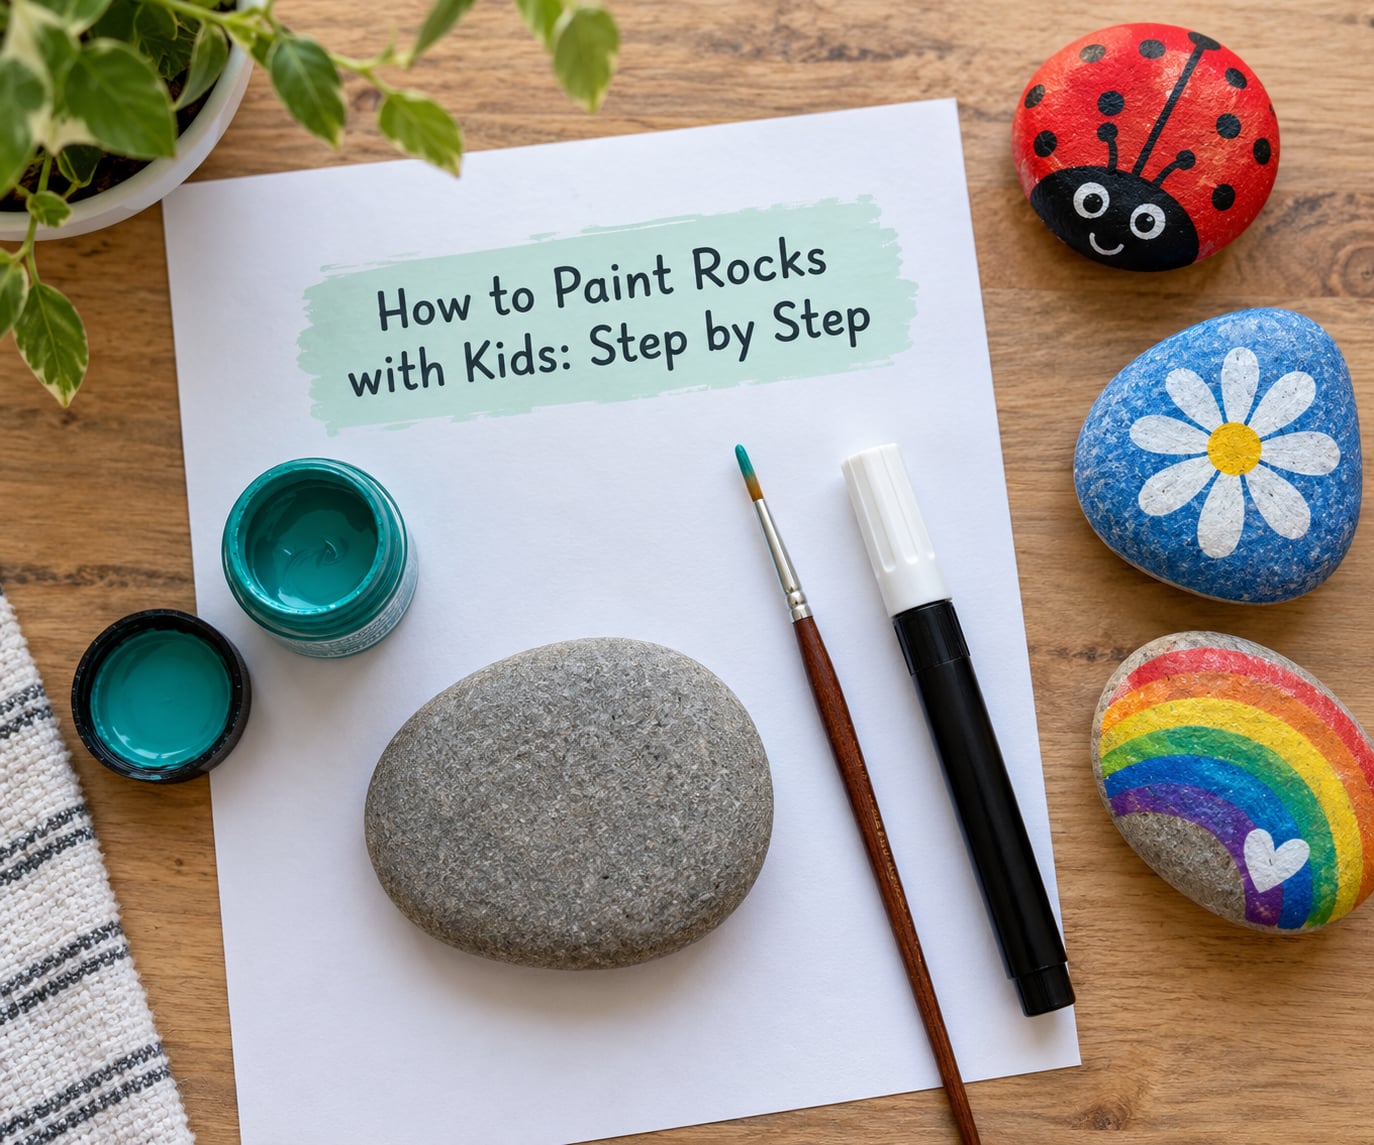
1. Wash, dry, and lay out the rocks
Clean stones the night before if you can. Put each one on its own square of paper, then set out no more paint colours than the number of stones you want finished — extra colours lead to muddy mixing.
2. Sketch the design lightly
A pencil outline tells a child where the eyes go and stops small features ending up in the wrong place. Keep it faint and let them trace over it. Skip this for toddlers.
3. Apply the base coat
Thin layers only. Let each one dry to the touch before adding the next, because thick coats stay soft and wrinkle when they finally set. How to tell it worked: the rock looks evenly coloured and your finger leaves no paint mark.
4. Add colour blocks and shapes
Big areas first, small details last. If you are layering paint pens, give each colour 30 to 60 seconds before adding the next, otherwise the tip drags the previous colour through the new one. How to tell it worked: the edges are crisp rather than feathered.
5. Add details once everything is dry
Use the fine brush or a paint pen for eyes, stripes, dots, and lettering. Details applied while the base is still damp smear — this is the most common reason a finished rock looks muddy.
6. Let the rock dry fully, then seal it
Acrylic paint feels dry in minutes but takes longer to cure under the whole surface. Wait several hours, ideally overnight, before sealing. An adult applies the sealer outdoors or in a well-ventilated room, following the label.
25 Rock Painting Ideas for Kids, One by One
Each of these works on a stone roughly palm-sized. Where a design needs drying time between steps, it is noted.
1. Rainbow stripes
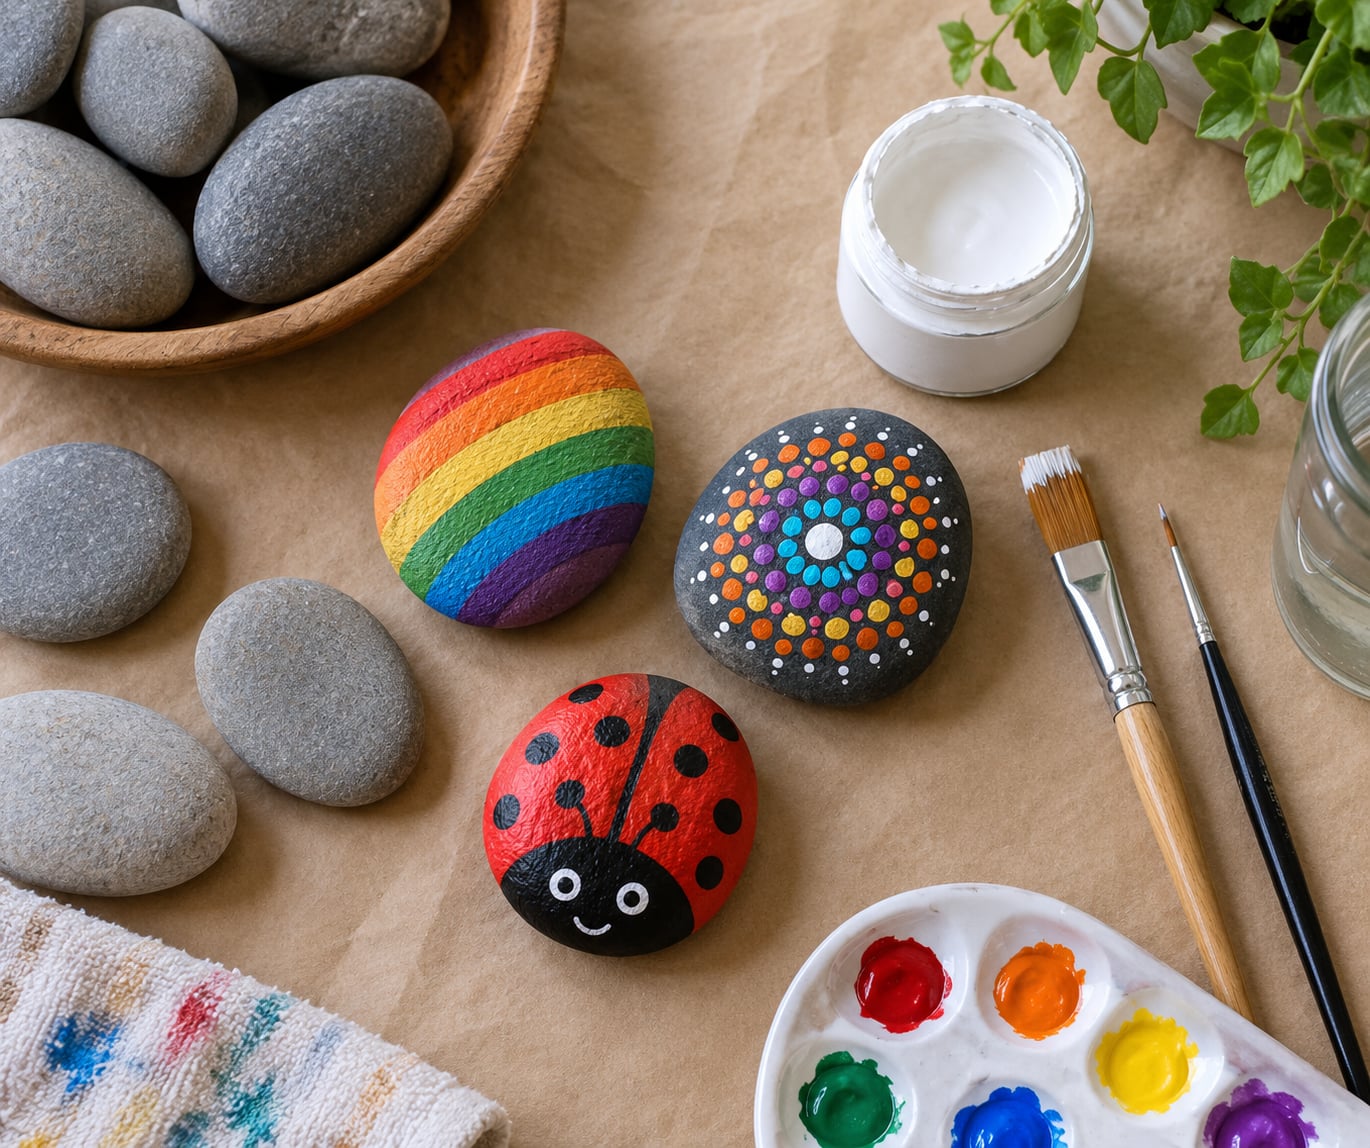
Paint thick bands of colour around the rock, one stripe at a time, rotating the stone rather than moving your hand in a curve. Stripes are forgiving because there is no right shape to get right, which makes them the best first project. Add a thin white line between colours once everything is dry if you have one.
2. Big dot mandala
Paint a dot in the centre of the rock, then rings of dots around it, changing colour with each ring. Use the end of a pencil, a cotton bud, or a paint pen tip. The trick is symmetry: place the dots by eye, then check the rock from above before the paint sets.
3. Fish on the ocean
A blue base with wavy white lines, an oval body, and a triangle tail reads as an underwater scene even at thumbnail size. Add seaweed as thin vertical squiggles in green along one edge. Leave the background to dry before the fish goes on top.
4. Owls and birds
An oval body, two big round eyes, a small triangle beak, and ear tufts make an owl that children recognise instantly. Pencil the outline first so the eyes land symmetrically, then paint the body and the wing shapes last.
5. Ladybugs
A red dome with black dots and a black line down the middle. This one suits the youngest painters because it is three shapes. Use a fine brush for the dots and let each one dry so the red underneath does not smear.
6. Butterflies
Two pairs of rounded wings, a slim body, and curly antennae. Kids can fill the wings with dots, stripes, or colour blends. Paint the dark body last so the antennae stay visible.
7. Cacti and succulents
Green columns and round rosettes with small spines in a sandy or terracotta background. Succulents are easier than they look: a circle made of pointed petals sells the shape. Great for painting a whole set in different sizes.
8. Mushrooms
A cream stem with a red or spotted cap. Children often know a specific storybook mushroom, so let them describe it and paint that. Two or three mushrooms at different heights on one rock makes a small scene.
9. Galaxy swirl with stars
Blend two dark colours with a damp brush, then add small white stars and a crescent moon. This one needs a longer dry time between colour layers, so it suits an older child with patience. A thin layer of white speckle over the dry surface gives the starfield effect.
10. Emoji and smiley faces
Round yellow faces with simple expressions, or the flat icons children recognise on their own devices. These are quick wins for kids who want their design to be finished before they lose interest. Keep features to dots and straight lines so small faces still read.
11. Simple animal faces
A fox, a cat, a bear, a whale. The recipe is the same each time: one base colour, two eyes, a nose, ears or a tail. Painting the tail onto the edge of the rock so it wraps around the edge makes the design feel finished from more angles.
12. Flowers and leaves
Daisy shapes made from stamped petals, or a stem with three or four leaves. A green stem drawn in one continuous line gives it a hand-drawn look that suits the medium. A border of small stones around the base makes it a garden marker.
13. Pumpkin patch
Orange circles with brown stems and green curling vines, set against a black or deep purple background. Painting the background first and the pumpkins on top avoids outlines. Several pumpkins of different sizes look better than one large one.
14. Christmas story stones
A small set of simple symbols — a star, a stable, a shepherd, a gift, an angel — that children use to retell the nativity story. Keep each symbol simple and consistent in size so any rock can be placed anywhere in the story.
15. Valentine hearts
Hearts in a grid, hearts with patterns inside them, or one heart surrounded by messages. This is the easiest seasonal design for small hands because the shape is one continuous curve. Red, pink, and white cover it.
16. Easter egg patterns
Stripes, dots, zigzags, and scallops on an egg shape. The best ones repeat one pattern across the whole surface rather than switching designs halfway. Younger children can do the stripes; older ones can do the zigzags.
17. Mother’s Day message rocks
A single word or a short phrase in large lettering, with a border of dots or leaves. These are the rocks that get given away, so keep the lettering legible: use the fine brush or a paint pen, and test the word on scrap paper first.
18. Alphabet rocks
One letter per rock, in uppercase so they are easy to recognise. This turns into a game quickly: spell names, spell words you are learning, or find the letter that begins each family member’s name. Twenty-six rocks is a lot of painting, so a subset of common letters is more useful.
19. Number and dice rocks
Large numerals, or dots arranged like the face of a die. Younger children match the number to the dot count; older children use them for simple sums. Keep the digits thick enough to read at a distance.
20. Tic-tac-toe rocks
A grid of dark and light rocks, each with a plain painted surface in one colour. This is more a game than a design, and it keeps children painting for a long time because the set is used repeatedly. Seal these well, since they get handled constantly.
21. Kindness rocks
A rock with an encouraging message on the back, or a design on the front that means something to the person who finds it. Short messages work best — a few words in large lettering. Plan where you will leave them before you paint, because a rock you cannot place is just clutter.
22. Story stones for retelling
A set of characters and objects: a fox, a tree, a key, a boat, the moon. Children pull them from a bag and weave a story around whatever comes up. This takes longer than any single design because you are making a set, but it holds attention better than one-off paintings.
23. Thumbprint family rocks
Paint in a single colour, press each family member’s thumb onto a paper plate to pick up paint, then press it onto the rock as a head. Add simple bodies below. This is the one project kids remember, and it produces something genuinely personal.
24. Splatter paint
Load the brush, hold it over the rock with a scrap sheet underneath, and flick paint onto it with a finger or a stiff toothbrush. Almost impossible to get wrong, and children find the flicking irresistible. Keep it away from surfaces you care about.
25. Garden markers
The plant name in large letters with a border and a small painted picture. They only work on rocks big and flat enough to stand up in soil, so save your largest stones for this. Protect them with an outdoor-rated sealer and push them into the bed rather than laying them flat.
How to Seal Painted Rocks So the Paint Lasts
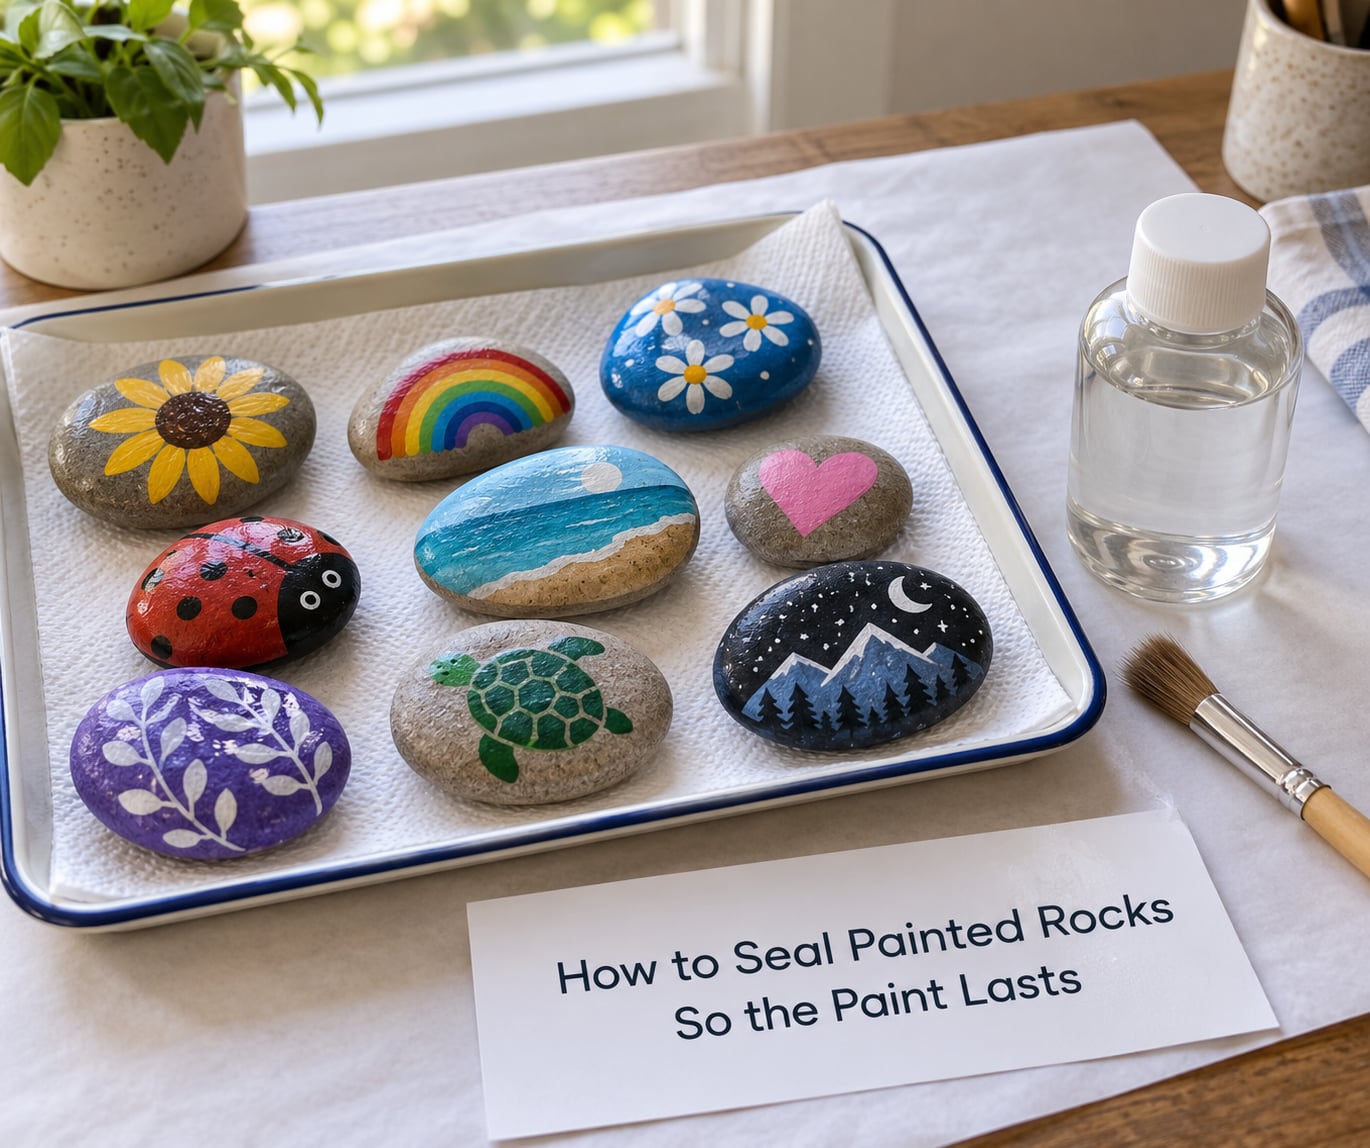
Sealing is the step people skip and then blame the paint for. Unsealed acrylic on an outdoor rock will start chipping within weeks of rain and frost, and sun will fade any colour. Here is how the common options actually compare.
| Sealer | Waterproof | Application | Watch out for |
|---|---|---|---|
| Water-based clear outdoor sealer | Good | Brush or foam brush | Needs 2 to 3 thin coats |
| Mod Podge Outdoor | Partial | Brush | Not fully waterproof; softens in heat |
| Spray polyurethane | Very good | Aerosol can | Strong fumes; adult only, outdoors |
| Clear nail polish | Moderate | Brush from the bottle | Slow; many coats for real coverage |
| UV resin | Excellent | Pour and cure under UV light | Equipment cost; bubbles if poured wrong |
For most families, a water-based outdoor clear coat brushed on thin is the right answer: cheap, low odour, and it does not require a respirator or an outdoor workspace. Apply two or three thin coats rather than one thick one, letting each dry fully, and dust the wet rock with fine sand for a matte texture that resists fingerprints.
Two warnings. Do not seal before the paint has fully cured, or the two layers can bond and peel together later. And no matter which sealer you choose, a rock left in full sun or in a frost pocket will fade faster than the sealer can protect it — part shade gives noticeably longer life.
What to Do With Painted Rocks Afterwards
The question parents ask most often is what happens to all of them once the table is covered. My rule is that every rock should have a destination before it gets painted, otherwise they end up in a drawer within a month.
Hide them for others to find
Leave them along a walking route, in a local park where rules permit it, or in a community garden. Check the rules of wherever you are leaving them first, and never place them where they could be mistaken for litter or interfere with a path. If your area has a local group or hashtag for painted rocks, that is a good place to check current guidance before you start hiding.
Turn them into something useful
- Garden markers pushed into a bed or herb pot
- Paperweights on a desk or a windowsill
- Magnets, if you attach a peel-off adhesive backing to the back of a flat stone
- A nature table arrangement grouped by colour or theme
- Paperweight gifts for grandparents, with the child’s name on the back
- Alphabet and number sets for counting and spelling games indoors
- Story stone sets for retelling at the dinner table or in quiet time
Kindness rocks and leaving no trace
If you hide rocks outdoors, take a photo first and put something small and non-messy back where each rock came from — a leaf, a pebble, a small stone. That way the pile you emptied is not simply replaced by a different pile. Skip any site that asks you not to, and skip anything near a playground or a nesting area.
Troubleshooting When Paint Won’t Stick
Paint chipping off within days is almost always one of four things: the rock was damp, the surface was too smooth, the base coat was too thick, or the design was never sealed.
- Chips at the edges: the design was painted right to the edge, where the paint is thinnest. Leave a small margin of base colour around the design.
- Smudged pen layers: you went over a colour before it dried. Wait a minute between layers, and test on scrap paper first.
- Sliding, peeling paint: the rock was damp or dusty. Scrub, rinse, dry fully in sun, then scuff lightly.
- Fading outdoors: too much direct sun. Part shade and an outdoor-rated sealer add months to the life of the design.
- A very thin, flat stone: hard to hold steady. Sit it in a small mound of playdough or a folded paper ring while you paint.
- Colour looks dull: too many layers went on too fast. Let each coat dry properly and use fewer colours per rock.
Safety Notes for Kids Under Five
Almost all of this is safe at any age with a little attention, but a few points matter most for the youngest painters and for anyone doing this with a whole group.
- Use paint labelled non-toxic. Acrylic craft paint and most paint pens meet that standard; check the label rather than assuming.
- Anything small enough to fit in a fist is a choking risk for children under three. That includes small stones, dried paint flakes, and loose brush bristles. Skip the activity below age three, or use large stones only.
- An adult should handle the sealer. Spray products have strong fumes and should be used outdoors; brush-on water-based sealer is the better option for a household with young children.
- Rock dust is unpleasant to inhale. Paint outside or in a ventilated room, and wash hands before anyone eats.
- Washable paint that comes off with water will come off the rock too. That is the trade-off: easier on clothes, worse on the finished stone.
Frequently Asked Questions
What type of paint is best for rock painting with kids?
Acrylic craft paint is the best all-round choice for rock painting with kids. It is non-toxic, inexpensive, and once dry it grips the porous surface of a stone properly. Acrylic paint pens are the easiest option for small hands and for detail work, since they need no water and almost no cleanup. Clear nail polish gives a glossy finish on smooth stone but takes several coats to build.
What kind of paint will stay on a rock?
Water-based acrylic paint sticks best because rock is porous and the dried binder grips the surface. What stays on long-term is more about preparation and sealing than the brand: scrub the stone, dry it fully, scuff it lightly, and finish with a clear outdoor sealer. Temporary paint, washable tempera, watercolour, and crayons rub or peel off within days.
How do I get paint to stick to rocks?
Clean the rock with dish soap and a brush, rinse it, and let it dry completely. Then scuff the surface lightly with sandpaper or the abrasive side of a sponge, apply one thin base coat, and let it dry before adding colour. Thin layers matter more than thick ones, because thick paint stays soft underneath and peels when it finally sets.
What should I put on rocks before painting them?
A base coat of acrylic paint, usually white or a light colour. It hides the stone’s own colour, makes the colours on top brighter, and stops fine details disappearing into the grain. You can skip it for a quick scribble or a stamped pattern, but for anything a child wants to look recognisable, the base coat is the difference between a frog and a red-green smudge.
What are the easiest rock painting ideas for beginners?
Rainbow stripes, ladybugs, smiley faces, fingerprints, and simple animal faces are the easiest first projects. Each one is a handful of shapes with no layout to plan, so a beginner cannot really get them wrong. Leave mandalas, galaxy designs, lettering, and multi-object scenes until they are comfortable with thin layers and drying times.
How old should kids be to paint rocks?
Around age three works for most children, using large stones, chunky brushes, and stamping rather than detail work. Below three, skip it: small stones and dried paint flakes are a choking risk, and finger-painting materials are a safer choice. Some children paint well at two with supervision, but most need the hand control for a brush at three.
Where to Start This Weekend
Pick three or four flat stones of similar size, wash them, and leave them to dry. Put out acrylic paint, a wide brush and a fine brush, and one sheet of paper per child. Do a base coat, wait for it to dry, then start with rainbow stripes and let the ideas above take over from there.
If a rock comes out of it with a bit of a wobble, that is the one they will still be showing people in 2026.