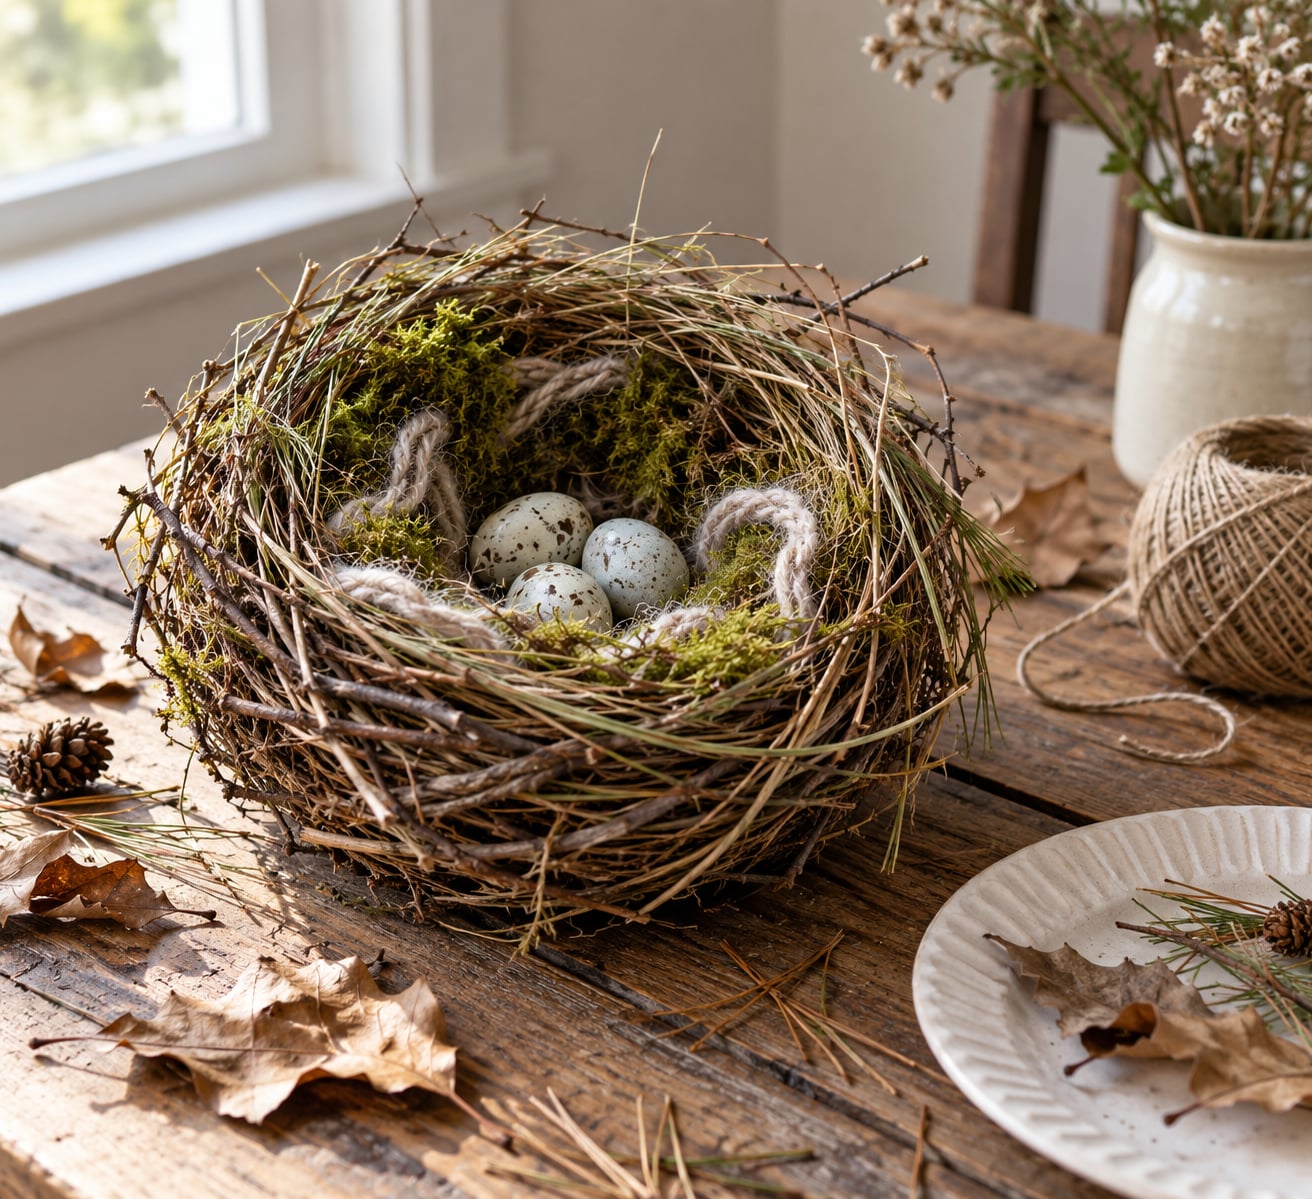
The short version: walk, gather fallen sticks and long grass, weave them into a ring, press a shallow cup into the middle, and line it with something soft. Forty minutes end to end, nothing to buy, and it works for any age from about two upward.
Most tutorials on this topic are written for adults, with a hot glue gun and wire cutters. That is the version a six-year-old cannot actually do. The one below is a nest a child builds with their own hands from a walk around the block.
I would split the day into three parts: gathering, building, then birdwatching. Kids remember the walk and the birds long after the nest is finished, and that is the right order of priorities.
Table of Contents
- What You Need
- From the yard, park or sidewalk verge
- From the craft drawer
- Step-by-Step: How to Make a Bird Nest with Kids
- Gather the Natural Materials
- Shape the Nest Base
- Add Soft Layers Inside
- Decorate and Finish the Bird Nest
- Common Mistakes
- Frequently Asked Questions
- What do birds actually use to build nests?
- How old does a child have to be to make a bird nest craft?
- How long does it take to make a bird nest craft?
- Is it legal to collect a bird’s nest or feathers?
- How do you make a bird nest with paper instead of sticks?
- What can I do with the finished nest?
- Conclusion
What You Need
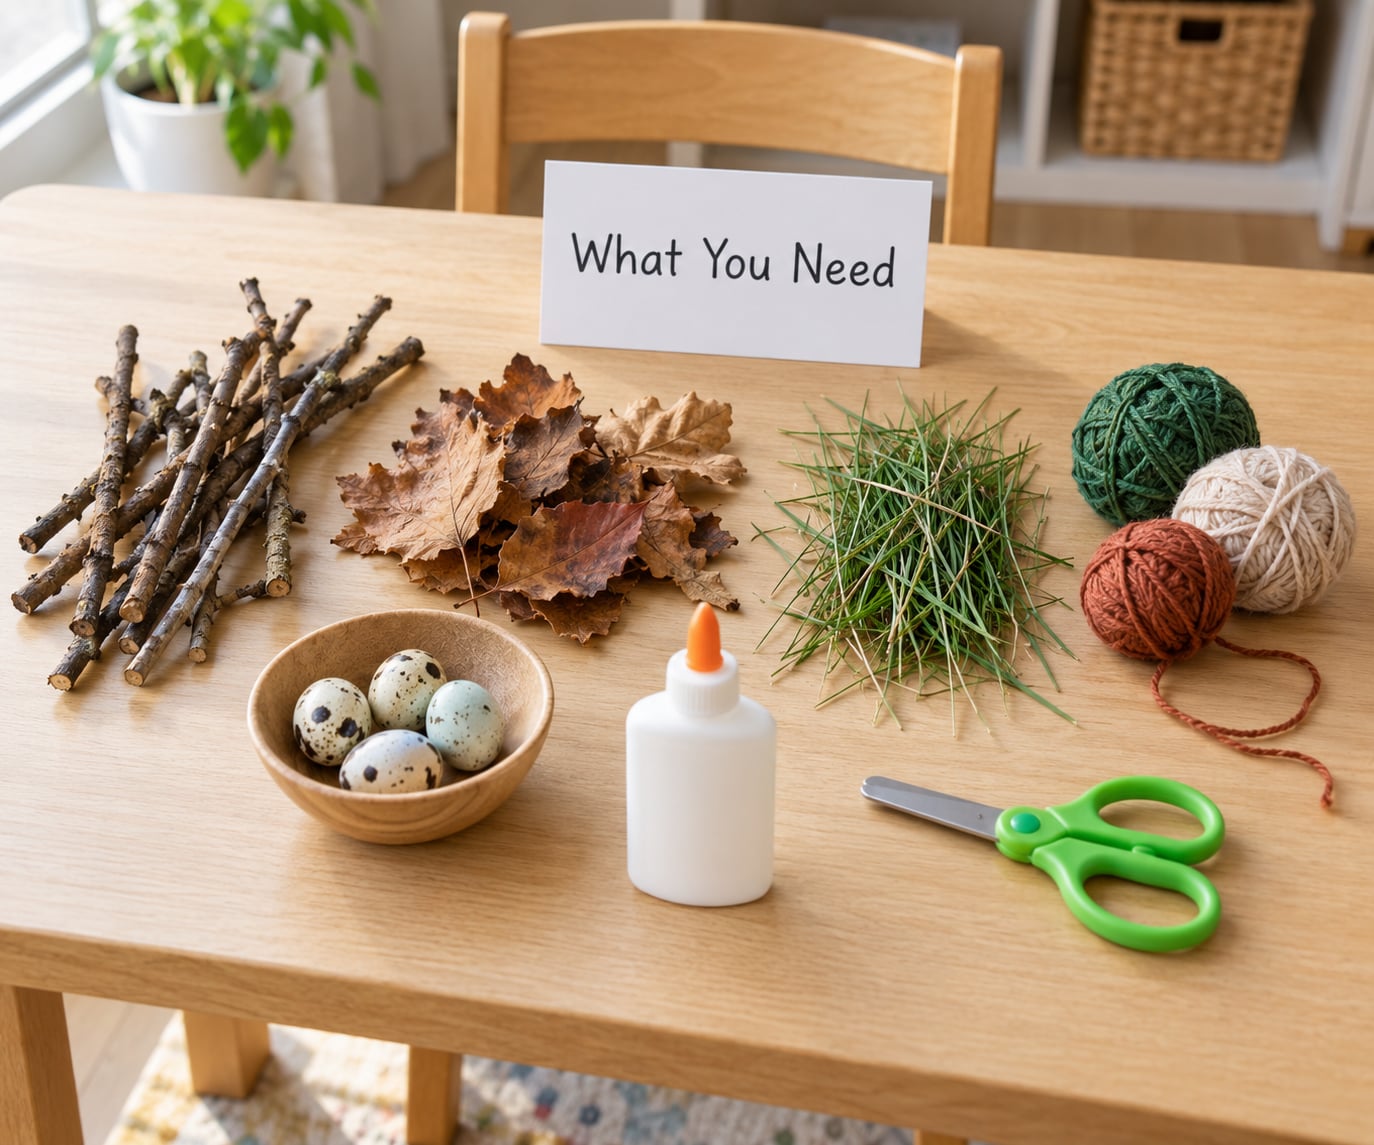
Split the list in two, what you pick up outside and what is already sitting in a drawer. Nearly everything falls into the first group.
From the yard, park or sidewalk verge
- Twigs and small sticks, pencil-thin up to about the thickness of a matchstick. Longer straight ones are far easier to weave.
- Long grass and dried wildflower stems. These bend without snapping, which makes them the best base material you will find.
- Bark strips, lichen-covered twigs and small pine cones for the outer wall.
- Dry leaves, pine needles and moss from loose fallen patches for the lining. Never scrape moss off a living rock or a growing branch.
- Pebbles, seeds and a few fallen petals for the rim.
From the craft drawer
- Yarn or raffia for the lining, if you do not have enough soft grass.
- Twine or cotton string to tie the base.
- Child-safe scissors.
- A glue stick for younger children. No hot glue under about age eight, and none needed for most versions.
- A small bowl or mug to use as a shaping mold while the base dries.
- A cardboard tube, paper plate or brown paper bag if you skip the walk entirely.
Substitutions are easy. Shredded paper or a cut-up coffee filter stands in for moss. Air-dry clay, wooden beads or plastic eggs work for the eggs. If anyone in the house reacts to grass or pollen, skip the real grass and build from yarn, raffia and paper instead.
Step-by-Step: How to Make a Bird Nest with Kids
Once you are back inside, the build takes about half an hour. Work in four stages so there is a visible result at each one, and let your child do the weaving rather than watching you do it.
Gather the Natural Materials
Ten to fifteen minutes outside is plenty, and this is the part children remember. Set the rules before you leave the house: fallen and dead only, and hands off any nest with birds or eggs in it.
- Walk a block or the edge of a park and pick up material that is already on the ground.
- Keep the longest, straightest sticks aside. They become the frame.
- Gather roughly double what you think you need. Weaving eats material.
- Leave any nest that looks recently used exactly where it is.
- Wash hands when you get back in, before anyone handles food.
Shape the Nest Base
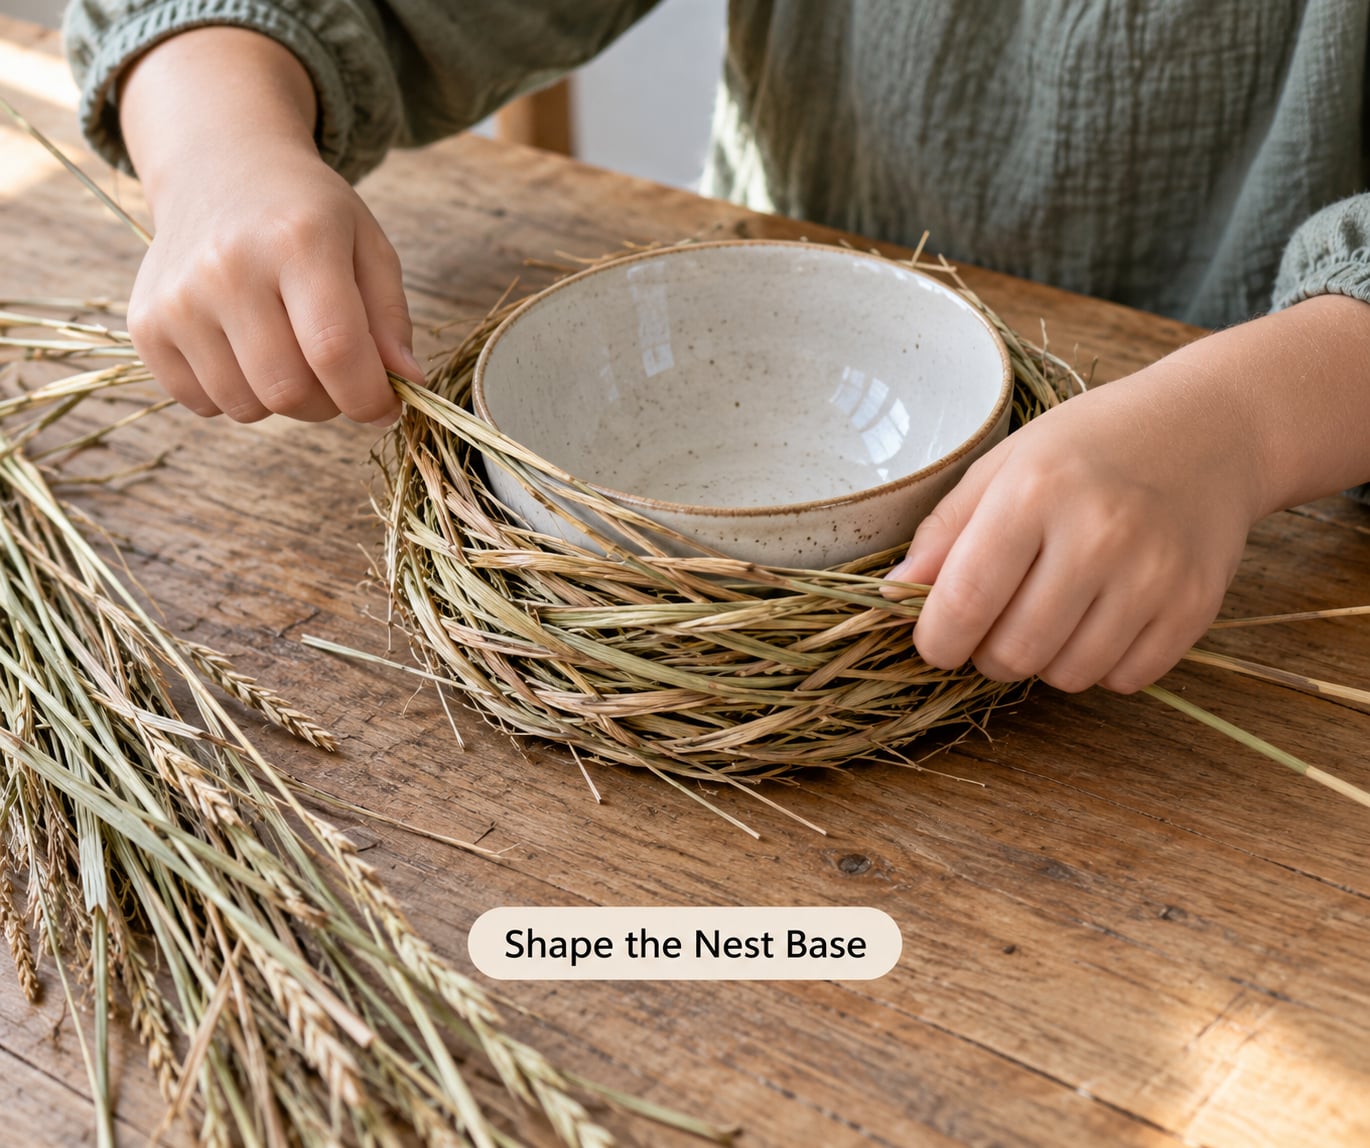
This is where nests fail, and it is fixable. The trick is layers of rings rather than one thick coil.
- Bend five or six of the longest stems into a ring about the size of your palm, then twist the two ends together to join them.
- Make a second ring roughly a third smaller and nest it inside the first, moving the joins away from each other.
- Add a third ring on top, rotating it slightly each time so the stems cross like a basket weave.
- Press your thumb into the center, turn the nest upside down, then flip it back. If it holds its shape, the base is done.
If it springs open, the stems were too thin or too dry. Soak stiff grass in water for a minute, add another ring, and wrap twine around the outside once. A glue stick on the top ring buys the same hold with less fuss.
Add Soft Layers Inside
- Set a small bowl or your fist into the middle of the ring and press the center down to make a cup.
- Fill that cup with dry grass, moss, shredded leaves or coils of yarn.
- Pack the filling down with your fingers so the middle sits below the rim, not level with it.
- Wrap a length of yarn around the outside if the layers keep lifting out.
The cup is the entire point. A flat saucer looks like a birdbath, and a shape with a dip in the middle starts to look like a nest.
Decorate and Finish the Bird Nest
- Add three or four fake eggs. Air-dry clay balls, wooden beads, or plastic eggs opened with a small cut and glued shut all read as eggs at nest size.
- Tuck petals, pine needles and a couple of pebbles into the rim.
- Pull out any loose string, glitter or small loose pieces. Whatever flutters ends up in a beak eventually.
- Display the nest where a child can see it from a window, or on a nature table with leaves and shells.
Common Mistakes
Almost every failed nest comes down to one of these, and each has a quick fix.
- It unravels the moment you pick it up. There were not enough layers, or the stems were brittle. Add a third ring, tie twine around the outside, and dampen stiff grass before weaving.
- It collapses into a flat saucer. The center was never pushed down. Set the ring around a mug while it dries, or press a cup into the middle and leave it there for ten minutes.
- It comes out the size of a wastebasket. Children build bigger by default. Show them the palm-sized ring first and let the nest grow out from that size.
- Someone reaches for a hot glue gun or wire. Swap in a glue stick and craft scissors. Nothing in this project needs either.
- The finished nest sits somewhere that harms wildlife. Never place a fake nest next to a real one, never on the ground where a cat or dog can reach it, and never somewhere it soaks every time it rains.
- Kids pull living stems or handle an active nest. Agree the rule out loud before the walk: fallen and dead only, and nothing that has birds in it.
Frequently Asked Questions
What do birds actually use to build nests?
Birds use whatever is soft, bendable and within reach. Most songbirds weave twigs, dried grass, rootlets, bark strips, plant fluff and spider silk into a cup nest, then line the cup with softer material such as moss, hair or feathers. Some species add mud on top. Others build a platform instead of a cup. That two-part structure, a woven frame plus a soft lining, is why the same method works so well at a kitchen table.
How old does a child have to be to make a bird nest craft?
Two and up, with your role changing rather than the project. A toddler can stuff grass into a bowl and press yarn into it while you handle the scissors and any string. A preschooler can weave a ring from three long stems with a hand over theirs. From about six, most children build the whole nest themselves and only need an adult nearby for the walk and the scissors.
How long does it take to make a bird nest craft?
About 40 minutes from start to finish, including the collecting. The outdoor walk is 10 to 15 minutes, the base takes roughly 15, lining and decorating take another 10. If you are using the paper plate or cardboard tube version, the whole thing takes under 10 minutes and needs no walk at all.
Is it legal to collect a bird’s nest or feathers?
In the United States, birds and their nests are protected by federal law, and many states add feather rules on top. That covers nests that are empty but still in use. Some states treat any wild feather as protected even when found on a sidewalk. Rather than work out the edge cases, leave nests where they are and build from fallen sticks and grass instead.
How do you make a bird nest with paper instead of sticks?
Skip the walk entirely. Tear brown craft paper or a paper bag into strips, twist them into a ring, add a smaller ring inside it, and press a cup into the middle to form the bowl. A paper plate works the same way: cut a circle from the center, glue torn paper around the rim, then line the hole with shredded paper. Both take under ten minutes.
What can I do with the finished nest?
Three options that keep it useful. Put it on a windowsill and watch which birds investigate it. Stand it on a nature table with leaves, shells and a field guide so kids can keep adding to it. Or turn it into a nest-spotting game: photograph a real nest from a distance, compare the materials it used with yours, and sketch the differences on the same page.
Conclusion
Start with the walk, not the craft bag. Ten minutes of collecting fallen sticks, grass and bark gives you every material you need and keeps the whole activity free.
Talk your children into collecting only what is dead and already on the ground, and leave any nest with birds in it exactly where it sits. Then build the ring, press the cup, and line it. When it is finished, put it where you can see it and let the real birds teach the rest.