How to press flowers for crafts is mostly a matter of three things: flat fresh blooms, paper that pulls moisture out, and steady pressure that stays put for days. The easiest version needs nothing but a heavy book, plain printer paper, and flowers you already have in the garden.
Once you have the basics down, you can move on to a wooden frame for even pressure or a microwave for flowers dried in under a minute. Most beginners get better results from the slow book method than from the fast one, so start there.
No special equipment is needed for a first batch. Pressing a dozen small blossoms takes about five minutes of arranging and then a week or two of waiting.
Table of Contents
- What You Need
- Step-by-Step: How to Press Flowers for Crafts
- Step 1: Choose Flat, Fresh Flowers to Press for Crafts
- Step 2: Prepare the Flowers
- Step 3: Arrange the Flowers Between Paper
- Step 4: Press the Flowers
- Step 5: Check That the Flowers Are Fully Dry
- Step 6: Store and Use the Pressed Flowers
- Common Mistakes
- Frequently Asked Questions
- What are the best flowers to press for crafts?
- How long does it take to press flowers with books?
- How do you keep pressed flowers from losing their color?
- Can you press flowers in a microwave?
- Are pressed flowers safe for children to use in crafts?
- How should finished pressed flowers be stored?
- Conclusion
What You Need
You need very little. The tools matter less than the flower choice and how dry everything is before you close the stack.
For the book method: a heavy hardback book or a stack of heavy books, plain printer paper or parchment paper, and something flat to separate layers like a second book or a piece of cardboard.
For the weighted frame method: a wooden frame or two pieces of thin plywood with bolts and wingnuts, blotting paper or coffee filters, and a sheet of plywood to close the top. This gives you far more even pressure than a book, which matters for wide petals.
For the microwave method: two ceramic tiles or thick sheets of cardboard, microwave-safe paper, a cup of water in the corner of the turntable, and a microwave. Someone with heat experience should handle the hot packet.
Gather flowers that are safe for children to handle and pick. Pansies, violas, daisies, and small wildflowers are all fine, and none of them need special supervision at the table. Skip anything you know is treated with pesticide or roadside spray.
Pick on a dry afternoon, after any dew has lifted. Bring the flowers indoors, snip the heads off, and keep them in a shallow layer of water while you gather everything else so they don’t wilt on the counter.
Step-by-Step: How to Press Flowers for Crafts
Step 1: Choose Flat, Fresh Flowers to Press for Crafts
Pick single-layer blossoms with thin petals: pansies, violas, daisies, cornflowers, black-eyed Susans, fern fronds, and flat leaves all flatten well. Best flowers for pressing are ones that lie in a single plane rather than forming a cup or ball.
Strip the stems and most of the leaves. Thick flower centers, deep rose buds, and moisture-heavy blooms like lilies turn to brown sludge under weight, so leave those out of your first batch.
Step 2: Prepare the Flowers
Lay the picked heads on kitchen paper and blot the underside of each petal dry. Any surface water you leave behind becomes mold later, and pressing damp flowers only spreads that dampness into the book.
If a petal is already bruised or torn, keep the flower anyway. Snip off the damaged section, and the rest of the bloom still presses cleanly. Flowers do not need to be air-dried first, though letting very thick petals lose surface moisture overnight improves the result.
Step 3: Arrange the Flowers Between Paper
Place one sheet of paper down, lay flowers face up, and cover with a second sheet. Keep petals from touching so nothing curls or transfers color, and give each flower a little space on the sheet.
For dark or very soft flowers such as tulips or red roses, use a fresh sheet for every flower. Pressing them on a shared sheet usually leaves you with a brown stain where two petals met.
Step 4: Press the Flowers
How to press flowers for crafts comes down to which method you picked, and each one trades speed for control.
Book method: slide the paper sandwich into the middle of a heavy hardback book, close it, and add more books on top for weight. Leave it undisturbed for one to two weeks. Thin petals such as violas can be ready in five to seven days; a daisy usually needs the full fortnight.
Weighted frame method: build up layers of paper and flowers in the frame, add the plywood top, and tighten the wingnuts until you feel firm, even resistance. The screw-and-nut press keeps pressure constant for five to ten days, so check it every couple of days and tighten again.
Microwave method: sandwich the flowers between paper pads and tiles, set the packet in the microwave with a cup of water in the corner, and heat in short rounds. Start with 25 to 30 seconds, then open and check in 10 to 20 second increments. Rushing this is what causes scorching, so stop the heating the moment petals feel crisp.
The cup of water keeps the packet from going bone dry and catches condensation before it soaks into the flowers.
Step 5: Check That the Flowers Are Fully Dry
Press the thickest petal between two fingertips. If it bends without snapping and still feels cool and soft, it holds moisture and goes back on the stack. A fully dry pressed petal feels papery and breaks cleanly at the edge.
Always press the center of the flower, not just the edges. The thickest part takes the longest to dry and is where mold starts. Let a microwave packet sit closed on the counter for two minutes before you open it, so trapped steam doesn’t wilt everything inside.
Step 6: Store and Use the Pressed Flowers
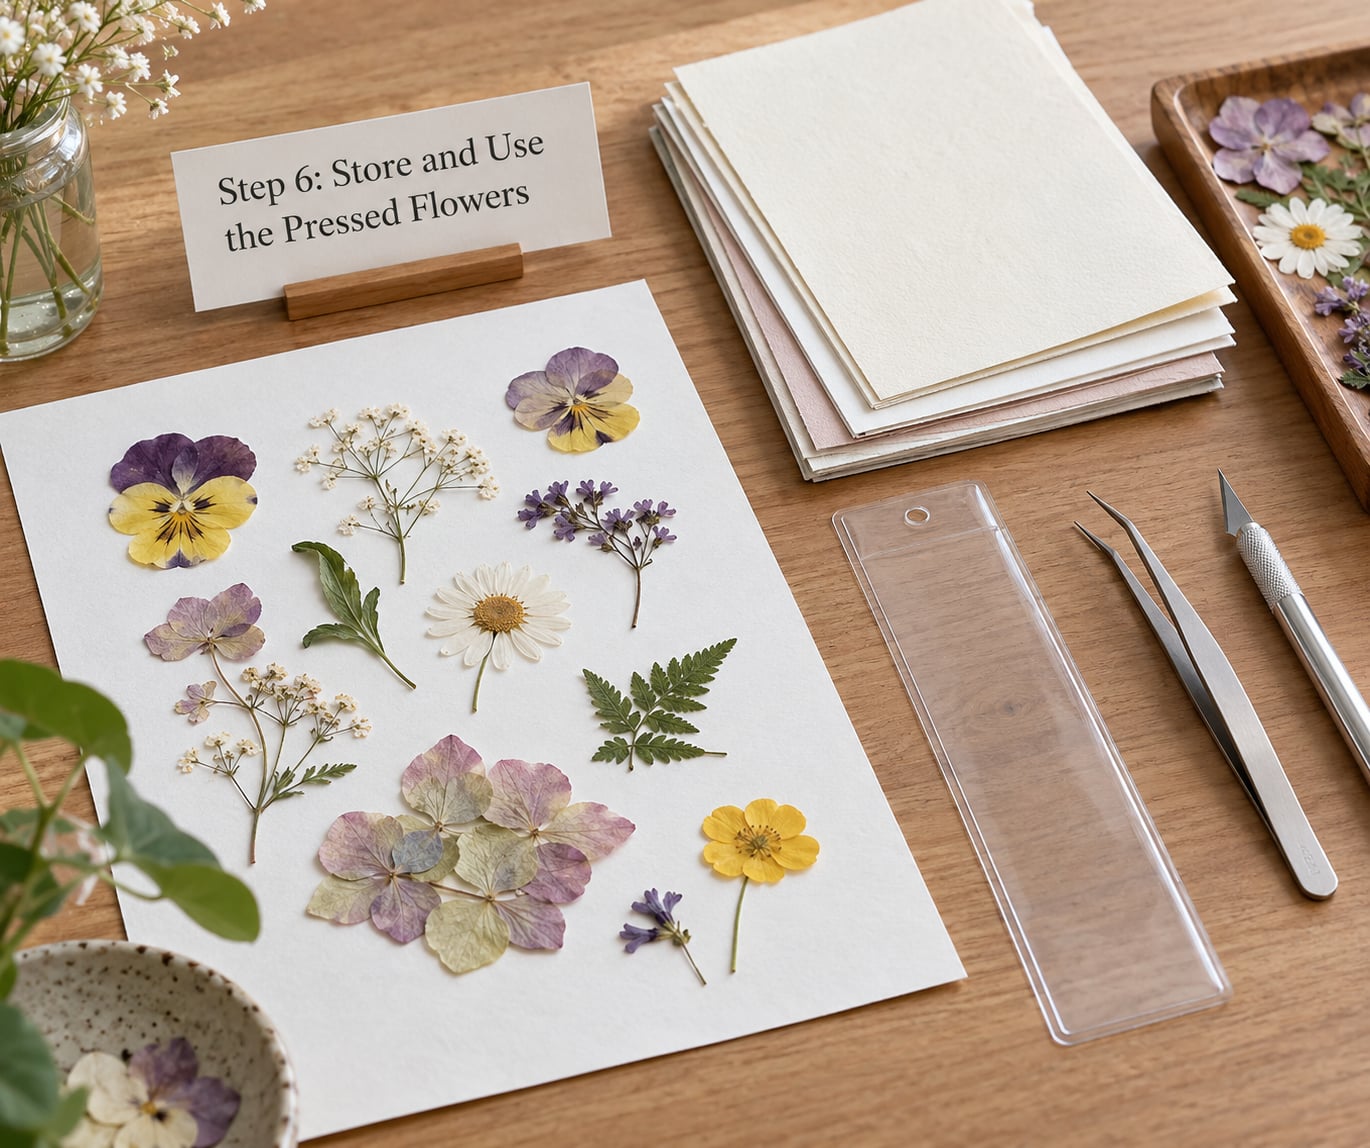
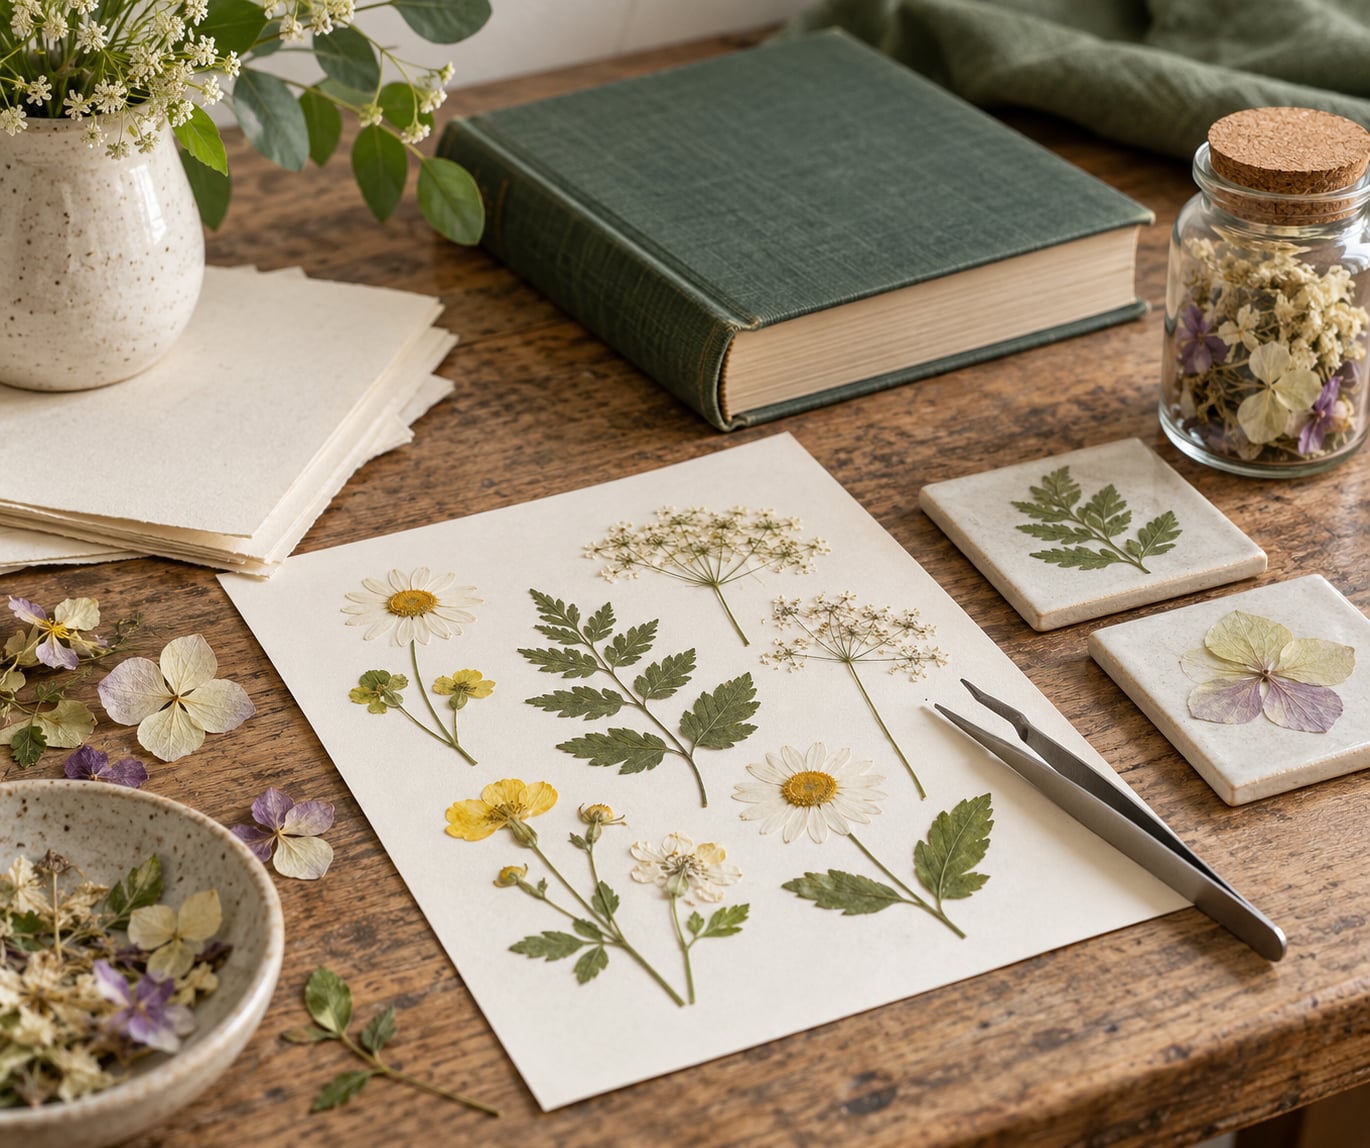
Handle finished flowers by the stem end or with tweezers, because the petals crumble when pinched. Slide each one between two sheets of acid-free paper, label the sheet with the flower and the month you pressed it, and stack the sheets flat in a box.
Sort the dry results into piles as you go. Whole flat blooms work for greeting cards and framed botanical prints, small petals suit collages, and narrow leaves or grass heads make bookmarks. Anything clear and flat also works for resin pieces and laminated decorations, as long as it’s bone dry before you seal it.
Pressers on r/PressedFlowers and r/flowerpressing swap out the absorbent paper around day three to five for thicker flowers, which is the simplest guard against mold.
Common Mistakes
Most disappointing pressed flowers trace back to one of seven fixable problems.
- Flowers were too wet. Water trapped under the paper turns cloudy and fuzzy. Blot every petal dry before arranging, and change the absorbent sheets every few days for thick blooms.
- Petals overlapped. Where two flowers touch, both curl and bleed color. Space each blossom out and give dark or juicy blooms their own sheet.
- Not enough weight. A book that is too light leaves a domed center that never flattens. Add a second book, or use a frame and tighten the bolts.
- Microwave runs too long. One long heating cycle browns the edges and scorches thin petals. Use short bursts with a check between each, and pull the packet the moment the center feels dry.
- Flowers pulled out too early. Lifting while any dampness remains tears the petal sheet apart. Wait for the crisp, papery test.
- Color transferred onto the paper. Place a fresh sheet under and over dark flowers, and always keep opaque flower prints like printer ink away from damp petals.
- Storage without protection. Light and humidity fade the color within months. Keep finished flowers flat in a closed box, away from a sunny window.
One extra habit pays off more than any other: press spare petals of whatever you pick. If a flower holds its color after a week, press a whole batch of it. If it browns, skip that species and use the next season for it.
Frequently Asked Questions
What are the best flowers to press for crafts?
Pansies, violas, daisies, cornflowers, black-eyed Susans, small wildflowers, fern fronds, and flat leaves are the easiest. They have thin petals and lie in a single layer, so they flatten evenly without browning. Skip thick buds, deep roses, lilies, and anything very wet for your first batch.
How long does it take to press flowers with books?
Thin petals such as violas and small daisies are usually dry in five to seven days. Larger daisies, pansies, and most wildflowers need one to two weeks under a heavy book. Keep the book closed in a warm, dry room and resist the urge to check it every day.
How do you keep pressed flowers from losing their color?
Press them as soon as possible after picking, blot all surface moisture, and keep the whole stack out of direct sunlight while it dries. Pigments fade fastest in light and heat, so store finished flowers flat in a closed box away from windows. Deep blues and purples tend to shift slightly no matter what.
Can you press flowers in a microwave?
Yes, and it is the fastest method, taking under a minute of heating. Sandwich the flowers between paper pads and ceramic tiles, put a cup of water in the corner of the turntable, and heat in 25 to 30 second bursts. Check every 10 to 20 seconds and stop as soon as the center feels dry.
Are pressed flowers safe for children to use in crafts?
Fully dried pressed flowers are safe for handling. Skip any flower that was treated with pesticide, and make sure the flowers are completely dry before children glue or handle them. Always have an adult handle the microwave and iron methods, since hot packets and steam burn easily.
How should finished pressed flowers be stored?
Lay each flower flat between two sheets of acid-free paper and keep the sheets stacked and level in a closed box. Store the box in a dry, dark cupboard rather than on a shelf in direct light, and avoid basements that can be damp. Label each sheet with the flower name and the month it was pressed.
Conclusion
Start with two or three flat garden flowers, a heavy book, and plain paper. Set them face up on a clean sheet, cover them, close the book, add a second book on top, and leave it alone for a week.
That is the whole method. When the petals feel crisp, sort them by type, record which ones held their color, and press a bigger batch of the winners next season. From there you can move to a wooden frame for even pressure or try short microwave bursts when a card needs to be finished today.