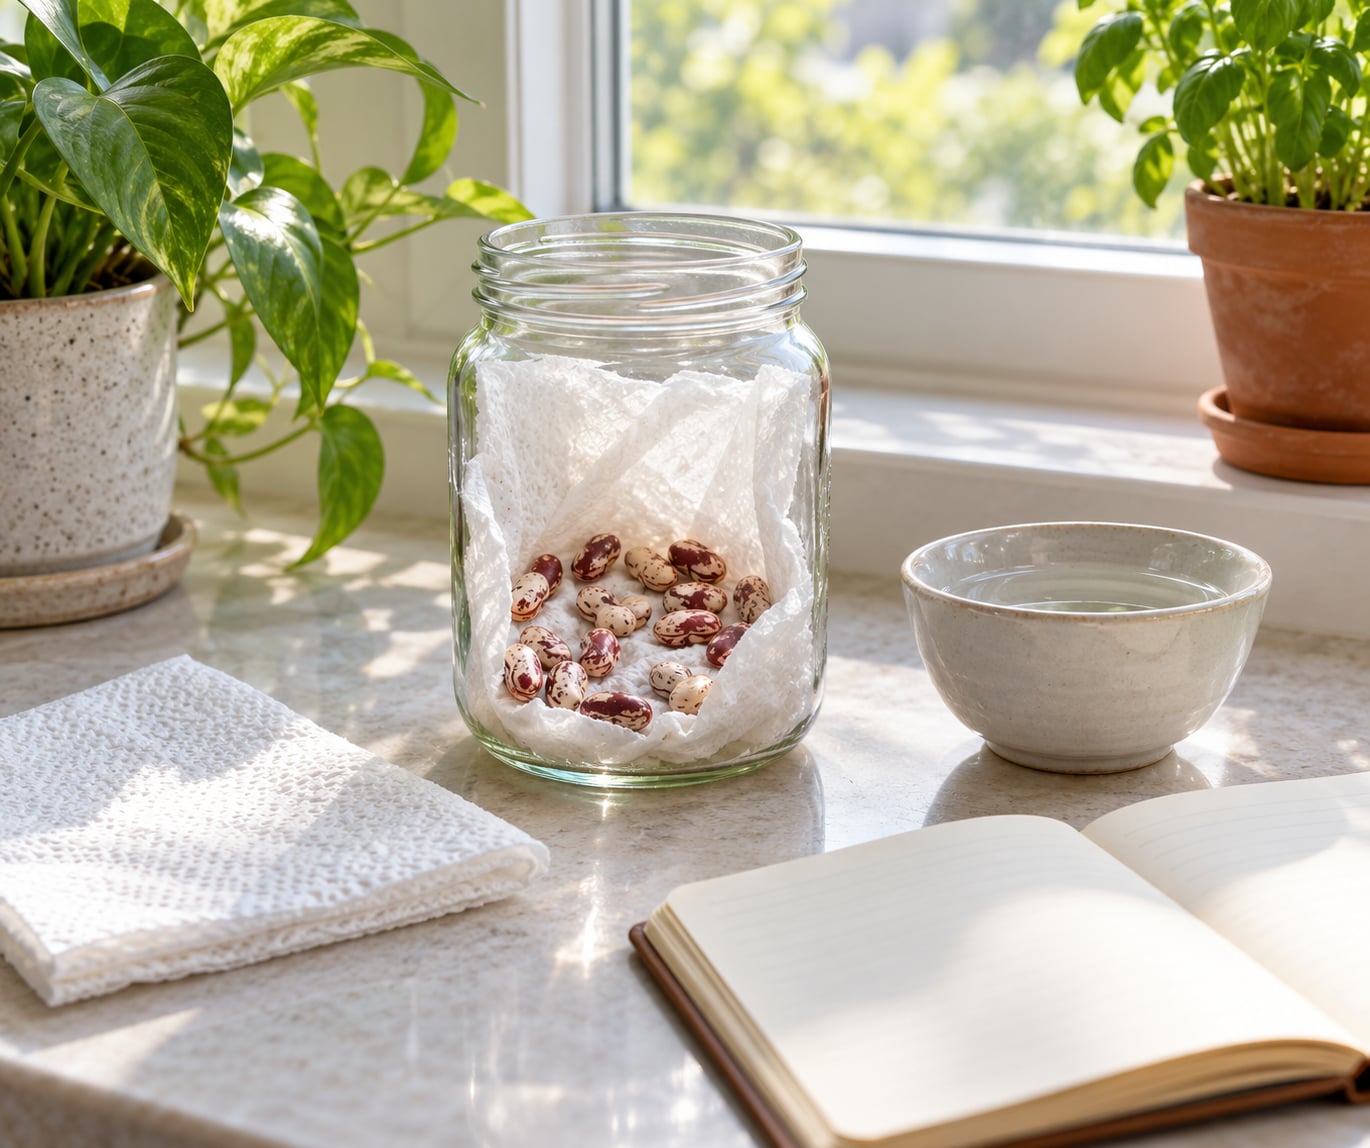
How to grow beans in a jar with kids takes about five minutes to set up and gives you a visible root within three to seven days. You line a clear jar with a damp paper towel, press a few dried beans against the glass, and the children watch a seed swell, split and push out a root, then a shoot, then leaves. No soil, no garden, no seed packet.
It is the cheapest science experiment in my house, and the jar ends up on the kitchen windowsill being checked before breakfast. What I like most is that it needs nothing unusual: dried beans from the cupboard, a jam jar, and a sheet of kitchen towel.
Table of Contents
- What You Need
- Step-by-Step: How to Grow Beans in a Jar with Kids
- 1. Choose Beans and Prepare the Jar
- 2. Add Water Without Submerging the Beans
- 3. Place the Beans and Set Up the Experiment
- 4. Wait and Watch for Changes
- 5. Record Growth and Care for the Sprouts
- Common Mistakes
- Frequently Asked Questions
- What kind of beans work best for growing in a jar?
- Do I need soil to grow beans in a jar with kids?
- How long does it take for beans to sprout in a jar?
- Should I put bean-growing jars in sunlight?
- What should I do if the beans start to grow mould?
- Can I transplant bean sprouts from the jar into soil?
- Conclusion
What You Need
A transparent jar is the one thing worth being deliberate about, because the whole point is seeing the root grow down against the glass. Everything else is a swap.
| Item | Amount per child | Notes and swaps |
|---|---|---|
| Clear glass jar | 1 | A jam jar, pickle jar or straight-sided tumbler works. Avoid jars with heavy ridges or a pattern, since they hide the roots. |
| Paper towel or cotton wool | 1 sheet or a small handful | Cotton wool holds water longer and is easier for small hands. Kitchen towel is fine and cheaper. |
| Dried beans | 4 to 6 | Grocery store pinto, black, kidney, lima or borlotti beans. A bag of dried beans costs less than a packet of seed. |
| Water | A few tablespoons, plus a small cup | Room temperature water is easier on the seed than cold tap water. |
| Rubber band or tape | 1 | Holds the towel to the jar so it does not slide off the beans. |
| Sticky label or masking tape | 1 | Write the child’s name and the start date on it. Unlabelled jars get mixed up fast. |
| Notebook or science journal | 1 | Optional, but this is the part that turns it into an actual science project. |
Step-by-Step: How to Grow Beans in a Jar with Kids
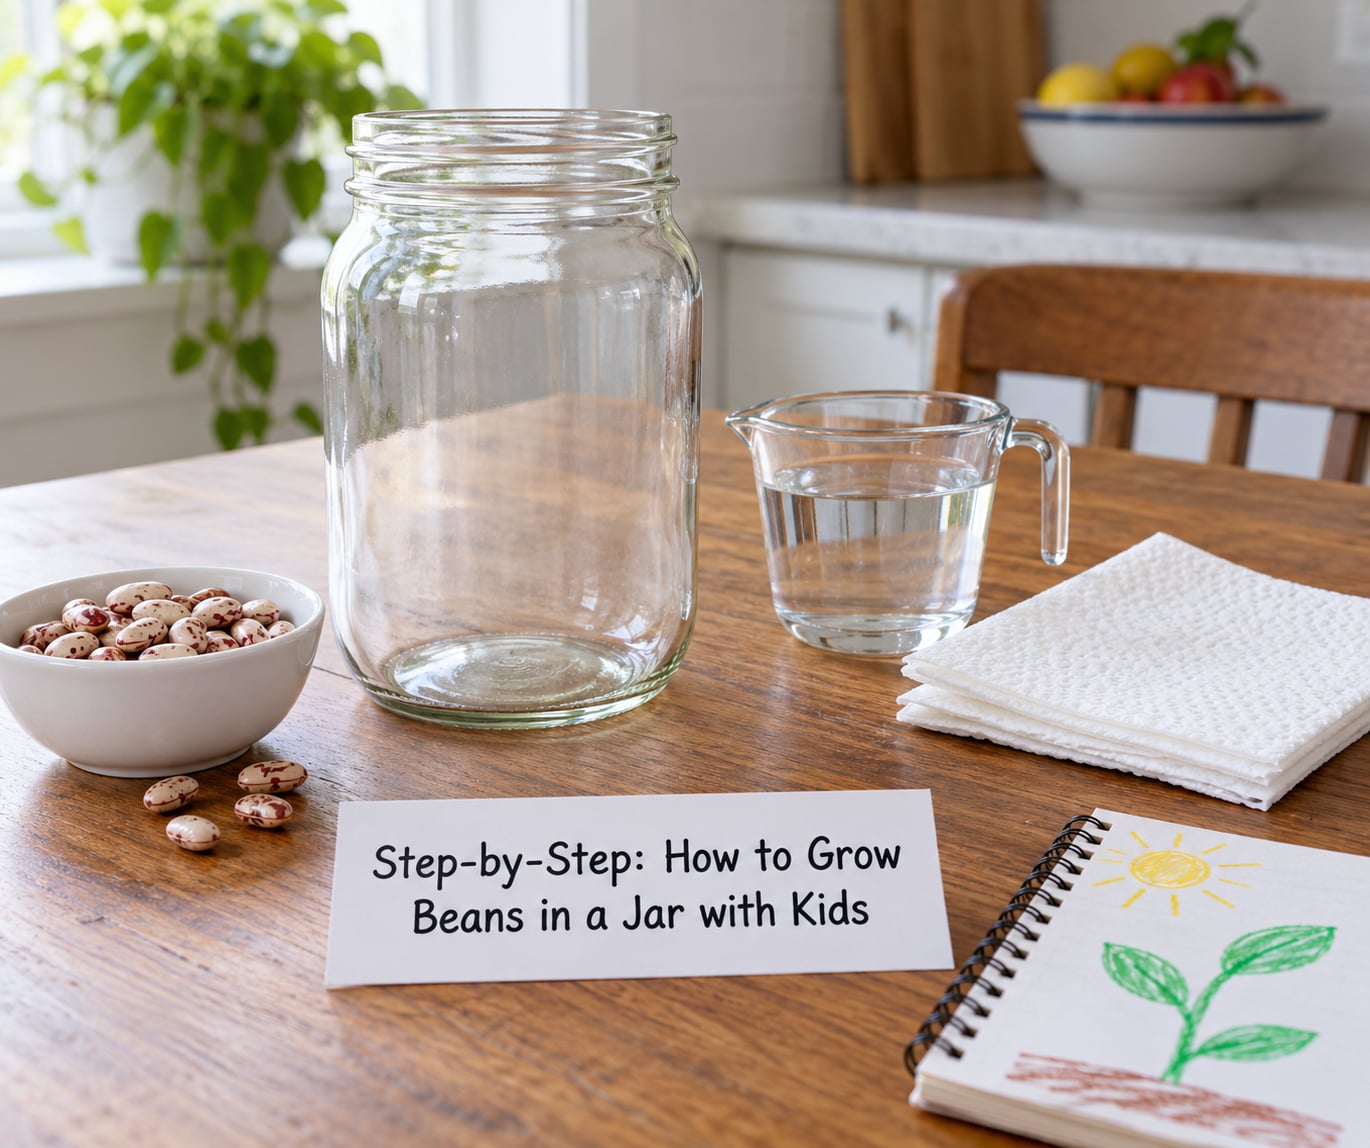
1. Choose Beans and Prepare the Jar
Pick beans that look firm and whole, with no wrinkles, cracks or dark spots. A bean that has already dried out in the bag often fails, and one with a broken seed coat usually rots instead of sprouting.
Wash the jar in hot soapy water and dry it properly, because a jar that still smells of jam will encourage the wrong kind of growth. Line the side of the jar with two or three layers of damp paper towel, pressed flat so there are no air pockets between the towel and the glass.
2. Add Water Without Submerging the Beans
Moisten the towel until it is damp all the way through but not dripping. Run a finger along the inside of the jar and check for dry patches, since those dry spots are where a bean dries out and dies.
If you want a reservoir method, add a centimetre or so of water to the bottom of the jar so the lowest layer of towel sits in it. The beans must stay above the water. A root hanging into a centimetre of water is the setup that works; beans floating in standing water rot within a couple of days.
3. Place the Beans and Set Up the Experiment
Push four to six beans between the damp towel and the glass, spacing them out so each one has its own patch of glass to grow along. I have found that beans taped in with a little chunky spacing are much easier for a child to follow than a crowded row.
Wrap the outside of the jar with a loose layer of paper towel and secure it with a rubber band. That outer wrap gives the child something to wipe drips from, and it keeps the beans pressed firmly against the glass instead of sliding to the bottom.
Then label the jar with the child’s name and today’s date. For a class, one jar per three to five children with the initials on each label makes the windowsill row easy to keep straight.
4. Wait and Watch for Changes
Put the jar on a bright, warm windowsill. Growth is driven by warmth first and light second, so a spot a metre back from the window on a warm shelf often beats a cold glass pane in winter.
Check it once a day at the same time, and record what you see. This is what the jar looks like on a normal run:
| Time | What you see | What to do |
|---|---|---|
| Day 1 to 2 | Almost nothing. Beans swell slightly and the seed coat looks shinier. | Do not give up or move the jar. Check the towel is still damp. |
| Day 3 to 4 | The seed coat splits and a small white nub, the radicle, pushes out and turns down. | Nothing to change. Start the notebook habit now. |
| Day 5 to 7 | The root is 2 to 5 cm long and curls along the glass. A pale shoot may appear at the top. | Add water only if the towel feels dry. |
| Week 2 | The shoot stands upright and unfolds the seed leaves, the cotyledons, which often still carry bean colour. | Move the jar somewhere brighter if the shoot leans hard. |
| Week 3 to 4 | True leaves, the pair with the bean shape, open above the cotyledons. | Thin to the strongest plant and get it into soil. |
Roots usually appear in three to seven days, and the first leaves around two weeks. A handful of seeds will fail, and that is part of it rather than a sign you set it up wrong.
5. Record Growth and Care for the Sprouts
Give the child one job per day: a date, a measurement with a ruler held beside the jar, and a drawing of whatever changed. Younger children can simply draw what they see, while older ones predict tomorrow’s height and check whether they were right.
Water when the towel looks dry to the touch, usually every day or two. Lift out the inner towel, wet it again and press it back, or add a slow trickle down the side of the glass. If water collects at the bottom and the beans are touching it, pour it off.
At two or three weeks, when true leaves are out, plant the strongest seedling in a pot of soil with a chopstick or pencil for support. Beans rarely crop indoors, but a climbing plant on a windowsill is a satisfying end to the project.
Common Mistakes
Mould and rotting are the two problems that end most jar experiments early, and both come back to water.
- Beans sitting in standing water. They drown and go soft within days. Keep the beans above any water, or remove the reservoir layer once roots are long.
- Paper towel dried out. A bean that dries once usually stops. Check daily, and move a neglected jar to slightly cooler conditions while you re-wet it.
- A cold, dark windowsill. Cold slows or stalls germination. Look for a warm bright shelf near the window instead, and keep the jar out of draughts.
- Too many beans. Six to a jar is plenty. Crowding means roots overlap and children cannot follow an individual plant.
- Unlabelled jars. With two children or a class, the one that sprouted is never the one you think. Label on day one.
- Expecting overnight results. Days one and two look empty. Point that out before you start so nobody assumes failure.
- Forgetting that red and dark skins stain. Red-skinned and black beans bleed dye through kitchen towel and onto worktops. Use plain paper towel or put the jar on a tray.
One safety point for parents and teachers: uncooked beans contain lectins and should never be eaten raw or chewed, however small the sprout looks. Keep the jar out of reach of children who put things in their mouths, and wash hands after handling the beans, since some kinds cause skin irritation when they are damp.
Frequently Asked Questions
What kind of beans work best for growing in a jar?
Dried grocery store beans work well. Pinto, black, kidney, borlotti and lima all germinate reliably, and pinto beans are usually the fastest to show a visible root, which suits an impatient preschooler. Broad beans are larger and dramatic but slower and fussier. Skip beans with wrinkles, cracks or dark spots, and avoid red-skinned varieties that stain everything they touch.
Do I need soil to grow beans in a jar with kids?
No. The damp paper towel supplies the water a seed needs to swell and split, and the bean carries its own food reserve for the first few days, so soil is unnecessary. Once the seedling has true leaves at around three weeks, pot it into ordinary soil, because a seed only stores enough energy to get that far.
How long does it take for beans to sprout in a jar?
Expect the first white root nub between day three and day seven, with leaves appearing around the two-week mark. A radicle within a few days means the experiment is working. Beans sitting in a cold window can add a week, while a jar kept warm and bright can shave a few days off, so judge progress against the timeline rather than the calendar.
Should I put bean-growing jars in sunlight?
Yes, give the jar bright light, but keep it out of harsh direct sun, which overheats the glass and cooks the seed. A warm, bright windowsill is ideal. Once the shoot is standing up, if it leans hard toward the glass, turn the jar a quarter turn so the plant grows evenly rather than bending permanently.
What should I do if the beans start to grow mould?
Pull the mouldy beans out with tweezers, because they will not recover and they spread to the ones touching them. If the paper towel smells musty, replace the whole setup with fresh beans and a clean jar. Mould almost always points to standing water, a dirty jar or a cold, damp spot, so fix the cause before starting again.
Can I transplant bean sprouts from the jar into soil?
Yes, once the seedling has its first true leaves at about two to three weeks. Ease the root out gently, keeping it moist, and plant it in a pot of soil with a pencil or cane for support. Beans do not usually produce pods indoors, so treat it as a windowsill plant and let it keep growing tall and leafy.
Conclusion
Start with the jar: line it with damp paper towel, press four beans against the glass, secure the label with your child’s name and today’s date, and stand it somewhere warm and bright where nobody forgets about it.
Then make the daily check the point. One date, one measurement and one drawing each day is enough to teach germination, roots, shoots and the plant life cycle better than any diagram, and it works indoors in 2026 just as well as it does on a warm windowsill in April.