To make a fairy garden with kids, you need only a shallow container, a bag of lightweight potting mix, two or three small non-toxic plants, and a handful of pebbles, twigs, shells and craft bits your child collects. Set the base, plant, add a path and a fairy house, then let the decorating happen. Most families finish in 45 to 60 minutes, and almost everything can come from the yard, the craft box or a dollar store aisle.
The reason this works so well with children is that the finished product does not need to look like anything. A crooked twig fence and a spray-painted rock are as good as a store-bought cottage, and because your child decides where things go, the garden keeps being interesting long after the last pebble is placed.
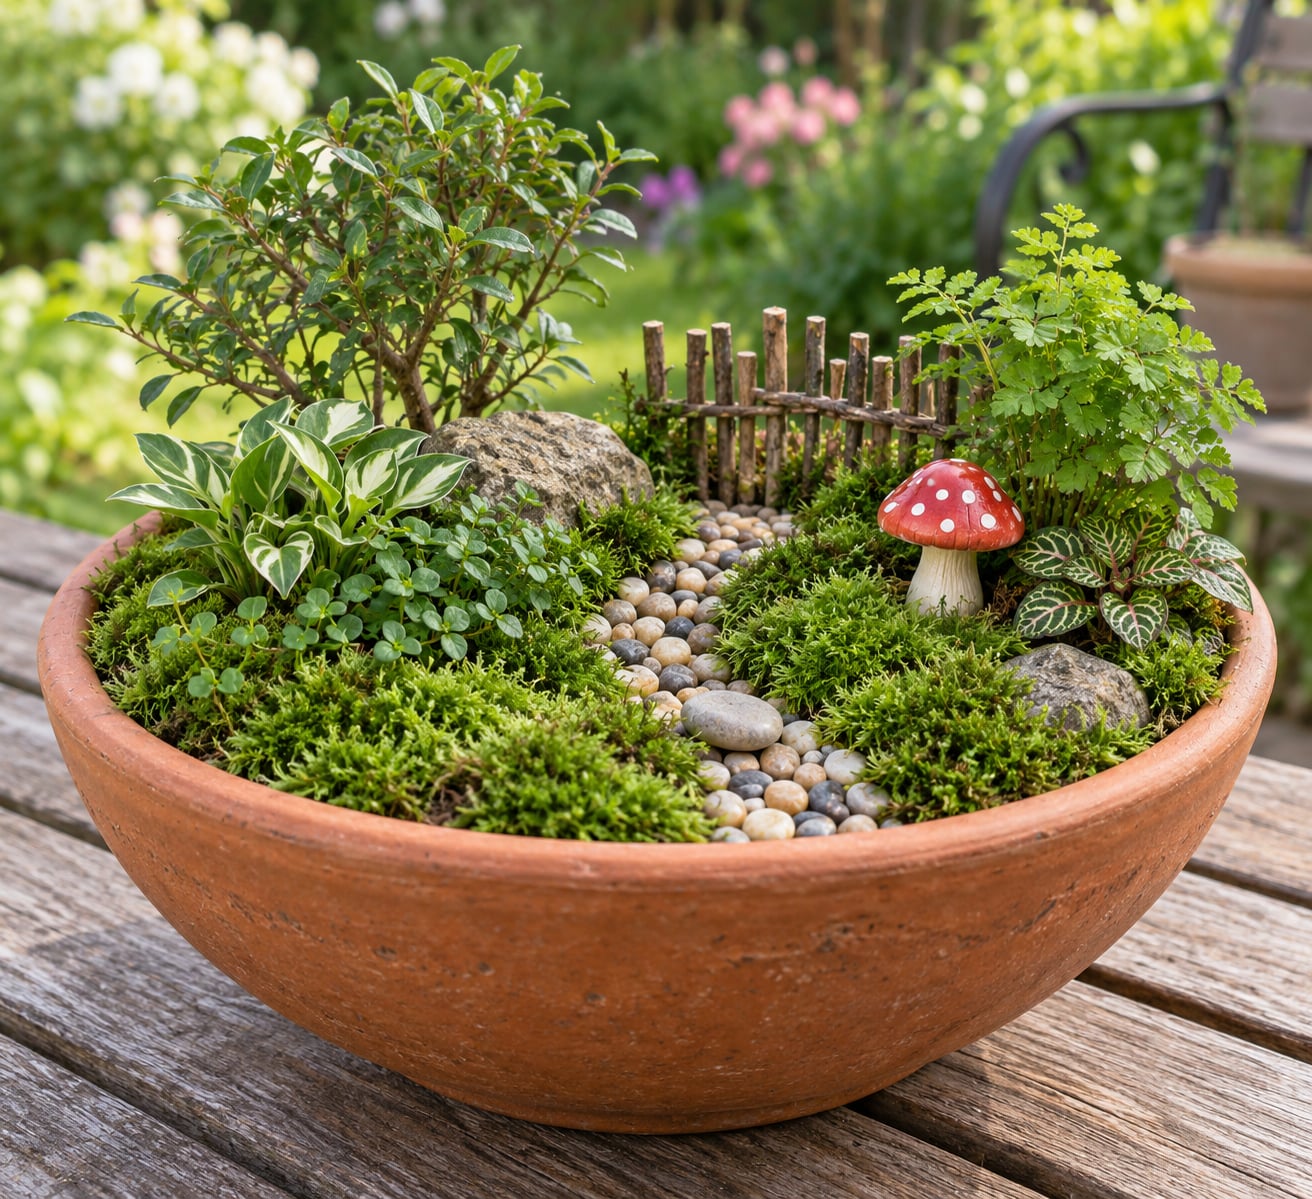
A fairy garden is simply a miniature landscape in a bowl, pot, planter or garden bed, built from natural and found materials. Children build it, play with it and usually keep adding to it. That combination of sensory play, fine motor work and open-ended storytelling is why it holds up better than most crafts.
Table of Contents
- How to Make a Fairy Garden with Kids: What You Need
- The basics
- The fairy extras
- Free swaps when you are missing something
- Step-by-Step
- Step 1: Choose a Sunny Container
- Step 2: Add a Lightweight Soil Layer
- Step 3: Plant the Fairy Garden
- Step 4: Add Paths, Rocks and Other Details
- Step 5: Make Fairy Furniture and Signs
- Step 6: Water and Care for the Garden
- Common Mistakes
- Frequently Asked Questions
- What are the best plants for a fairy garden with kids?
- Can you make a fairy garden indoors?
- What should I use for a fairy garden container?
- How do I keep a fairy garden alive?
- How can I make a fairy garden with toddlers or older children?
- Conclusion
How to Make a Fairy Garden with Kids: What You Need
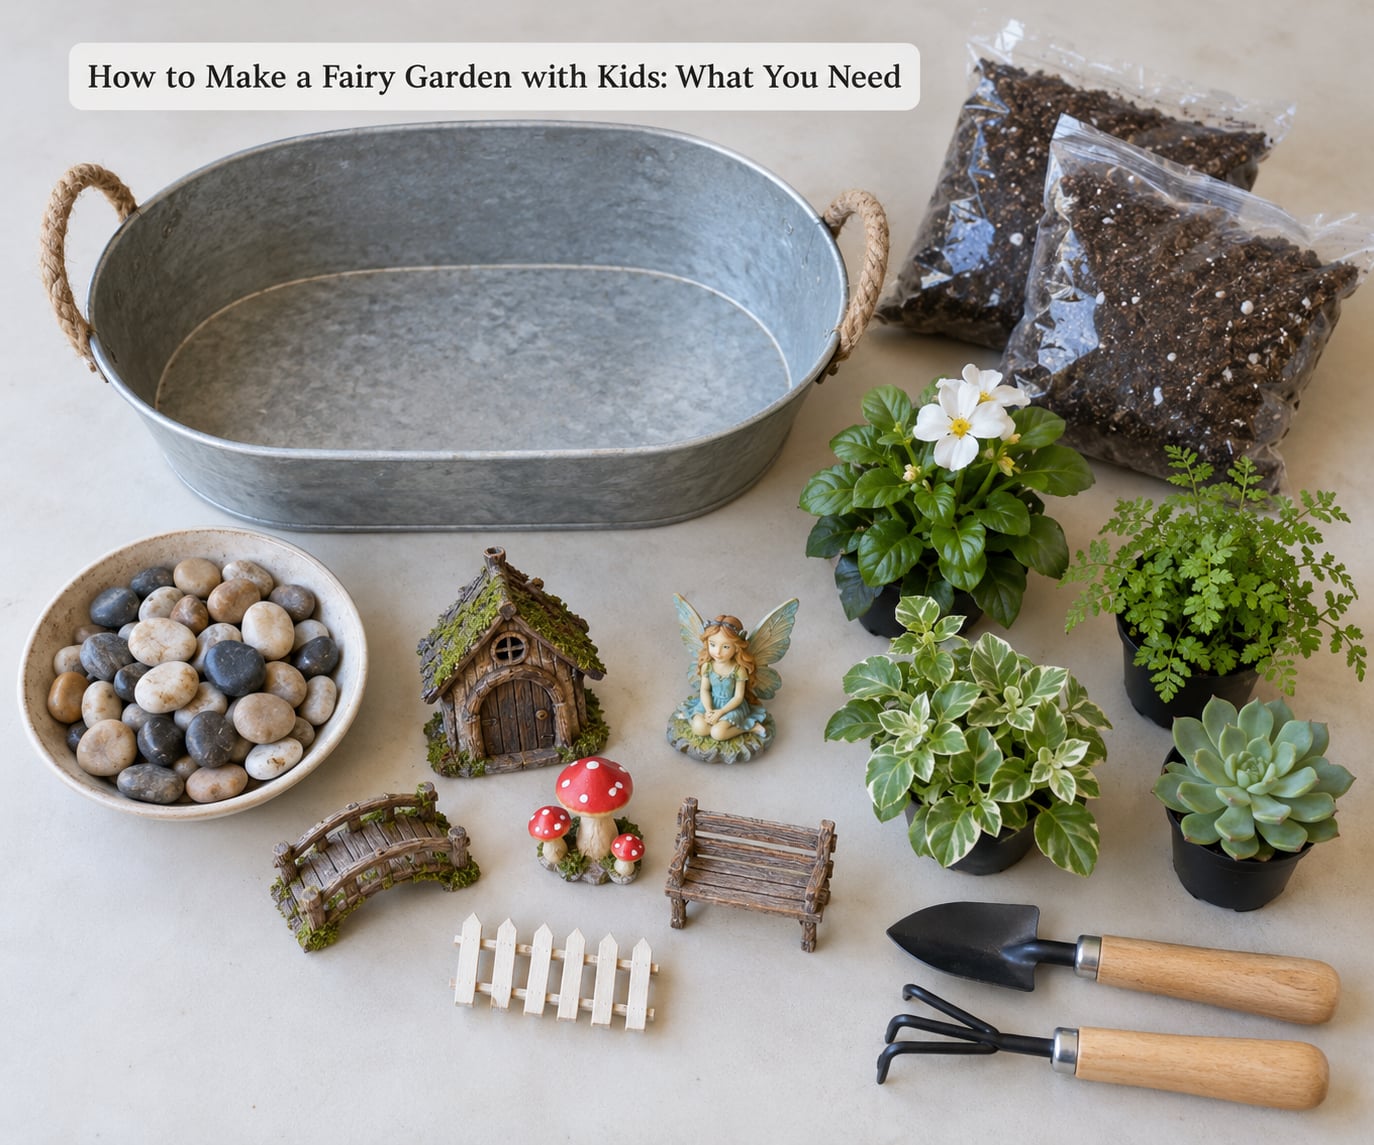
Gather everything before your child starts, because the hunting and gathering is half the fun and interruptions are the reason most builds stall. Nothing here is specialist equipment.
The basics
- A shallow container with drainage holes — a bowl, a window box, a terracotta pot, a wooden planter or a plastic storage tray with holes punched in the base.
- Lightweight potting mix — a small bag from the garden centre. Keep it indoors in a sealed bag until build day if you have pets or curious siblings.
- Two or three small non-toxic plants — nursery bedding plants, small succulents or herbs. Keep them in their pots until planting day.
- Ground cover — sheet moss from a garden centre, or a handful of clean grass clippings from a neighbour who does not spray weedkiller.
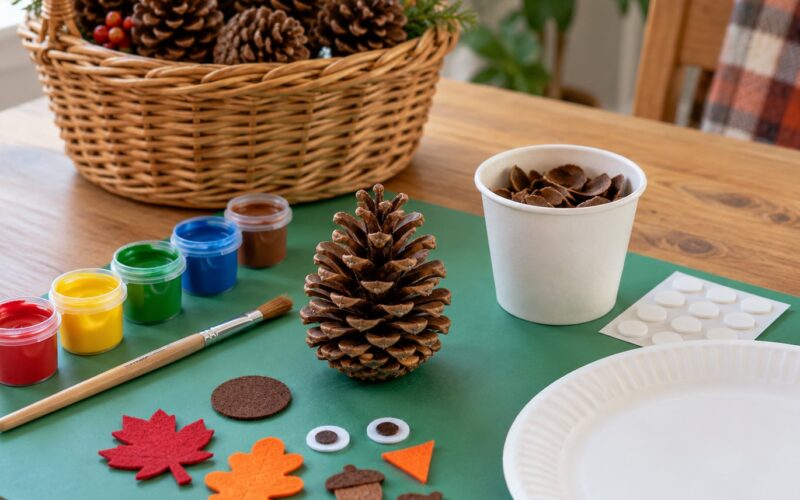
- Natural details — smooth pebbles, shells, bark, pine cones, small slices of branch, acorn caps.
- Child-sized tools — a garden trowel, a small brush for sweeping soil, a watering can with a fine rose.
The fairy extras
- Small fairy figurines, gnomes or tiny animals. Skip these entirely if your child is under three, or use pieces too large to fit through a toilet-paper tube.
- Cardstock, craft sticks, wooden offcuts and modelling clay for furniture, signs and mushrooms.
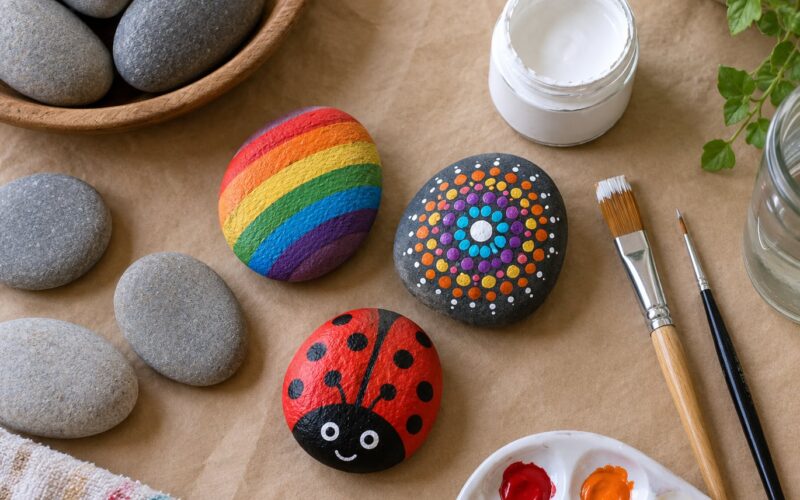
- Acrylic paint and a fine brush for painting rocks or a small sign.
- Twine or thin wire for fences and bridges.
- Optional: a small packet of water beads or a spray bottle for misting the moss.
Free swaps when you are missing something
Flat stones work in place of pebbles. An empty egg carton, cut down and washed, becomes a bed. Shredded paper towel, dampened, stands in for moss if you want a project that needs no plants at all. A wooden spoon becomes a bridge. Most of the best fairy house material is wood offcut, and a pile of them costs nothing.
Containers matter more than most guides admit. Pick one your child can reach into comfortably and one that will not tip when a sleeve brushes it.
Step-by-Step
Set up outside if the weather allows, on a tray or a folded towel if you are indoors. Old soil does not blow away and water does not reach the floor.
Step 1: Choose a Sunny Container
Pick a container with drainage holes and a footprint that matches your plants at maturity, not the size of the spot you want to fill. A wide shallow bowl suits ground cover and one small tree; a deeper pot suits herbs and succulents; a window box handles a row of bedding plants nicely.
Check the light where it will actually sit. Count the hours of direct sun that land on it across one day, not the brightest moment you happen to look. Most fairy-garden plants want four to six hours, and shade-tolerant options such as mint, parsley, thyme and creeping Jenny will do with three or fewer. The success check is simple: nothing should be sitting in a dark corner by the end of the week.
Working indoors? Put the container on a windowsill, or use a grow light on a timer, and move the whole pot outside on a mild day. Swapping one pot between two spots is far easier than moving individual plants.
No drainage yet? Drill, nail or carefully pierce holes in the base before you add anything, and set the container on a saucer so you can catch the runoff.
Step 2: Add a Lightweight Soil Layer
Fill the container two-thirds full with potting mix and level it with the flat of your hand. Leave a finger’s width at the top so water has somewhere to sit instead of washing straight over the edge.
Have your child scoop with the trowel and smooth with the back of the spoon. That scooping is the sensory part, and it is the bit children remember.
Stay away from garden soil dug up outdoors. It can carry weeds, insects and whatever the previous season’s lawn treatment left behind. Construction sand and play sand are poor substitutes; they compact into a crust and drain badly, which is how a fairy garden ends up bone dry or waterlogged within a week.
Success check: press the surface with a fingertip. It should feel evenly moist and hold its shape when squeezed, then break apart with a tap.
Step 3: Plant the Fairy Garden
Choose plants that want the same light and roughly the same amount of water, because a thyme that dries out beside a mint that never does will leave you with one dead plant and a mystery. Good non-toxic choices for most of the US include thyme, oregano, parsley, chives, mint (in a pot, since it spreads), creeping Jenny, sedum, hens and chicks, and small ferns.
Skip anything with thorns, hairs that irritate skin, or a milky sap. Lily-of-the-valley, foxglove, oleander and anything from the bulb family such as daffodils and snowdrops are common garden plants that are not safe for children or pets.
Space them by mature size, not by how small they look now. Turn each plant out of its pot, tease the roots loose with your fingers, dig a hole the same depth as the root ball and set it in with the crown level with the soil. Firm gently.
Position each plant where the light you checked in Step 1 will actually reach it. Success check: no roots poking out above the soil line, no plant sitting in a hollow where water collects, and every leaf clear of the container rim.
Step 4: Add Paths, Rocks and Other Details
Press a pebble path across the soil in a curve rather than a straight line, and lay it so the stones touch. A flat stone makes a bench; two upright stones a hand’s width apart make a gate. Bark chips work as decking, an oyster shell as a pond, and a slice of branch with a twig across the top as a bridge.
Build a twig fence around whatever is meant to be a house or a garden bed. Push the ends in at a slant and bend a length of twine around them, which holds a wobbling fence together far better than a straight line of sticks.
Everything you add should be too large to swallow, with no sharp edges and nothing that snaps. Skip gravel, loose beads, small glass gems, glitter and thin plastic. If you are unsure about a piece, the toilet-paper-tube test settles it: if it fits through the tube, it does not go in the garden for children under three.
Step 5: Make Fairy Furniture and Signs
This is where the fairy garden with kids becomes something your child owns rather than something you built for them. Keep it open-ended and resist the urge to hand over finished pieces.
A few things that take minutes and cost nothing: furniture from short lengths of craft stick or wooden offcut, signs from a scrap of cardstock with a painted name, mushrooms from bits of bark with a dab of paint on top, a bench from one flat stone with two smaller ones as legs, a table from a thread spool, and chairs from shells. For painted rocks, use acrylic paint and let each piece dry fully before it goes near the soil.
If your child is under three, skip the paint pot, the twine and any loose craft sticks. For a two-year-old, the fun is in the scooping and the placing, and the build lasts longer for it.
Success check: your child can name at least one thing in the garden and explain who lives there. That means the scene is theirs, not yours.
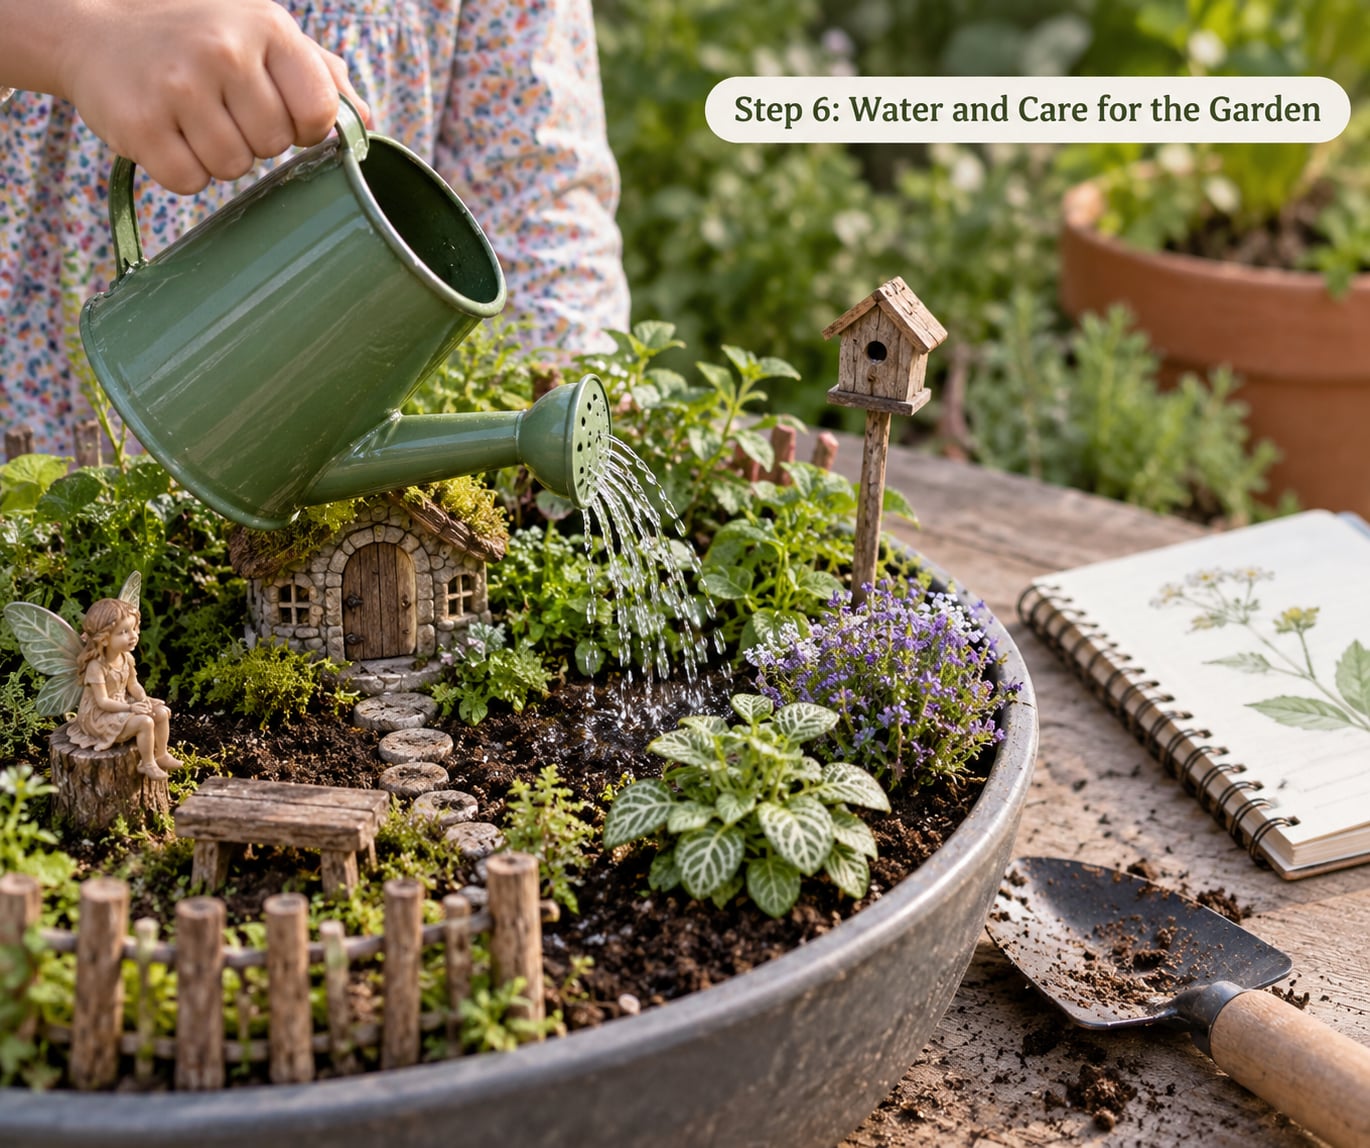
Step 6: Water and Care for the Garden
Water at the soil, slowly, with the fine rose on the watering can. Pouring onto the leaves drives water past the roots and onto the windowsill, which is how soil ends up on a floor and how a child loses interest in the project.
Check rather than schedule. Press a finger a centimetre into the soil every morning or evening. Water when the top feels dry to the touch, then stop when water just appears in the saucer. Twice a week is a fair average in a warm room, though a metal bowl in full sun may need it daily in midsummer. Every other day in winter is usually plenty.
Learn the warning signs. Wilting leaves and a dry, pale surface mean too little. Yellow leaves, a sour smell or moss that goes slimy and dark mean too much, or soil that is holding water against the base. Standing water in the saucer for more than a few hours is a root-rot risk, so empty it.
A short routine works better than an adult doing it all. Children who are four and up can check the soil, water until the surface darkens, count the plants and write the date in a little garden journal with a drawing of what they see. Give the job a name — the watering round — and it becomes part of the play rather than a chore you keep doing.
Common Mistakes
Plants that want different things. A sun-loving thyme beside a shade-loving fern means one of them dies. Group plants with matching needs, or use ground cover and succulents, which tolerate more of everything.
A container with no drainage. Water has nowhere to go, the roots sit wet and the soil turns sour. Pierce the base and use a saucer.
Too many plants. A crowded container needs more water than it can hold, and the roots compete. Three plants in a bowl the size of a dinner plate is plenty to start.
Toxic or thorny plants in reach of children. Check every name before you buy or dig. If you cannot confirm a plant is non-toxic, choose a different one rather than guessing.
Decorations small enough to swallow. Gravel, glitter, beads and small figurines are the usual offenders. Use the toilet-paper-tube test, and take decorative pieces out entirely for children under three.
Soil and water on indoor surfaces. Work on a tray, use a potting mat or a layer of newspaper, and let the soil dry out on the tray before tipping the leftovers into the compost.
Watering on a fixed schedule. A set day twice a week ignores heat, humidity and season. Check the soil instead, and let the child be the one who checks.
One more worth knowing: bought kits arrive with a fixed layout and a pile of tiny plastic pieces that get lost within a day. If you use one, pour the extras into a small dish and let your child place them. The layout is theirs to change anyway.
Frequently Asked Questions
What are the best plants for a fairy garden with kids?
Thyme, oregano, parsley, chives and mint are all non-toxic, easy to find and smell good when your child brushes past them. Sedum, hens and chicks and creeping Jenny work well as low ground cover, and small ferns suit shadier spots. Pick plants with matching light and water needs so none of them is left struggling. Avoid lilies, foxglove, oleander and any bulb you cannot identify.
Can you make a fairy garden indoors?
Yes, and many families keep one on a windowsill all year. Use a container with drainage holes set on a saucer, potting mix rather than garden soil, and a tray or mat underneath to catch mess. Choose plants that tolerate indoor light, such as thyme, parsley or a small fern, or go with moss and no plants at all. Move the whole pot outdoors on a mild day and bring it back in before frost.
What should I use for a fairy garden container?
Anything shallow, stable and open at the top works. A bowl, a terracotta pot, a window box, a wooden planter or a plastic storage tray with holes pierced in the base are all fine. A single teacup or a cut-down egg carton suits a very small version. Choose based on where the light is and on your child’s reach, and always put something underneath to catch water.
How do I keep a fairy garden alive?
Check rather than schedule. Press a finger into the top layer of soil and water when it feels dry, pouring gently at the soil until water just appears in the saucer, then empty the saucer. Give plants matching light and water needs, and move the container if it is too shady. Expect to swap out a plant that has died within a few months and enjoy the change of scene.
How can I make a fairy garden with toddlers or older children?
With toddlers, keep it simple: a bowl, one plant, big stones and a spoon for scooping. Skip figurines, glitter, gravel and paint, and expect the fun to be in the handling rather than the result. With six-year-olds and up, let them choose the layout, build furniture and signs, keep a garden journal and take on the watering round. Older children also love a fairy door made from a wood offcut and propped against a tree.
Conclusion
Start with a container that drains and fits the light you have, add two or three plants your child can name and handle safely, and set out whatever pebbles, twigs, shells and craft sticks already live in your house. Then stop directing. The whole craft is in the twenty minutes after you hand over the trowel and ask what the fairies would like first.