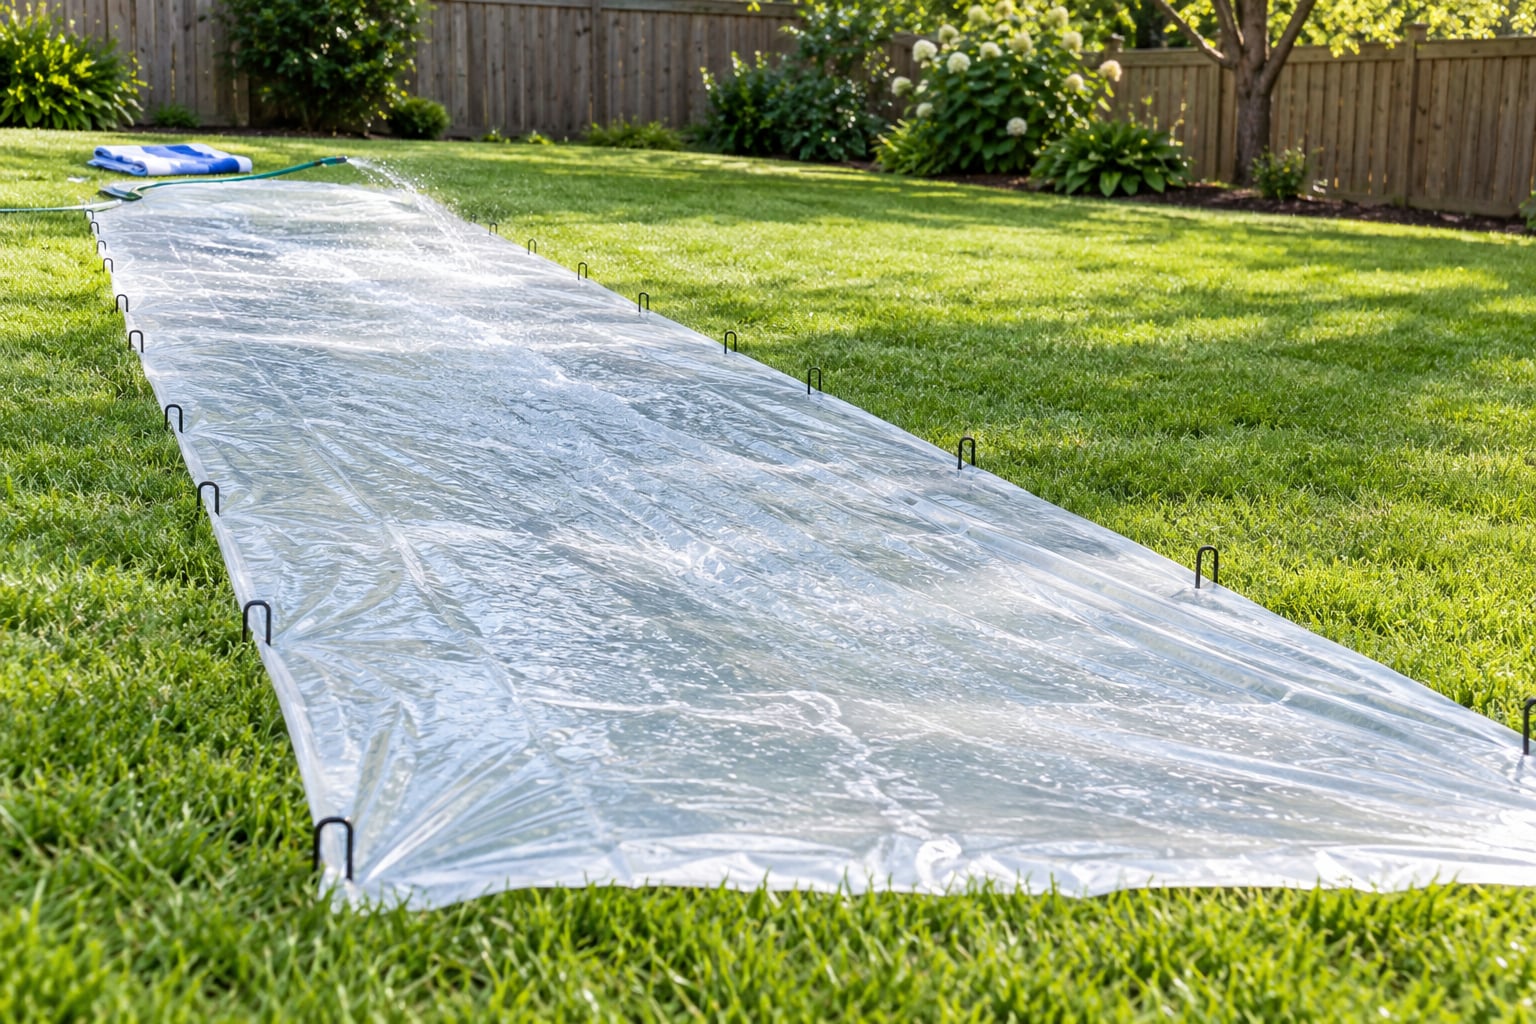
A homemade slip and slide needs four things: a long sheet of clear 6-mil or 10-mil polyethylene sheeting, garden staples or tent stakes, a garden hose, and a squirt of tear-free baby shampoo or mild dish soap. Lay it on flat grass, anchor the edges, soak it, and let riders go feet-first, one at a time. The whole build takes about 20 minutes plus drying time.
Knowing how to make a slip and slide at home safely comes down to three preventable problems: riders going head-first, plastic that shifts under them, and a bottom-of-slide run-out nobody cleared. Fix those three and you have a setup that’s about as safe as any backyard water activity a family can put together.
Table of Contents
- What You Need
- Step-by-Step: How to Make a Slip and Slide at Home Safely
- Step 1: Choose a Safe Location
- Step 2: Prepare the Surface
- Step 3: Lay the Sheet and Make the Water Slide
- Step 4: Secure the Edges
- Step 5: Test the Slide and Supervise Play
- Common Mistakes
- Frequently Asked Questions
- What is the best material for a homemade slip and slide?
- Can I use a tarp or a tablecloth instead of plastic sheeting?
- How do I keep the slip and slide from blowing away?
- How high should a slip and slide be off the ground?
- Is it safe for a toddler to use a homemade slip and slide?
- Will a slip and slide damage my grass?
- Final Safety Check Before Play
What You Need
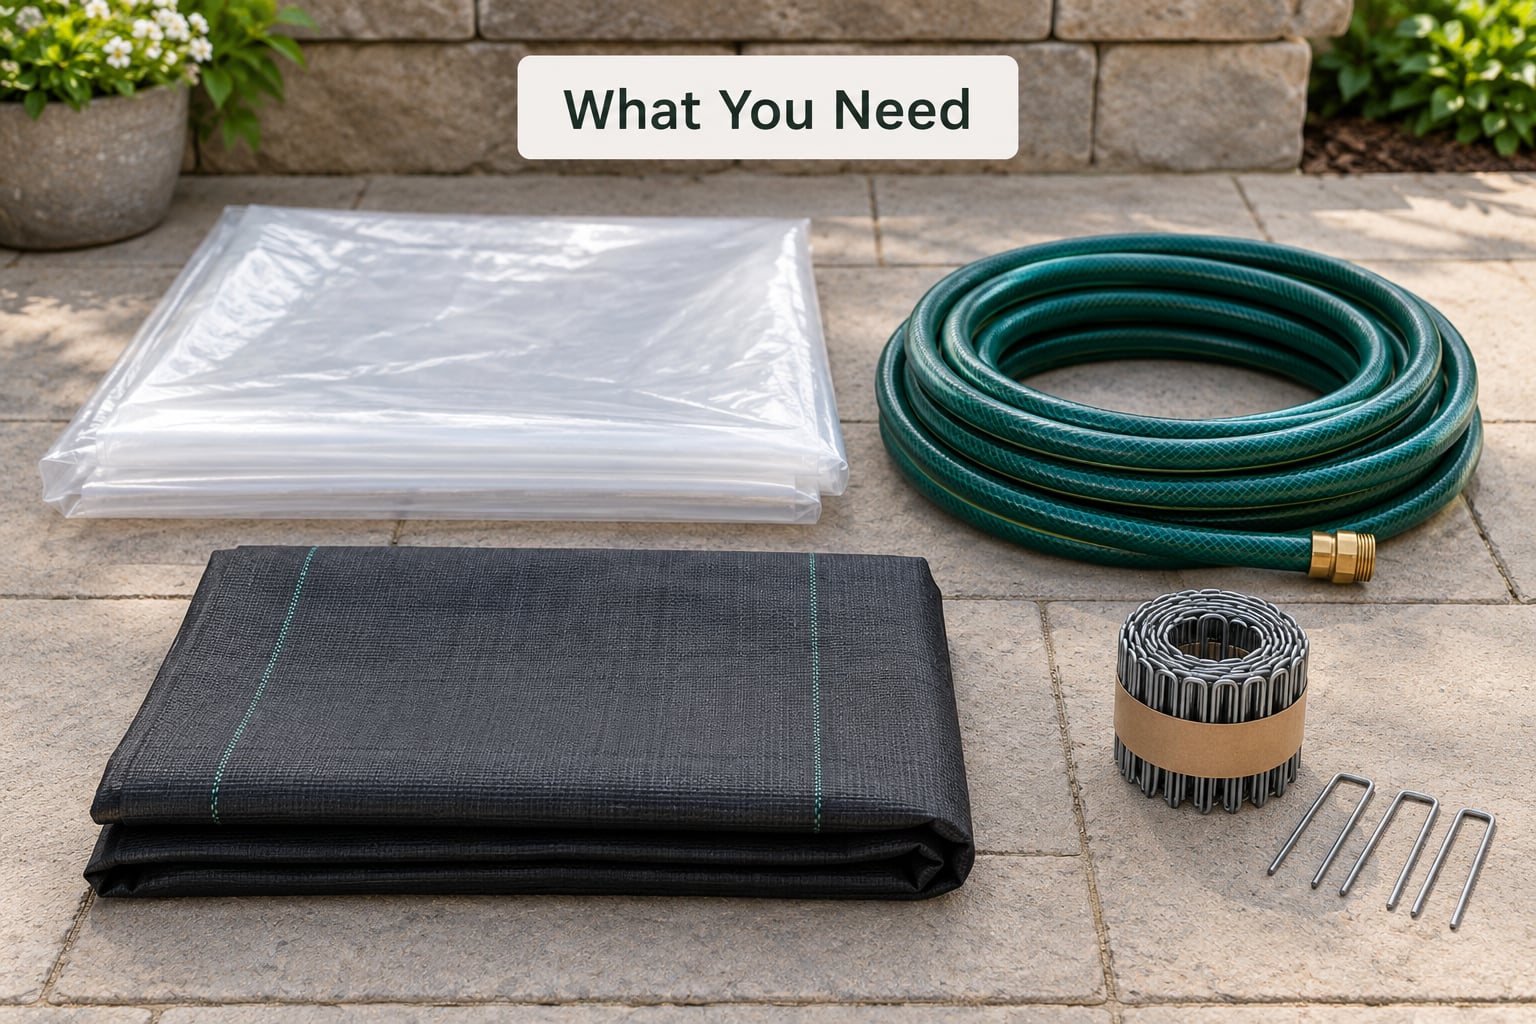
Four core materials carry the whole build. Everything else is optional.
- Clear plastic sheeting, 6-mil or 10-mil. At least 10 feet wide, and 25 feet long for kids or up to 100 feet for teens and adults. Thick enough that a rock under the sheet won’t puncture it.
- Garden staples, tent pegs or straight stakes. Enough to anchor every few feet along both long edges. Flat wire pins driven at an angle hold far better in soil than anything you lay on top.
- A garden hose. Running water beats a bucket every time. Parents are always surprised by how much water the sheet needs to keep sliding.
- Tear-free baby shampoo or mild dish soap. A couple of tablespoons in the hose stream. Soap lowers the friction so riders don’t fight the plastic.
Tools: a hammer or rubber mallet, a measuring tape, a utility knife for cutting fresh stake holes, and an old towel to lay on the plastic at the top so riders don’t start on bare slick sheeting.
Optional extras: pool noodles cut lengthwise and staked along the sides as soft bumpers, a foam bodyboard for riders who want something under them, and a second sheet if you want a wider lane.
Here’s how the common sheet choices compare. The verdict column matters more than the price.
| Material | How it behaves | Verdict |
|---|---|---|
| 6-mil or 10-mil clear polyethylene sheeting | Slick, low friction, resists tearing, stays cool in sun | Best choice |
| Clear tarp | Works well but most rolls are too short for a real run | Fine for a short family slide |
| Canvas or cloth drop cloth | Wet cotton soaks through, adds drag, abrades skin | Avoid as the sliding surface |
| Plastic tablecloth | Thin, tears at the anchor points, rides up in folds | Short setups only |
| Black plastic or black tarp | Absorbs sunlight and gets hot enough to scorch grass | Never on a lawn |
On concrete or a patio, cover the hard ground with a smooth ground cloth or an extra layer of sheeting first. That keeps scrapes down and gives a child who slides off the edge something softer to hit.
Step-by-Step: How to Make a Slip and Slide at Home Safely
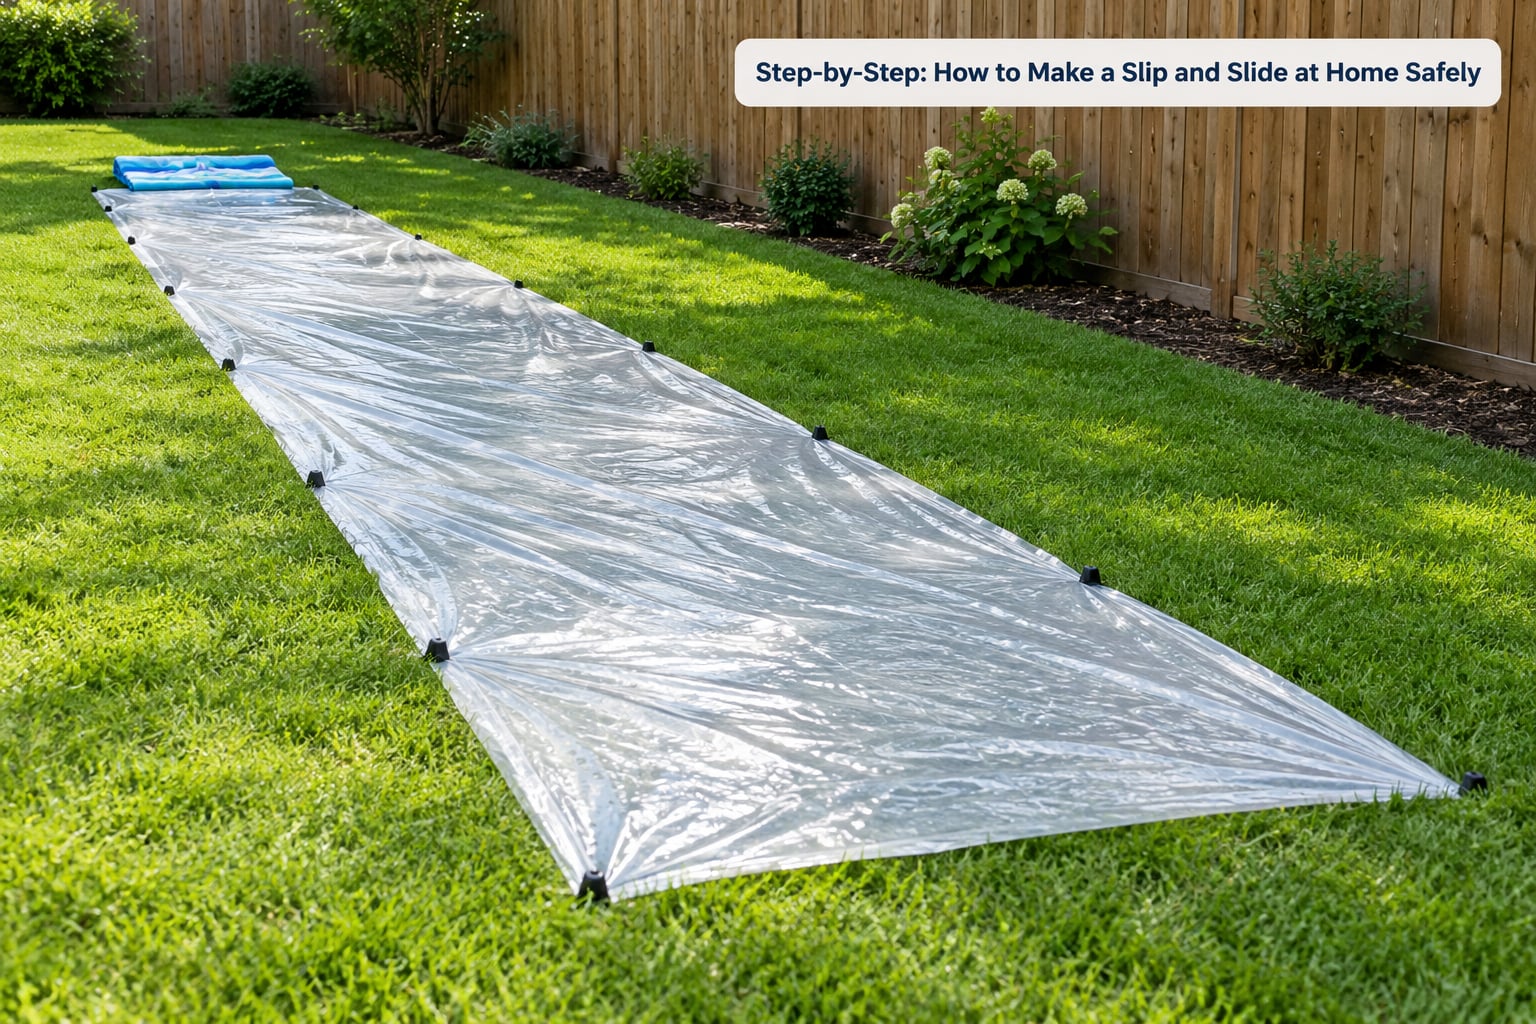
Step 1: Choose a Safe Location
Pick the flattest stretch of lawn you have, with a very gentle downhill direction at most. Nothing else on that strip matters as much.
Walk the whole length before you unroll anything and clear it. Sticks, pinecones, sprinkler heads, dog waste, rocks, toy cars, garden hoses, potted plants. Move the target zone away from fences, trees with low branches, steps, pools, hot tubs, grills, driveways, streets, and any low-hanging lights or extension cords.
The single most important thing to measure is the run-out: the flat ground beyond the bottom edge of the sheet. It should be long enough that a rider stops on grass, not at the fence. Give yourself roughly 15 to 20 feet beyond the sheet for a young child, more for an adult.
How to tell it worked: walk the run-out at a run and note anything at knee height or below. Fix or move it before the sheet goes down.
Step 2: Prepare the Surface
Mow short if you need to, then sweep or rake the area so the sheet sits on grass rather than on thatches. Uneven ground is what creates folds, and a fold under a rider’s leg is a twist.
If your yard has any slope at all you can’t level, build the run along the contour rather than straight down it. A long slow diagonal uses the same height drop over a longer distance and keeps riders slow. On a dead-flat yard the sheet still works, but you’ll need more water and more riders running rather than jumping.
How to tell it worked: lay the sheet down empty and walk its length. Any rock you feel through the plastic gets pulled out now, not later.
Step 3: Lay the Sheet and Make the Water Slide
Unroll the sheeting from the high end toward the low end so the wrinkles travel downhill instead of bunching mid-run. Flatten it as you go and cut a small slit for the hose to reach the top without lifting the sheet.
Turn the hose on low and soak the whole length evenly before anyone gets on it. A dry patch halfway down is where riders stop abruptly, which is exactly how a slide turns into a tumble. Mix the soap into the water at the top so it spreads down the sheet as you go.
Riders should start on the towel or a bodyboard, not directly on bare plastic. Kids especially get a raw bottom from sliding seated on the sheet itself, so make the towel rule part of the setup, not a suggestion.
How to tell it worked: run a little water from top to bottom and watch. It should sheet smoothly with no puddles damming up and no dry stripes.
Step 4: Secure the Edges
Anchor both long edges every 4 to 6 feet, plus every corner and both ends. Drive each stake at a slight angle away from the sheet so tension pulls it deeper into the ground, and leave the sheet stretched flat rather than drum-tight.
Along the run-out end, weight the corners only. Keep the bottom 10 feet or so of the sheet free of anchors and free of objects, because that’s where riders slow down and where a stray brick becomes a head-strike hazard. Well-meaning advice to weigh down corners with cinder blocks or bricks is exactly the wrong move at the end of a run.
Buckets filled with water work as edge weights if your soil is too hard for stakes. Sandbags work too. Skip rocks, tool handles, bricks, and anything with a sharp or hard edge.
How to tell it worked: tug hard at several points along each edge. Nothing should lift, slide, or flap more than an inch. If it does, add a stake and repeat.
Step 5: Test the Slide and Supervise Play
An adult goes first, feet-first, seated, slowly, starting from a walk rather than a run. Watch for three things: does the sheet shift, does any fold develop mid-slide, and does the speed at the bottom match what you can see.
Then set the house rules out loud before anyone else gets on. Feet-first, seated, one rider at a time, wait until the person ahead has fully cleared the bottom. Call everyone off every 20 or 30 minutes for water, shade, and a check of the anchors. Stop the whole activity if wind picks up enough to lift the sheet, if the hose runs dry, or if the sheet tears and shows a sharp edge.
Close, undistracted adult supervision is the rule pediatric safety bodies and the CPSC point to again and again, and it’s the single thing no shortcut replaces.
How to tell it worked: the whole session runs with nobody scratched, nobody hitting the bottom fence, and the sheet still flat when you walk over at the end.
Common Mistakes
Almost every bad slip-and-slide story I’ve heard traces back to one of these.
Setting up on too steep a slope. A gentle grade adds speed. A real drop sends a light child to the fence before an adult can move. Fix: cap the drop at roughly a 5 percent grade and lengthen the run-out instead.
Using black plastic on grass. Dark sheeting absorbs sunlight and can get hot enough to scorch the lawn, and that heat transfers to riders. Fix: clear sheeting only.
Anchoring with hard objects. Bricks, cinder blocks, and rocks near the end of the run are a hazard a rider can’t avoid at speed. Fix: stakes along the sides, soft weights only at the far corners.
Leaving a wrinkle or fold in the middle. That’s where riders catch a knee and rotate. Fix: smooth the sheet during setup and re-check every half hour as foot traffic moves it.
Not enough water. Plastic stops being slippery the moment it dries. Fix: keep a steady hose flow going for the entire session rather than a one-time soaking.
Ignoring the weather. Wind lifts sheeting into a sail, and hot midday sun heats the plastic and the riders on it. Fix: set up in morning or late afternoon, and take the sheet down if the wind picks up.
Allowing head-first dives or multiple riders. The CPSC has documented serious neck injuries from improper use of backyard slides, and the mechanics are the same on a homemade version. Fix: feet-first and seated, one rider, wait for a clear bottom.
A few extra habits go a long way. Keep toddlers within arm’s reach rather than across the yard. Skip bubble bath and dish detergent in the eyes’ path, and pick the tear-free shampoo if small children are sliding. And don’t forget the run-out: the bottom of the slide matters as much as the slide itself.
Frequently Asked Questions
What is the best material for a homemade slip and slide?
Clear 6-mil or 10-mil polyethylene sheeting is the best material. It is slick when wet, resists tearing at the anchor points, and stays cooler in the sun than darker plastic. A clear tarp also works if it is long enough for your run. Skip cloth drop cloths, which soak through and abrade skin, and never use black plastic on a lawn because it absorbs heat and can scorch the grass.
Can I use a tarp or a tablecloth instead of plastic sheeting?
A tarp works for a short family slide if the roll is long enough, and it is tougher than sheeting. A plastic tablecloth is thinner and tends to tear where the stakes go, so it suits a setup of about 10 feet and only for light riders. A canvas or cloth drop cloth is the worst option: it absorbs water, adds drag, and roughens skin. Whichever you pick, use it over grass and anchor every few feet.
How do I keep the slip and slide from blowing away?
Anchor every 4 to 6 feet along both long edges with garden staples or tent stakes driven at an angle away from the sheet. Add stakes at all four corners and let the anchors at the run-out end be the only ones holding the bottom edge. If your soil is too hard for stakes, use water-filled buckets or sandbags on the sides. Tug hard at each anchor point after staking; anything that lifts more than an inch needs another stake.
How high should a slip and slide be off the ground?
As close to the ground as you can manage. A proper slip and slide sits a few inches off the lawn, not on a platform or a deck, because nearly every injury comes from height rather than from speed. Use a very gentle grade, roughly 5 percent or less, and get your speed from a longer run instead of a steeper drop. If you need a raised start, keep it low and give the bottom of the run a long clear grass run-out.
Is it safe for a toddler to use a homemade slip and slide?
It can be, with a setup built for their size. Toddlers do best on a 10 to 15 foot run on flat or nearly flat ground, going feet-first in a seated position, with an adult within arm’s reach the whole time. Skip the running start, keep the run-out long and clear, and expect to re-anchor every few minutes since small children drag the sheet around. Stop if they start climbing on the plastic instead of sliding on it.
Will a slip and slide damage my grass?
Clear sheeting on short grass for a single afternoon will not hurt it, as long as you move the sheet each time rather than parking it in one spot for weeks. Never use black plastic or a black tarp on a lawn; it absorbs sunlight and can get hot enough to scorch the grass. Stick to a small amount of tear-free shampoo or mild dish soap, rinse the area with plain water when you finish, and follow any local restrictions on watering your lawn.
Final Safety Check Before Play
Before the first rider goes down, walk the setup one more time and confirm five things.
- The run-out is clear and long enough that a rider stops on grass.
- Water is flowing evenly from top to bottom with no dry patches or folds.
- Every anchor point holds when you tug, and nothing hard sits in the rider’s path.
- Everyone knows the rules: feet-first, seated, one at a time, wait for a clear bottom.
- An adult is watching without a phone in hand, and the first rider goes slowly.
That’s the whole job. Build it once on a flat lawn with clear sheeting, stake the edges, keep the water running, and check the bottom of the slide before every single ride. Do those things and you get an afternoon of cheap summer fun without adding risk to your yard.
Current playground and public-health guidance for water play changes, so if your child has any health or mobility considerations, check the latest advice from your pediatrician and follow the rules posted at your local parks.