To make colored ice blocks for outdoor play, tint water with food coloring, pour it into any freezer-safe container you already own, and freeze for 4 to 6 hours or overnight. It takes about 15 minutes of prep, needs no special equipment, and gives you blocks big enough for a toddler to grip or a nine-year-old to build an igloo with. The only real trick is choosing a container bigger than a standard ice cube tray.
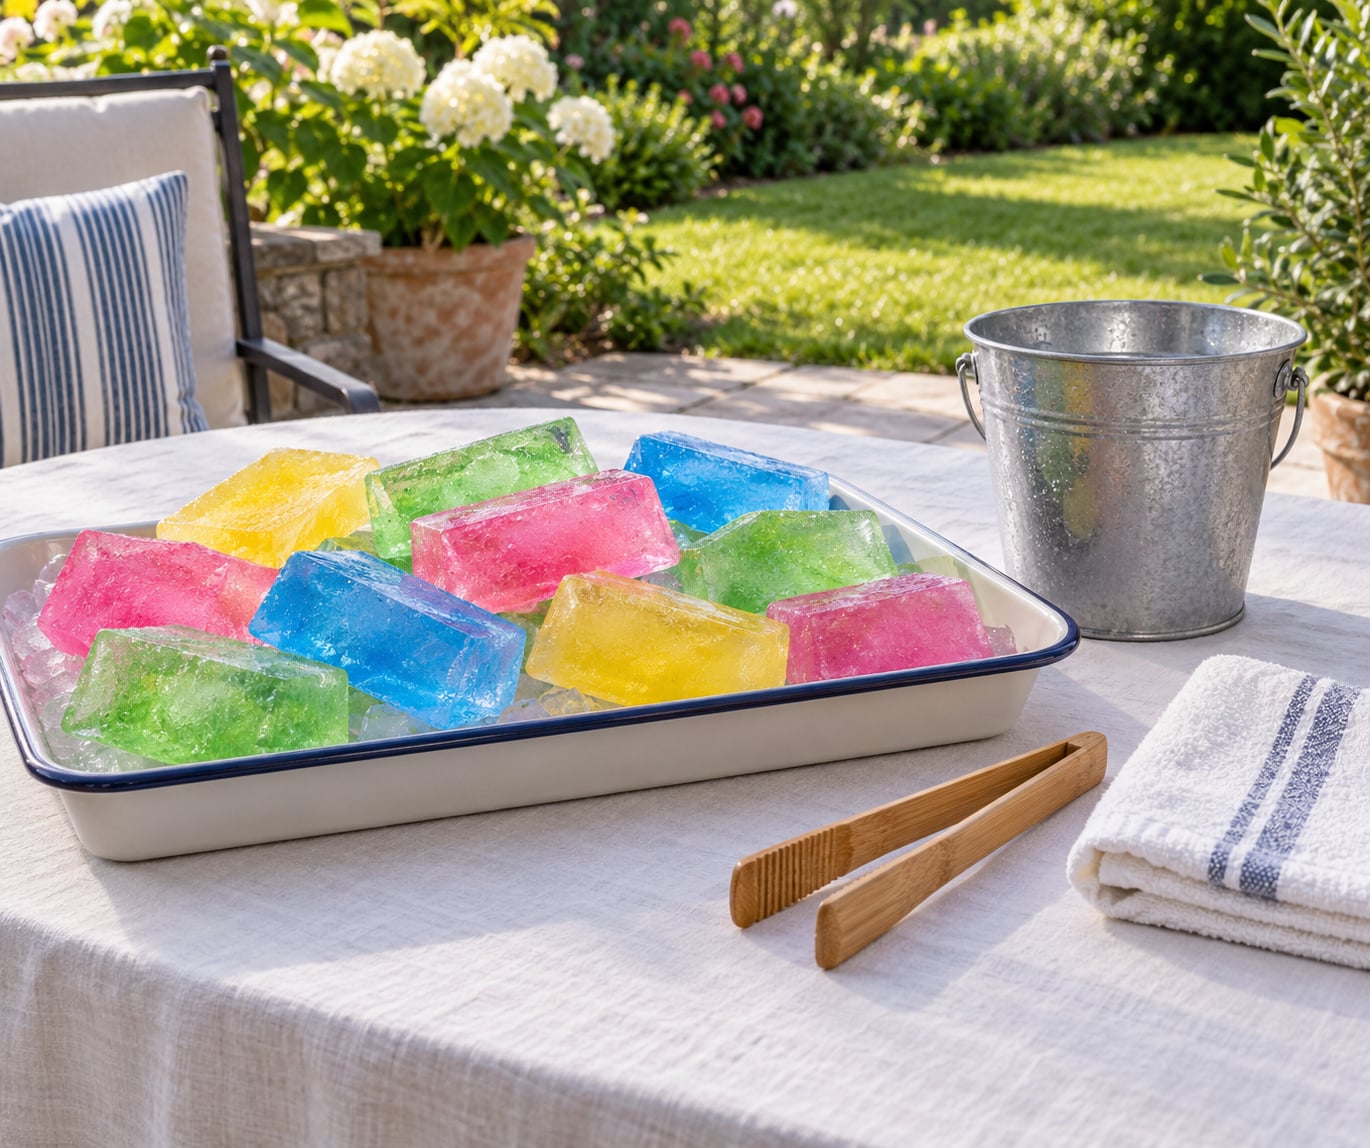
The blocks melt, which sounds like a flaw until you watch what happens. Kids balance them, sort them by color, chase them across the patio with tongs, and line them up in rows to watch the sun come through. Melting is the point.
Setup is genuinely quick. The freeze is what takes time, so plan the day before you plan the play.
Table of Contents
- What You Need
- Step-by-Step: How to Make Colored Ice Blocks for Outdoor Play
- Step 1: Choose the right molds and color to make colored ice blocks for outdoor play
- Step 2: Prepare the molds
- Step 3: Color and fill the water
- Step 4: Freeze until solid
- Step 5: Unmold and set up outdoor play
- Common Mistakes
- Frequently Asked Questions
- Can you add food coloring to ice cubes?
- What kind of powder do I need to make ice blocks?
- Can you build an igloo with ice blocks?
- Will colored ice blocks last long enough to play outside?
- Will this work for a toddler who still puts things in their mouth?
- Conclusion
What You Need
Everything here comes from a kitchen drawer or a recycling bin. You do not need to buy molds.
- Water — tap water is fine for play blocks.
- Liquid food coloring or gel food color — this is the whole project. Gel color gives you stronger color from fewer drops.
- A mixing bowl and a spoon or whisk.
- Assorted freezer-safe containers — ice cube trays, yogurt pots, silicone molds, small loaf tins, muffin tins, cleaned plastic tubs. Variety in size is what makes stacking interesting.
- A flat baking tray or sheet pan — to carry molds to the freezer without sloshing.
- A towel and a shallow tub or basin — for the setup outside.
Two prep items matter more than people expect. The first is a tablecloth or a cheap plastic sheet for wherever the kids will be playing. Liquid food dye stains skin, sleeves, decking and concrete if a block is handled wet or chewed, and the stain shows up on the second day, not the first.
The second is a smock or an old art shirt. Wet hands plus dye equals a kid with dyed palms for two days. Some parents use plain water with a handful of frozen berries or citrus slices in each block instead, which gives you color with no staining at all.
Freeze the blocks and set up the play area on the same day. A full week of blocks fits in one freeze cycle, and you can pull a handful at a time out of a big sealed tub in the freezer whenever the weather turns.
Step-by-Step: How to Make Colored Ice Blocks for Outdoor Play
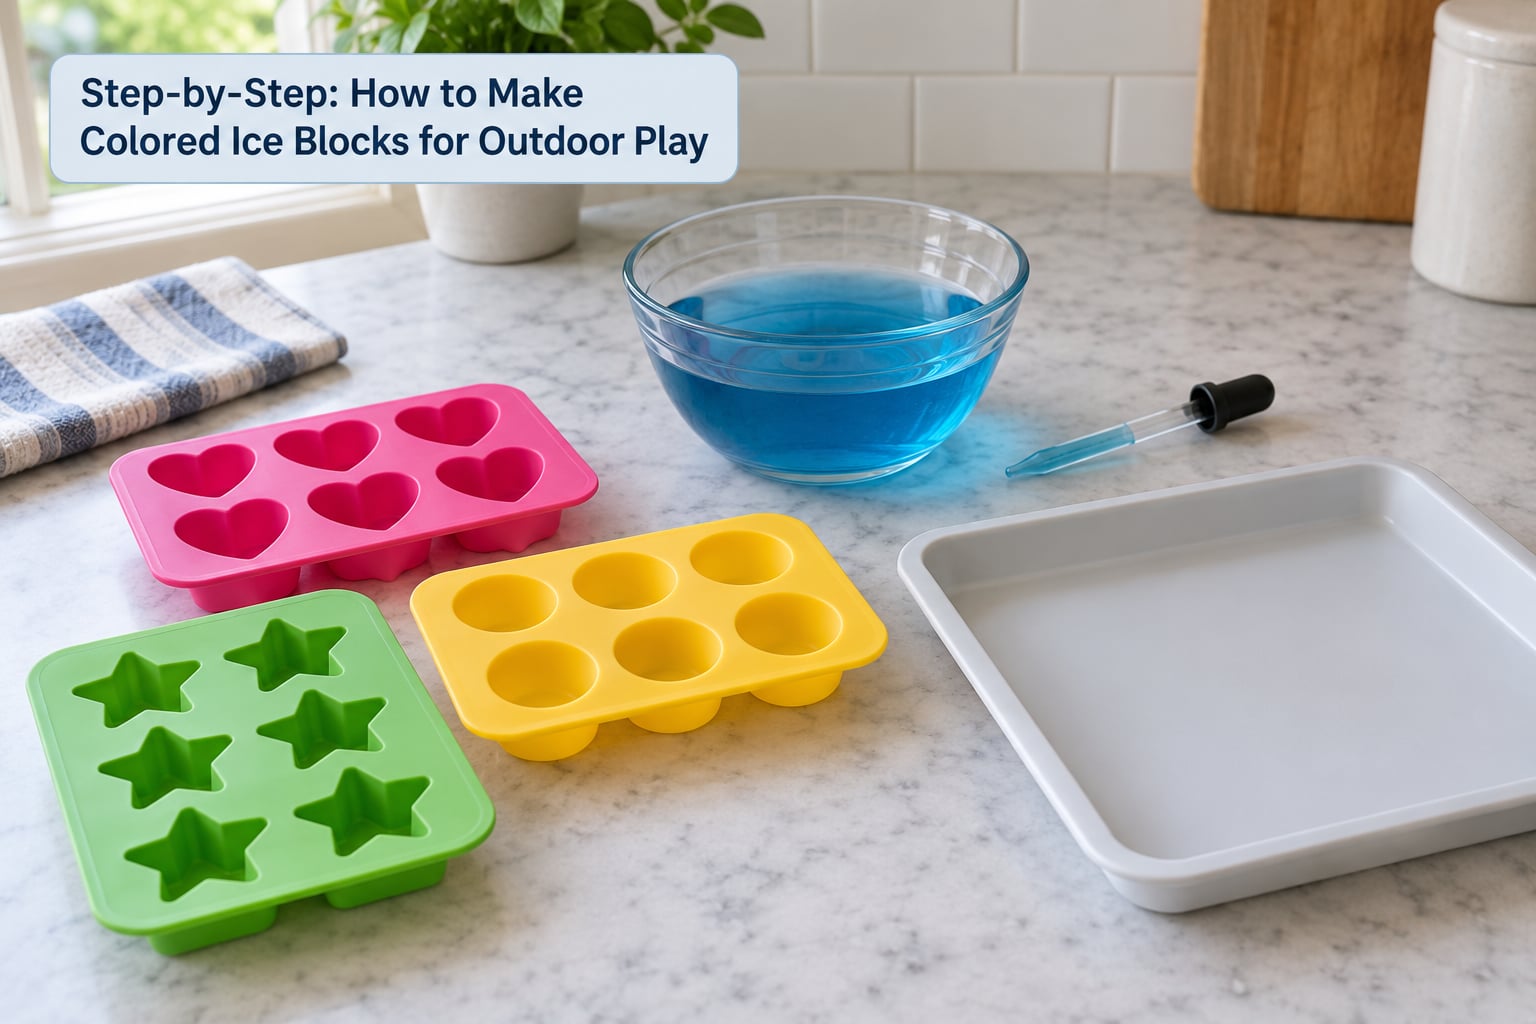
Step 1: Choose the right molds and color to make colored ice blocks for outdoor play
Container size decides block size, and block size decides what children can build. Standard ice cube tray wells make cubes that are pleasant to melt and squeeze but frustrating to stack — they are small, rounded, and slide apart the second they touch. Yogurt pots and silicone molds give you a palm-sized block that a small hand can actually carry.
For anything above preschool age, go bigger: a small loaf tin, a silicone bundt shape, or a cleaned takeout container makes the kind of block you can stand a row of on edge. Mixing sizes in the same batch is the move. A tower built from three different sizes holds together better than three identical cubes, because the flat faces meet flat faces.
On color, do not be timid. Pale water freezes pale, and pale blocks disappear in sunlight within twenty minutes. Saturate it — add drops until the water in the bowl is a strong shade before you pour — and you get bright outdoor color. A couple of drops works for a shallow ice cube tray well; deeper molds need four or five.
Step 2: Prepare the molds
Wash and dry every container, then run a finger around the rims looking for a chip or a burr. A single sharp edge is enough to split a block when it comes out. Check recycled tubs especially — the stiff plastic lids on takeout containers have a habit of nicking.
Line them all up on the baking tray before you fill anything. Working in one batch avoids the half-frozen mess of one tray going into the freezer while you start on the next.
If you want embeds, add them now: a plastic leaf, a small shell, a slice of lemon, a sprig of mint, a piece of fruit. Anything small goes in before the water, and it ends up locked in the middle of the block. Skip hard raw vegetables for a toddler session, and skip anything small enough to come loose once the ice melts.
Step 3: Color and fill the water
Tint first, fill second. Put the coloring in the bottom of each empty container, then pour the water in on top — it is far less messy than trying to stir dye into already-filled molds, and the color ends up more even.
Stop about a centimeter below the rim. Water expands as it freezes, and a full container cracks or pops its lid off in the freezer. Every time.
Stir each one gently with a spoon to kill air bubbles, or tap the tray on the counter. Bubbles freeze in as white clouds that weaken the block and dull the color.
One tip worth stealing from sensory play guides: set your colors up in rainbow order, red through purple, before you fill anything. Sorting becomes part of the activity rather than something you impose on it later.
Step 4: Freeze until solid
Small cubes in a standard tray set in 4 to 6 hours. Larger molds — yogurt pots, loaf tins, silicone shapes — need 6 to 8 hours or a full overnight freeze. Plan on overnight for anything meant for a whole afternoon of play.
To test, run the underside of the container under cool water for ten seconds, then tap it. If it slides out as one solid piece it is ready. If it feels crunchy or separates in layers, give it another couple of hours.
Freezing shallow water in a wide tray is faster than freezing deep water in a small mold, so if you want blocks quickly and shape loosely, pour thin slabs in a baking dish. Straight sides, and a slab that takes about 3 hours, and it snaps into blocks with a tap.
Step 5: Unmold and set up outdoor play
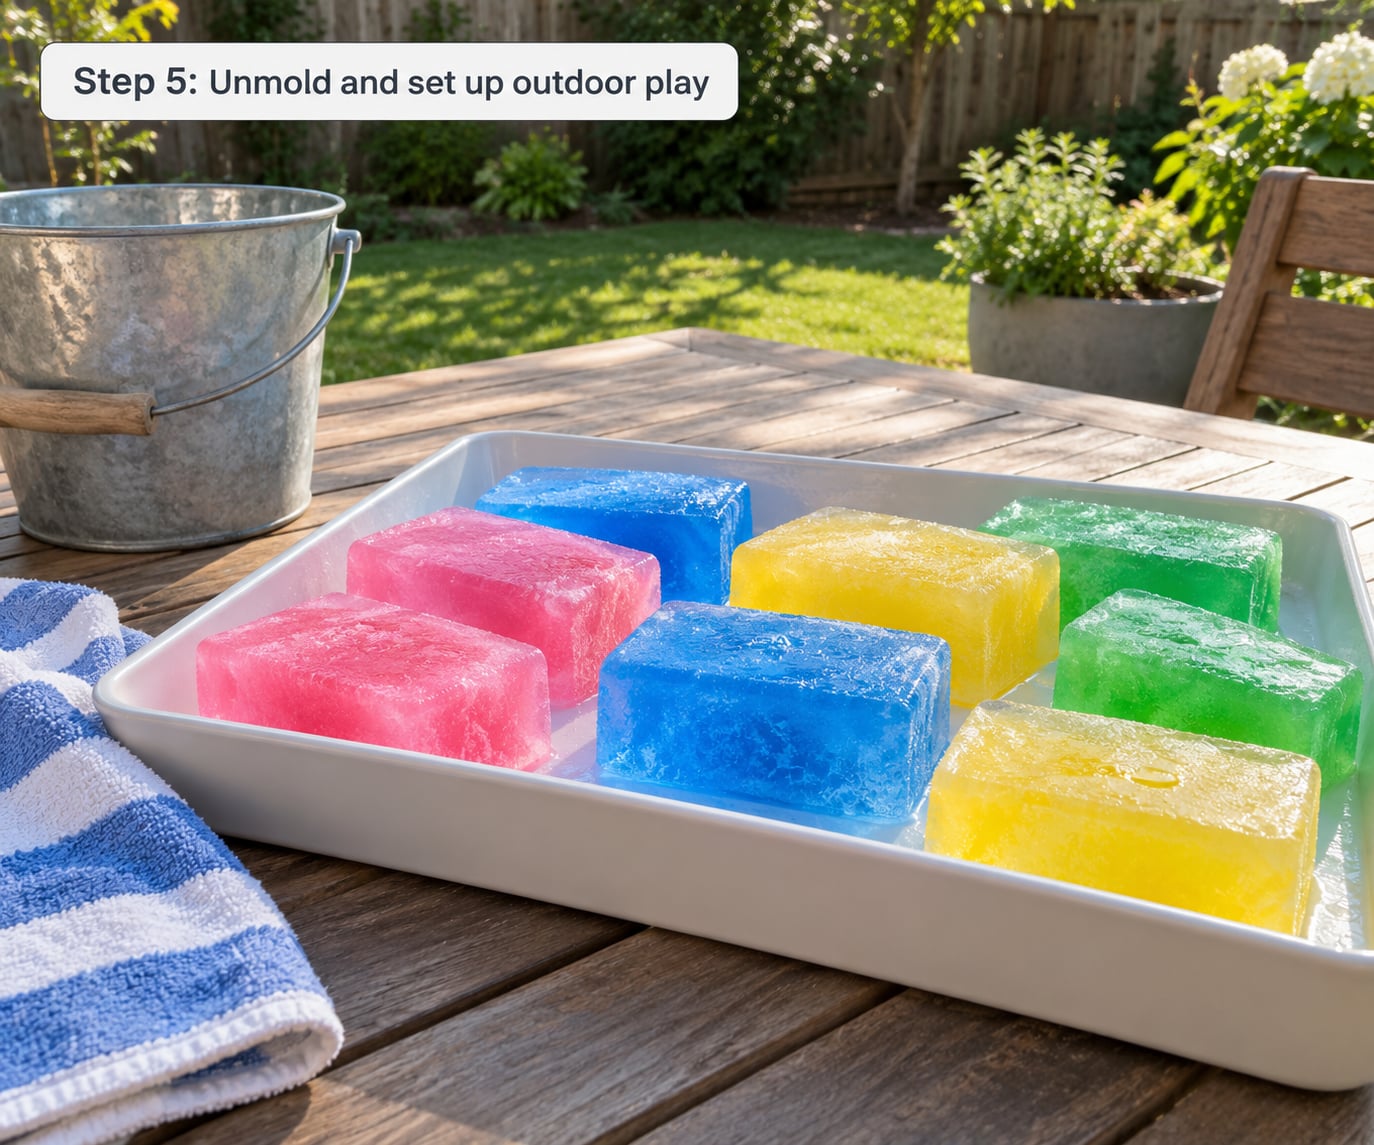
Turn the container out onto a towel and press the base with your thumb until the block drops. If it refuses, run warm water over the outside of the container only — never the open end, since warm water straight onto frozen ice encourages cracks. A plastic spoon handle slid down the side also works for stubborn plastic tubs.
Set the blocks in a shaded spot on the towel, with the basin underneath for drips. Shade is the single biggest factor in how long they last; direct sun can turn a bright block into a puddle in under an hour, while the same block in shade lasts most of the afternoon.
Hand over tongs, a spatula, a dropper or a small watering can and let them go. Building a tower, digging a moat, sorting into color piles and melting down to colored puddles all work. If you want them to stack rather than slide, dip the base of each block in cold water before setting it on the row below — the thin film refreezes into a bond, and you can do a full igloo wall that way. Skip salt for outdoor play. It melts ice faster, and it damages plants and the wildlife that comes to drink the puddle.
Common Mistakes
The color comes out weak. You undyed it. Add dye to the empty container before the water, and saturate it until the bowl looks like the color you want the block to be. Pale water freezes pale.
Blocks crack or shatter when unmolded. Usually three causes: the molds were overfilled and the expanding water split them, air bubbles froze inside and weakened the block, or you poured warm water over the open end to release it. Fill to a centimeter short, tap out bubbles, and warm only the outside of the container.
Blocks stick permanently to the mold. Rubber or silicone molds flex — press the base and push the block out from underneath. Rigid plastic and glass will not budge, so dunk them in warm water for 30 seconds until the outside feels warm, then invert onto a towel.
Children stack them and they all slide apart. The most common complaint, and it is a design problem, not a play problem. Use bigger blocks, or dip each one in cold water as you build. Save the salt trick for an indoor table — outdoors it eats the blocks far too fast and leaves salt in the grass.
The blocks melt before anyone has finished. Move them into shade, start earlier in the day rather than at peak afternoon, and put the play surface close to a water source so children can refill the basin and keep going. Cornflour dusted on a block melts into a thin slush coating that softens the surface slightly, which slows the melt and makes blocks easier to handle bare-handed.
Dye ends up on the grass, the patio, or clothes. Play over the tablecloth, not over the lawn, and put a tub under the blocks to catch runoff. Meltwater with food dye in it will mark grass and paving, so pour it out away from plants rather than letting it soak in.
Frequently Asked Questions
Can you add food coloring to ice cubes?
Yes, and that is the standard method. Add the dye to empty molds first, then pour water over it so the color disperses evenly without stirring. Use two or three drops for shallow ice cube tray wells and four or five for deeper molds. Freeze for 4 to 6 hours, or overnight for anything larger than a yogurt pot.
What kind of powder do I need to make ice blocks?
None. Standard colored ice blocks need only water and food coloring. Cornflour is the one optional powder, dusted on the surface after freezing, where it forms a thin slush layer that makes blocks less painful to hold and slightly slower to melt. Skip gelatin and powdered sugar — they change the texture and are not needed for building blocks.
Can you build an igloo with ice blocks?
Yes, and a cold-water dip is the trick. Build one course at a time, dipping the base of each block in cold water and pressing it onto the row below so the film bonds on contact. Refreeze the wall for 20 to 30 minutes before adding the next layer, otherwise the weight collapses the bottom. Salt works faster but melts the ice quickly and harms plants and wildlife.
Will colored ice blocks last long enough to play outside?
A large block in shade lasts several hours; a small cube in direct sun can go in under an hour. Freeze the blocks overnight, set them up in shade on a towel with a basin underneath, and start play earlier in the day if the weather is hot. Keep spare blocks in the freezer and swap them in rather than stretching one batch too long.
Will this work for a toddler who still puts things in their mouth?
Yes, with care. Use food coloring rather than paint or watercolors, keep every block larger than a choking hazard, and skip small embeds like seeds or loose shells for under-threes. Ice melts, so supervise continuously and put the blocks away as soon as they lose their shape. A three-year-old will usually last around half an hour before losing interest.
Conclusion
For your first batch, do the simple version: two or three yogurt pots, a squeeze of gel color, water to a centimeter below the rim, overnight in the freezer, and a shaded table with a tablecloth on it. That setup alone gives an hour of open-ended play, and everything else — rainbow layers, hollow blocks with a small cup nested inside, cornflour coating, a full frozen igloo — is a variation you can add once the basic version has proven itself.
Keep the dye food-safe if anyone under three is playing, and stay close, because the blocks get slippery and cold long before they lose their shape.