To teach the alphabet at home you are actually doing two jobs: naming letters so your child can spot them on a page, and linking each letter to its sound so those letters can later be blended into words. Ten minutes of play, most days, beats an hour of worksheets. No curriculum, no expensive kit, just paper and a few minutes of your attention.
Here is the honest version. You do not need flash cards, a tablet or a laminated mat. You need a small set of letters, something to make them with, and a child who is willing to spend five minutes with you.
Expect the whole alphabet to take several months rather than a few days. Slow is fine at this age.
Table of Contents
- What You Need to Teach the Alphabet at Home
- Step-by-Step
- Step 1: Choose a Small Set of Letters
- Step 2: Say the Letter and Its Sound
- Step 3: Find Letters Around the Home
- Step 4: Make Letters with Play Dough or Craft Sticks
- Step 5: Match Letters to Pictures and Words
- Step 6: Practice Writing the Letter
- Step 7: Review With a Game or Song
- Common Mistakes to Avoid When You Teach the Alphabet at Home
- Frequently Asked Questions
- At what age should a child learn the alphabet?
- Should I teach uppercase and lowercase letters together?
- How long should a child practice the alphabet each day?
- Is an alphabet video or app enough for teaching letters?
- How can I help a child who knows the letter names but not their sounds?
- When should my child start writing alphabet letters independently?
- Start With One Letter Today
What You Need to Teach the Alphabet at Home
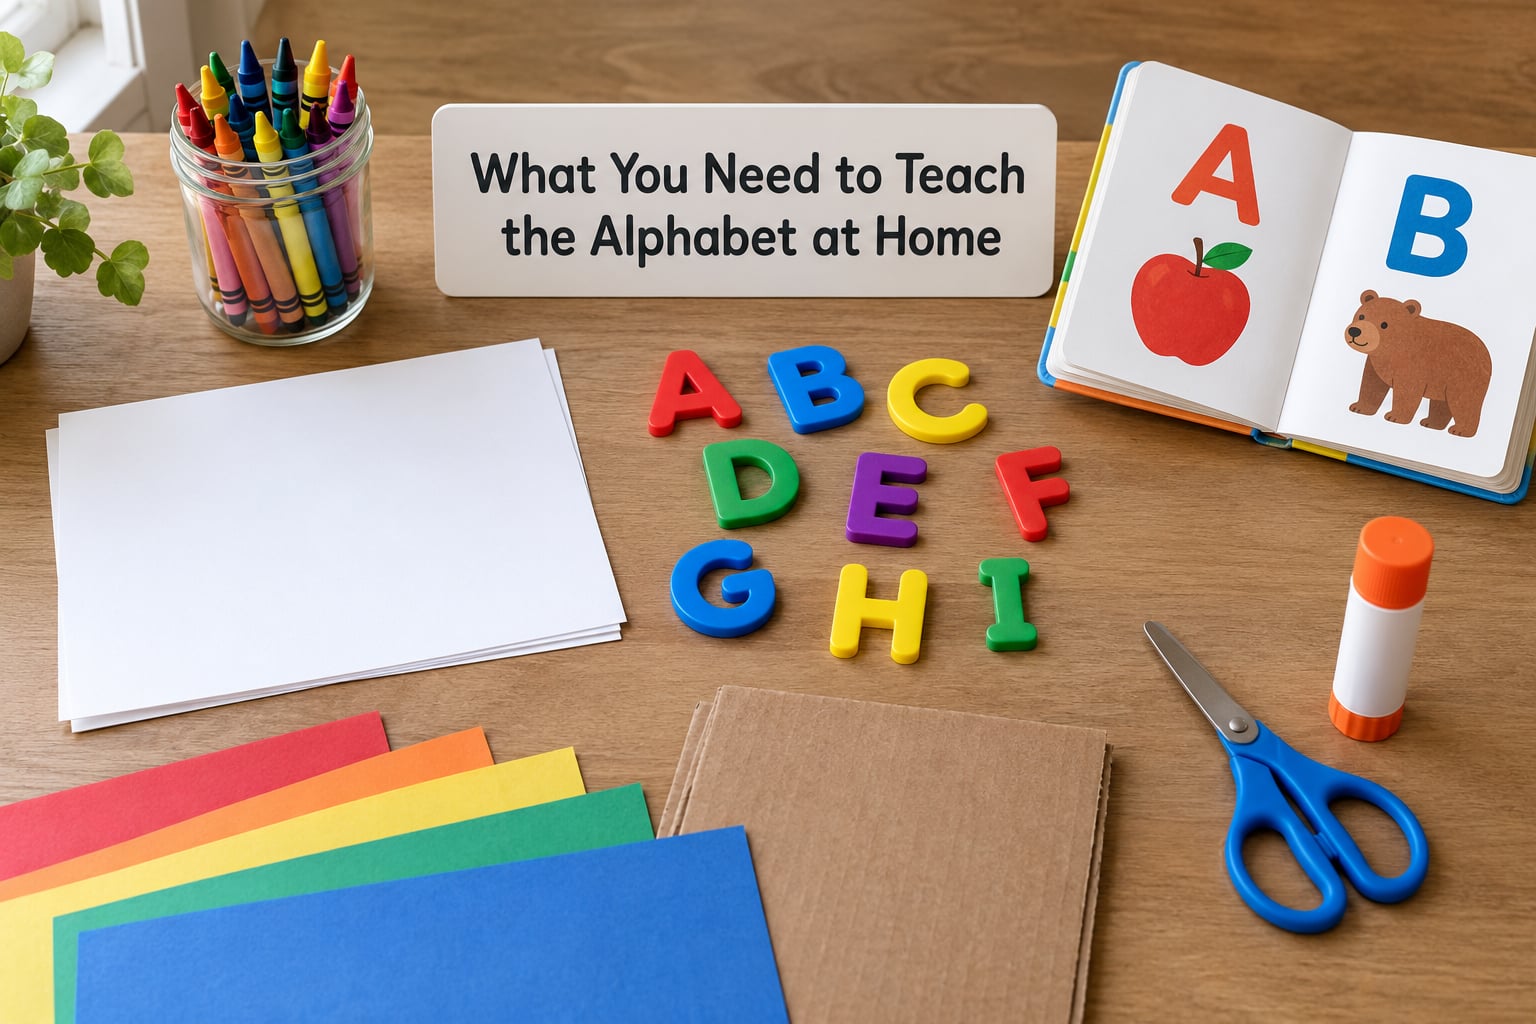
Everything below costs little or nothing, because most of it is already in a drawer somewhere in your house.
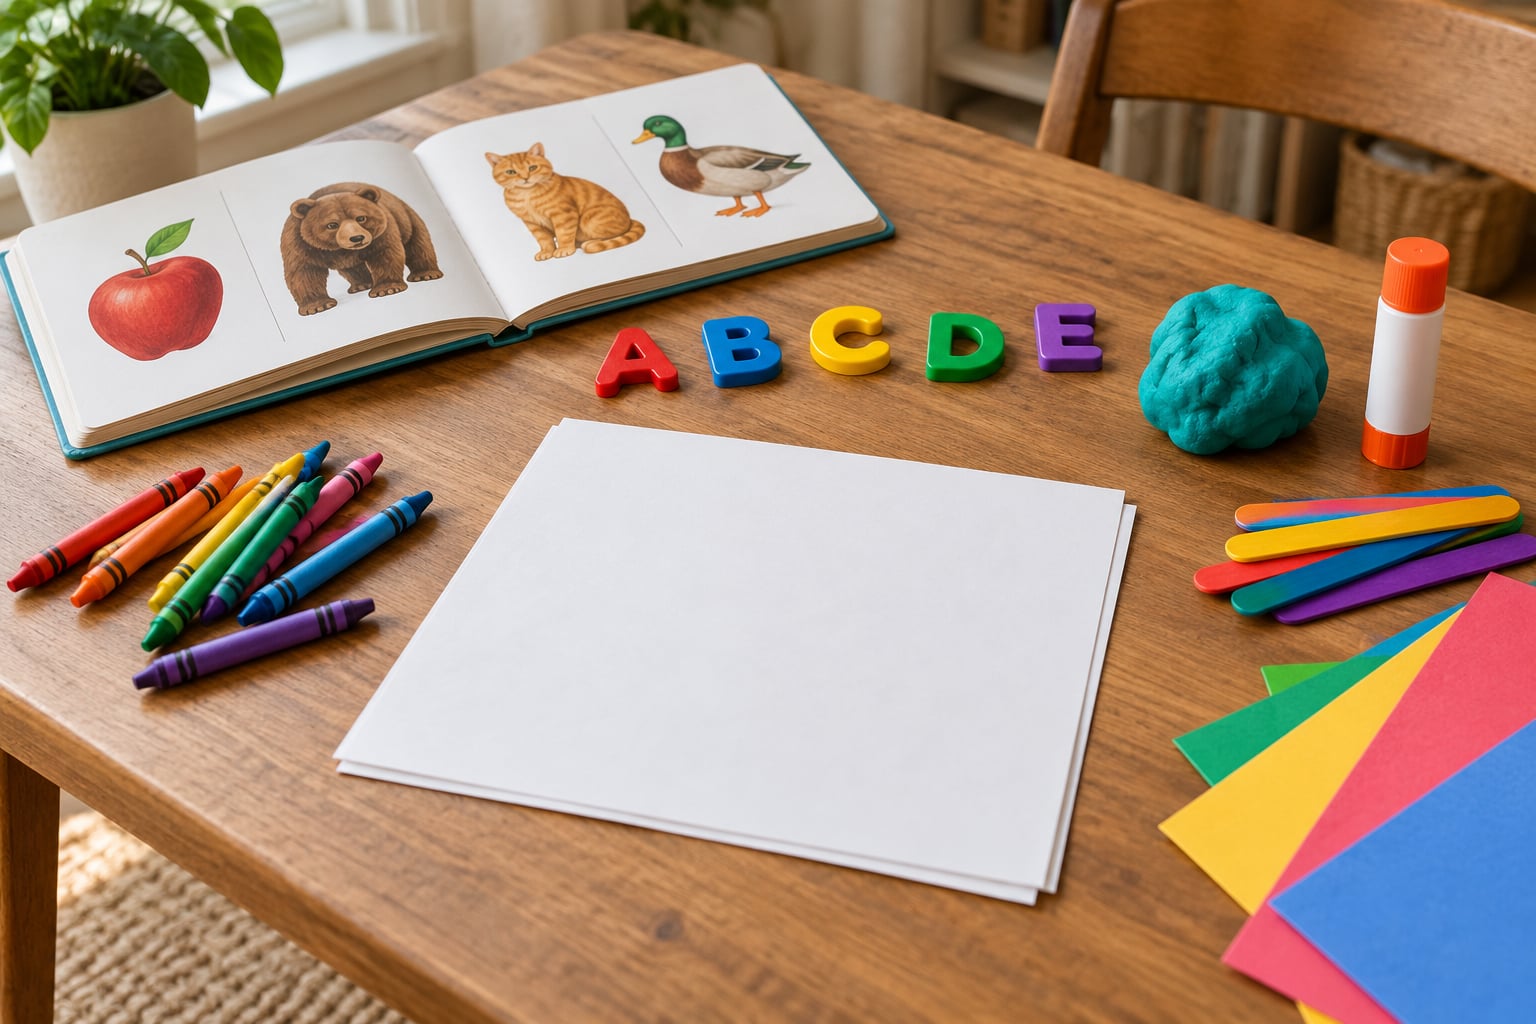
- Paper and writing tools: plain printer paper, index cards, washable crayons, chunky pencils or markers, and a small whiteboard if you have one.
- Something to form letters with: play dough, salt or sand in a shallow tray, dry pasta, craft sticks, or building blocks.
- Letters to handle: magnetic letters from the fridge, wooden letters from a game, or cardboard letters you cut yourself.
- A book: any alphabet book your child will actually sit through, read out loud twice a day until they have memorised the story.
- Optional extras: painter’s tape, glue sticks, pom-poms, stickers, a toy stethoscope for pretend play.
Skip anything marketed as a curriculum for now. You can always add structure later, and most children learn faster through play they have chosen themselves.
Step-by-Step
Step 1: Choose a Small Set of Letters
Start with three or four letters, not twenty-six. The letters in your child’s own name are the easiest place to begin because they already care about them.
Add two letters that carry sounds your child hears constantly, such as s, m or t. Keep the group small enough that you can review it in five minutes.
Write each letter on an index card in big print. Say the letter name, ask your child to find it, then move on.
Step 2: Say the Letter and Its Sound
Say the letter name and then its most common sound in the same breath: “S. Ssss. Snake.” Keep it to one sound per letter so it stays clear.
Hand your child the letter card and wait. Most children need a few seconds and probably one gentle reminder before they say it back.
If they say the name every time, do not correct them sharply. Say the sound yourself and move on. This distinction, name versus sound, is the one that turns letter knowledge into reading later, and it takes weeks rather than days.
Step 3: Find Letters Around the Home
Hand out the letter cards and send your child on a hunt. Kitchen boxes, cereal, street signs, book spines, toy packaging and mail all carry real print.
Give them one letter at a time and about three minutes. Bring something back that starts with that sound and name it out loud together.
These hunts work because the letters are not on a worksheet, so they feel like a game. On a bad-weather indoor day they will hold attention longer than almost anything else you have.
Step 4: Make Letters with Play Dough or Craft Sticks
Give your child a lump of play dough or a handful of craft sticks and ask them to build the letter. Long sticks work well for straight-line letters such as A, H, I, L and T.
Rolling and pinching play dough builds the small finger muscles that grip a pencil later. This is fine motor work happening under the disguise of snack time.
Keep a jar of homemade salt dough in the fridge for repeat days. Two cups flour, one cup salt, a little water, baked for an hour.
Step 5: Match Letters to Pictures and Words
Pair each letter card with a picture or object that begins with that sound. A sock for S, a mug for M, a ball for B.
Once your child matches a few, put out three or four picture cards and ask them to build the word with letter cards. Even two-letter words like “at” and “in” count.
This is where the alphabetic principle becomes visible: letters stand for sounds, and sounds put together make a word you can read.
Step 6: Practice Writing the Letter
Move through three levels and stay at each one until it is easy. First, trace a large letter on paper. Second, copy a letter underneath. Third, write it on their own.
Start with the simplest strokes. A vertical line, a circle and a diagonal line are enough to build most capital letters, so practise those separately for a few minutes.
If your child’s fist is locked white around the pencil, put something fat and short in their hand, like a chunky crayon or a small piece of pool noodle, and let the grip loosen later.
Step 7: Review With a Game or Song
Finish each session with something unpredictable. Letter bingo, a dice game where you roll and say a letter, or hiding letter cards around the room for a hunt at the end of the day.
The alphabet song is a useful warm-up and a poor test. Children happily sing all twenty-six letters without knowing a single sound, so treat the song as a party, not an assessment.
One new letter a week with daily five-minute reviews beats learning eight letters in a single afternoon. Spacing the practice over days is what moves it into long-term memory.
Common Mistakes to Avoid When You Teach the Alphabet at Home
Teaching all twenty-six at once. Children remember the ones they practised, and that is usually two or three. Smaller groups, revisited often, work better.
Confusing names with sounds. A child who recites the alphabet perfectly but cannot tell you that M says “mmm” is on track for reading slowly. Teach both, from the start.
Worksheets before readiness. If your child is still stacking blocks and colouring in large scribbles, they are not behind. Most children sit comfortably for pencil tasks somewhere between three and four years old.
Pushing because you compared timelines. A neighbour’s child reading at three is not the standard. Watch your own child’s interest and come back to it daily.
Expecting reading to follow immediately. Letters are a first step. Blending sounds into words and eventually recognising words without sounding them out comes later, often months later.
Frequently Asked Questions
At what age should a child learn the alphabet?
Most children are ready between two and four years old, and readiness matters far more than a birthday. Look for signs: pointing at letters in books, singing parts of the alphabet song, pretending to write, and copying simple shapes with a crayon. A three year old who shows none of these is still developing fine motor control and is not behind. You can share letters through books and play from the start without asking for any performance.
Should I teach uppercase and lowercase letters together?
Yes, teaching them together is easier than teaching them separately, because children then see that the two forms are the same letter. The classic activity is upper and lower matching: write A a on one card and B b on another, mix them up, and let your child pair them. Children usually master capitals first because the shapes are simpler, but mixing them from early on avoids a second learning stage later on.
How long should a child practice the alphabet each day?
Five to ten minutes a day is plenty, and more than that rarely helps. Keep the session short enough that your child asks for a second one. Spread the work out rather than cramming it: three focused minutes after breakfast and two while you cook dinner builds more than twenty minutes at the weekend. Total weekly time matters less than the number of separate days you practise.
Is an alphabet video or app enough for teaching letters?
No. Videos are useful for songs and showing letter shapes, but they cannot respond to the mistake your child just made or hold a letter until their hand stops cramping. Treat any screen activity as an invitation: watch one short song, then hand over real letters and real objects to find. Active practice where your child moves, says and builds is what turns recognition into reading.
How can I help a child who knows the letter names but not their sounds?
This is common and completely fixable. Go back to three or four letters at a time and say the name and sound together, as in S, Ssss, snake. Have your child say the sound back, then find something in the room that begins with it. Avoid drills and praise for effort. Most children make the shift within a few weeks of short daily practice, and the name knowledge you already built becomes an asset rather than a distraction.
When should my child start writing alphabet letters independently?
Aim for somewhere around three and a half to four and a half years, after their pencil grip is controlled enough to scribble without stopping. Watch for these signs: they hold a crayon in a relaxed fist, they can draw a circle and a straight line, and they stay with a mark for more than a few seconds. Until then, form letters in play dough or sand where mistakes cost nothing and the hand does the hard work.
Start With One Letter Today
Pick the first letter of your child’s name and write it on a card. Say the name, say the sound, and hunt the house for one thing that starts with it. Then roll play dough or drag a finger through salt and let them make the shape.
Five minutes, twice today. Repeat with one new letter tomorrow. In a few months you will look back and realise they can read a sign on the kitchen door without being asked.