You can make paper mache without flour by mixing white PVA glue with water, and it dries harder and lasts longer than a flour paste. No cooking, no heating, and no risk of mold growing in a humid room. A kid can mix the paste in about two minutes, and a small balloon project dries in roughly 24 to 48 hours.
Flour was the old-fashioned binder because it was free and it thickened a warm paste that soaked into wet paper. It also turns to a fuzzy mess when it gets damp, and bugs love it. Glue-and-water paste skips all of that.
Here is the method I use, plus the swaps worth knowing if you want a stronger shell, a smoother clay-like paste, or a batch big enough for a class of twenty.
Table of Contents
- What You Need
- Step-by-Step
- How to make paper mache without flour using glue and water
- Common Mistakes
- The paste comes out lumpy or too thick
- The paper tears or lifts off the form
- White or green fuzzy spots appear
- Cracks form while it dries
- The paste skins over and gets stiff in the bowl
- The paper will not stick where you need it
- The surface is bumpy and you want it smooth
- Frequently Asked Questions
- What can I use instead of flour to make paper mache?
- Can I make flour-free paper mache with just glue and water?
- How long does paper mache made without flour take to dry?
- What paper works best for a flour-free papier-mache paste?
- Is papier-mache paste safe for children to handle?
What You Need
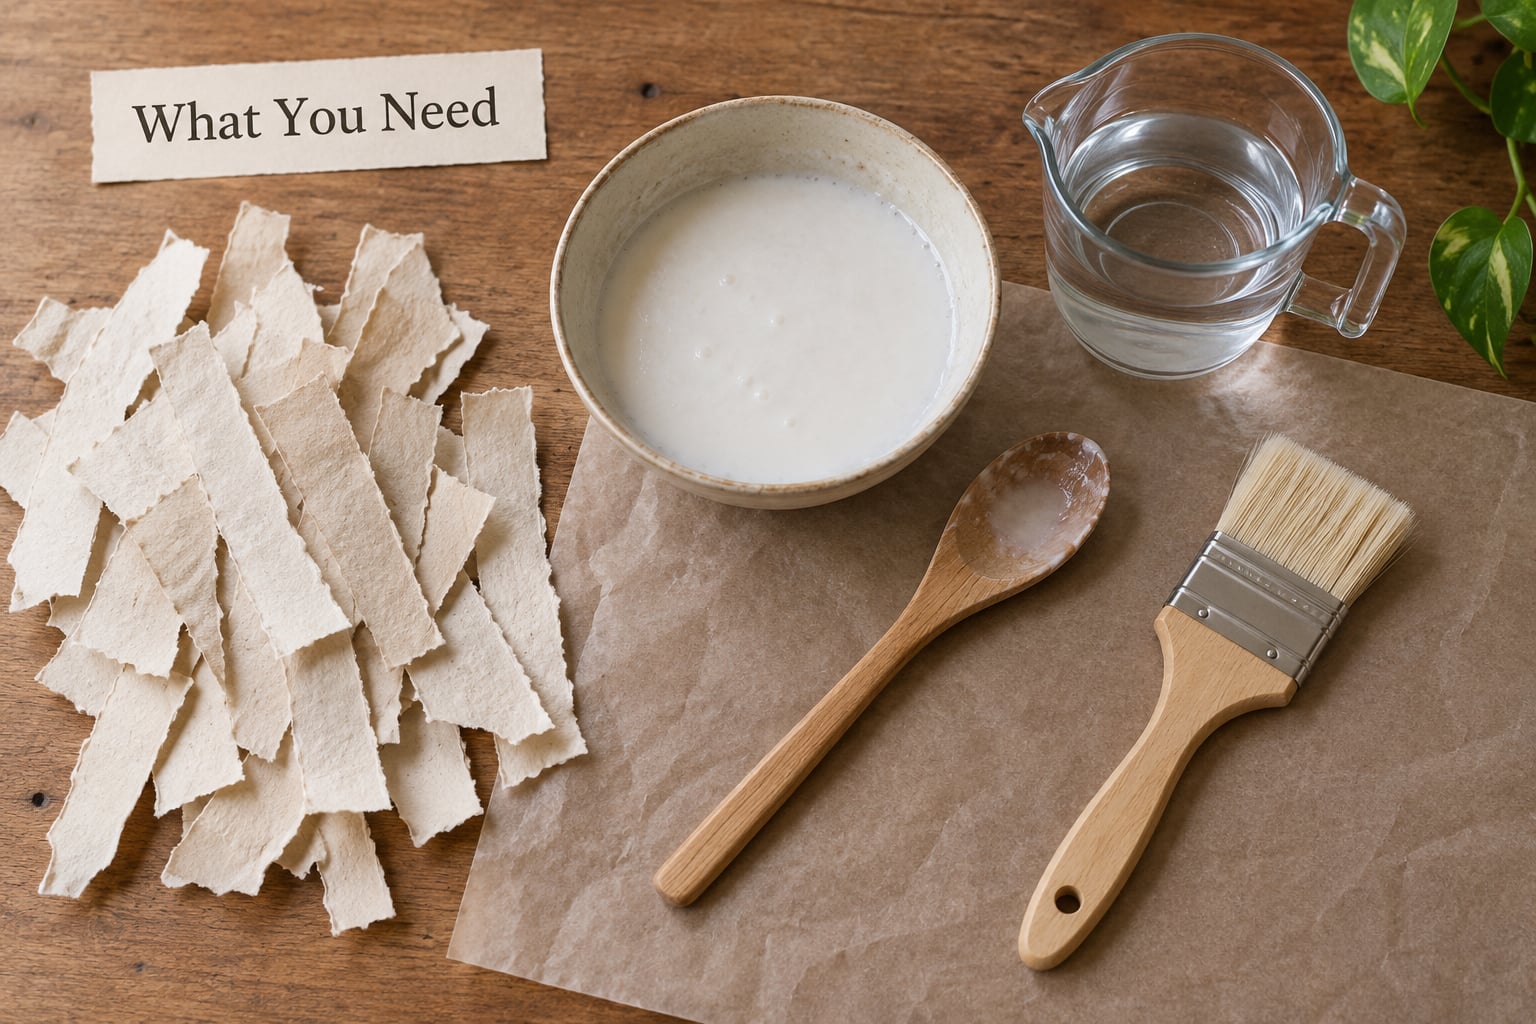
Keep the list short. Everything for a flour-free project sits in a school supply drawer or a kitchen cupboard, and most of it you already have.
- Paper. Plain newsprint, brown kraft paper, or office paper, torn by hand into strips about 2 inch wide. Newspaper works, though the ink can bleed through wet white paint later.
- White PVA glue. School glue or a craft glue with a PVA base. This is the binder that replaces the flour.
- Water. Room temperature is fine. Cold water keeps the glue from setting too fast while you work.
- A bowl and a mixing spoon or whisk. A fork works in a pinch.
- A broad brush, foam brush, or a sponge. Wide brushes lay paper down flat without tearing it.
- A protective surface. A sheet of plastic or a cheap tablecloth, because glue that dries on a table stays there.
- An armature. A balloon, a paper ball, a wire frame, or a cardboard box shape to build on.
For a stronger shell, add a second glue option. Wood glue (PVA, the same family as Elmer’s but marketed for furniture) gives the hardest, fastest-drying bond, though it grabs paper faster and is fussier to smooth. It also dries to a yellow-tinted finish.
If you want a clay-like paste you can sculpt instead of strips, swap in a small amount of premixed drywall joint compound from the hardware aisle. Check the label and pick a product that says joint compound, not patching compound, and skip DAP brand, which is the one crafters most often report causes problems in a paper mache clay mix.
On safety: white PVA glue and water are the most kid-friendly option on this list, and once dry the finished shell is inert. Joint compound paste is an adult-mix job because of the dust in the dry powder, and children should not handle the dry product or eat anything made with it. Keep any craft session on a covered surface and away from pets, since wet paste is attractive to both.
Step-by-Step
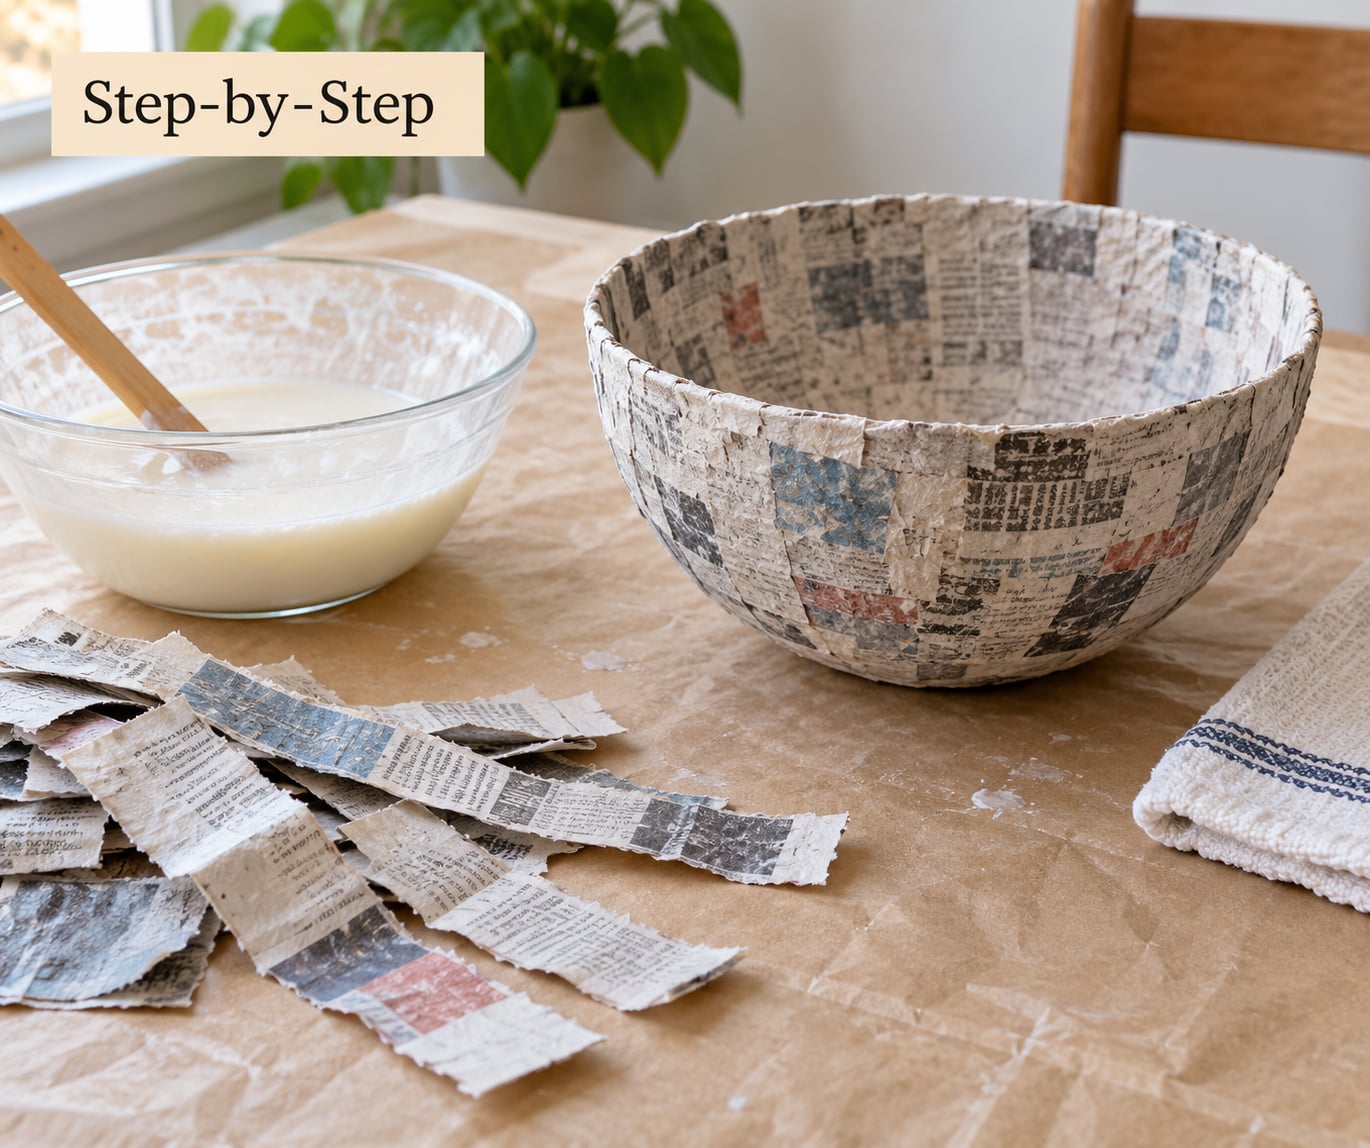
How to make paper mache without flour using glue and water
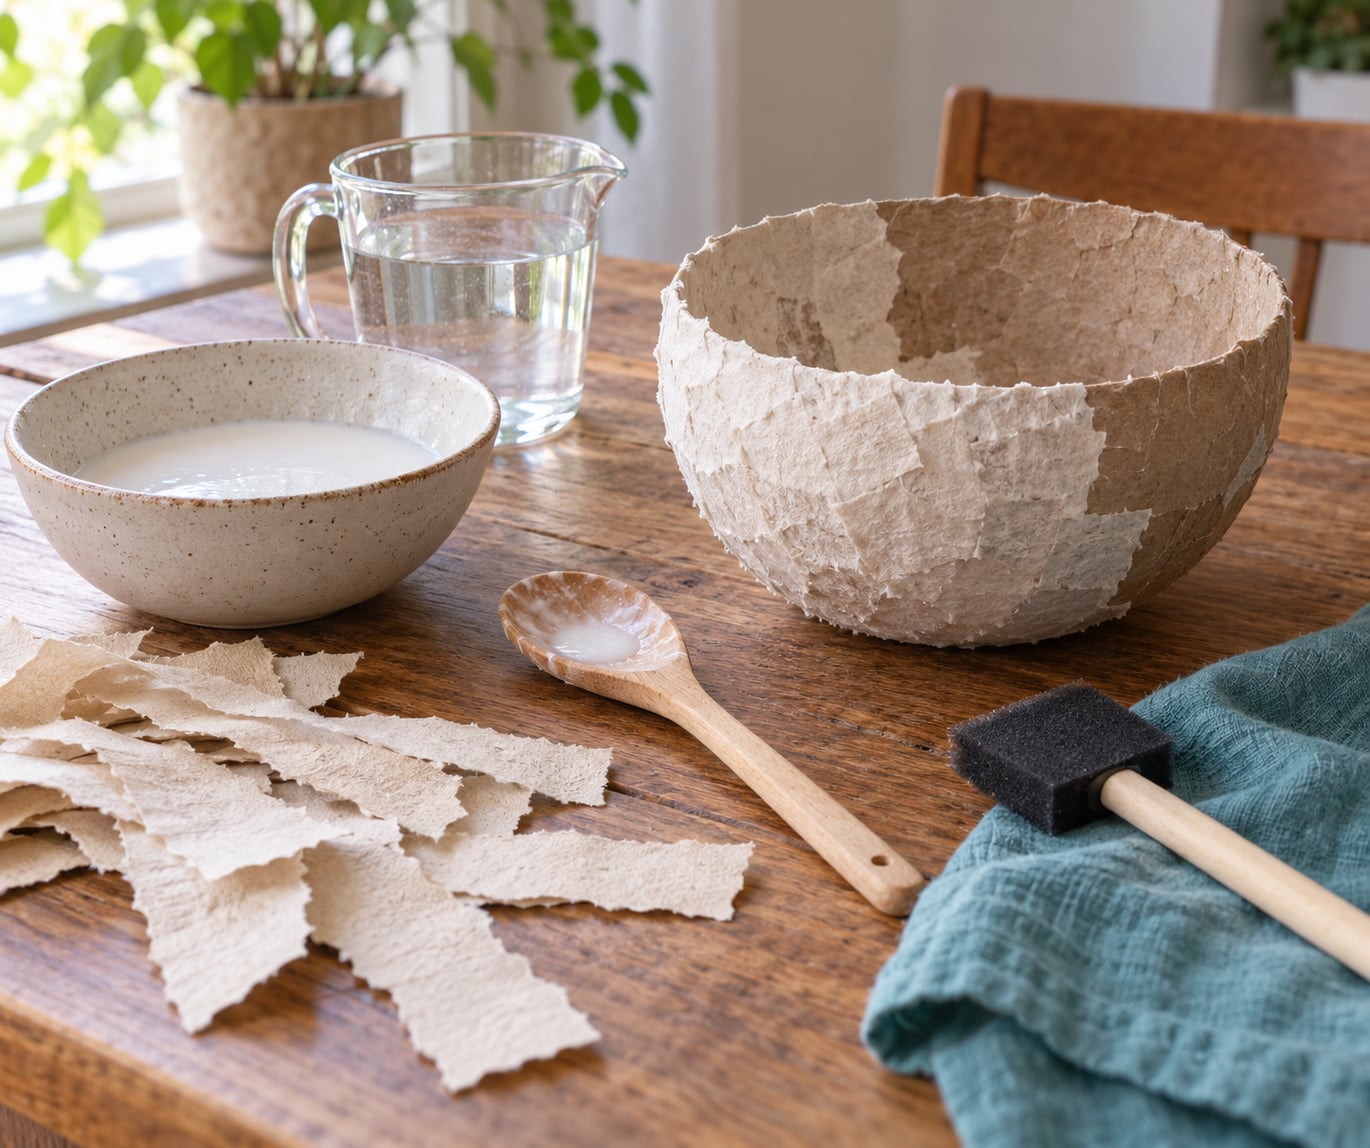
Mix one part glue to one part water, dip torn strips in the paste, and layer them over your form. Three or four layers dry to a shell you can shape, sand, and paint. That is the whole method.
- Tear the paper. Rip it into strips roughly 2 inch wide and 6 to 10 inch long. Tearing beats cutting because the fuzzy edges key into the layer below, which is what holds the shell together.
- Mix the paste. Stir equal parts white PVA glue and water in a bowl until the streaks disappear. It should look like thin cream. Too thick to drizzle means too much glue; add water a spoonful at a time.
- Test a strip. Drag one strip through the paste and lay it on a scrap of cardboard. Press out the puddles with your fingers. You want the paper damp, not dripping. A bead of white glue squeezing out from the edge is normal.
- Cover the form. Work in one direction, lay strips side by side with slight overlaps, and smooth each one down with your palm. Wrap balloon projects with masking tape over the first layer so the shape does not slide while it dries.
- Build up layers. Three layers give a light decoration, five or six give a sturdy sculpture. Let each layer go completely dry before adding the next. Painting a half-dry layer is what causes peeling and cracking later.
- Dry it. A small balloon shape needs about 24 hours. A large bowl or a wire sculpture can take two to three days. Use a fan or hair dryer on cool, held at a distance, to move the air along. Direct heat warps the shape.
- Shape and finish. Once the whole thing is dry all the way through, sand rough spots with fine grit, fill gaps with a thin paste, and prime before painting. Acrylic paint sits on it cleanly; exterior house paint is the easy seal if the piece lives outside.
You can tell each stage worked at a glance. A well-soaked strip goes on dark and translucent and dries lighter, with no dry white patches left in the middle. A layer is ready for the next when it feels like firm cardboard and no longer cool or tacky to the touch.
For a sculptable paste rather than strips, the alternate route is pulp. Soak a few sheets of toilet paper, squeeze out the water, and blend or food-process it to a wet pulp. Mix in a spoonful of joint compound, a squirt of PVA glue, and a drop of oil, and you have a smooth clay that sculpts with your hands and dries in about three days. Cardboard soaked and pulped the same way gives a coarser, more textured version, which some sculptors deliberately prefer.
Common Mistakes
Almost every bad paper mache project traces back to one of seven things. Here is what went wrong and what fixes it.
The paste comes out lumpy or too thick
Lumps are almost always glue that has not been mixed all the way through, or paste left too long. Whisk it again and thin with cold water until it drizzles off the spoon in a steady ribbon. If you are mixing pulp, blend longer rather than adding more liquid; a food processor or immersion blender gives a smoother result than a spoon, though the same complaint comes up about both tools in craft forums.
The paper tears or lifts off the form
Paper that is too dry goes down in dry patches and tears as you smooth it. Dip and hold the strip for a second longer, and push the excess paste out with your fingers before it touches the form. Overlapping edges in one direction also stop strips from fighting each other and bubbling up.
White or green fuzzy spots appear
Mold means a project dried somewhere damp, or a flour paste crept into your routine. A flour-free glue paste resists this, but any damp project can still grow spots. Spread layers thinner, give the piece moving air, and never stack a wet piece inside a closed box. A low oven, its door ajar and the temperature at the lowest setting, will kill mold on a finished piece, but do that outdoors and with the adults only.
Cracks form while it dries
Cracks mean the piece dried too fast, so the outside hardened while the middle was still wet. Slow the drying down with a fan on low or a plastic sheet tented loosely over the top. Painting a layer that is not fully dry underneath is another common cause of peeling later on.
The paste skins over and gets stiff in the bowl
Mix a fresh small batch instead of fighting it, and keep the leftover paste covered with a thin film of water, a plastic lid, or a damp paper towel. A splash of water and a stir brings it back for another hour or two. For longer storage, refrigerate the paste in a sealed container, though you will get the smoothest results within the first few days.
The paper will not stick where you need it
That is usually a sign you are holding the strip above the bowl, letting the paste run off before the paper meets the form. Wipe each strip as you lay it, or lay it first and then paint paste over it with your brush.
The surface is bumpy and you want it smooth
Sand after everything is bone dry, working up from 100 grit to 220 for a painted piece. For a glassier finish, finish the last layer with a very thin coat of paste applied with a wide flat brush in one direction.
Cleanup is easy with this method. Wipe the bowl, spoon, and brush with a damp rag while the paste is still wet, and put paste-covered paper straight in the bin. Once glue dries on a surface, warm soapy water and a bit of elbow grease usually shift it, and a plastic tablecloth means you can simply peel it off and reuse it.
Frequently Asked Questions
What can I use instead of flour to make paper mache?
White PVA glue mixed with equal parts water is the simplest swap and the best beginner choice. For a harder shell, use wood glue, which dries faster and bonds more strongly. Premixed drywall joint compound works inside a pulp-based clay but makes the mix an adult job because of the dry dust. Buy joint compound, not patching compound, and skip DAP brand, which crafters most often report causing problems in a paper mache clay mix.
Can I make flour-free paper mache with just glue and water?
Yes. Equal parts white PVA glue and water make a working paste for paper strips on a balloon, box, or wire frame. Apply three to six thin layers, letting each dry fully before the next, and the shell sands and paints like a flour version. The glue-and-water mix dries noticeably harder and takes about 24 to 48 hours for a small piece. Extra water thins it if the paste starts pulling away from the paper.
How long does paper mache made without flour take to dry?
A small balloon shape needs about 24 hours between layers, and a larger bowl or wire sculpture needs two to three days. Wood glue and PVA glue dry faster than a flour paste, while pulp mixed with joint compound can take up to three days to set solid. Layers dry in order, so the time adds up as you work. Cool, damp rooms add a day; a fan on cool and good airflow takes a day off.
What paper works best for a flour-free papier-mache paste?
Any plain paper works, and newsprint, brown kraft paper, and office copy paper are the usual choices. Tear strips around 2 inch wide instead of cutting them, because the fuzzy torn edge grips the layer underneath and keeps the shell from separating. Newspaper prints well but its ink can bleed through wet white paint, so cover it with primer or a coat of white acrylic first. Avoid coated, glossy, or waxed paper, which will not bond.
Is papier-mache paste safe for children to handle?
White PVA glue and water are the safest option, and the dried shell is inert, but supervise young children because wet paste is sticky and it dries out skin. Set out a protective sheet, since dried glue on a table is a real chore. Keep drywall joint compound and powdered paste for adults to mix, and keep all craft materials away from pets, who will lick a wet bowl. Wash hands after, and do not eat anything made with paper mache paste.
Start with the simple version: one part white PVA glue, one part water, torn paper strips, and three thin layers on a balloon. If the shell feels too soft for what you are building, move up to wood glue or a pulp and joint compound clay. That way you know the basic mix works before you add anything else.