A gallon milk jug is one of the easiest containers to turn into something else: it cuts with household scissors, it takes hot glue without complaint, and light passes right through the wall. Knowing how to reuse milk jugs for crafts takes about an afternoon of prep and then about fifteen minutes per project, and most families have a stack of empty jugs sitting in the recycling bin right now.
The short answer is that you wash it, remove the label and the printed ink, cut or draw on it, and assemble. From there it can become a planter, a pencil holder, a lantern, a bird feeder, a sock caddy, or a whole menagerie of animal figures for a kid’s room. Below is the same preparation routine I use every time, followed by the projects themselves and the mistakes that trip up first-time crafters.
One note on materials: a plastic milk jug, a paper milk carton, and a glass milk bottle are three different things. The jug is HDPE, or No. 2 plastic, and everything here assumes that jug. Cartons and glass bottles need different tools, mostly because of the seams and the break risk.
Table of Contents
- What You Need
- Step-by-Step: How to Reuse Milk Jugs for Crafts
- 1. Choose and Clean the Milk Jugs
- 2. Mark the Part You Want to Keep
- 3. Cut the Jug Safely
- 4. Smooth the Edges
- 5. Add Paint or Markers
- 6. Attach Child-Safe Details
- 7. Turn the Jug into a Finished Craft
- 8. Check the Craft and Use It
- Common Mistakes
- Frequently Asked Questions
- How do you get the label off a milk jug?
- Can I use a milk jug as a planter?
- What crafts can I make with milk jugs for kids?
- Are old milk jugs worth any money?
- What can I make with half-gallon and quart jugs?
- Is it safe to reuse milk jugs for food?
- Start With the Easiest Milk Jug Project
What You Need
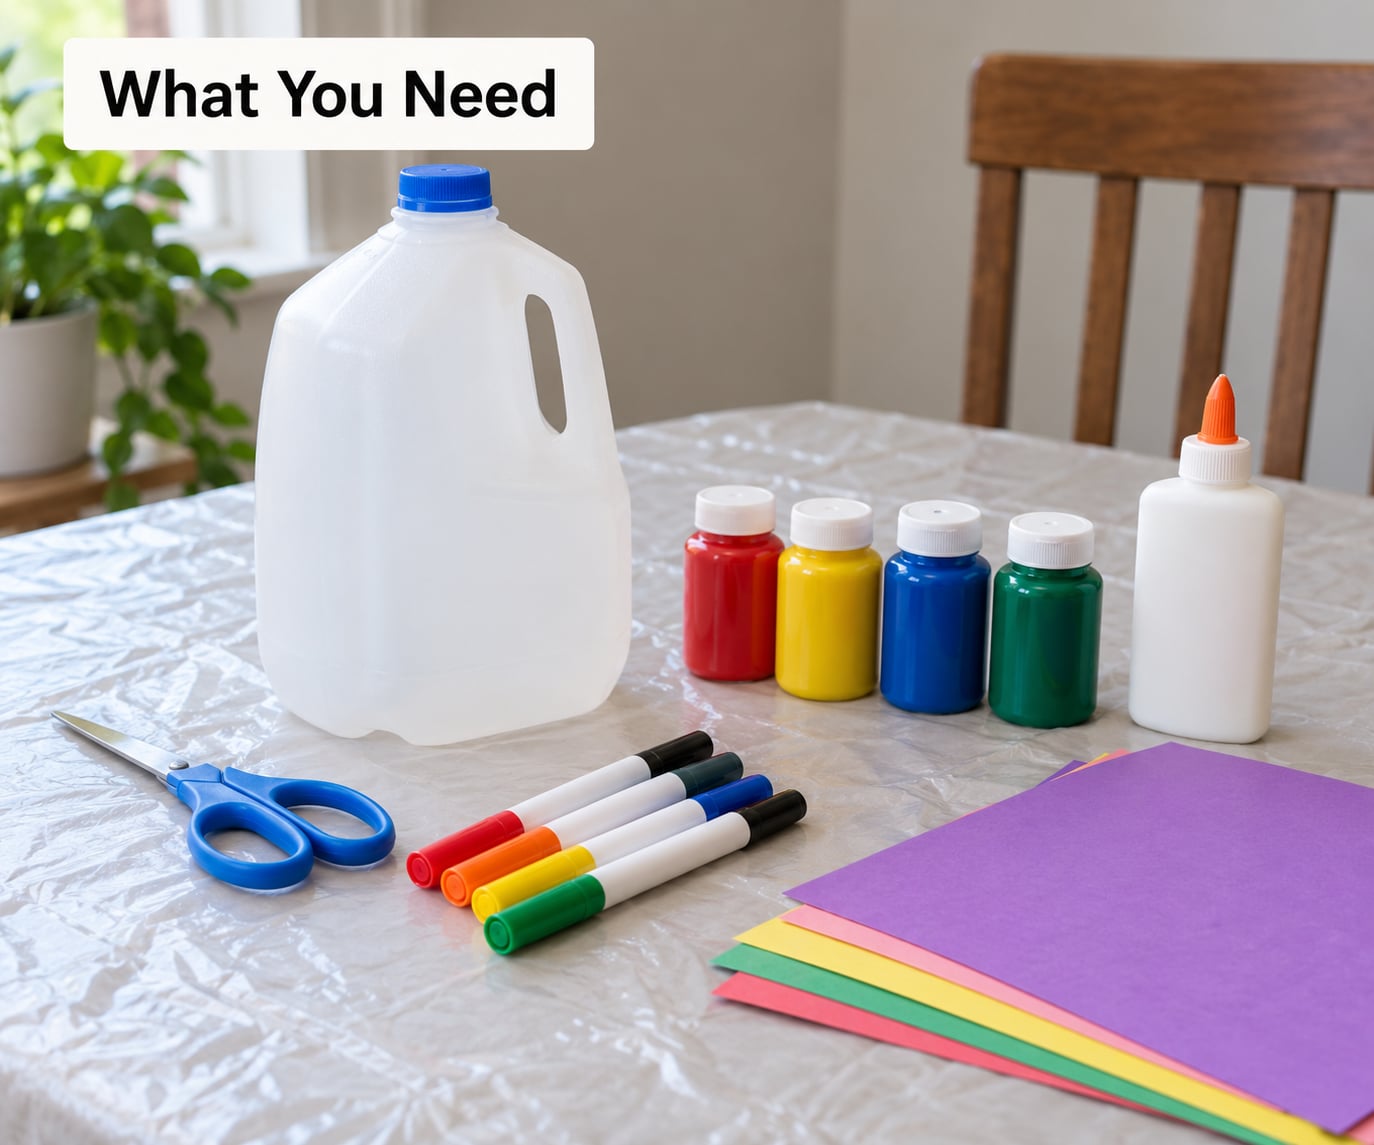
Gather the basics first so the craft does not stall halfway through:
- Empty jugs — gallon, half-gallon, or quart. A sturdy jug with no cracks and no clouding is easier to cut than a thin one that has gone brittle.
- Scissors and a craft knife — household scissors for most shapes, plus a rotary tool or craft knife for circles and long window slots. Adults handle both.
- A low-temperature glue gun — a full-heat gun will melt or warp the thin jug wall, especially near the handle.
- Washable acrylic paint or paint pens — paint pens and permanent markers work on the lightly textured outer surface with no primer at all.
- Plastic primer or spray paint rated for plastic — needed only when you want broad, even color across a large panel.
- Optional details — craft foam, yarn, pipe cleaners, googly eyes, bottle caps, a hole punch, and card stock.
Set up on a covered table, and put a sheet of newspaper or a cutting mat underneath. Milk jugs are slippery when wet and they drift across the table when you push on them.
Step-by-Step: How to Reuse Milk Jugs for Crafts
1. Choose and Clean the Milk Jugs
Rinse the jug under hot water, add a drop of dish soap, and scrub the whole surface, not just the inside. Milk residue hides in the neck, under the handle, and in the corner seams, and that residue is what keeps a faint smell in the finished craft.
When the jug is clean and bone dry, you’re ready for step two. Kids can handle washing, drying, and label peeling from about age four.
2. Mark the Part You Want to Keep
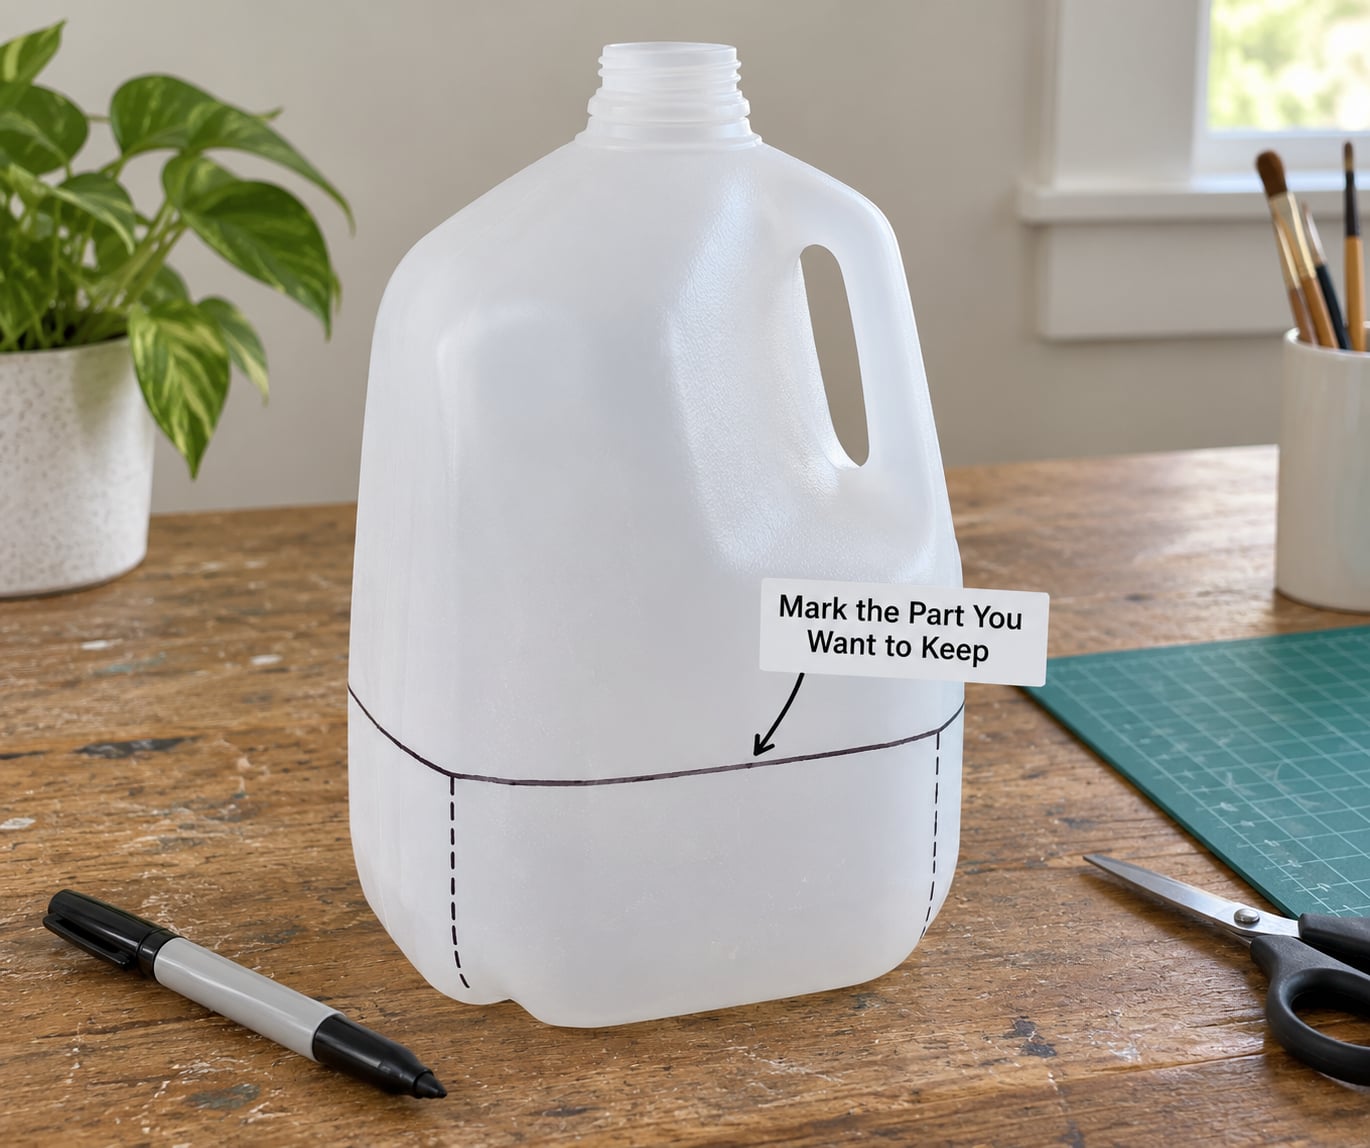
Decide the shape before you touch the scissors, and trace it lightly in marker so you can see what you are cutting. A credit card makes a repeatable template for flat pieces — cut the top off a card, trace it onto the jug wall, and you get the same rounded rectangle every time.
Think about the geometry of the jug as you plan. The flat lower panel takes a face, a letter, or a printed design; the curved shoulder section makes a good animal back; the handle itself becomes a hanger or a loop. If the outline looks wrong once it is on there, work it out in pencil rather than marker, since marker lines are hard to hide on the textured side.
3. Cut the Jug Safely
This step is adult-only for every age. Cut away from your body, keep the blade closed when you set it down, and cut on a mat with the jug flat rather than balanced in your hand.
Scissors buckle on the large curved areas near the base. Switch to short snips, or score the line first with a craft knife and follow it with scissors. Make one continuous cut where you can, and turn the jug rather than forcing the blade around a corner.
Somewhere around the third snip is where people cut themselves. If the craft is going to be handled by a child, an adult should do every cut before handing it over.
4. Smooth the Edges
Cut plastic leaves a sharp lip that will slice a fingertip in a half second. Run a strip of craft tape along each cut edge, pressed on with a thumbnail, and the edge goes dull in seconds.
For a softer finish, buff the edge with fine sandpaper, or pass a heated metal spoon along it — the plastic melts back into a rounded lip, so keep the pass short and let it cool. Kids can do the tape step themselves, and that is a satisfying job for a three-year-old.
5. Add Paint or Markers
Marker first, paint second. Permanent markers and paint pens grip the lightly textured outer surface and dry fast, which makes them the right choice for faces, stripes, and lettering.
Acrylic paint and spray paint behave differently. They slide off untreated HDPE, so prime first with a plastic primer or a paint rated for plastic, then lay on thin coats. A quick scuff with fine sandpaper before painting gives the primer something to bite. Never paint a surface you plan to glue — the glue will lift the paint straight off later.
6. Attach Child-Safe Details
Add paper, felt, yarn, and pipe cleaners with a low-temperature glue gun, and let each piece set for a minute before you move it. For toddlers, use fabric or foam shapes instead of anything a small hand could swallow.
Googly eyes, buttons, and beads are choking hazards, so they belong on crafts made by and for children over three. If a younger child will play with the finished object, sew or glue the eyes on and skip anything that can pop loose.
7. Turn the Jug into a Finished Craft
Now build something. These are the ones that hold up well in my experience:
- Pencil and marker caddy — cut the top off at an angle, keep the base flat, and you have a desktop organizer that will not tip over. A strip of card stock makes a divider for pens versus markers.
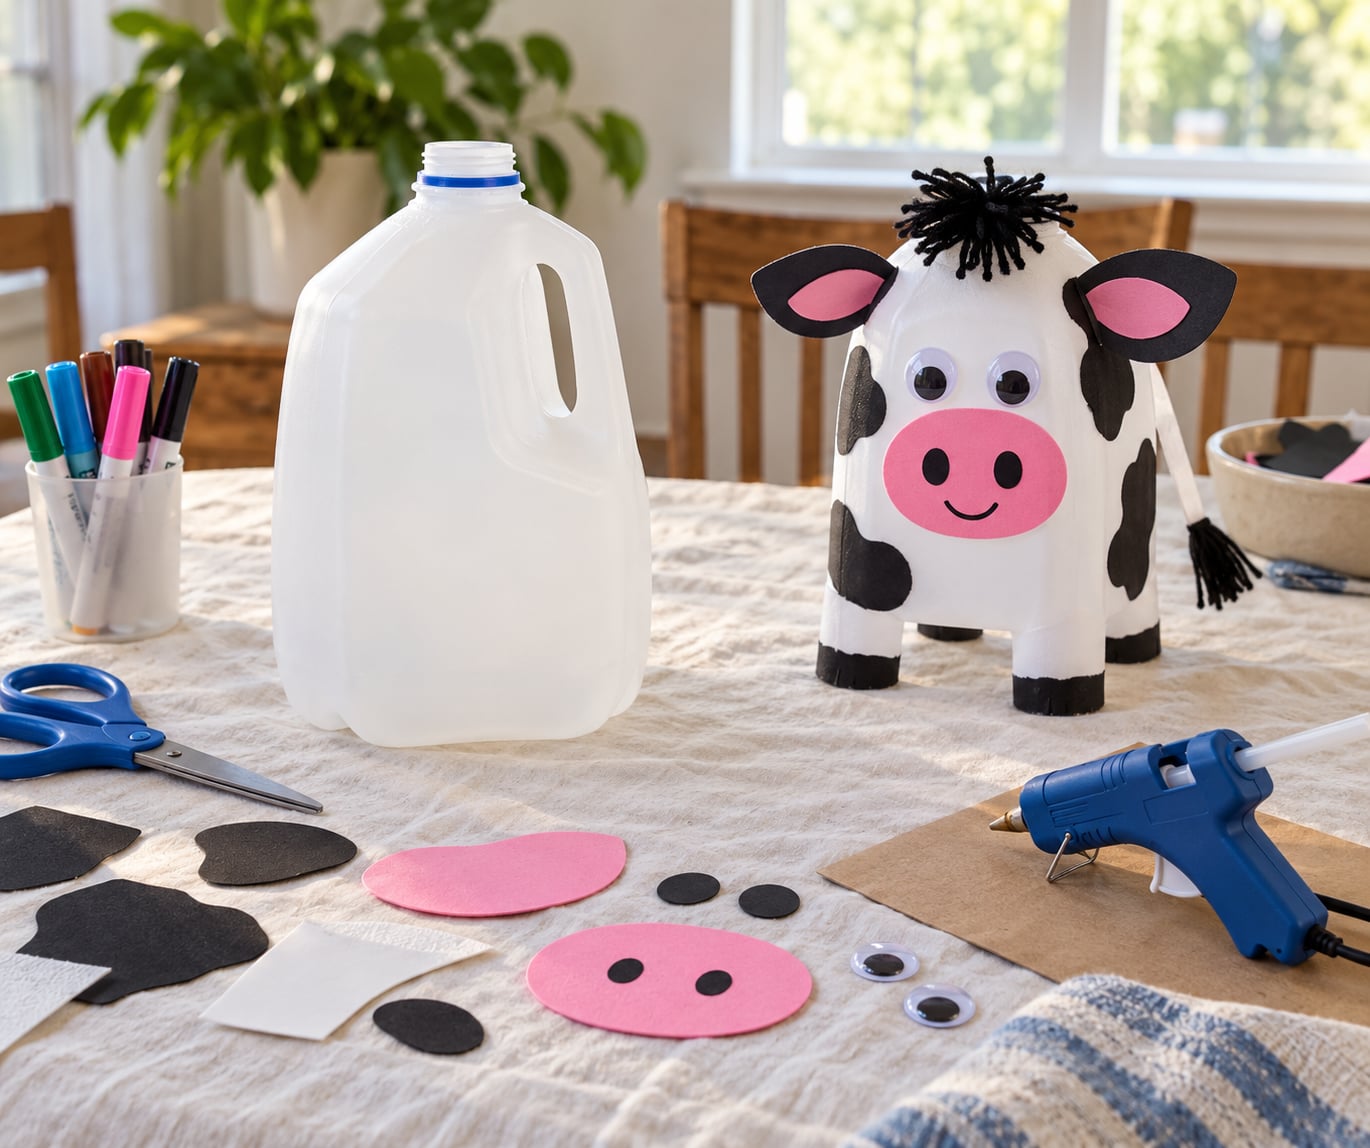
- Animal figure — a small jug becomes a pig, bear, or cat. Cut ear and tail shapes from the offcut, tape them on, then draw the face. The neck of the jug works surprisingly well as a snout.
- Planter or seed-starting pot — cut off the top third, poke drainage holes in the base, and use it for a seedling. Move the plant on once the roots fill the jug.
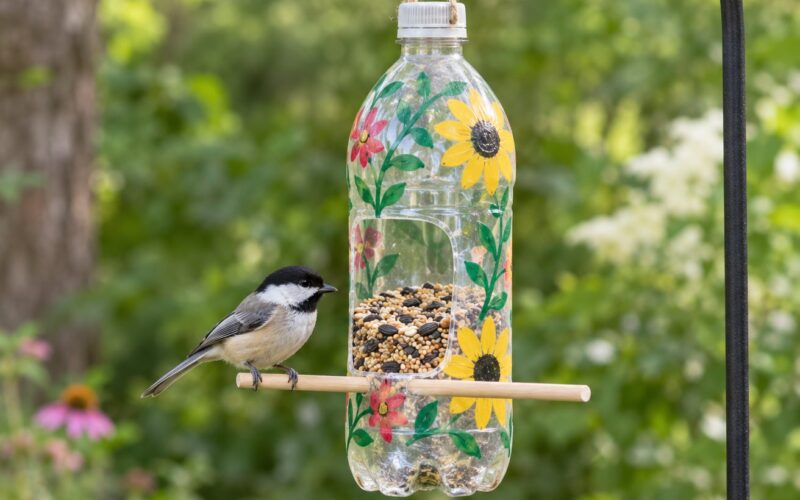
- Bird feeder — cut two round windows opposite each other, fill with seed, hang from a branch. Round windows stop wind from blowing the seed out.
- Lantern or sun catcher — cut a leaf or snowflake silhouette out of the wall and hang the piece in a sunny window. The translucent plastic is what makes this work.
- Sock monster caddy — keep the body whole, cut the top off straight, and the handle holds a clothespin or becomes the mouth. Add felt teeth and pipe-cleaner arms.
A single gallon jug yields two or three caddies, or one figure plus a strip of usable plastic for smaller pieces. The jagged panel that makes a good face rarely makes a second good face, so plan the cuts with that in mind.
8. Check the Craft and Use It
Before the craft goes to a child, run a finger along every cut edge and press each glued joint. Anything rough gets tape, anything loose gets more glue. Then ask the maker to tell you what it is — the answer usually tells you whether the shape read clearly, and you can fix the outline for next time.
For storage between projects, flatten a dry jug and stand it in a corner or slide it into a gap behind the bin. A stack of six flattened gallon jugs is about a foot tall, which is far less space than the same jugs take up in the bin.
Common Mistakes
The label tears into strips. Fill the jug with hot water and let it sit for ten minutes, then peel from a corner. The heat softens the adhesive far better than scraping or picking at a dry jug.
The printed numbers and date code stay visible. Scrub them with a dry erase marker, let it sit, then wipe with a damp cloth. A plastic primer will also bury them, but only after sanding the surface.
Paint peels off in sheets. The paint was not made for plastic. Prime it, scuff lightly first, and use thin coats rather than one heavy one.
The glue gun melted the jug. Switch to a low-temperature gun and keep it moving. Anything that curls or puckers was too hot for the wall thickness.
The bottom buckles or splits. The base of a gallon jug is built to take the weight of liquid, so it flexes. For a standing object, glue the jug to a cardboard or wood disc and the whole thing becomes stable.
The cut edges are sharp. Tape them. This is the one mistake worth repeating, because it is the only one that actually sends people to urgent care.
A faint milk smell survives. One more hot soak with a drop of detergent, and leave the jug in the sun for an hour. A jug that still smells after that is better recycled than crafted.
Match the project to the maker. Three- to four-year-olds manage painting, taping edges, and gluing pre-cut shapes; five to seven year olds can follow a marked cutting line with an adult alongside; older kids can measure, plan their own layout, and cut on their own.
Send the offcuts to the recycling bin, which takes No. 2 plastic, rather than the trash. Milk jugs are one of the most commonly recycled containers in the country, so the scraps do get a second life even when your craft does not.
Frequently Asked Questions
How do you get the label off a milk jug?
Soak the jug in hot water for about ten minutes until the adhesive softens, then peel the label from one corner slowly. If residue is left behind, rub it with a cloth dipped in cooking oil or wipe it with a plastic-safe cleaner. Peeling a dry label usually tears it into pieces, so the hot water step is what decides whether the plastic underneath stays clean.
Can I use a milk jug as a planter?
Yes, for flowers and decorative plants. Cut off the top, poke drainage holes in the base, and use a potting mix rather than garden soil. Most plastic jugs hold no. 2 resin, and the FDA advises against using recycled containers for food, so grow decorative plants only and never edible crops in a jug you have already cut into.
What crafts can I make with milk jugs for kids?
The best ones for young children need no cutting: painted animals, a decorated pencil caddy, a sock monster, a lantern hung in a window, or a bird feeder made by an adult. Kids aged three to four can wash the jug, peel the label, paint it, and add tape to the edges. Leave the scissors and glue gun to an adult.
Are old milk jugs worth any money?
Barely. Mixed plastic jugs are worth very little per piece at a scrap yard, and most curbside programs pay nothing for them. The real value is in what one jug becomes at home: a planter, a feeder, a set of caddies. Clean, dry jugs are also worth keeping for a school or group craft project, where you need several at once.
What can I make with half-gallon and quart jugs?
Small jugs work well because the panels are flatter and the proportions suit smaller crafts. A quart jug makes a pencil caddy or a seedling pot, and a half-gallon makes a good lantern or a wall pocket once you cut the side open. Stacking two small jugs with glue between them makes a two-story tower for a play scene.
Is it safe to reuse milk jugs for food?
No. Once a jug has been cut, painted, or glued, treat it as a craft material only, not a food container. The FDA advises against reusing single-use plastic for food, and painted or glued surfaces are not food safe. The same goes for pet food and animal water bowls, and for drinking water on a camping trip.
Start With the Easiest Milk Jug Project
Begin with a decorated organizer or an animal figure. Both need one flat panel, one simple cut, and a marker, so you finish in under twenty minutes and the kid gets a finished object to show someone before they lose interest.
Save the offcuts in a jar by the craft box rather than the recycling bin. A strip of flat plastic becomes a bookmark, a collar, a plant marker, or the next figure’s ear and tail, and it keeps the loop going instead of starting over with a fresh jug each weekend.
Wash the next one the moment you empty it, and the pile builds itself. Updated for 2026, and still going the way it goes — one more jug on the drying rack.