Making homemade marshmallows with kids takes about 30 minutes of active work, then the pan sits in the fridge overnight before anyone can cut a single piece. The recipe itself is short and forgiving, but one rule matters more than any ingredient: an adult handles the stove and the hot sugar syrup, and the kids do everything else. If you can split those jobs, this is a genuinely fun afternoon activity that ends in something edible.
The appeal is bigger than the candy. Kids get to measure, watch a clear liquid turn into a foam that triples in size, and then shape the result, which is more attention than most screen-free treats manage. My oldest claims the decorating as her own; my youngest is happy standing on a stool holding the measuring cups.
Table of Contents
- What You Need
- Step-by-Step
- Prepare the Pan and Mixing Bowl
- Heat the Sugar and Water
- Whisk in the Gelatin
- Pour and Let the Mixture Set
- Decorate the Homemade Marshmallows
- Common Mistakes
- Frequently Asked Questions
- Can I make homemade marshmallows without gelatin?
- How long does it take for homemade marshmallows to set?
- Can kids help make homemade marshmallows?
- How should homemade marshmallows be stored?
- What can I use instead of vanilla extract?
- Can I add colors or flavors to homemade marshmallows?
- Make Your First Batch Together
What You Need
The classic homemade marshmallow recipe needs seven things, and most are pantry staples you probably already have.
- 3 packets unflavored gelatin (about 7 grams each, the standard box size)
- 1 cup water, divided (1/2 cup for the gelatin, 1/2 cup for the syrup)
- 1 1/2 cups granulated sugar
- 3/4 cup light corn syrup
- 2 teaspoons vanilla extract
- A pinch of salt
- About 1/2 cup powdered sugar for dusting the pan and the finished marshmallows
For equipment you want a heavy-bottomed saucepan (thin pans scorch sugar), a candy thermometer if you have one, a stand mixer or hand mixer with a whisk attachment, an 8-inch square baking pan, and a damp offset spatula or rubber spatula. A heatproof measuring cup is nice for the boiling syrup, and a cooling rack for the finished pieces.
Set out a mixing bowl the kids can reach at their standing height, a small bowl for the powdered sugar dusting station, and a cutting board that is yours, not theirs. That last one saves arguments later.
Step-by-Step
Prepare the Pan and Mixing Bowl
Grease an 8-inch square baking pan with a thin layer of butter or oil, then dust it generously with powdered sugar. Tap out the excess and save the rest for later. Line the bottom with parchment paper if you have some, leaving a small overhang on two sides so you can lift the slab out later.
Whisk the 1/2 cup cold water into the mixer bowl, add the gelatin, and let it sit 10 to 15 minutes. The powder will clump and then soften into a flat, jelly-like layer at the bottom of the bowl. That waiting period is the bloom, and it is what keeps the finished marshmallow smooth instead of grainy.
Heat the Sugar and Water
This step is the adult’s job, full stop. Combine the sugar, corn syrup, remaining 1/2 cup water, and salt in the saucepan over medium heat. Stir only until the sugar dissolves, then stop stirring and let it boil untouched.
Clip on a candy thermometer and wait for 240 degrees F, which is the soft ball stage. Without a thermometer, drop a little syrup into cold water and pull it between your fingers: if a soft, bendy thread forms rather than a hard snap, you are there. Do not let a child stand within arm’s reach of the burner, and turn the handle inward so nobody grabs it by accident.
Sugar syrup above 350 degrees F can ignite, and a splash sticks to skin like hot glue. Keep a lid nearby, keep a damp towel within reach, and keep the kids on the far side of the kitchen until the pan is off the heat.
Whisk in the Gelatin
Turn the mixer to medium and pour the hot syrup in a slow stream over the bloomed gelatin, scraping the bowl as you go. Start low so nothing flies out, then work up to high speed.
Whip for 10 to 15 minutes. The mixture goes from glossy and loose to thick, then to a white foam that roughly triples in volume. You’ll know it is done when it holds a soft peak and the bowl feels noticeably heavier and cooler to the touch. Under-whipping is the single most common reason homemade marshmallows turn out dense and gummy.
This is the best moment to let kids watch. Ask them to count the seconds, or to guess how big they think the foam will get, then hold up the bowl together so they can see the air they made.
Pour and Let the Mixture Set
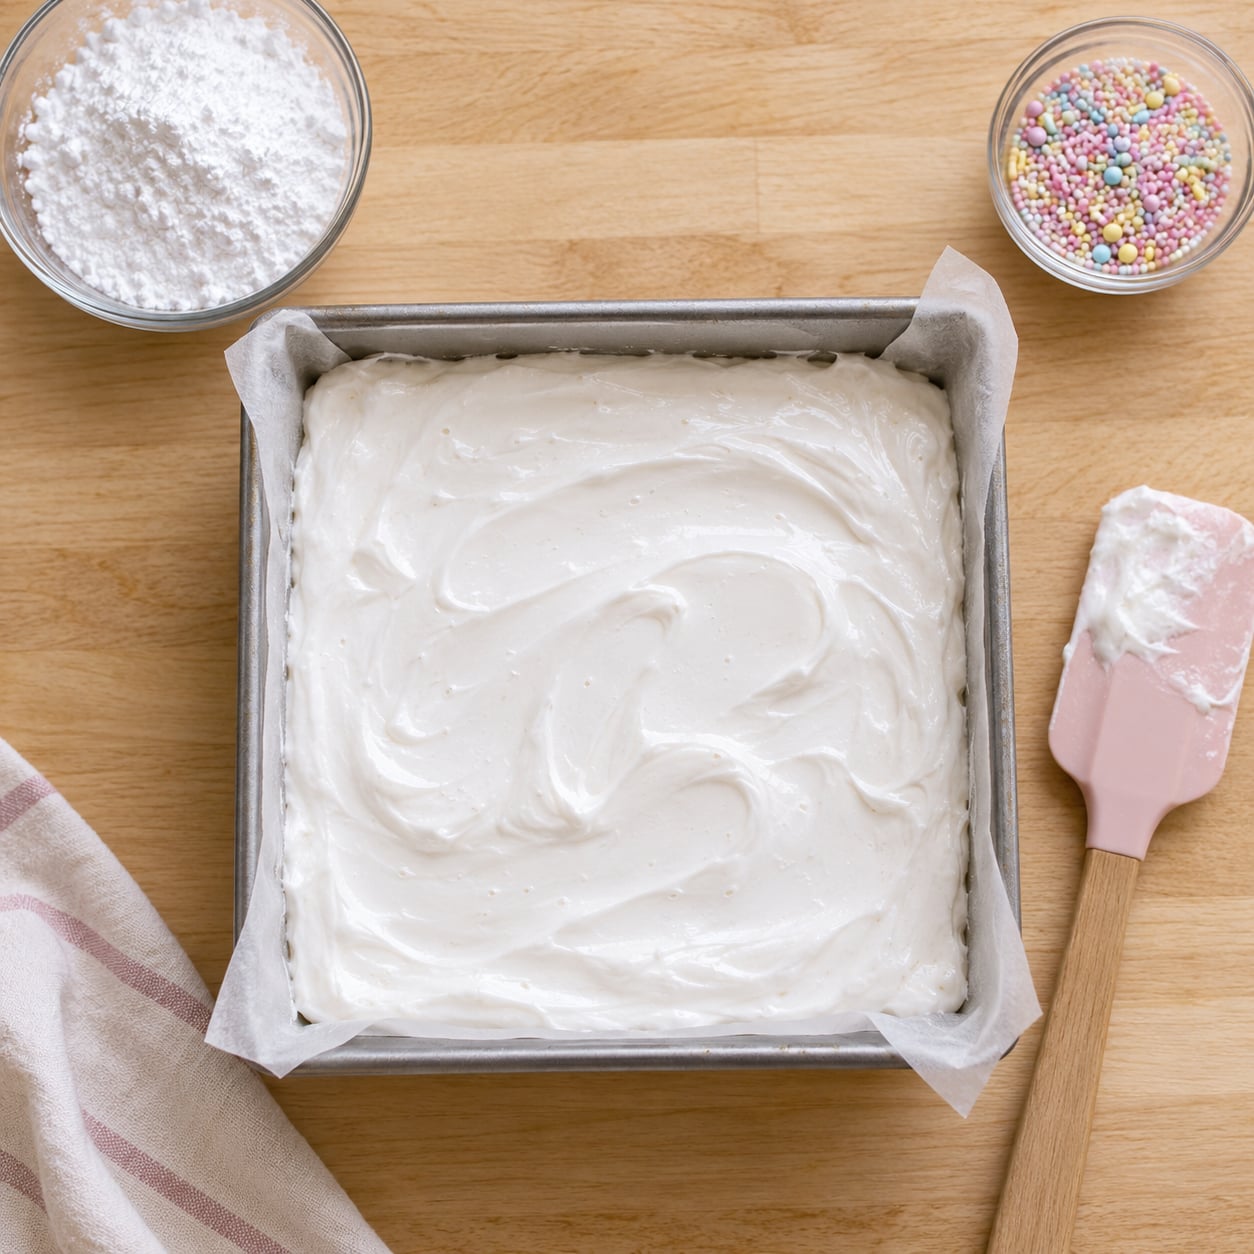
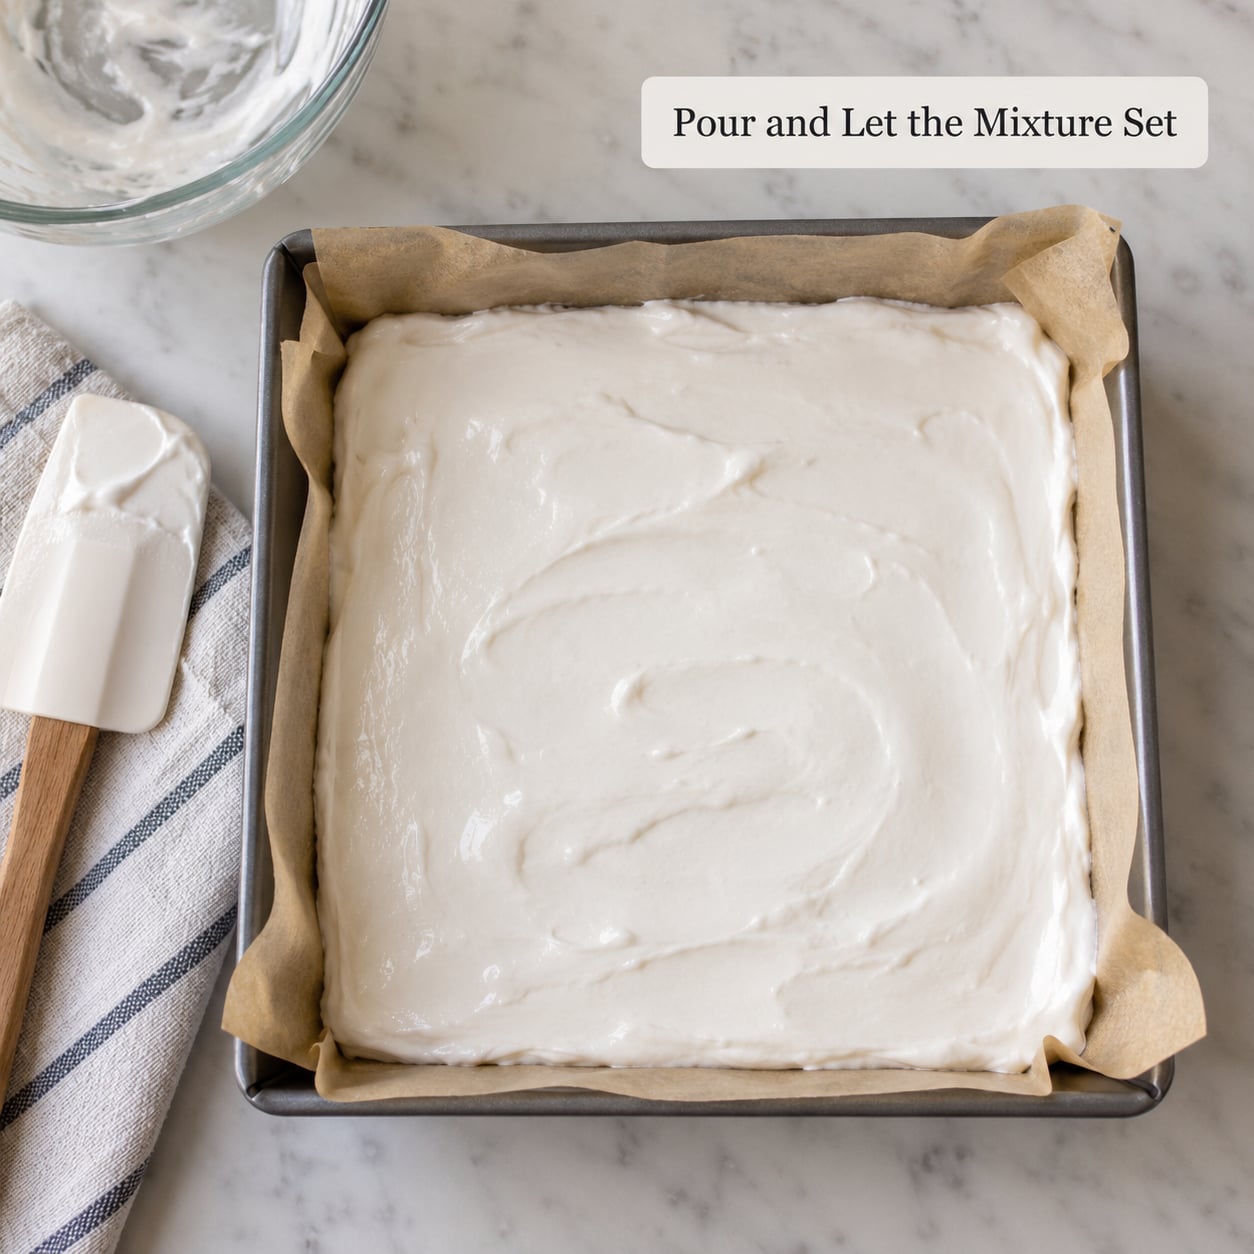
Pour the foam into the dusted pan and smooth the top with a damp spatula, then tap the pan firmly on the counter two or three times to release trapped air bubbles. Cover and refrigerate for at least 4 hours, though overnight gives a cleaner slice.
The marshmallows are ready when the surface feels firm and springs back lightly when you nudge the pan. Loosen the edges with a knife, invert onto a cutting board, and peel away the parchment. Get the powdered sugar on top immediately, or the outer layer will be sticky to the touch.
Cutting with a wiped-clean knife between each slice keeps the edges tidy. A serrated knife works well for the first cut through the whole slab, then switch to a straight blade for the rest.
Decorate the Homemade Marshmallows
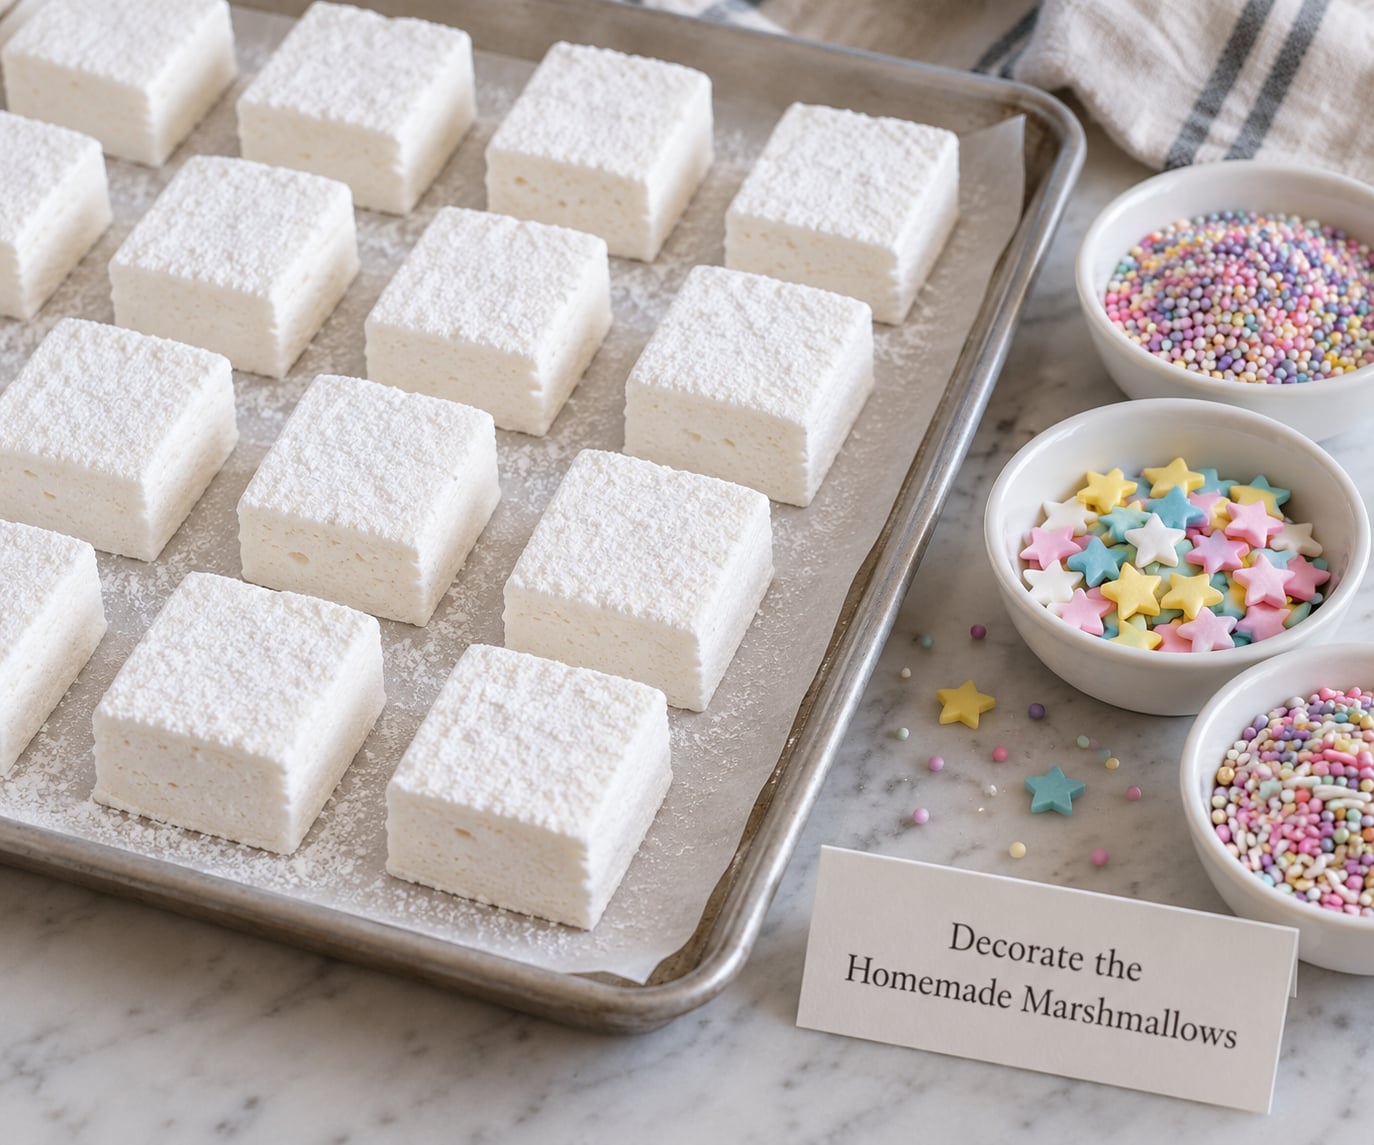
Once cut, the decorating is entirely the kids’ department. Give each child a small plate and a job that suits their age and motor skills.
- Roll in powdered sugar is the easiest job for a preschooler and works just as well as any store-bought coating.
- Press in sprinkles while the cut face is still slightly tacky, so they stick without glue.
- Use cookie cutters on the uncut slab for holiday shapes, then let the scraps be the adult’s snack.
- Swirl in color or flavor by folding in a drop of food coloring and a teaspoon of peppermint, cocoa, or citrus extract before the pour.
- Layer two pieces with buttercream to make sandwich cookies for lunchboxes.
Serving note worth stating plainly: marshmallows are sticky, soft, and easy to swallow whole, so pediatric feeding guidance treats them as a choking risk for children under four. If you have a toddler at the table, cut pieces into quarters or smaller and keep them seated and in sight.
Common Mistakes
Almost every failed batch traces back to one of four things.
The marshmallows are sticky and tacky. Usually humidity, and occasionally under-whipping. If your kitchen is humid in the day you make them, expect a stickier set and dust more heavily before serving. Let them dry uncovered in the fridge for an extra hour and they firm up.
They slump and never hold a shape. That means the syrup never reached 240 degrees F, so there was not enough sugar concentration for the foam to set. Use a thermometer next time, and give it another five minutes in the pan before you unmold.
The texture is tough and bouncy rather than pillowy. Two causes: over-whipping past the soft peak stage, or letting the syrup sit too long after boiling. Stop the mixer when the peaks hold, and work straight through to pouring.
There are lumps of dry gelatin. The bloom was too short or the gelatin was dumped in after the water was already warm. Bloom in cold water for the full 15 minutes and stir the syrup into the gelatin while the mixer is already running.
They are clumped together in the pan. You poured too thick and did not tap the pan. Two firm taps on the counter edge is usually enough. If a batch is already set and clumped, break it apart by hand and dust the pieces well.
One more that comes up constantly: homemade marshmallows stay fresh at room temperature in an airtight container for up to two weeks, though they dry out faster than store-bought. Between layers of parchment, not touching, makes a noticeable difference.
Frequently Asked Questions
Can I make homemade marshmallows without gelatin?
You can swap the gelatin for agar-agar, which is a plant-based gelling agent, but the process shifts slightly. Agar sets firmer and more brittle than gelatin, so the finished texture is closer to a firm gummy than a cloud. Use the amount called for on your agar-agar package, bring the agar and sugar together with the water, and simmer until dissolved before adding the remaining ingredients. Expect to make the batch a day ahead rather than the same night.
How long does it take for homemade marshmallows to set?
Plan on at least 4 hours in the refrigerator, and overnight is better. The set happens as the gelatin protein web cools and firms around the whipped air bubbles. Four hours gives you something sliceable but slightly soft in the middle. If you unmold too early, the slab slumps and the cut edges smear. Cold, humid weather adds an hour or so.
Can kids help make homemade marshmallows?
Yes, and they should. Children can measure the sugar, bloom the gelatin, sift powdered sugar, run the mixer once an adult has started it, tap the pan to release air bubbles, and do all the cutting and decorating once the slab is chilled. An adult must handle the stovetop, the boiling syrup, and the knife work, without exception.
How should homemade marshmallows be stored?
Store them in an airtight container at room temperature for up to two weeks, separating layers with parchment or wax paper so they do not stick together. Refrigerating them keeps them firm but dries them out faster, and they will end up hard rather than pillowy. If you need them to last longer, freeze them in a sealed bag and let them come back to room temperature before serving.
What can I use instead of vanilla extract?
Maple syrup, almond extract, peppermint extract, and coffee all work, using roughly the same amount. For a non-alcoholic option in a kids’ batch, stir in a teaspoon of honey or a half teaspoon of pure vanilla bean paste after the syrup has cooled a little. Skip anything with alcohol if small children will be eating the finished marshmallows.
Can I add colors or flavors to homemade marshmallows?
Add a few drops of liquid food coloring to the gelatin and water while they bloom, and stir them in fully before the syrup goes in. For flavor, fold a teaspoon of extract, cocoa powder, or matcha into the foam during the last minute of whipping so the mixer distributes it evenly. Solid gel food coloring can leave streaks, so liquid works better here.
Make Your First Batch Together
Start with the simple vanilla recipe and pick a day where you can let the pan sit overnight without rushing. Measure everything out together with the kids first, so the actual cooking is the quick part.
The one thing not to bend is the safety line: an adult owns the stove, the syrup, and the knife. Once the slab is chilled and handed over, the kids own the rest, and they will spend twenty happy minutes on it. Start with sugar and sprinkles, then try swirls and cookie-cutter shapes once you know your batch is set and the kids are confident with the knife.