Smoothie pops are frozen fruit treats made by blending ripe fruit with a creamy base, pouring the mixture into molds, and freezing it until firm. Learning how to make smoothie pops for kids takes about ten minutes of prep and no cooking at all. The trick is blending the base completely smooth and freezing it overnight so it comes out creamy instead of icy.
I make these roughly once a week in summer, mostly from fruit that is about to go soft on the counter. My oldest picks the flavors, my youngest drops the sticks in, and both of them eat something that has real fruit in it.
Table of Contents
- What You Need
- Step-by-Step
- Step 1: Choose and Prepare the Fruit
- Step 2: How to Make Smoothie Pops for Kids: Blend the Base
- Step 3: Pour and Freeze the Pops
- Step 4: Unmold and Serve
- Common Mistakes
- Fix the Texture, Freezing, and Serving Problems
- Helpful Smoothie Pop Tips
- Frequently Asked Questions
- Can I make smoothie pops without a blender?
- How long do homemade smoothie pops take to freeze?
- What fruit is best for kids’ smoothie pops?
- Can I use yogurt or nut butter in smoothie pops?
- How do I stop smoothie pops from sticking to the molds?
- Are smoothie pops healthy for children?
- Conclusion
What You Need
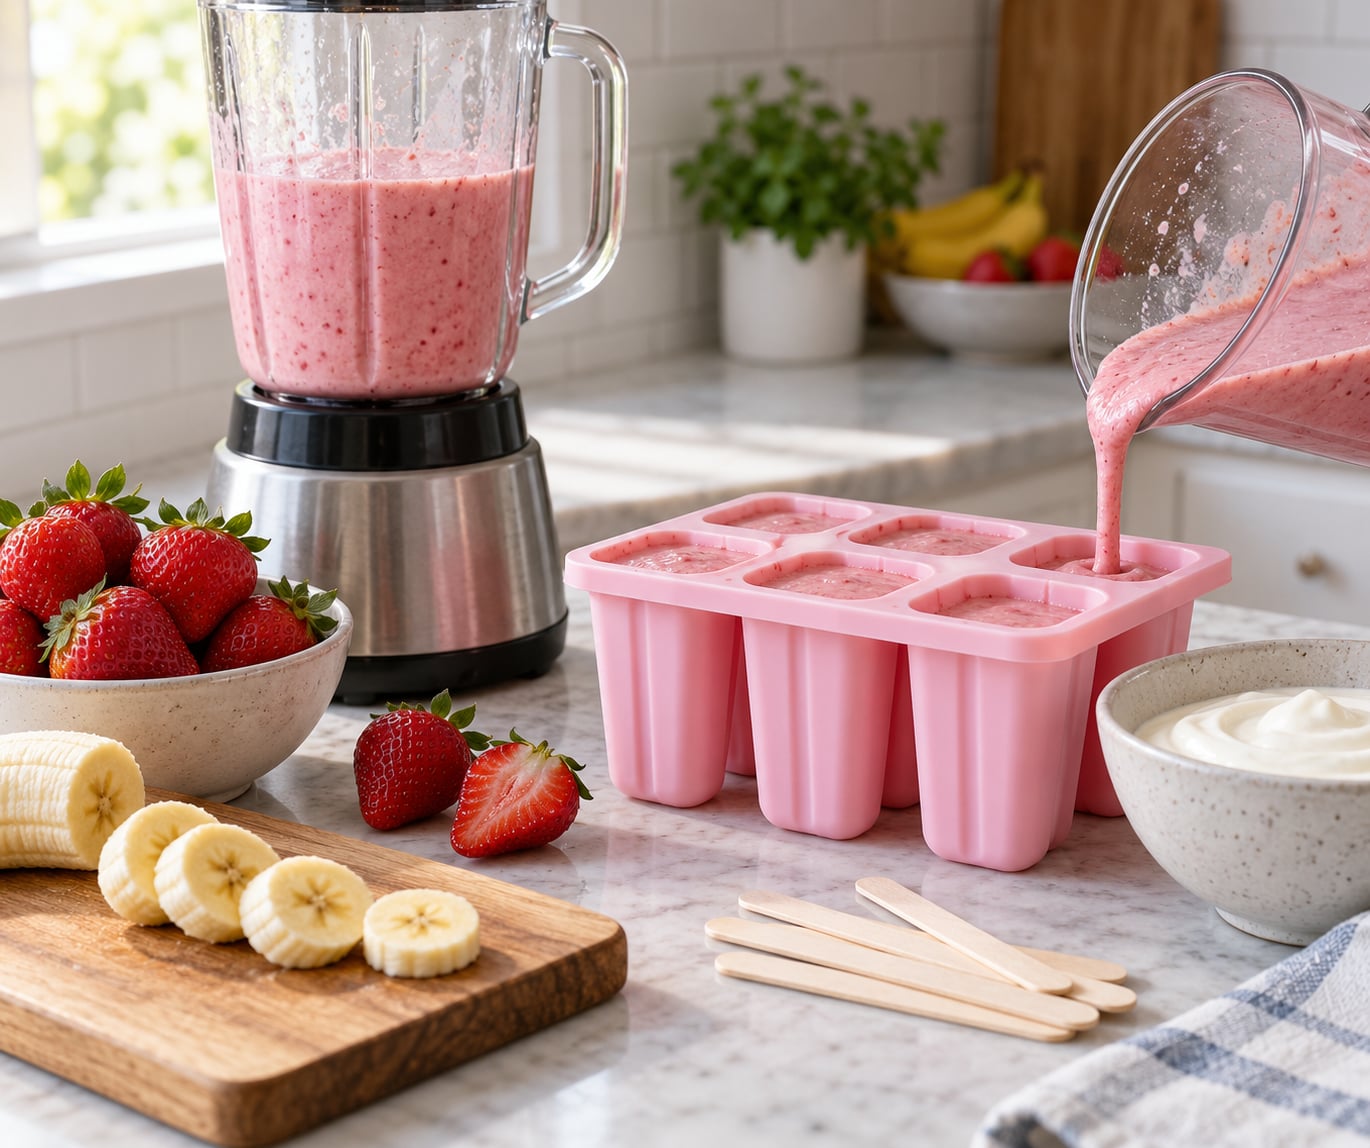
The equipment list is short. You need a blender, a set of silicone or hard plastic popsicle molds, and wooden or reusable popsicle sticks. A spatula helps more than you would expect, since scraping thick mixture out of a blender jar is the messiest part of the whole job.
For ingredients, keep the formula simple and flexible: about 2 cups of fruit, roughly 3/4 cup of creamy base, and 1 to 2 tablespoons of sweetener. The banana carries most of the sweetness in most of my batches, so a lot of the time the sweetener is optional.
- Fruit: bananas, strawberries, raspberries, blueberries, mango, pineapple, peaches, or pears.
- Creamy base: plain Greek yogurt, full-fat coconut milk, milk, coconut water, or juice.
- Thickener: Greek yogurt, a ripe banana, or 1 tablespoon of chia seeds.
- Sweetener: maple syrup, honey (for kids over one), or nothing at all.
- Extras: spinach or carrot for hiding, cinnamon, vanilla, or a spoonful of nut butter if nuts are allowed.
Switching the base liquid changes both the texture and the sweetness, so it is worth thinking about before you start.
| Base liquid | What the pop turns out like | Best for |
|---|---|---|
| Plain Greek yogurt | Creamy and tangy, freezes solid quickly | Classic berry and banana pops |
| Full-fat coconut milk | Rich and smooth, very creamy when frozen | Mango and berry combinations |
| Milk | Lighter, softer, less intense flavor | Breakfast-style pops |
| Coconut water | Light and fruit-forward, freezes slightly harder | Citrus and cucumber flavors |
| 100 percent juice | Sweeter, fruitiest, cheapest to pour | Trial flavors kids have never tried |
One note on produce: pineapple, mango, coconut, and some citrus are tough and fibrous, so give them a longer blend or use frozen pieces. Berries and bananas are soft and blend in seconds.
Step-by-Step
Step 1: Choose and Prepare the Fruit
Ripe fruit blends smoother and tastes sweeter than fruit picked green, so let your bananas and peaches soften on the counter first. Frozen fruit works just as well and often makes a better pop because it is already partly broken down.
Remove everything that will not blend smoothly: seeds, pits, peels, and tough cores. A stray strawberry seed or the woody center of a pear is exactly what makes a kid spit out a pop on the first bite, so take five minutes to clean the fruit properly.
Chop soft produce into small pieces, roughly half-inch cubes. The blender works harder on big chunks, and small pieces are the difference between a smooth pop and one with frozen fruit bits hiding inside.
Step 2: How to Make Smoothie Pops for Kids: Blend the Base
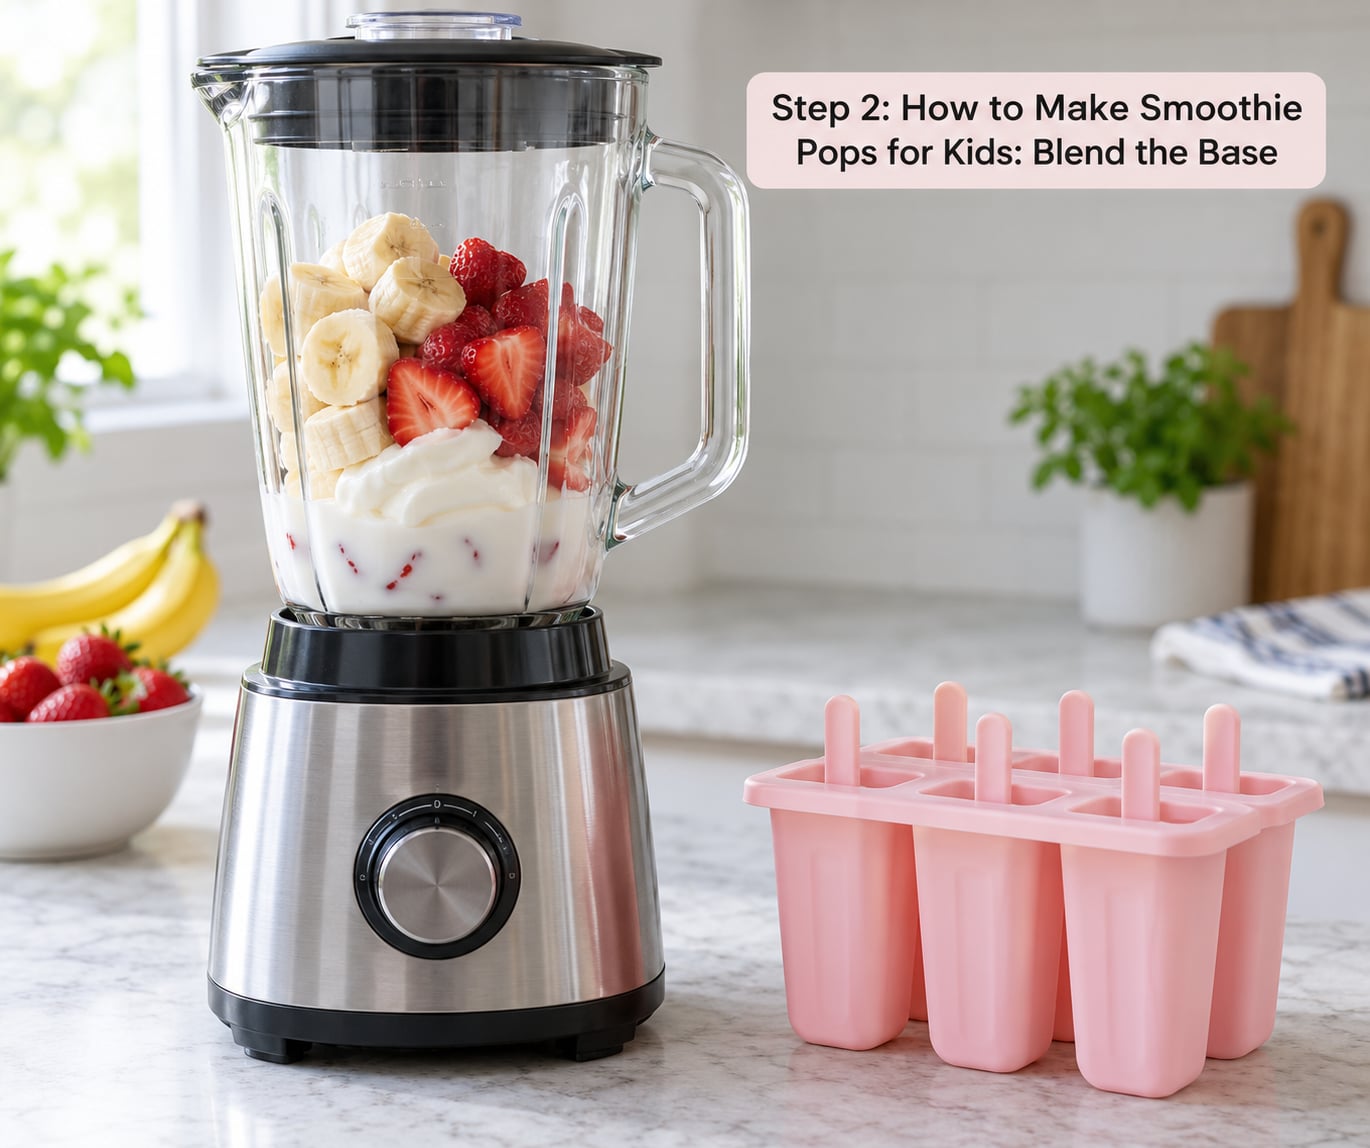
Put the fruit in the blender first, then add about three-quarters of a cup of your chosen base liquid. Add the thickener and sweetener at this stage. Starting with liquid and fruit in that order prevents the blades from jamming on a solid chunk.
Blend on high until the mixture is completely smooth, then stop the blender and scrape the sides down with a spatula. That pause catches the pocket of fruit stuck above the blades, and it is the step people skip and then wonder why their pops are speckled with frozen bits.
Test the consistency before you pour. It should be thick enough to hold a groove that slowly fills back in, similar to soft serve. If it runs like juice, add more fruit or a tablespoon of yogurt. If it is so thick it will not flow, add a splash more liquid.
Step 3: Pour and Freeze the Pops
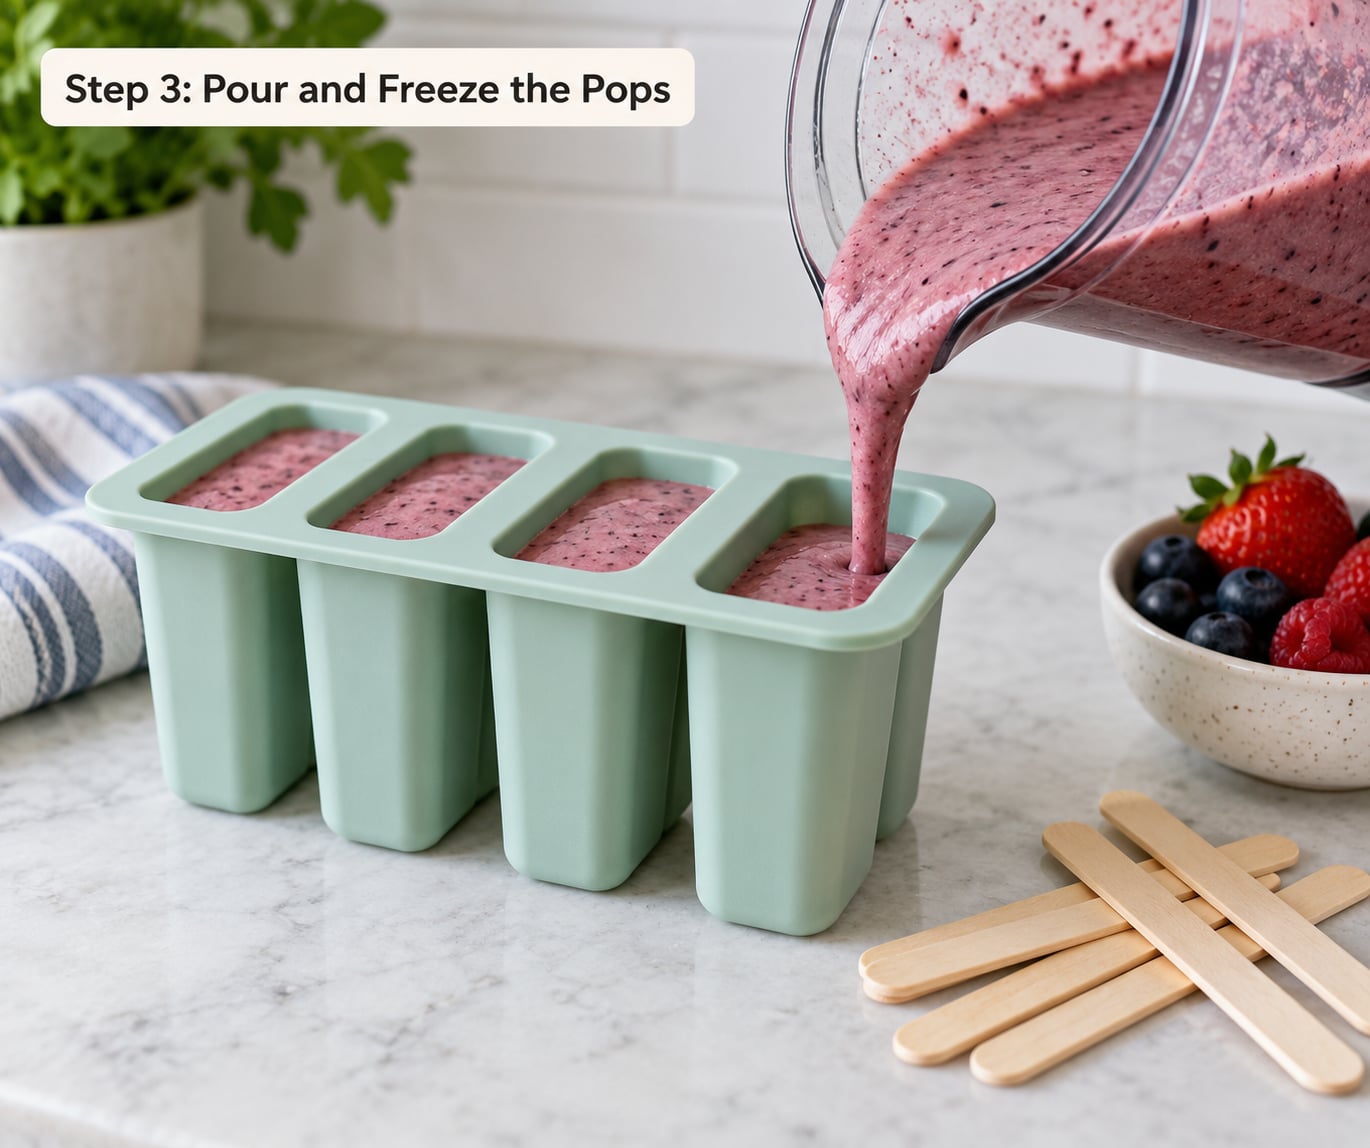
Fill each mold two-thirds of the way. Overfilling looks appealing in a photo and produces pops with a wide, thin top that tips off the stick, so leaving that headroom is worth it. Wipe the rim of each mold with a paper towel before it freezes.
Set the stick in the center of each mold and hold it upright while you move on to the next one. Small molds stay more upright if you prop the whole tray against a folded towel or the back of a freezer drawer.
Freeze until firm, which takes several hours. An overnight freeze is the safe plan, and placing the tray at the back of the freezer where the cold air is strongest usually beats the front door shelf.
Step 4: Unmold and Serve
To get pops out without cracking them, let the tray sit on the counter for two or three minutes first. Then run warm water over the outside of the mold for about fifteen seconds. The silicone will flex enough that the pop slides out with a gentle pull on the stick.
For rigid plastic molds, warm water takes longer to work, so expect to work the pop loose with a butter knife along the edges instead. Go slowly, since the usual reason a pop breaks is impatience.
Serve them straight from the freezer, or let one soften on the counter for five minutes if the child is young or the weather is hot. Store leftover pops in a freezer bag or a covered container in the coldest part of the freezer, and use them within a month.
Common Mistakes
Fix the Texture, Freezing, and Serving Problems
Frozen fruit bits inside the pop. This happens when the fruit was chopped too large or the blender was not scraped down. Next time, cut smaller and blend a full minute past the point where it looks done.
The mixture is too runny to hold a stick. Blend in a frozen banana or two more tablespoons of Greek yogurt. A runny base freezes into a flat puddle that slides straight off the stick, and thickening it before pouring is the whole fix.
The pop froze solid and rock-hard. Fruit-only bases freeze harder because of all the sugar and fiber. Adding a creamy base or fat such as coconut milk or nut butter changes the texture noticeably.
The mold freezes too slowly. Small molds, molds sitting in the warmest part of the freezer, and a full door opening all add time. Set the tray on a metal baking sheet, which pulls heat out of the molds faster than plastic.
The flavor gets rejected. Overripe fruit turns mealy and a bit dull, and some combinations are simply not appealing to a child. Berries, bananas, mango, and vanilla are safe bets. Save the vegetable-forward versions for a week when everyone is in a good mood.
Helpful Smoothie Pop Tips
Use a banana as your sweetener and your thickener at the same time. One ripe banana adds sweetness, body, and a creamy texture, so most batches need nothing else added.
Try coconut water or milk instead of yogurt when you want a lighter pop, and save yogurt for the flavors where its tang works, such as strawberry or mixed berry.
Make half-sized molds or cut a large pop in half lengthwise for younger children. Smaller portions are also easier for a kid to finish before the pop softens and drips.
Double the recipe and freeze the extra pops in a mold you can reach without unstacking everything. A week of after-school treats sorted on one tray is the reason most families bother with a mold in the first place.
Frequently Asked Questions
Can I make smoothie pops without a blender?
You can, but the texture will be coarser. Mash soft fruit with a fork or potato masher, then stir in the creamy base and thickener. A blender is worth it when you can, because the fine, even texture is what makes kids willing to take a second bite. For very soft fruit such as banana or mango, hand mashing works nearly as well.
How long do homemade smoothie pops take to freeze?
Most homemade pops need four to six hours in a standard freezer, and freezing overnight is the safe plan. Small molds set faster than large ones, and a tray placed at the back of the freezer on a metal sheet usually solidifies sooner than one sitting in the door. If the pops are still slushy in the morning, give them a few more hours.
What fruit is best for kids’ smoothie pops?
Bananas, strawberries, raspberries, blueberries, mango, and peaches are the reliable choices because they blend smooth and taste naturally sweet. Start with a banana as the base fruit, then add one or two others for color and flavor. Pineapple and coconut blend beautifully but are fibrous, so freeze them first or give them a longer blend.
Can I use yogurt or nut butter in smoothie pops?
Both work well and change the finished pop in useful ways. Plain Greek yogurt makes a creamy, tangy pop that freezes quickly. Nut butter such as almond or peanut adds fat and protein and softens the texture, but it must be stirred in thoroughly to avoid oily pockets. For a nut-free version, use sunflower seed butter instead.
How do I stop smoothie pops from sticking to the molds?
Warm water is the simplest fix. Run the outside of the mold under warm water for about fifteen seconds, let the tray sit at room temperature for a few minutes, then pull the stick gently. Silicone molds flex and release easily this way. For rigid plastic molds, work the edges loose with a butter knife, slowly, since rushing is what cracks a pop.
Are smoothie pops healthy for children?
They can be a nutritious frozen treat made from whole fruit with a yogurt, milk, or coconut base, and they let you control the sugar and additives. For children under two, serve fruit-only pops with no added sweeteners, and check with your pediatrician about when honey and other sweeteners are appropriate. Let young children hold the pop with a wrapper around the stick so they cannot work it loose and chew on it.
Conclusion
If you only remember one thing, start here: pick ripe fruit, remove every seed and bit of core, blend it until completely smooth, fill the molds two-thirds full, and freeze until firm, which usually means overnight. The rest is adjusting the base liquid and the fruit combination to suit your child’s taste.
Once you have one batch down, keep a mental note of what worked. Double the next one, label the tray with the date, and you have a freezer stash of ready treats for the rest of the week.