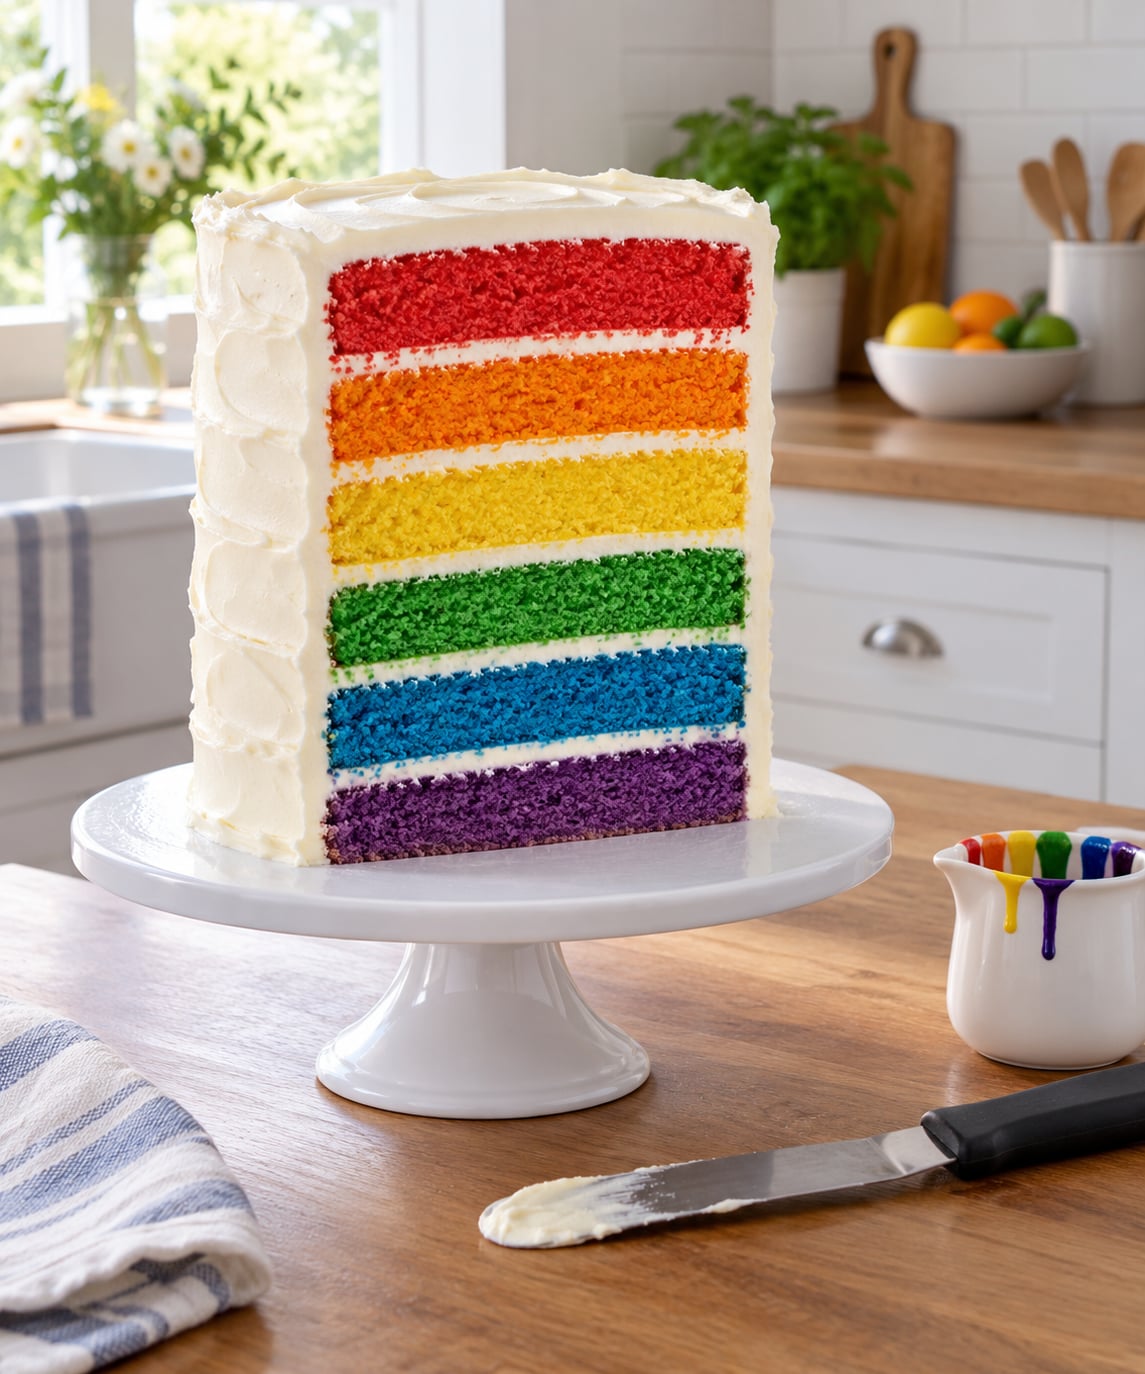
A six layer rainbow cake starts with one batch of plain vanilla sponge, divided into six bowls, tinted red through purple, and baked in three batches of two layers. Stack them purple at the bottom to red at the top with frosting between each layer and a piped frosting dam around every edge, and the tall stack stays upright instead of sliding sideways.
It takes about three and a half hours start to finish, plus cooling and chilling time, and most of that hands-on work is only about 50 minutes. You need three 8-inch round tins, not six. The trick that makes or breaks this cake is keeping the six layers the same depth, so weigh the batter and bake each layer for the same time rather than eyeballing it.
Here is exactly how to make a six layer rainbow cake that holds together, with tested quantities in both metric and US cups, and the fixes for the three problems that come up most: domed tops, uneven layers and colours bleeding into each other.
Table of Contents
- What You Need
- Step-by-Step: How to Make a Six Layer Rainbow Cake
- Prepare the Pans and Mix the Batter
- Bake and Cool the Six Cake Layers
- Color the Batter or Frosting
- Stack and Frost the Cake
- Finish and Serve the Cake
- Common Mistakes and Tips
- Frequently Asked Questions
- Do I need three 8-inch cake pans to make a six layer rainbow cake?
- Can I make a six layer rainbow cake ahead of time?
- How do I keep the rainbow colors from bleeding into one another?
- What type of food coloring gives the brightest rainbow layers?
- How long should I bake three cake layers in 8-inch pans?
- Can I make a six layer rainbow cake with fewer layers?
What You Need
The practical answer to the most common question: three 8-inch (20 cm) round cake tins is enough for six layers. You bake two layers at a time, so six layers means three oven rounds of roughly 25 to 28 minutes each. If you only own two tins, add 30 to 35 minutes to the bake schedule.
For the equipment, you will want an electric mixer or a hand mixer for the sponge and the frosting, a kitchen scale if you have one, three 8-inch round tins, baking paper, a wire cooling rack, an offset spatula, a piping bag with a round tip and a bench scraper for the sides. A cake board that is a few inches larger than your tins carries the finished stack to the table without it flexing.
Do not flour the tins. A thin layer of flour dulls the colour and clings to the cake, which is exactly the pale, dusty finish most people are trying to avoid. A baking-paper lining plus a very light wipe of oil or butter-free non-stick spray gives clean release and keeps each colour true.
The ingredients for six 8-inch layers, one batch of batter:
- 340 g (3 cups / 12 oz) plain or all-purpose flour
- 2 teaspoons baking powder
- 1/2 teaspoon salt
- 340 g (1 3/4 cups / 15 oz) granulated or caster sugar
- 227 g (1 cup / 8 oz) unsalted butter, room temperature
- 4 large eggs, room temperature
- 240 ml (1 cup / 8 fl oz) whole milk, room temperature
- 2 teaspoons vanilla extract
- Gel food colouring in red, orange, yellow, green, blue and purple
That quantity gives roughly 750 g of batter, which is about 125 g per layer in an 8-inch tin. That ratio matters, because a thin layer that is too tall in the tin domes and cracks on top.
| Tin size | Batter per layer | Bake time | Total yield from this batch | Serves |
|---|---|---|---|---|
| 6 inch (15 cm) | about 95 g (1/3 batch) | 18 to 22 min | Eight layers | 10 to 12 |
| 8 inch (20 cm) | about 125 g | 25 to 28 min | Six layers | 16 to 20 |
| 9 inch (23 cm) | about 160 g | 32 to 36 min | Five layers | 22 to 26 |
On colouring, gel beats liquid every time for this cake. Liquid food colouring is mostly water, so you need so much of it that the batter turns thin and the layer bakes up pale. Gel colour is concentrated: roughly 1/4 teaspoon per bowl gives a strong shade in this recipe, though you will almost certainly vary a little between colours. Use fresh spatulas for each bowl. Sharing one spoon is the fastest route to muddy brown layers.
For frosting, buttercream is the safest choice for a build this tall. Here is how the four common options compare across six layers.
| Frosting | Amount for six layers | Holds a tall stack | Best for |
|---|---|---|---|
| American buttercream | about 900 g | Excellent | Warm rooms and beginner decorating |
| Swiss meringue buttercream | about 900 g | Excellent | Softer, less sweet finish |
| Cream cheese frosting | about 750 g | Good, keep refrigerated | Vanilla sponge and a tangier flavour |
| Whipped cream, gelatin-stabilised | about 900 ml | Fair, only with gelatin | Light, less sweet cakes |
Step-by-Step: How to Make a Six Layer Rainbow Cake
Prepare the Pans and Mix the Batter
Heat the oven to 175 C conventional, or 160 C fan, and line all three tins with baking paper. Let the paper sit flat against the base with no ridges, because every ridge shows up in the finished layer.
Cream the butter and sugar with an electric mixer for a full 4 minutes at medium-high, until it is noticeably pale. This step is the one people rush, and it is where the lift and the fine crumb come from. Scrape the bowl twice.
Add the eggs one at a time, beating 30 seconds between each, then the vanilla. If the mixture looks like it might curdle, add a tablespoon of the flour and mix again. Sift in the flour, baking powder and salt with the mixer on low, then pour in the milk in two additions and mix only until just combined.
Now divide the batter. Spoon it into six separate bowls, weighing each as you go until you have six portions of roughly 125 g. Level them with the back of a spoon. Even division here is the single biggest reason layers come out the same height, and it is faster than eyeballing.
Bake and Cool the Six Cake Layers
Add a little more gel colour to each bowl than looks right on the spoon. Colours bake paler than they look wet, so aim half a shade deeper than you want the finished cake.
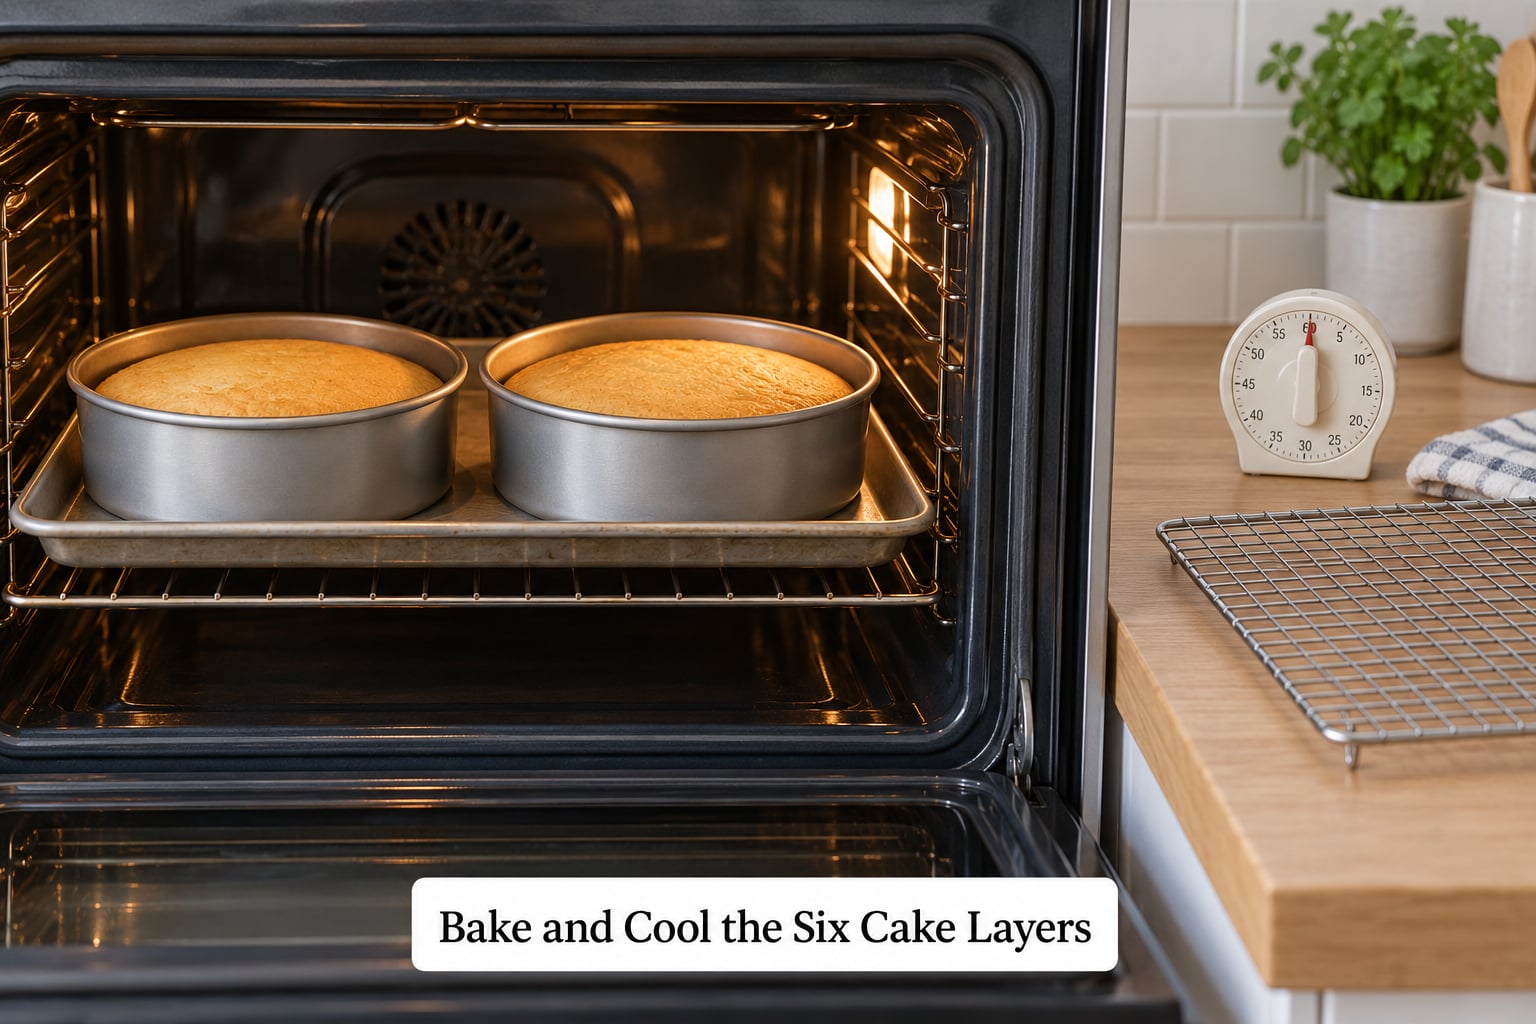
Pour two bowls into two lined tins and bake on the middle shelf for 25 to 28 minutes in a conventional oven, less around 4 minutes for a fan oven. Rotate both tins halfway, front to back. Bake the remaining four layers in two more rounds.
A thin layer is done when it springs back lightly when pressed in the centre and a skewer comes out with a few moist crumbs. If it comes out completely clean it is a minute or two over. Over-baked thin layers turn dry and crumbly, which is a common complaint in home baking forums, and it usually comes from baking to the clean-skewer test rather than to the spring-back test.
Cool in the tin for 10 minutes, then turn out onto a wire rack. Layers that cool in the tin trap steam against the base and tear when you try to lift them out. Let them cool completely, about an hour, before they go anywhere near frosting.
Color the Batter or Frosting
There are two ways to get the rainbow effect, and colouring the batter gives the true version seen when you cut a slice. Colouring the frosting is faster and gives a much smoother finish because there is no batter colour to patch.
For coloured layers, use gel and add it directly to each bowl. Mix with a spatula from the outside in rather than beating, so you keep as much air in the sponge as possible. If a colour looks streaky, a few stirs with a clean whisk finishes it.
For coloured frosting, tint each portion after the buttercream is finished, before it goes into the piping bag. A thin coat of buttercream on the outside in white, with coloured frosting only between the layers, is also a popular look and much easier to keep crisp.
Whatever route you pick, keep the frosting stiff enough to hold a ridge. If the buttercream droops off the spatula when you lift it, chill the bowl for 20 minutes and beat again. Soft frosting slumps between six layers and pushes the stack sideways.
Stack and Frost the Cake
Level each cooled layer with a long serrated knife held at a low angle, sawing gently from the outside in. A ruler held upright against the side of the tin while you cut gives you a straight guide. Take your time here; a 2 mm difference in six layers shows up clearly in the side of the finished cake.
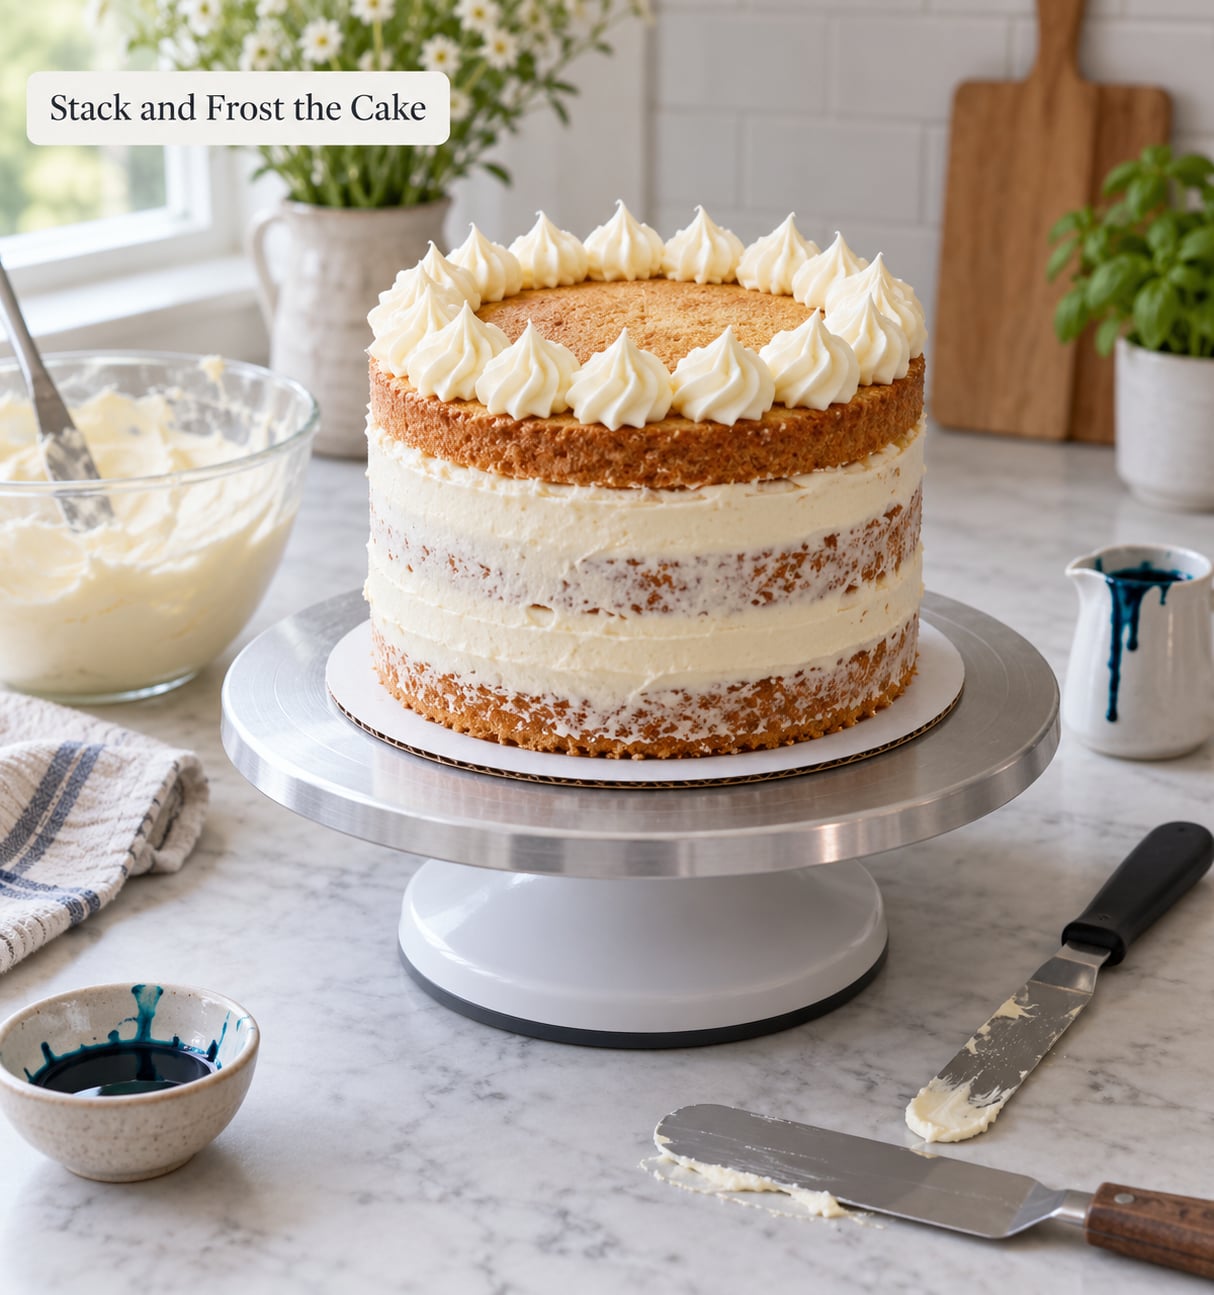
Stack purple at the bottom and red at the top. Put the first layer on the board with a dab of frosting underneath so it cannot move, then spread a thin, even layer of frosting about 5 mm thick on top. Spread it right to the edge rather than stopping short, or you get a gap ring around the outside.
Here is the part that stops everything sliding. Before the next layer goes on, pipe a ring of frosting right around the perimeter of the layer, then push the next layer down into it. That ring is a dam, and it acts as a wall that keeps each layer centred. Experienced home bakers use it on every tall build for exactly this reason.
Chill the stack in the fridge for 20 minutes after every second layer. Six layers of sponge and filling are heavy, and a fifteen-minute pause lets the buttercream set enough to carry that weight without the stack leaning.
Once the top layer is on, do a thin crumb coat: a scant millimetre of frosting over the whole cake, sides included. Scrape it smooth with the bench scraper, then chill for 30 minutes. The crumb coat seals the crumbs so the final coat pulls off cleanly and the sides stay straight.
Finish and Serve the Cake
Finish with the final coat of frosting in white or in whichever colour you chose, smoothed with the offset spatula against a turntable. A turntable turns the scraping problem into a steady hand problem.
For a border, pipe shells around the top edge with a star tip, or add sprinkles just onto the top border so they do not run into the sides. A topper on sticks goes in last and hides the join.
Chill the finished cake for at least an hour before slicing. Cold buttercream cuts clean instead of dragging crumbs into the slice, and a clean cut is the whole point of a rainbow cake.
The cake keeps covered at room temperature for two days and in the fridge for up to five. Buttercream sandwiches travel better than whipped cream ones, which need to stay cold. To freeze, wrap each layer separately in two layers of cling film and freeze for up to three months; thaw them in the fridge overnight, still wrapped, and assemble the next day.
If you like to plan ahead, work backwards from the party. Two days out, bake the six layers and freeze them. One day out, thaw in the fridge, make the frosting, stack, crumb coat and chill. Party day, final coat, border and topper.
Common Mistakes and Tips
Most rainbow cake problems come down to one of three things: the layers were not equal, the frosting was too soft, or the colours ran. Here is what to do about each.
| Symptom | Cause | Fix |
|---|---|---|
| Layer tops dome | Batter was too deep, oven too hot, or baking powder was doubled | Reduce baking powder to 1 3/4 teaspoons, drop the temperature by 15 C, and check at 22 minutes so you pull it before the peak sets |
| Layers of different heights | Batter was spooned in unevenly | Weigh each portion of batter before it goes in the tin, at about 125 g for an 8-inch tin |
| Colours bleeding together | Batter was still warm when stacked, or one utensil was used for two colours | Chill each layer 20 minutes before stacking and use a separate clean spatula per colour |
| Stack leaning or sliding | Too little filling, no dam, or frosting too soft | Pipe a dam ring on every layer, level the filling with the back of the spatula, and chill 20 minutes between layers |
| Layers crack across the top | Over-baked | Pull at 22 to 24 minutes and use the spring-back test instead of the clean-skewer test |
| Cake squashes under its own weight | Too soft a filling, or stacked too quickly | Chill after every second layer and overnight before serving if you can |
| Crumbs pull into the final frosting | Crumb coat was skipped or too thin | Do a proper crumb coat and chill it 30 minutes before the final layer of frosting |
Two tips that make the biggest difference. Weigh your batter, because it turns layer equalisation from guesswork into a two-minute job with a scale. And freeze your layers if the party is more than a day away, because a thawed layer stacks far better than a fresh one straight from the tin.
If you own only one or two tins, you can still do this. Bake the layers in a single sheet pan, trimming each coloured sheet into a 8-inch circle with a sharp knife once it is cool, or turn the whole thing into rainbow cupcakes with the same batter and less stacking. Four layers work well too: halve the recipe for a smaller cake, or bake the extra two layers as a second batch and turn them into cupcakes.
And if you would rather start from a box, use a plain white cake mix, add the gel colour to the wet ingredients rather than the dry, and follow the rest of the method the same way. The from-scratch version above gives a finer crumb and costs almost nothing extra.
Frequently Asked Questions
Do I need three 8-inch cake pans to make a six layer rainbow cake?
Three 8-inch (20 cm) round tins is the practical minimum, because you bake two layers at a time and need three rounds. Six separate tins is overkill. Two tins work fine, but add 30 to 35 minutes because you will run more oven batches. If you have only one tin, bake a sheet-pan layer, trim it into a circle once cool, and treat it as your round. The batter quantity in this recipe gives about 125 g per layer in an 8-inch tin.
Can I make a six layer rainbow cake ahead of time?
Yes, and it stacks better than a cake baked the same day. Bake the six layers, cool them fully, then freeze each one wrapped in cling film for up to three months. Thaw in the fridge overnight, still wrapped, then stack with the frosting. The full cake keeps covered at room temperature for two days or in the fridge for up to five, so the day before a party is safe.
How do I keep the rainbow colors from bleeding into one another?
Three things prevent bleeding. Chill each baked layer in the fridge for 20 minutes before you stack it, because warm frosting melts into a warm sponge and drags colour sideways. Use a separate clean spatula for each colour when dividing the batter. And push each layer down firmly into its frosting dam so the colour is sealed between two flat surfaces rather than exposed at the edge.
What type of food coloring gives the brightest rainbow layers?
Gel food colouring, by a wide margin. Liquid colour is mostly water, so you need enough of it to thin the batter, and a thinner batter bakes up paler. Start with about 1/4 teaspoon of gel per bowl and add more until the batter looks a shade deeper than the finished cake, since baking softens colour. Avoid colouring the flour, which dulls the shade and can leave streaks.
How long should I bake three cake layers in 8-inch pans?
Two layers fill two 8-inch tins and bake together at 175 C conventional or 160 C fan for 25 to 28 minutes, so three rounds covers all six layers. Start checking thin layers at 22 minutes and pull them when the centre springs back lightly and a skewer comes out with a few moist crumbs. Rotate the tins halfway through, and never bake until the skewer is completely clean.
Can I make a six layer rainbow cake with fewer layers?
Yes, and four layers is the easiest version. Halve the recipe and bake it as two layers, which gives a shorter but still colourful cake that a child can decorate. Another option is to bake the full batch as six layers and serve two as cupcakes or a small traybake. Do not bake thicker layers in the same tins, because deep batter domes and cracks.
Start with the batter, not the decorating. Weigh each portion into six bowls of about 125 g, colour them with gel, and bake two layers at a time at 175 C. Once they are cool and level, stack purple to red with a piped dam on every layer and a 20-minute chill in between. That is how to make a six layer rainbow cake that stands straight up to the last slice.