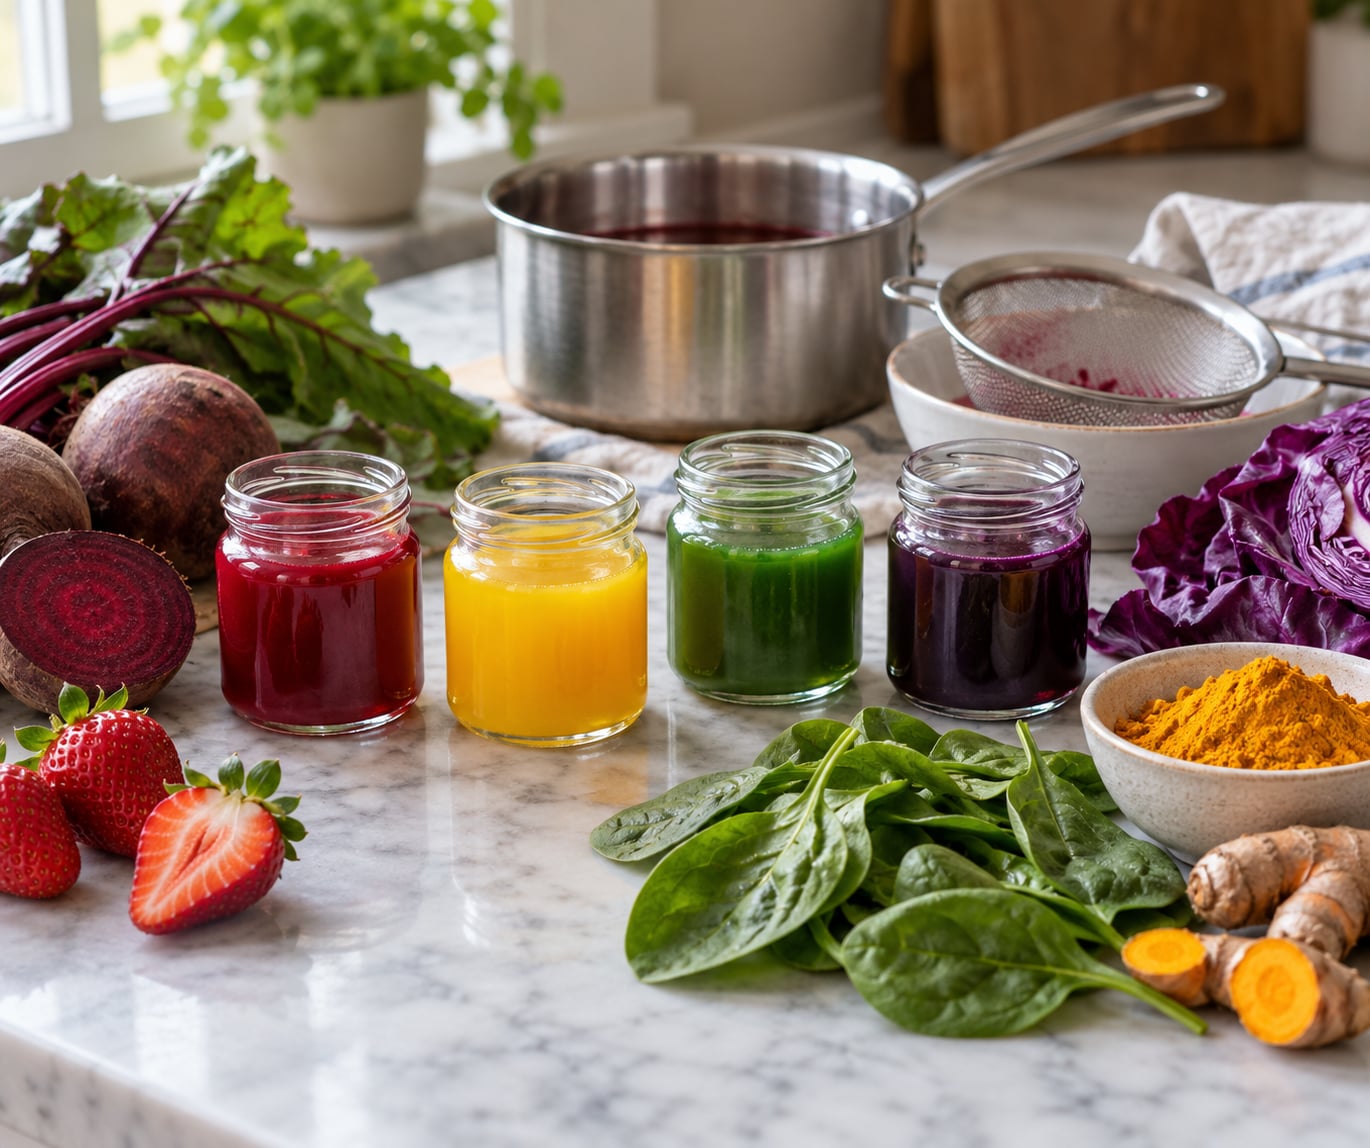
Making natural food coloring at home comes down to two base formats: concentrated liquids and fine powders. Simmer or steep produce in water, strain it, and boil the liquid down for a strong tint, or stir a pinch of freeze-dried powder into a few drops of water for color you can dose drop by drop.
Beets and berries handle red and pink, turmeric and saffron handle yellow and orange, spinach and matcha handle green, and red cabbage plus a pinch of baking soda gives you blue. None of it takes more than about an hour, and most of it costs a few cents per batch.
I make dye more often than I expected to. The part that catches people out is not the color, it is the taste, the thinning, and what happens in the oven. That is what this guide covers, method by method, plus the mistakes that waste a batch.
Table of Contents
- What You Need
- Step-by-Step: How to Make Natural Food Coloring at Home
- 3. Make Red Coloring From Beets or Berries
- 4. Make Yellow Coloring From Turmeric or Saffron
- 5. Make Green Coloring From Spinach or Herbs
- 6. Make Blue or Purple Coloring From Red Cabbage
- Common Mistakes
- Frequently Asked Questions
- How long does homemade natural food coloring last in the fridge?
- What are some natural blue food colors?
- Is food coloring safe for babies?
- Why does my homemade food coloring taste like the vegetable?
- How can I make my natural coloring more intense?
- Can I use natural food coloring in playdough and paint?
- Start With One Simple Color
What You Need
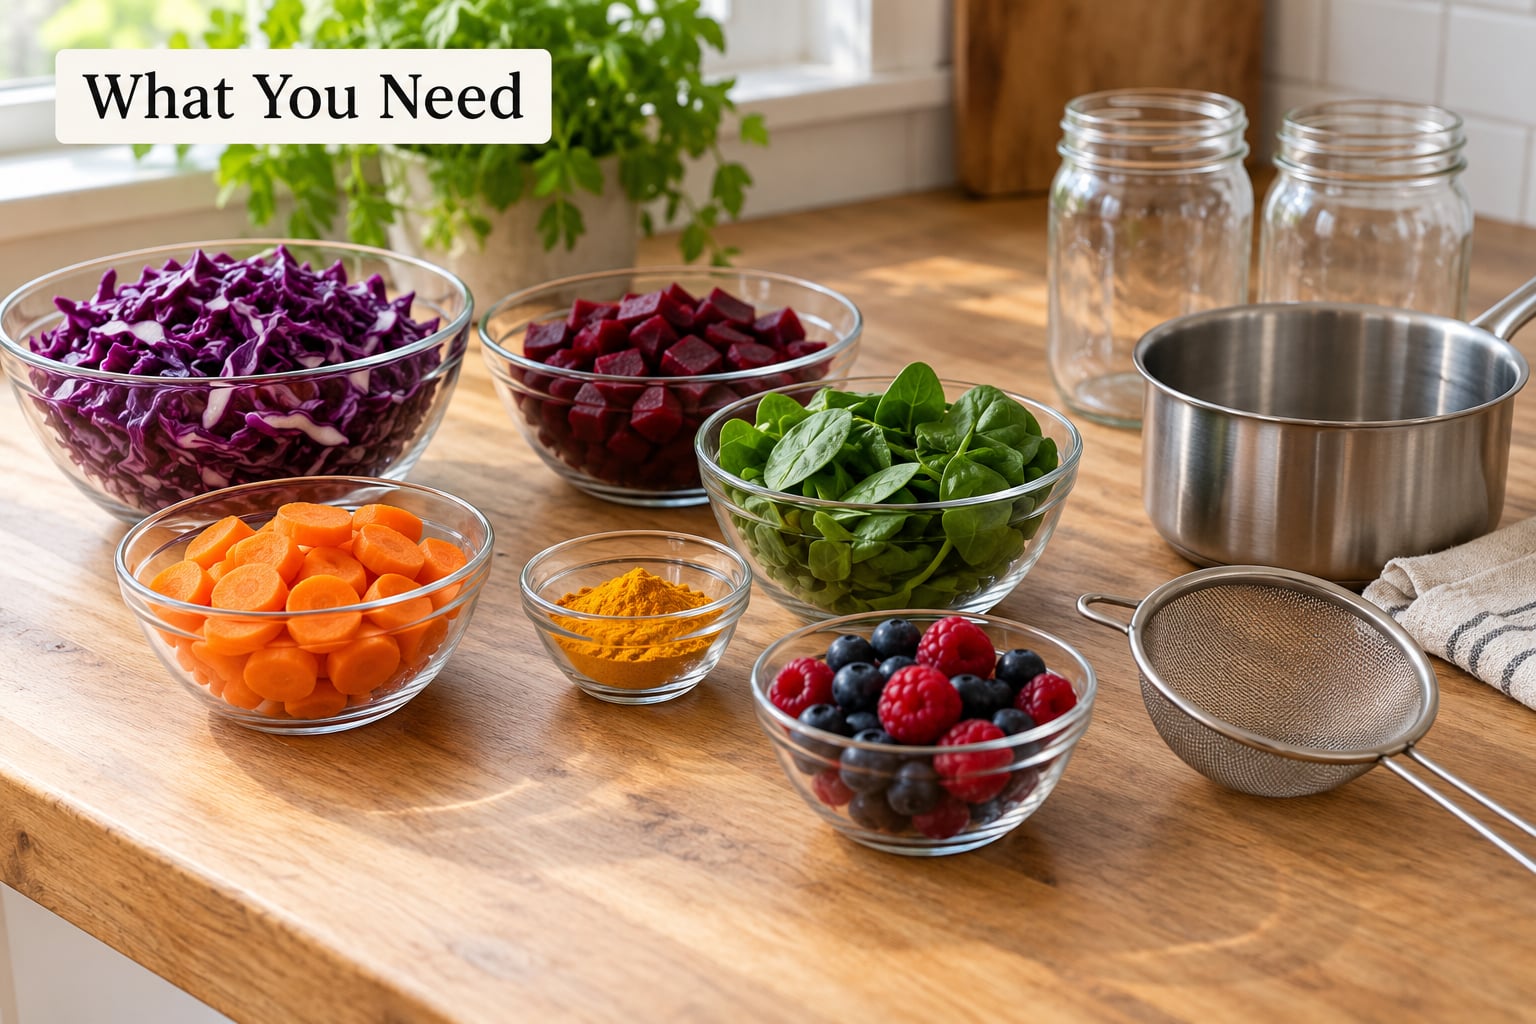
The ingredient list is short because you are using food you already buy. What matters more is having the right tools, since most weak color comes from skipping the straining step or failing to reduce the liquid.
- Color sources: beets, red cabbage, spinach, kale, parsley, cilantro, carrots, sweet potato, turmeric, saffron, paprika, annatto, strawberries, raspberries, blueberries, blackberries, hibiscus flowers, matcha, spirulina, cocoa powder, and black tea.
- A sharp knife and cutting board for chopping produce as small as you can manage. Smaller pieces release pigment faster.
- A small saucepan with a lid, or a steamer basket if you would rather keep the produce out of the liquid.
- A fine mesh strainer or a few layers of cheesecloth in a bowl. This is the step people skip and the step that decides whether your icing is smooth.
- A potato masher or immersion blender for leafy greens and fruit you want pureed rather than steeped.
- Spoon or dropper measure for dosing color into frosting.
- Glass jars with lids and labels for the fridge, plus ice-cube trays for freezing extra.
- Vegetable glycerin, optional. A teaspoon or two in a strained dye keeps it from drying out and gives powders a smooth paste to sit in.
- Baking soda and vinegar, for shifting red cabbage dye between pink, purple, blue, and green.
Here is the short version of what each color needs. Note the flavor column, because that is the honest drawback most guides skip.
| Color | Source ingredient | Base | What it tastes like |
|---|---|---|---|
| Red | Beets, hibiscus, red cabbage plus vinegar | Liquid | Earthy, mild |
| Pink | Strawberries, raspberries, beets diluted | Liquid or powder | Fruity |
| Orange | Carrots, sweet potato, paprika, annatto | Liquid or powder | Warm, peppery for paprika |
| Yellow | Turmeric, saffron, lemon zest | Powder or liquid | Earthy for turmeric, floral for saffron |
| Green | Spinach, kale, parsley, cilantro, matcha | Liquid or powder | Green, grassy |
| Blue | Red cabbage plus baking soda, butterfly pea | Liquid | Slightly cabbage-like |
| Purple | Red cabbage, purple sweet potato, blackberry | Liquid | Fruity or vegetal |
| Brown | Cocoa powder, coffee, black tea, dates | Liquid | Bitter, familiar |
| Black | Activated charcoal, blackberry with baking soda | Liquid | Neutral to mineral |
Label every jar with the date you made it. Dye from this month is fresher than dye still sitting in the back of the fridge since last winter, and summer heat makes it spoil faster, so date labels matter more in July than in January.
Step-by-Step: How to Make Natural Food Coloring at Home
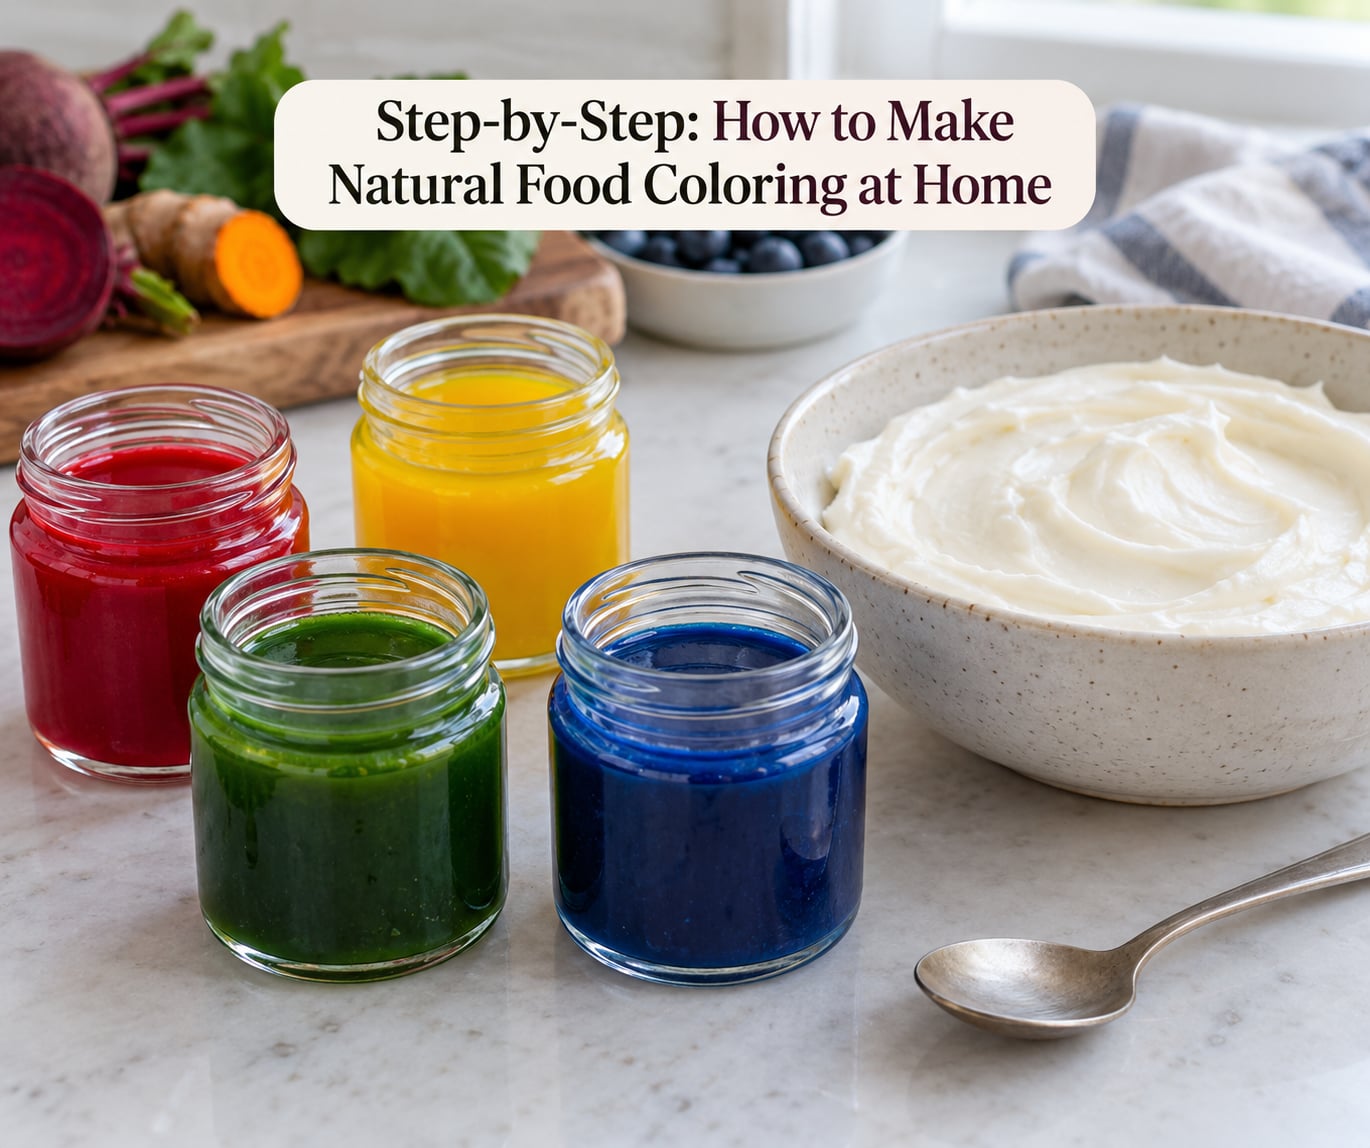
Two steps run through every color on this page, whether you end up with a liquid or a powder.
- Choose your base. Freeze-dried powders (beet, blueberry, turmeric, matcha, spirulina) give the cleanest, strongest color and they are already concentrated. Fresh produce gives you a liquid you have to strain and reduce. If you have never made dye before, use a powder first, because there is no guesswork about how much water to add.
- Release the pigment, then strain it. Chop the produce small, cover it with an equal volume of water (one cup chopped produce to one cup water), bring it just to a boil, then hold it at a gentle simmer for 45 to 60 minutes. Strain it through mesh or cheesecloth. For liquid dye, simmer the strained liquid uncovered until it drops to about a quarter cup, which concentrates both the color and the flavor.
That is the whole method. Everything below is a variation on the color source and the finishing move.
3. Make Red Coloring From Beets or Berries
Beets give the most reliable red at home. Peel and dice one or two beets, simmer them in a cup of water for 45 minutes, and the liquid turns a deep magenta. For pink rather than red, dilute the finished concentrate with water or stir a spoonful into a bowl of white icing.
Strawberries and raspberries work the same way and taste sweeter, but fresh fruit is mostly water, so you need a lot of it and a long simmer to get real color. Hibiscus flowers are worth knowing about: a handful steeped in hot water for 15 minutes gives a clear ruby red with very little flavor, which is the nicest red to work with for frosting.
Dosing, starting low and going up: half a teaspoon of beet powder per cup of frosting, or one to two teaspoons of liquid concentrate. Taste it before you commit, because the flavor scales with the color.
4. Make Yellow Coloring From Turmeric or Saffron
This is the easiest method of the four and the one I would hand to a first-timer. Stir a quarter to a half teaspoon of turmeric into two tablespoons of warm water, let it sit five minutes, then strain. That little amount makes a surprisingly strong golden yellow, and it needs almost no heat at all.
Saffron takes the soaking route instead. A few threads in a quarter cup of warm water for 15 to 20 minutes gives a clear yellow with a floral note and almost no bitterness. Turmeric is the one that turns bitter, and the fix is to strain out the sediment rather than stirring the whole powder in.
Both are heat-stable enough for baked goods, which makes them the most useful colors for cakes and cookies. Turmeric stains, so use a spoon you do not love.
5. Make Green Coloring From Spinach or Herbs
Green is a tint, not a deep color, and the more you chase it the more spinach flavor you get. The kindest version uses a small handful of spinach or kale blended with a few tablespoons of water, strained through mesh to catch every bit of fiber.
Parsley and cilantro work the same way and give a brighter, more yellow green. Matcha is the shortcut: it is a green powder with no bitterness, and half a teaspoon in a cup of icing produces color that reads clearly against white.
For a pale mint dough, add the strained liquid while the batter is still wet rather than adding powder to a dry mix. It also works well in savory sauces and pestos, where a color shift is less noticeable.
6. Make Blue or Purple Coloring From Red Cabbage
Red cabbage is the answer to the hardest question in this whole topic, which is how to get blue at home. Shred a half cabbage, cover it with water, simmer 45 minutes, and strain. The liquid comes out purple, and a pinch of baking soda added while it is still warm shifts it toward blue.
Add vinegar instead and it swings the other way to pink. The same liquid gives you purple, blue, and pink depending on what you add, which makes it the most useful single bottle to keep in the fridge.
The catch is that cabbage water tastes like cabbage, so use it where that flavor is welcome: glaze, Easter egg dye, a colored deviled egg filling, or royal icing on a cookie nobody is going to mind being slightly savory. Blueberry and purple sweet potato are the gentler alternatives if the flavor is the real problem.
Common Mistakes
The color came out pale. Most likely the produce-to-water ratio was too generous or you did not reduce the liquid. Simmer the strained liquid until it drops to about a quarter cup, and go a little beyond if it still looks weak. With powders, the fix is simpler: add half a teaspoon more rather than doubling the whole thing.
The color turned muddy. That is usually two complementary colors fighting each other, most often a red added to a green. Pick one source per batch. Muddiness in royal icing can also come from thinning the icing with your dye instead of mixing color into the buttercream, because watery icing spreads and the pigment settles in patches.
The dye is streaky or clumpy. Powder settles. Mix the powder with vegetable glycerin or a teaspoon of warm water first to make a smooth paste, then stir it into the frosting in two or three additions. If you used liquid concentrate, strain it a second time through cheesecloth before it goes anywhere near butter.
It tastes like the vegetable. The pigment and the flavor travel in the same water, so your options are limited: use less dye and accept a lighter color, pair the color with a flavor that already belongs in the recipe (lemon with yellow dye, berry with pink dye), or mix a second color in instead of adding more of the first. More dye always means more flavor.
The color faded or browned in the oven. Most plant colors are heat sensitive, and the anthocyanins in cabbage, beet, and berry dyes shift hue as they heat, which is why a purple cake can come out brownish. Add liquid dye to a wet batter rather than a dry mix, use it early in the bake, and expect a tint rather than the neon look of a gel color. Yellow and orange hold up noticeably better than blue and red.
The batch went bad before you used it. You will make more dye than any one recipe uses, so freeze the extra right away. Pour the strained liquid into ice-cube trays, freeze, and move the cubes to a bag or jar. Each cube is about a tablespoon, which is a sane amount for a small bowl of icing. Keep fridge jars sealed and use them within about a week, or a little longer for steeped spices than for simmered produce.
Frequently Asked Questions
How long does homemade natural food coloring last in the fridge?
Refrigerated in a sealed jar, a strained dye usually stays usable for about five to seven days, and steeped spices keep a little longer than simmered produce. Label the jar with the date, keep it below where you store butter, and discard anything that smells off or shows surface fuzz. Anything that will not be used within a week is better off in the freezer.
What are some natural blue food colors?
Red cabbage is the most reliable pantry source and the first one to reach for. Simmer shredded cabbage in water and strain it, and the liquid starts purple. A pinch of baking soda raises the pH and pushes that purple toward blue, while vinegar pulls it back to pink. Blueberry and purple sweet potato concentrate are gentler on flavor but lean more violet than true blue.
Is food coloring safe for babies?
Families often prefer homemade dye because they know every ingredient in it, and most kitchen dyes are simply a fruit, vegetable, or spice cooked in water. That said, no coloring is necessary for a baby to be healthy, and dye-heavy foods are not a good idea for toddlers as a snack. If you want guidance for your own child, ask your pediatrician.
Why does my homemade food coloring taste like the vegetable?
Because the pigment and the flavor move through the same water. You get three levers: use less dye and accept a lighter color, pair it with a flavor that already belongs in the recipe such as lemon with yellow dye, or reduce the liquid further so less of it carries taste into the batter. Reducing longer concentrates flavor too, so add the last few minutes slowly and taste as you go.
How can I make my natural coloring more intense?
Concentration is the main lever. Reduce the strained liquid until it drops to roughly a quarter cup, and remember that some of the flavor concentrates with the color. If you are using powders, start at half a teaspoon per cup of frosting and work up to two teaspoons, tasting each addition. A little vegetable glycerin also helps a thin dye hold onto the fat in buttercream instead of sliding off.
Can I use natural food coloring in playdough and paint?
Yes, and the same dyer you use for icing works for craft use. Beet, red cabbage, and turmeric dye salt dough and homemade finger paint nicely, and a strained vegetable liquid keeps the dough workable for a few extra sessions. Store craft dough in the fridge in a sealed bag, and treat it as a craft material rather than food, which matters if you have a toddler in the house.
Start With One Simple Color
If you only try one, make the turmeric. It needs five minutes, it does not stain the way beet does, it survives baking, and it turns a cup of white icing clearly yellow from a quarter teaspoon of powder. Stir it into two tablespoons of warm water, strain out the sediment, and test it in a small batch before you commit to a full bowl.
From there, red cabbage is the fun one to learn, because the same bottle gives you purple, blue, and pink depending on what you add. Once you have that habit down, the rest is picking the produce.
Do expect a tint rather than a neon gel color, and taste everything. That tradeoff is the whole deal, and once you stop comparing homemade dye to the bottle in the store, it stops feeling like a compromise.