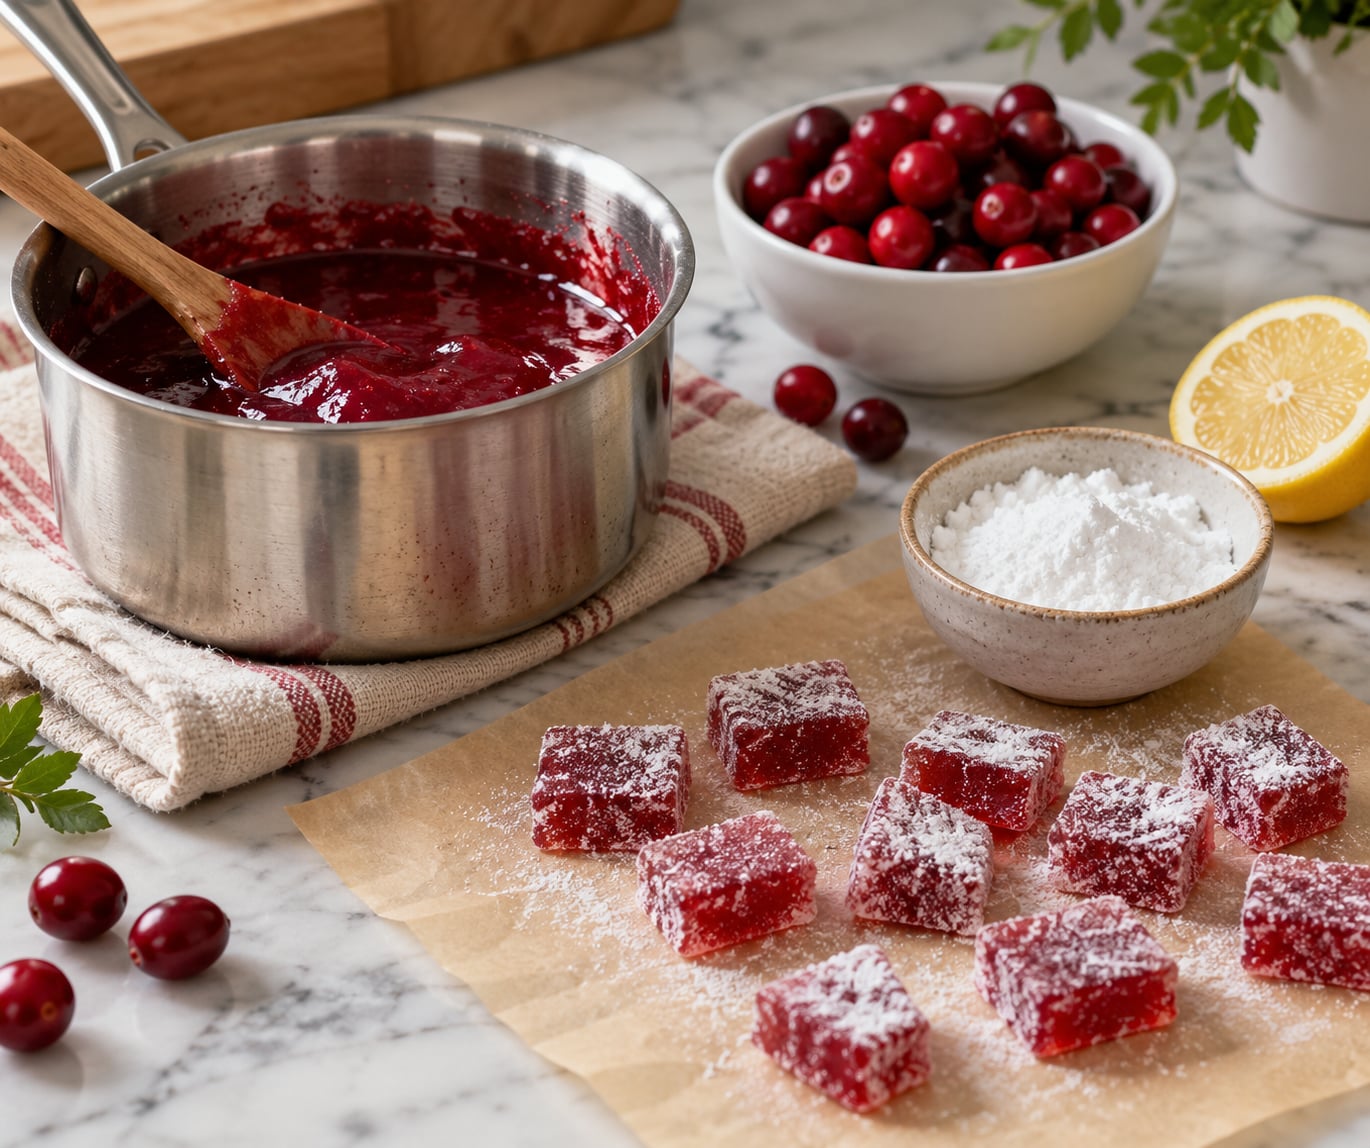
To make homemade sour candy with cranberries, cook fresh cranberries with sugar and a little liquid until the mixture thickens enough to leave a clean line on a spoon, then dust it with powdered sugar mixed with food-grade citric acid. The whole job takes about 40 minutes of active time plus a cooling window, and the only real risk is hot sugar, so an adult handles the pan.
The result chews like a dense fruit pastille: a glossy red shell over a soft, tart center, sharp enough at the end of the bite to register as actual sour candy rather than merely sweet-tart fruit. Think of it as the cranberry snowballs you see shared on short video, made in a saucepan instead of a bag.
Table of Contents
- What You Need
- Base ingredients
- Sour coating
- Optional flavor boosters
- Equipment
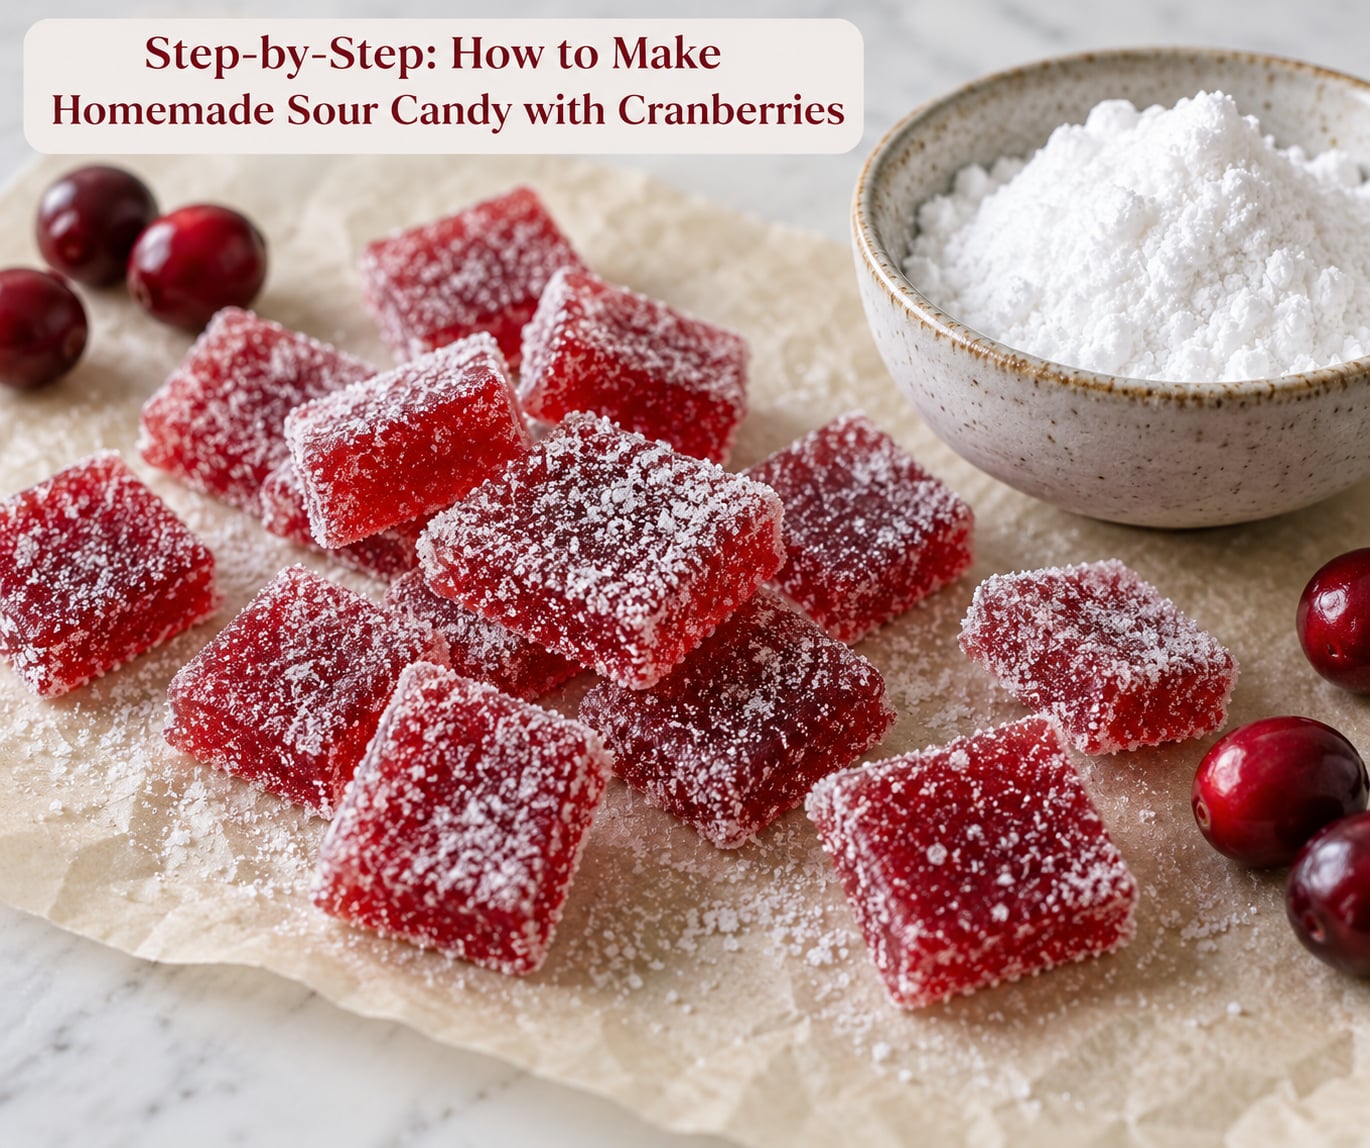
- Step-by-Step: How to Make Homemade Sour Candy with Cranberries
- Step 1: Prepare the Cranberries
- Step 2: Cook the Cranberry Mixture
- Step 3: Add the Sour Coating
- Step 4: Cool and Cut the Candy
- Step 5: Store and Serve the Candy
- Common Mistakes
- Frequently Asked Questions
- Do I need fresh cranberries or can I use dried cranberries?
- Why is my homemade cranberry candy not setting?
- How sour should the candy taste, and how can I make it less tart?
- How long does homemade cranberry sour candy last?
- Can children eat this candy, and how should it be cut?
- Can I make the candy ahead of time for a party?
- Conclusion
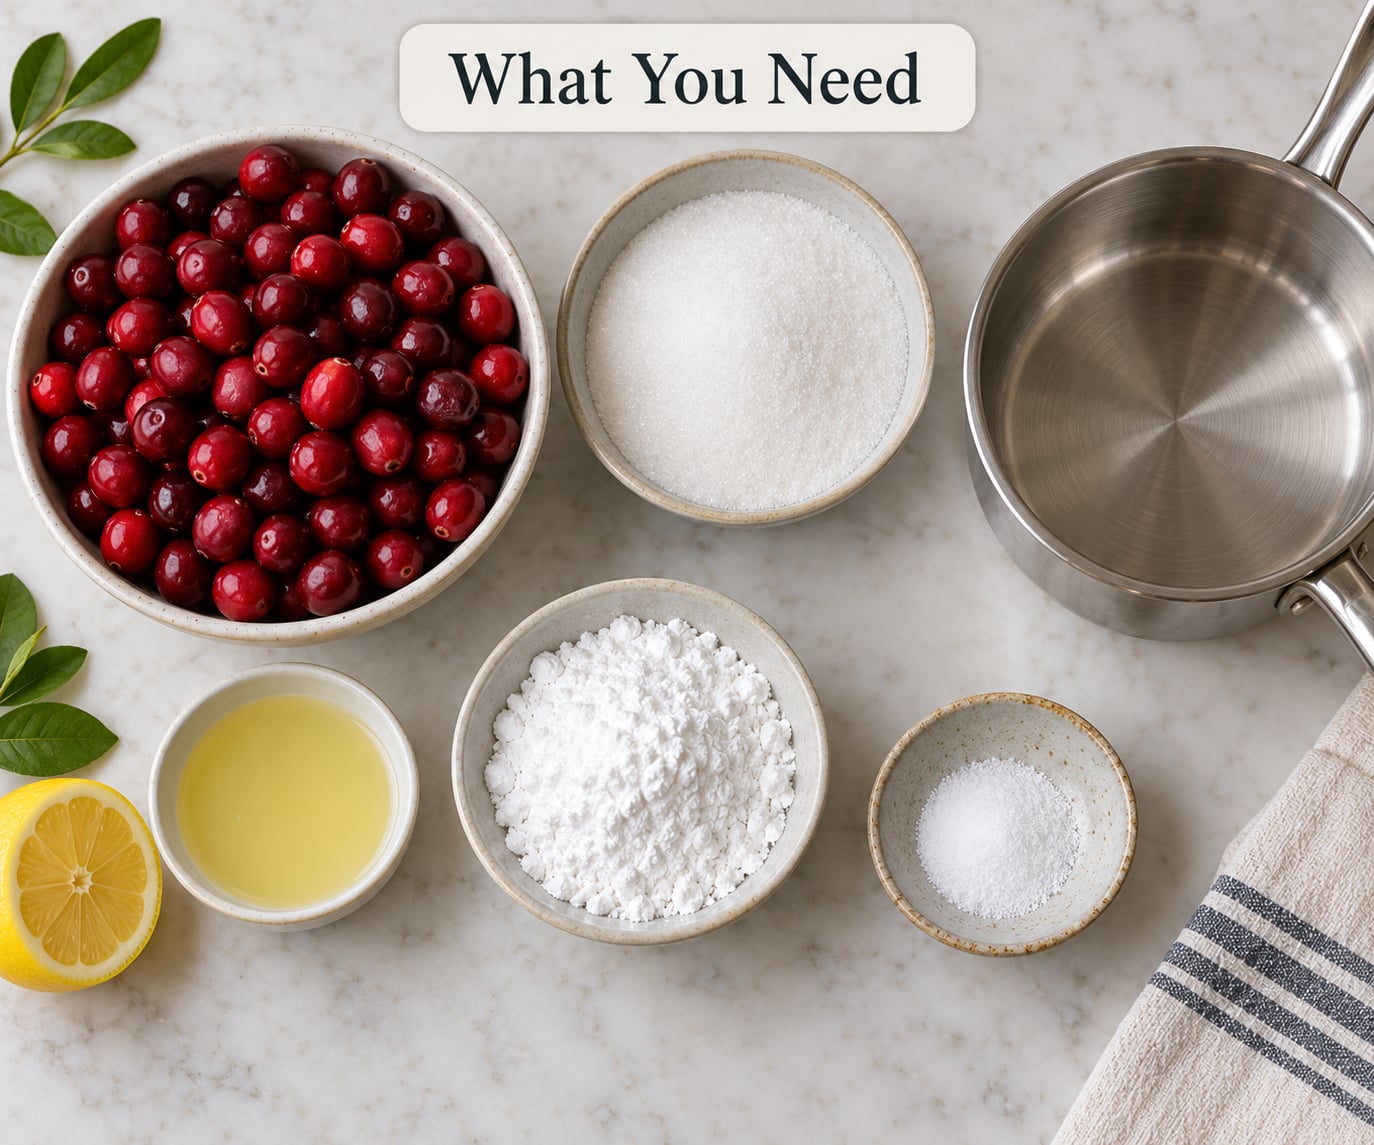
What You Need
Base ingredients
- 2 cups fresh cranberries, rinsed and picked over
- 1 cup granulated sugar
- 1/2 cup water or fresh orange juice
- 1 tablespoon fresh lemon juice
Sour coating
- 1/2 cup powdered sugar
- 1 to 2 teaspoons food-grade citric acid, mixed into the powdered sugar
Optional flavor boosters
- 1 teaspoon vanilla extract or the zest of one orange
- 2 tablespoons unsweetened cranberry juice in place of some of the water
- A pinch of ground ginger or cinnamon for a warmer profile
Equipment
A small saucepan with a lid, a wooden spoon or silicone spatula, a fine-mesh sieve, a lined baking sheet, a pastry brush for lemon juice, and something wax or parchment lined for drying the pieces. No thermometer and no candy-making experience required.
A 2-cup batch makes roughly 40 to 48 small pieces, or about 8 servings if you are counting a piece as a serving. Before you start, check that your parchment or silicone mat sits flat on the rack and that your cooling space is dry, because any steam or humidity will soften the shell later.
Two substitutions worth knowing. Dried cranberries work but they are leathery and need a shorter cook, so start checking at 12 minutes. And use food-grade citric acid, not the drinking kind or a lemonade mix, which carries sugar and additives with it.
Step-by-Step: How to Make Homemade Sour Candy with Cranberries
Step 1: Prepare the Cranberries
Rinse 2 cups of fresh cranberries under cool water and pick out any stems, soft spots or berries that roll oddly. Rinse them, but skip the towel. A film of water on the skin is what the sugar will hang onto later.
Measure the cranberries while they are still wet and weigh nothing after rinsing. Cranberries vary a lot in size, and that variation is exactly why some pieces cook to a jam while others stay whole, so a level 2-cup measure keeps the batch even.
Step 2: Cook the Cranberry Mixture
Put the cranberries, 1 cup granulated sugar, 1/2 cup water or orange juice, and the tablespoon of lemon juice in a saucepan over medium heat. Bring it to a boil, then drop the heat to a steady simmer.
Stir often and keep cooking for 12 to 18 minutes, scraping the bottom as it thickens. You know it is ready when dragging a spoon across the pan leaves a clean line that stays open for a second or two before filling in, and the berries have mostly collapsed into a glossy paste with a few skins left for texture.
If the mixture looks thin after 18 minutes, give it another 3 to 4 minutes rather than adding more sugar. Extra sugar changes the sweetness later on, but time changes the texture, and texture is the harder thing to fix.
Step 3: Add the Sour Coating
Scoop the warm paste onto a parchment-lined sheet in small dollops, about a heaped teaspoon each, and nudge them apart with the back of the spoon so they do not merge. While they are still glossy and soft, brush each one lightly with the remaining tablespoon of lemon juice.
Mix 1/2 cup powdered sugar with the citric acid in a shallow bowl first, then sift it over the warm candy. Start with 1 teaspoon of acid for a pleasant tartness, and use 2 teaspoons if you want a candy that genuinely makes you pucker. More than that starts to taste bitter rather than sour, so add it in two stages and taste a piece before you commit the whole batch.
Step 4: Cool and Cut the Candy
Let the pieces sit untouched until they stop feeling tacky, roughly 20 to 30 minutes at room temperature. Cutting warm candy tears instead of slicing, and the cut faces turn sticky, so patience here is the whole technique.
Once firm, use a sharp knife dipped in hot water and wiped clean between cuts. Leave the pieces in a single layer on the sheet to dry completely, another hour or so, then lift them with a thin spatula. Store them on parchment rather than waxed paper, which they tend to bond to.
Step 5: Store and Serve the Candy
In cool, dry conditions the finished candy keeps about a week in an airtight container at room temperature, and up to three weeks refrigerated. Humidity is the real enemy here, since moisture in the air makes the sugar shell go matte and soft, and sealing warm candy traps condensation that does the same thing overnight.
Check each piece before serving. Discard the batch if the surface looks damp or sticky, if there is any fuzzy growth, or if the candy smells fermented or fizzy where it should only be fruity. Once that happens, no amount of reheating makes it safe.
Serve the pieces as a snack, on a dessert or charcuterie board, or skewered on cocktail and mocktail glasses. They also make small gifts packed in a jar with a layer of parchment between the layers.
Common Mistakes
- Candy too thin or sticky. Cook it 3 to 5 minutes longer, and spread the dollops farther apart on the sheet so the center can set.
- Sugar slides off instead of clinging. The mixture was too dry. Brush the warm pieces with more liquid before dusting, and dust while it still shines.
- Fruit scorches at the bottom of the pan. Cut the heat once it thickens and stir more frequently, scraping the base rather than letting it sit.
- The coating tastes bitter, not sour. You went past 2 teaspoons of citric acid. There is no fixing it in that batch, so toss in fresh powdered sugar to dilute and start the next one lower.
- The candy never sets. Too much liquid went in, or the pieces were too large to lose their moisture. Reduce to half a teaspoon per piece and give it the full drying hour.
- Candy softens overnight. Humidity or a container closed before the pieces dried. Store only fully dried candy, and add a folded paper towel to absorb stray moisture.
Frequently Asked Questions
Do I need fresh cranberries or can I use dried cranberries?
Fresh cranberries work best because their skins hold together and they give you that skin-in-paste texture. Dried cranberries are fine for the candy itself, but they are leathery, so reduce the sugar to three-quarters of a cup and check the pan at 12 minutes rather than 18. Do not try to rehydrate them first; the extra water leaves the finished candy gummy instead of chewy.
Why is my homemade cranberry candy not setting?
Almost always one of three things. You used more liquid than the recipe calls for, you piped dollops that are too large, or you moved the pieces before they cooled. Give the paste the full simmer time until a spoon leaves a clean line, keep each piece about a teaspoon, and wait the entire 20 to 30 minutes before touching anything. A warm cut face is a sticky cut face.
How sour should the candy taste, and how can I make it less tart?
Properly sour means your mouth waters on the second chew, not that you wince immediately. Start at 1 teaspoon of food-grade citric acid per half cup of powdered sugar and go to 2 teaspoons for a stronger pull. Past that it turns bitter, which reads as spoiled rather than sour. To calm a batch that is too sharp, dust extra plain powdered sugar over the finished pieces.
How long does homemade cranberry sour candy last?
About a week in an airtight container at room temperature in cool, dry weather, and up to three weeks in the refrigerator. Humidity is what shortens that window, and refrigeration helps only if the candy was completely dry before it went in the container. If the pieces arrive tacky or the sugar looks damp, discard them rather than trying to dry them out again.
Can children eat this candy, and how should it be cut?
Yes for most school-age kids, with two cautions. Cranberries are round and firm, which pediatric guidance flags as a choking shape for babies and toddlers under four, so keep this candy for older children and cut it into pieces no larger than a quarter. And because the pan gets hotter than boiling water, the cooking and cutting steps should be done by an adult, out of reach of little hands.
Can I make the candy ahead of time for a party?
That is the easiest part of this recipe. The cooked paste keeps five days covered in the refrigerator and reheat gently in a saucepan, or you can make the full batch a few days ahead and store it airtight at room temperature. Keep the pieces in a single layer until the final day, then pack them in a jar or cellophane bag with parchment between the layers so they do not sweat against each other.
Conclusion
Start with 2 cups of rinsed cranberries, 1 cup of sugar and half a cup of liquid, simmer until a spoon leaves a clean line, then dust the warm paste with powdered sugar and citric acid. That is the whole method.
Make one small batch first and adjust the acid rather than the sugar, since sweetness is easier to live with than bitterness. Once you have the tartness where you like it, the recipe scales cleanly and makes an easy make-ahead treat for a party table or a holiday jar.