The easiest way to make Valentine cards with kids is to fold a sheet of thick paper in half, decorate the front, and write the message inside. Give each child one design to choose, then let an adult handle the scissors and glue. One batch takes about 20 minutes and costs very little.
That is the whole method, and it is genuinely enough. Everything below is the same process with different decorations and different levels of help, depending on how young the crafter is.
Handmade cards are worth the mess. They give a child something store-bought cards cannot, and the making itself quietly works on pincer grip, cutting skills and handwriting. My own rule is to keep the method fixed and swap only the decorations, so nobody is still cutting paper when the timer runs out.
Table of Contents
- What You Need
- Step-by-Step: How to Make Valentine Cards with Kids
- Fold and Plan the Card
- Cut and Add Paper Shapes
- Make a Hand-Drawn Valentine Background
- Add Texture, Stickers and Finishing Details
- Write the Valentine Message
- Common Mistakes
- Frequently Asked Questions
- What age is appropriate for making Valentine cards with kids?
- How can I make Valentine cards without glue or glitter?
- How can I turn one sheet of paper into multiple Valentine cards?
- What are the cheapest supplies for homemade Valentine cards?
- How can I make Valentine cards for a child’s classmates without making them identical?
- Conclusion
What You Need
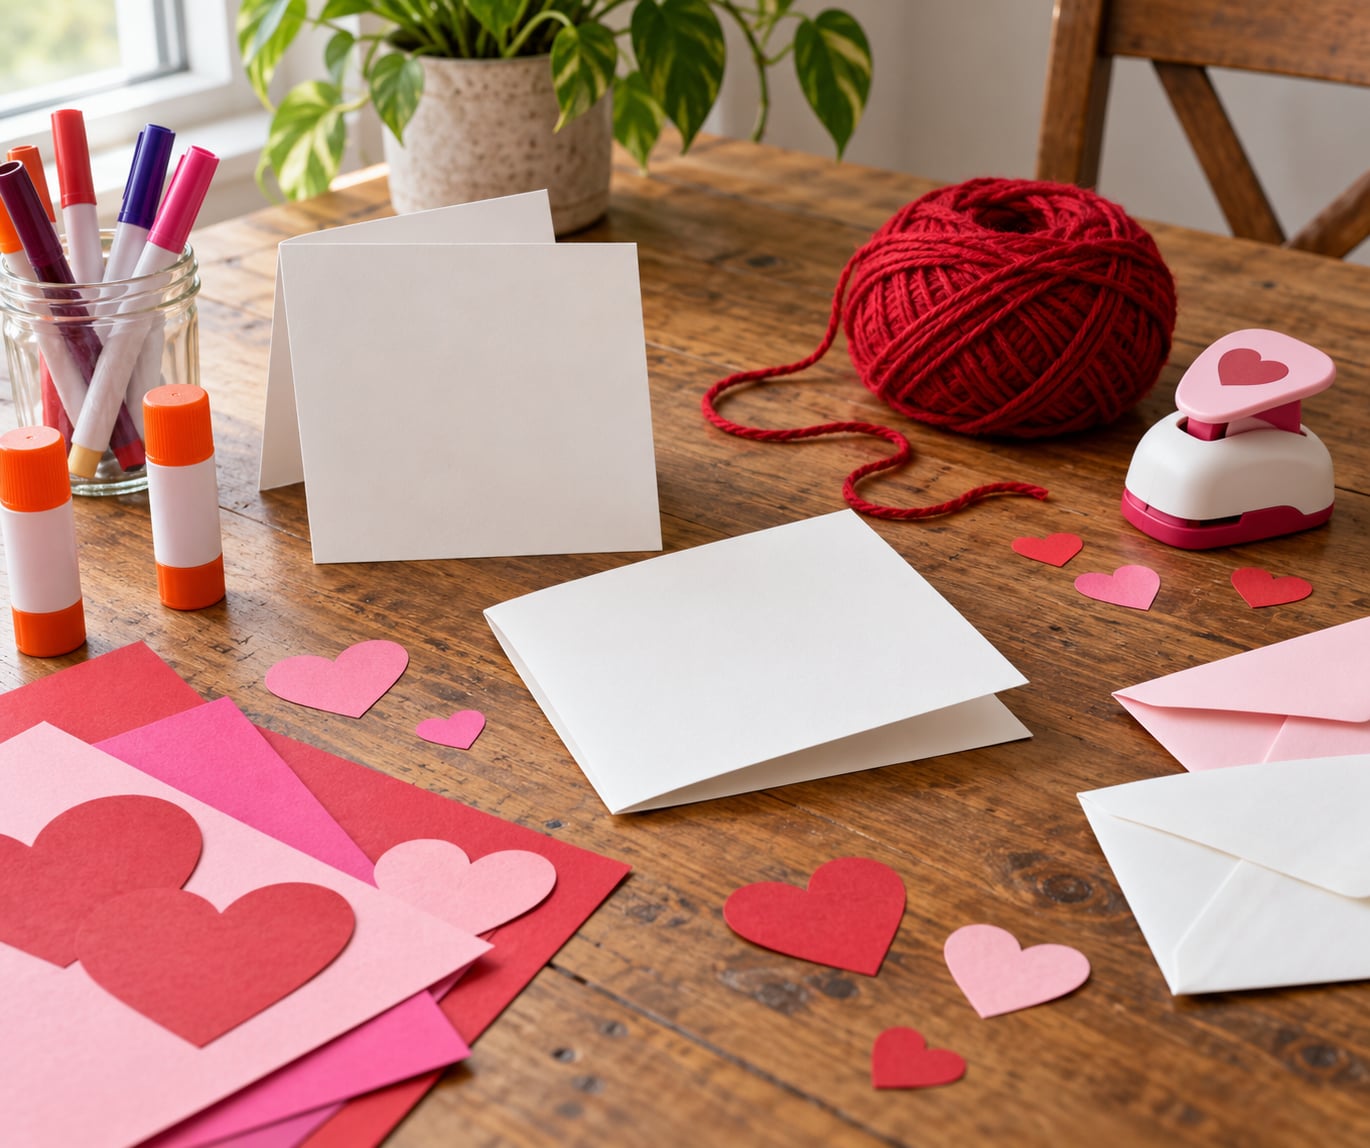
You can do the whole thing with a craft cupboard and a recycling bin. Here is what each item is actually for, so you can skip anything you do not have.
- Thick card paper, half a sheet per child. The card base. Heavier paper holds a fold and takes glue without curling.
- Colorful construction paper. Hearts, strips, leaves and background panels.
- Washable markers or crayons. Drawing the background and writing the message.
- Glue sticks. Faster and less messy than liquid glue for small hands.
- Child-safe scissors. Round-tip scissors are safer for beginners.
- Heart-shaped craft punches. A shortcut for kids who cannot cut accurately yet.
- Yarn, ribbon or yarn scraps. Texture and a way to decorate without more paper.
- Stickers, foam shapes, tape. Fast finishing details and a low-mess option.
- Envelopes, or folded scrap paper. To hand the cards out in.
Substitutions are easy. A cereal box cut into squares works as the card base when paper runs short, and a rolled-up magazine page makes a striking recycled collage. A potato masher, a celery end or a bottle cap all stamp hearts, so buying a stamp set is never necessary.
A couple of safety notes belong here. Use non-toxic, washable markers and glues, and keep them out of reach during the setup. Round-tip scissors under six years, and cut on behalf of any child still developing that skill. Pom-poms, small beads, googly eyes and buttons are choking hazards for children under three, so substitute them with torn tissue paper or large felt stickers.
Step-by-Step: How to Make Valentine Cards with Kids
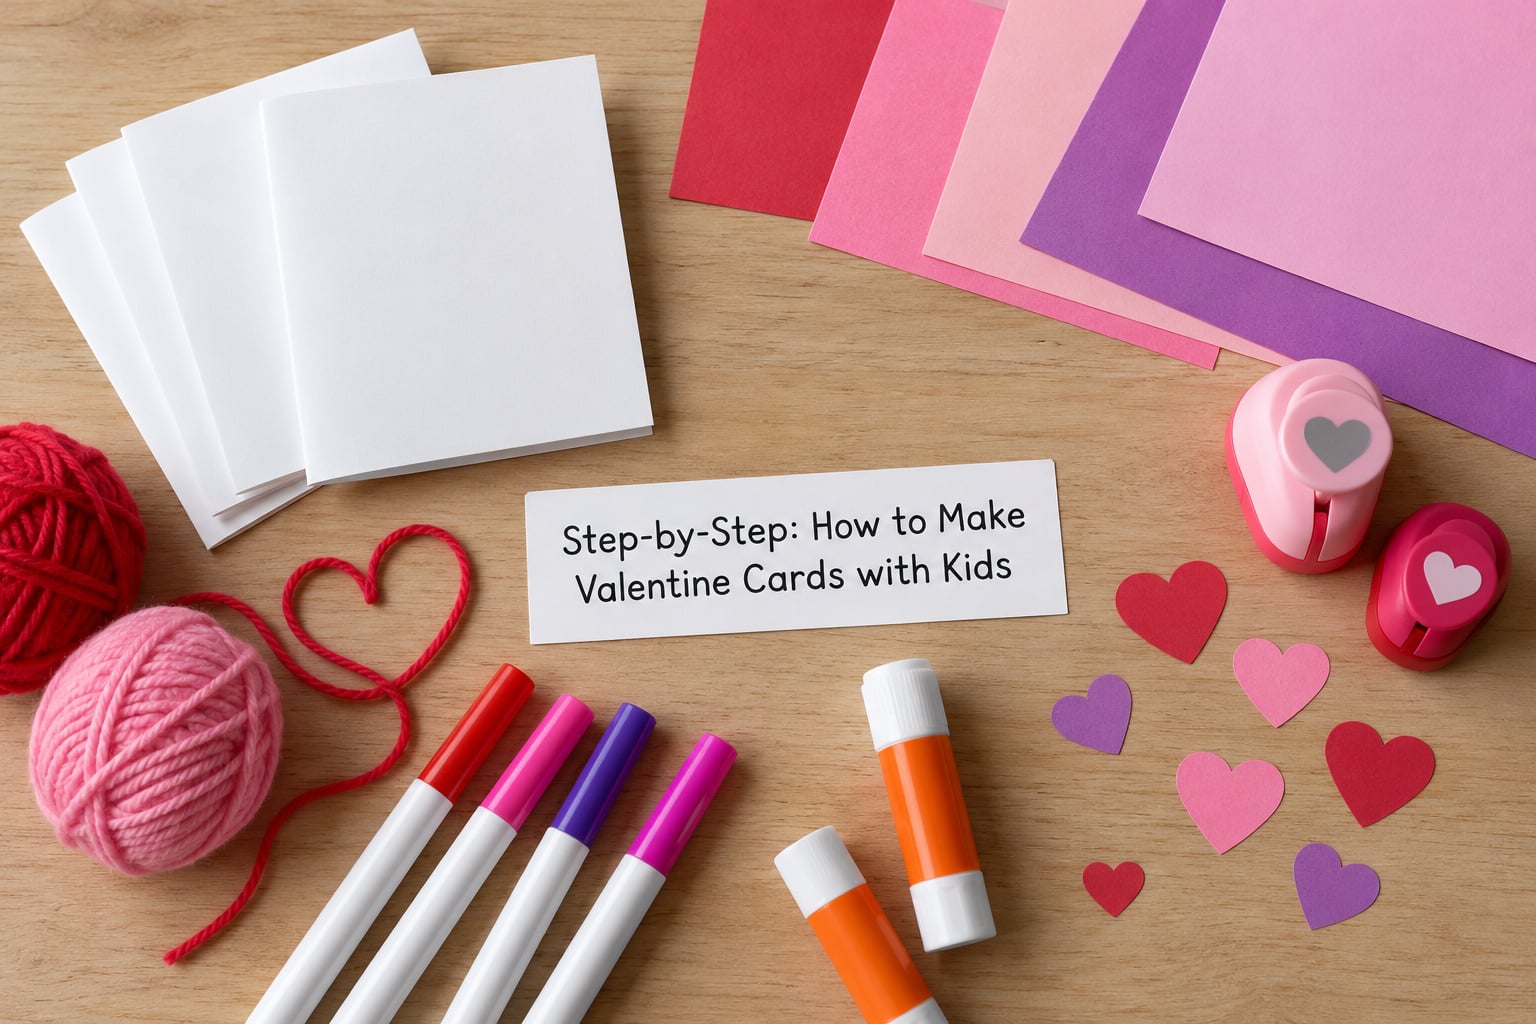
Every card in this guide follows the same five moves: fold, plan, cut, decorate, write. Children are in charge of the design decisions from step two onward. Adults take the cutting, the gluing and anything that needs a steady hand.
Fold and Plan the Card
Cut one half-sheet of paper per card, or let each child tear their own. Fold it in half with the crease along the long edge, then run a thumbnail firmly down the fold. That thumb press is what stops the finished card looking lopsided when it stands up on a shelf.
Turn it landscape and sketch the front first. A rectangle across the top, a heart in the middle, blank space at the bottom. Planning takes a minute and it is the difference between a card with a readable message and one buried under stickers.
Cut and Add Paper Shapes
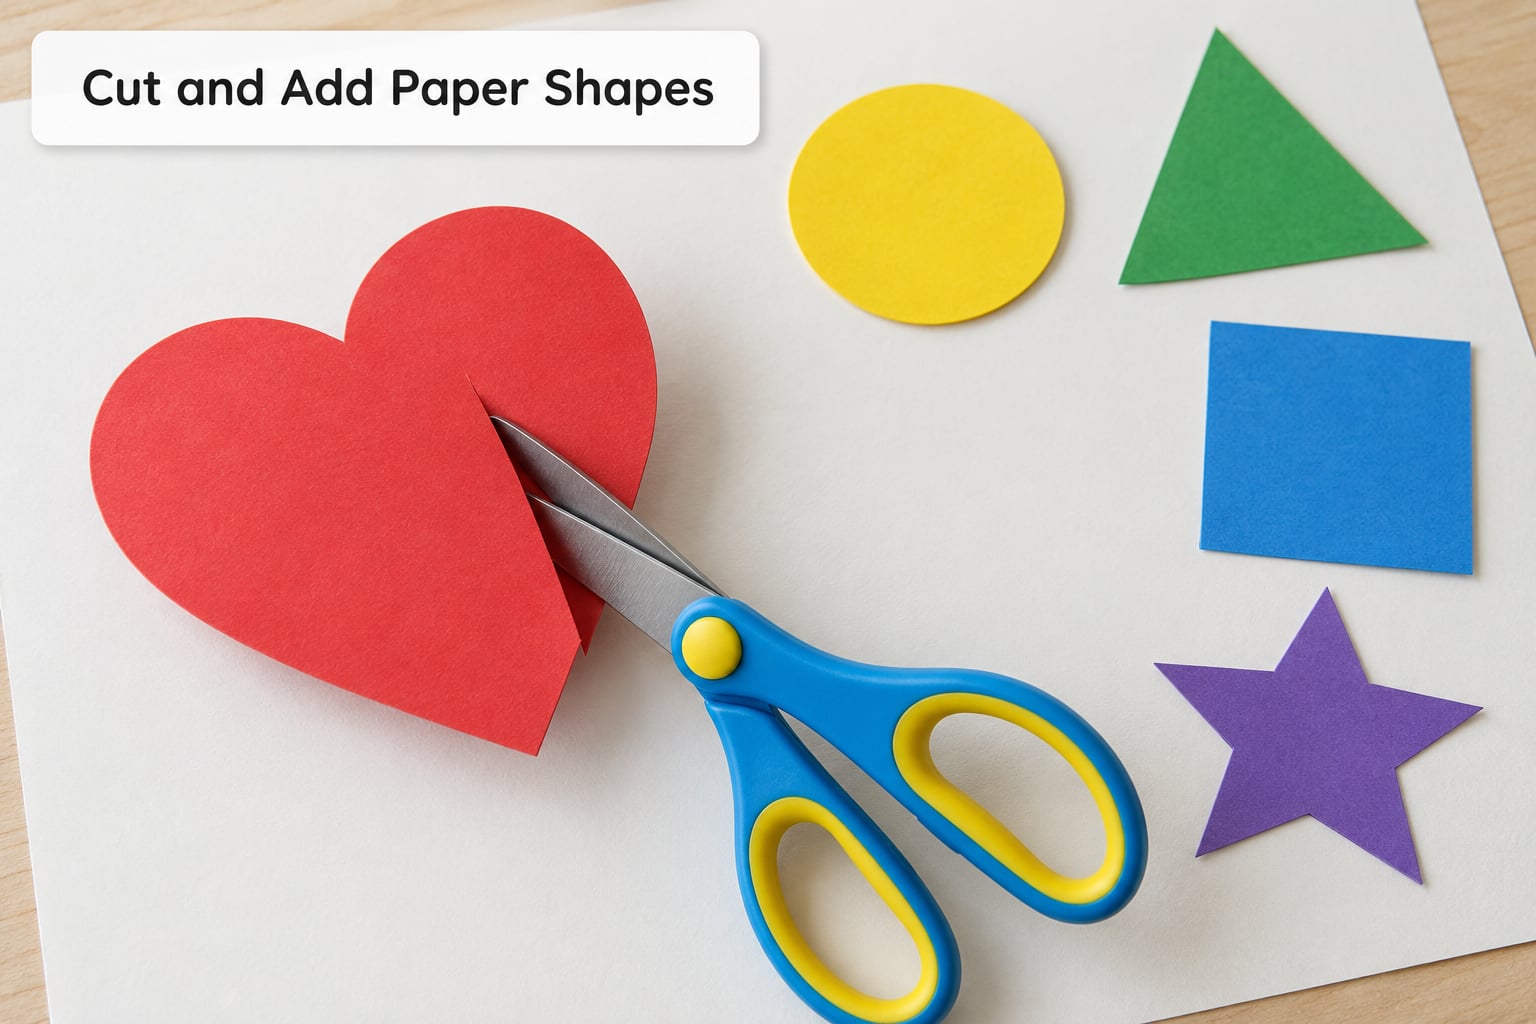
Fold colored paper in half, draw half a heart against the fold, cut along the line and open it out. Every child gets one symmetrical heart this way, which is more reliable than freehand cutting. Repeat with long strips and pointed leaves for a quick flower stem or a border.
Match the tool to the hands. Under three, tear the paper. Between three and five, use craft punches. From five up, let them cut with round-tip scissors and supervise closely. If cutting is taking more than a couple of minutes per card, take over and let them place the shapes instead.
Thick paper, glossy magazine paper and recycled cereal-box card each behave differently when a heart is cut from them. Thin magazine paper tears along the fold line, so use it for collaged scraps only. Cardboard needs a smoothed edge before a child can write on it; a strip of sandpaper or the back of a spoon is enough.
If you are making a whole class batch, cut the bases in advance while the children are occupied elsewhere. Counting the class list, then cutting that many folded rectangles, removes the most tedious part of the job and leaves only the decorating for the table.
Make a Hand-Drawn Valentine Background
Color the front edge to edge before gluing anything on top. Stripes, dots, big uneven hearts and scribbled flowers all work, and a four-year-old’s background will look better than anything neat enough to be bought.
Use the paper as the guide. A line drawn along the fold stays straight because the paper is already straight. Crayon pressure is the other trick: press hard for a dense stripe, lift lightly for a fading one, and the card gets depth without a single extra supply.
Add Texture, Stickers and Finishing Details
Now the three-dimensional layer goes on. A strip of yarn curls into a loop with a dab of glue and makes a heart outline that lies flat inside the card. Tissue paper torn into small squares fills a heart shape like mosaic pieces. Foam shapes and stickers need only a press.
Stop while it still looks good. Two or three textured pieces beat a card buried under ten layers, mostly because glued paper does not sit flat once it is crowded. For a low-mess version, skip glue entirely and use foam stickers, tape or drawn-on details only.
Write the Valentine Message
Write the message before the decorations go on, not after. It is much harder to find clear space on a finished card, and it is the one step children are least excited about, so get it out of the way while they are still going.
Give younger kids a starting line. Fill-in-the-blank prompts work well: “You make my heart go ___. Happy Valentine’s Day, ___.” Then offer short rhymes such as “Roses are red, this card is for you, glad that our friendship is nothing new,” or plain lines like “You are my favorite person.” Let an adult handle spelling for under-fives but keep the child’s exact wording, misspellings included. A wobbly “friend” written with every letter facing the same wrong way carries more than a neat sentence.
Rough drafts are part of the craft. Set a paper plate under each child’s work to catch glue and glitter, and if a card looks finished and covered ten minutes after starting, that is usually the best it will ever look. Photograph it and move on.
The other thing that surprises people is how much the message matters to a child finishing this in under five minutes. A short line written in a big wobbly hand beats a blank card every time, even if the handwriting is hard to read. Practise the words on scrap paper once first if there is time.
Common Mistakes
The fold opens on the table. The crease was not pressed hard enough. Run a thumbnail along it a second time, or run the fold backwards against a table edge. It sounds trivial and it fixes most of the wobbly cards.
Too much decoration. One background, one focal shape, one detail. Decide those three before gluing, and keep the rest of the paper for the next card instead of the recycling bin.
Glue smears and paper buckles. Glue sticks dry fast and barely show through thin paper. If liquid glue is already out, use it in a thin line on the back and wait a few seconds before pressing the piece down.
Paper hearts tear apart. The hearts were cut from single-weight paper, which splits at the point. Use heavier paper for cut shapes, or double them by gluing two identical hearts back to back.
The message is unreadable. It was written last on a busy background. Reserve a clear strip on the inside cover before decorating, and tell children that line is the writing zone.
Half the packet is unused. Cut shapes from one color, then use the colored offcuts as backgrounds on the next card. The plain sheet that would have been thrown away usually covers six more cards.
Small parts and small children together. Pom-poms, beads and buttons go in the older children’s crafts only. For under-threes, use large felt stickers or torn tissue paper instead.
Choosing the project is easier when you decide it before anyone sits down. Lay out one paper, one color and one shape per child and the batch moves fast. Setting out shared supplies once, rather than re-opening the box between each card, cuts the wasted motion in half.
Let siblings share the same jar of glue and the same punch. One set of tools per child turns a calm craft into a queue at the table, and there is less to put away at the end.
Finally, resist tidying the fronts. The mismatched colors and the crooked hearts are the point. Children know exactly who made each one, and that is the part classmates remember.
Frequently Asked Questions
What age is appropriate for making Valentine cards with kids?
Tear-paper versions work from age two, using thick paper and chunky crayons with no glue. Ages three to five can handle craft punches, glue sticks and a simple one-heart design. From six up, kids cut their own shapes, layer several decorations and write the message themselves. Above eight, pop-up folds and paper quilling start to hold their attention.
How can I make Valentine cards without glue or glitter?
Skip glue entirely and use stickers, foam shapes, and washi or masking tape for a mess-free card. For decoration without adhesive, draw directly on the paper with washable markers or crayons, and add texture by layering torn tissue paper held down with tape. Glitter is the messiest item in the craft cupboard, so skipping it also keeps cleanup down to a single wipe of the table.
How can I turn one sheet of paper into multiple Valentine cards?
Cut a full sheet of paper into six equal rectangles, about four by six inches each, and fold each one in half. That gives six standard card sizes from a single sheet, which is usually enough for a child’s classroom if the design is simple. If you want larger cards, halving the sheet gives three, and anything smaller than a postcard gets awkward to write in.
What are the cheapest supplies for homemade Valentine cards?
The cheapest supplies are the ones already in the house: leftover wrapping paper, cereal box panels, newspaper, old greeting cards, yarn scraps and a potato masher to stamp hearts. Washable markers and a glue stick cover almost every other need, while a single pack of colored paper lasts through several years of craft sessions. Buying supplies is rarely necessary to make a good-looking card.
How can I make Valentine cards for a child’s classmates without making them identical?
Keep the card base the same size but vary the decoration, the colors and the message on each one. Give each child a different paper color, a different main shape, and one of several message lines to choose from. Children notice when twenty cards carry the same wording, so mixing the message as well as the artwork removes the factory look without doubling the work.
Conclusion
Start smaller than you think you need to. Fold a sheet of thick paper, cut one heart from colored paper, and let each child draw one thing across the front. That single card is quick to make, costs almost nothing, and still feels like something they made themselves.
Once that one works, add a second layer. Let each child pick their own colors and their own message, and the batch will look personal in a way that nothing bought in a shop ever manages.