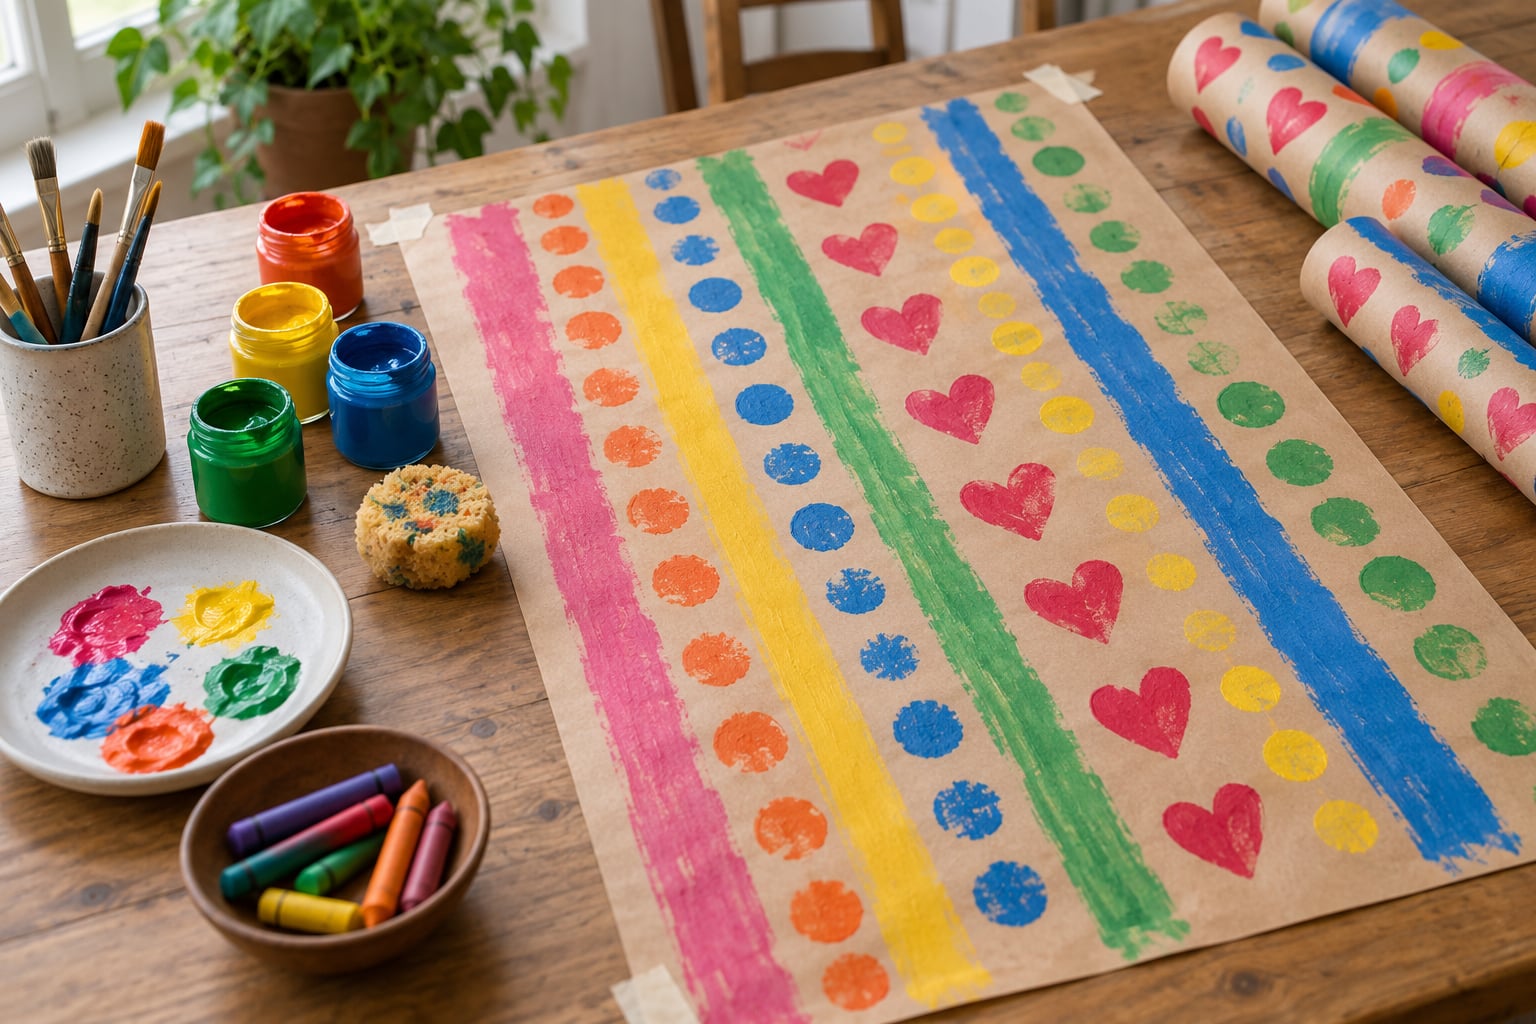
To make homemade wrapping paper with kids, tape a long sheet of plain kraft or butcher paper flat, let them paint, stamp or draw on it, let it dry fully, then cut it into gift-sized sheets. Most families finish a roll in 30 to 40 minutes of decorating plus a few hours of drying time, and the whole activity costs less than a single shop-bought roll.
The best part is that it turns a chore into something the kids actually ask to help with. I have done this with everything from three-year-olds to primary-school age, and the paper always looks better than I expected, mostly because nobody is aiming for neat.
Below is the setup I use, the method that holds up best, and the fixes for the problems that come up every time: bleeding paint, tearing paper and colour that rubs off onto hands two days later.
Table of Contents
- What You Need
- Paper bases
- Colour and mark-making tools
- Protecting the table
- How to Make Homemade Wrapping Paper With Kids
- Step 1: Choose a Wrapping Paper Surface
- Step 2: Plan a Simple Design
- Step 3: Paint the Paper
- Step 4: Add Marks, Shapes or Stamps
- Step 5: Let the Wrapping Paper Dry Completely
- Step 6: Cut and Use the Finished Paper
- Common Mistakes and Easy Fixes
- Frequently Asked Questions
- What is the easiest way to make homemade wrapping paper with kids?
- Can I use regular printer paper or newspaper for homemade wrapping paper?
- What paint is safe for children to use on wrapping paper?
- How long should I let homemade wrapping paper dry before wrapping gifts?
- How can I make one sheet big enough for a large gift?
- Can I use crayons or markers on homemade wrapping paper?
- Conclusion
What You Need
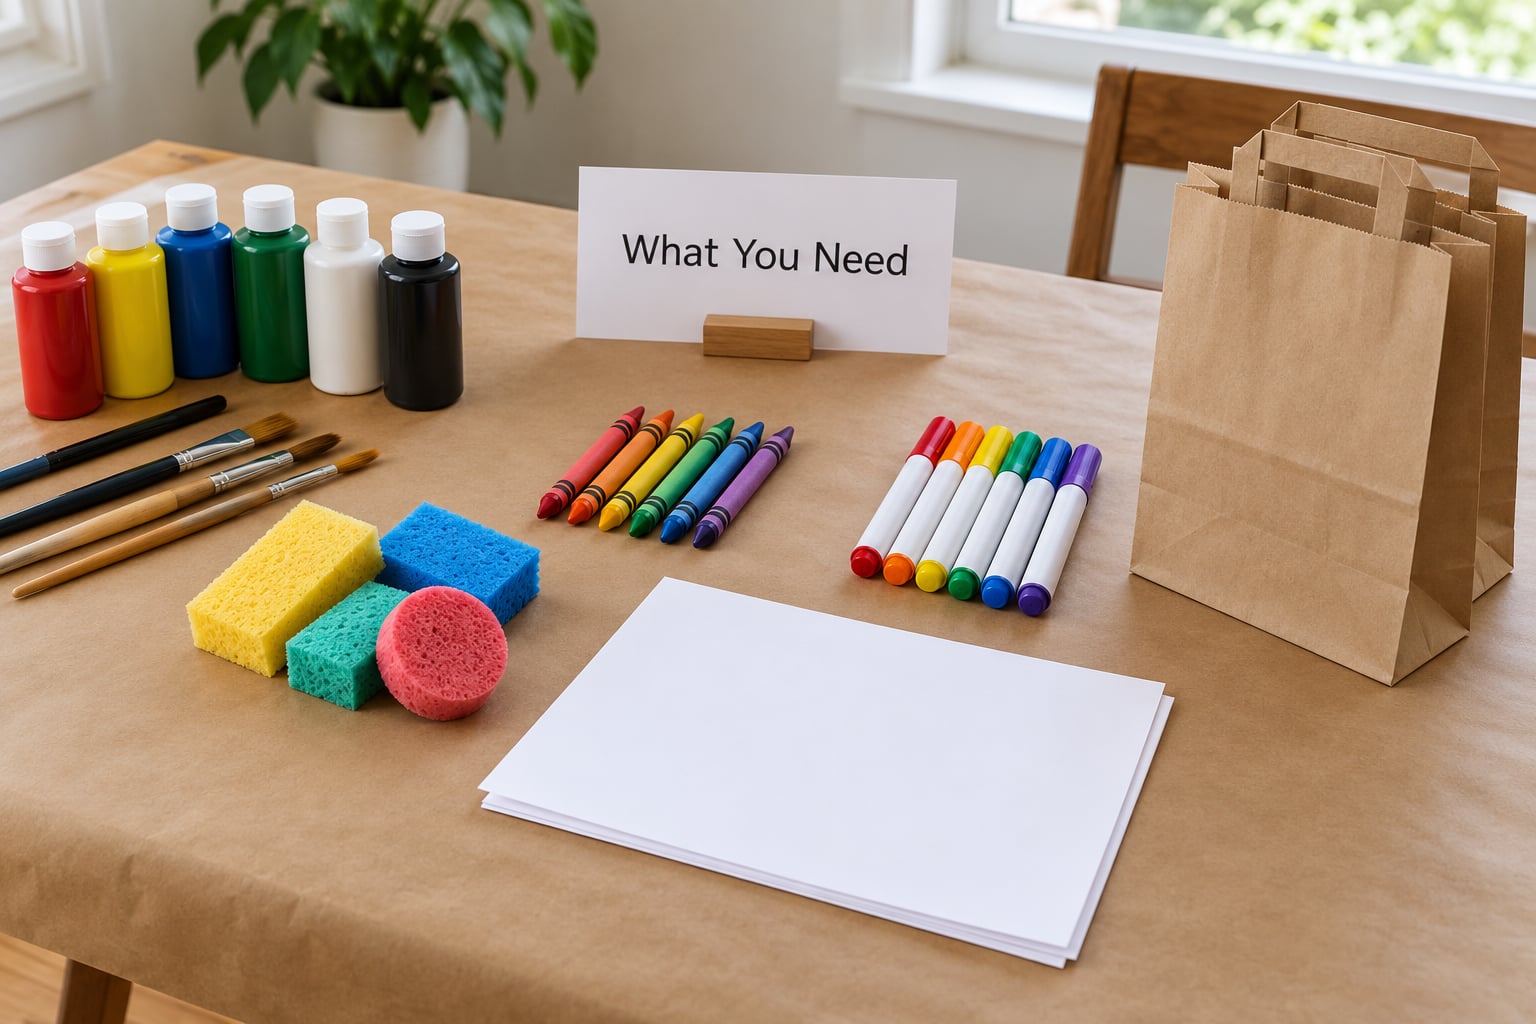
Nearly everything comes from a kitchen drawer or a craft box you already own. The one thing worth thinking about is the paper, because a flimsy sheet tears halfway around a big box.
Paper bases
- Kraft paper roll – the best all-round choice. It is strong, it takes paint without soaking through, and plain rolls can be bought in a lot of hardware and grocery aisles.
- Butcher paper – cheap, wide and forgiving. It is a bit softer than kraft, so reinforce any sheet you plan to use on a large gift.
- Cut-open paper grocery bags – free, and the printed side can be decorated or covered. Many families keep a stack of these from the bottom of the recycling bin.
- Plain printer or copier paper – fine for small parcels and book gifts, too flimsy for a large box on its own.
- Newspaper – works, but the ink shifts if it is damp, so keep it away from water-based paint.
Kraft is worth the small extra spend over printer paper. It holds a crease, survives being handled by a small child mid-wrap, and is recyclable, which glossy shop-bought rolls rarely are.
Colour and mark-making tools
- Washable tempera paint or paint sticks
- Broad and narrow brushes, plus a sponge for texture
- Crayons and washable markers
- Stamps: halved potatoes, cookie cutters, cardboard tubes, a lint roller, or bottle caps
- Masking tape for masking stripes and making stencils
- Old toothbrushes for a stippled edge
Check the paint tin for a non-toxic, washable label before the kids open it, and skip anything marked for use on skin only. Under-threes should not have small stamp pieces or bottle caps within reach, since those are a choking risk.
Protecting the table
Lay down a sheet of newspaper or a cheap plastic tablecloth before the paper goes down, and put a smock or an old t-shirt on anyone who will not stop at the edges. That single step saves more cleanup than the craft itself.
How to Make Homemade Wrapping Paper With Kids
Step 1: Choose a Wrapping Paper Surface
Cut a length of paper about 15 to 20 inches longer than the gift you have in mind, and lay it on a flat, protected table. Tape the four corners down with masking tape, pulling the paper gently taut so it does not ripple.
For a normal present, one sheet 20 by 30 inches is plenty. For something long or awkwardly shaped, tape two or three sheets side by side with the seam running along an edge you will fold under, not across the middle of the visible face.
Step 2: Plan a Simple Design
Decide the pattern before anyone picks up a brush. Repeating marks, scattered shapes, stripes, blocks and combinations all work, but a decision made first stops the sheet turning into fifty different ideas in one corner.
Keep the edges calmer than the middle. Whatever you do, leave about two inches around the border, because that strip gets folded under and needs to look neat when the parcel is opened.
Step 3: Paint the Paper
Load the brush lightly. Most paint bleeding comes from a brush loaded like it is meant for a wall, so a quick tap against the rim of the tin is enough.
For blocks, tape off an area, paint inside the tape, and lift it while the paint is still slightly tacky. For stripes, paint one and let it set before you add the next. For a sponge texture, dip the sponge in paint, squeeze out the excess, then dab rather than drag it.
If you want a washable look without flakes, tempera paint applied in thin layers beats thick dollops. Thick paint dries hard on top and stays soft underneath, which is exactly how you get paint rubbing onto the gift and the recipient’s hands.
Step 4: Add Marks, Shapes or Stamps
This is the part kids take over, so hand over the control. A potato cut face-down stamps in seconds, a cardboard tube makes wide rings, a lint roller gives you a repeating texture, and cookie cutters traced in thick paint leave a clean outline.
Stencil through cardstock holes with masking tape held down, and use markers or crayons for anything fine or scribbly. Crayons over tempera are a good combo because they sit on top and never rub off.
Keep the paint-to-print ratio sensible. Paper that is 80 percent stamped shape is beautiful, but it tears much faster than paper that is mostly solid colour.
Step 5: Let the Wrapping Paper Dry Completely
Paint needs a few hours; tempera on kraft is usually touch-dry in about an hour and fully set by the next morning. Stand the sheet on its edge between two pieces of scrap paper so both sides get air, rather than stacking sheets flat, which sticks them together.
Fan drying with a fan on low, or a hairdryer held at a distance, speeds things up safely. Test a dry patch by rubbing it firmly with your thumb. If any colour lifts, the paper needs longer, and wrapping it damp will smear the design onto the box.
Step 6: Cut and Use the Finished Paper
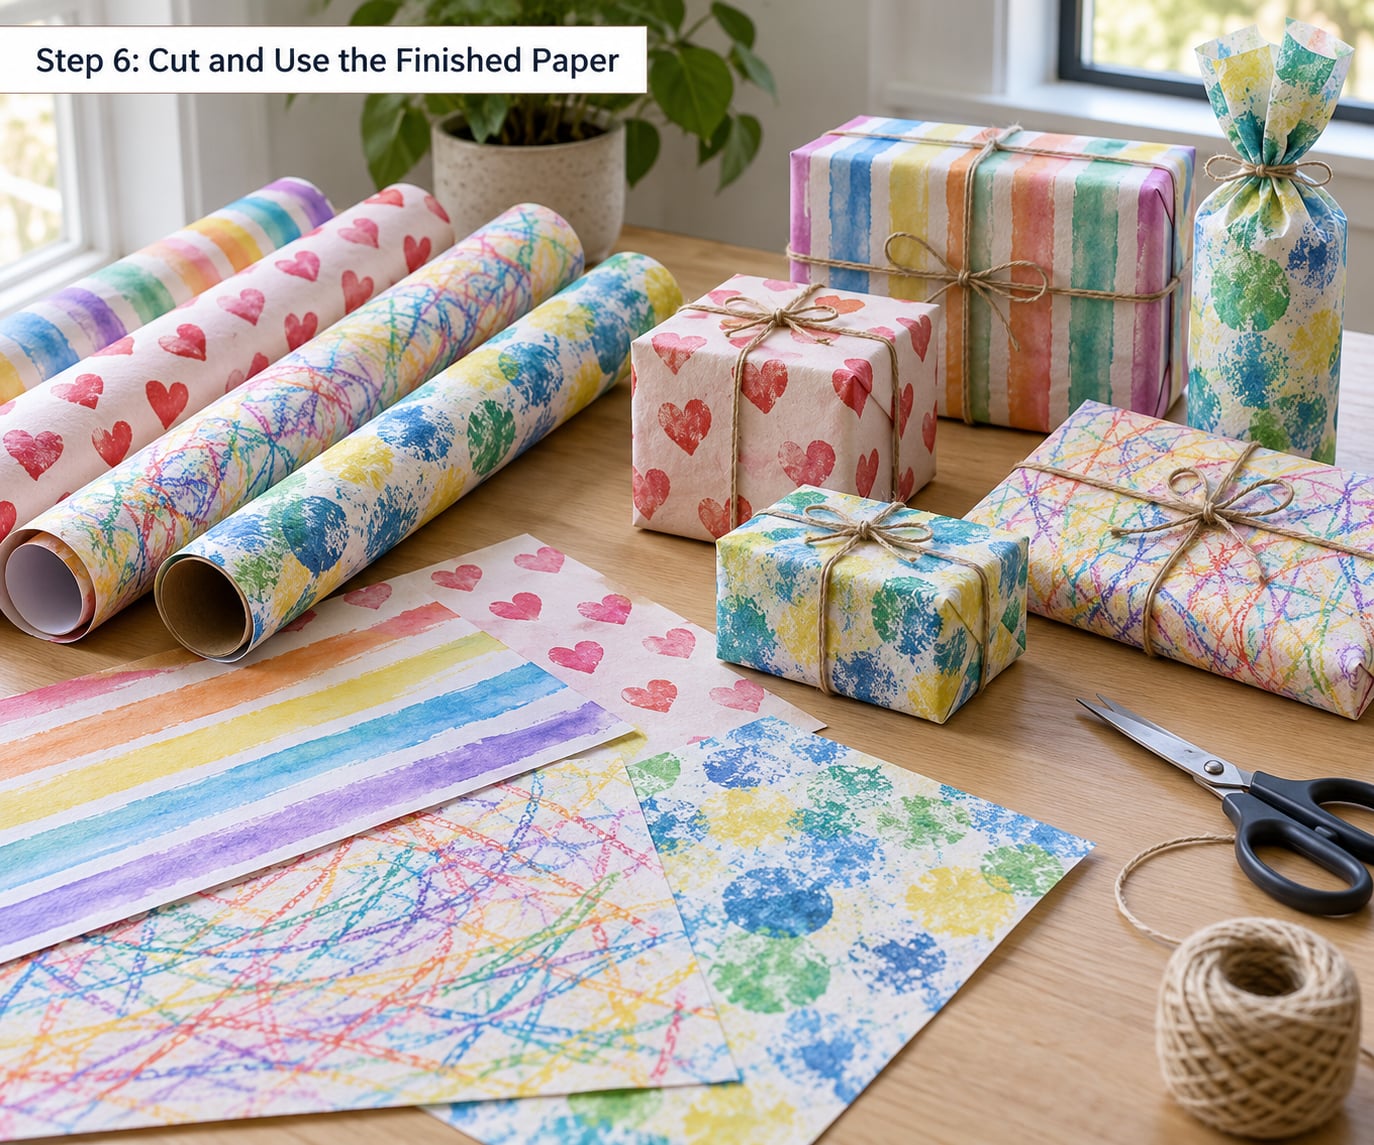
Measure the box, add a full gift’s width plus overlap, and cut with a long sharp blade in one steady pass. Dull scissors crush kraft and leave a ragged edge that tears at the corner.
Small sheets can be made stronger by taping two pieces together back to back with clear tape, or by glazing one side with a glue stick and letting it dry. For a long or soft gift, wrap in two narrower sheets and add a paper band or twine around the middle instead of fighting one oversized sheet.
Store the leftovers rolled loosely around a tube rather than folded, so the paint does not crack along a crease. Offcuts make good gift tags, and a strip of the same paper taped to a clear window makes a stencilled snowflake or name for a glass jar.
Common Mistakes and Easy Fixes
Paint bleeds into a fuzzy halo. Kraft is thirsty. Wipe the first coat on with barely any colour to seal the fibres, let it dry, then apply the colour properly.
The paper tears halfway round a large box. Use a second sheet joined with clear tape on the inside, or switch to heavier kraft for big gifts. Thin printer paper is fine for book-sized presents only.
Dry paint rubs off on hands and the gift. This is the most common complaint. Go thinner, not thicker, add more thin coats, and give it overnight to cure. Crayons and markers on top of cured paint will not transfer at all.
Someone smudges a finished section. Work in zones: paint one strip, then move to the next. Once a section is done, that side of the table becomes the drying side.
The design is too busy to cut into. Photograph it, and use the photo to cut out sections as panels. A busy sheet is much easier to work with as a patchwork of shapes than as one long roll.
The sheet is too small for the gift. Join sheets before you decorate, or skip paper entirely and have the kids draw directly onto plain kraft gift wrap tape or the box itself.
A toddler will not sit still for a whole roll. Do not fight it. Give them one small section of paper and let them finish that, then hand the bigger job to an older child or an adult. A short session that gets finished beats a full roll half painted.
Frequently Asked Questions
What is the easiest way to make homemade wrapping paper with kids?
Tape a long sheet of kraft paper to a protected table, hand over washable paint and a sponge or a few stamps, and let the kids decorate in whatever pattern they like. Leave a two inch border around the edges, let the sheet dry fully, then cut it to size. The sponge-and-paint method has almost no setup and dries fastest, so it works well for short attention spans.
Can I use regular printer paper or newspaper for homemade wrapping paper?
Printer paper is fine for small presents, books and gift bags, but it is thin enough to tear around a large or heavy box. Join two sheets with clear tape on the inside to strengthen it. Newspaper also works, though its printed ink can shift with water, so keep water-based paint away from it or paint over a sealed base coat first.
What paint is safe for children to use on wrapping paper?
Use paint labelled non-toxic and washable, ideally washable tempera or solid paint sticks, and check the label before opening the tin. Avoid anything marked for skin use only, and skip aerosol or solvent-based paints near children. Crayons and washable markers are safe additions, and anything applied on top of fully cured paint will not transfer to hands or wrapping.
How long should I let homemade wrapping paper dry before wrapping gifts?
Tempera on kraft paper is touch-dry in about an hour but needs several hours to fully cure, so overnight is the safest bet for painted sheets. Crayons and markers dry almost immediately. Stand sheets on their edges to air both sides, avoid stacking them flat, and rub a dried patch firmly before wrapping to make sure no colour lifts.
How can I make one sheet big enough for a large gift?
Tape two or three sheets edge to edge with the seam running along a line you will fold under, then decorate across the joins as if the paper were one piece. For very long or soft gifts, wrap two narrower sheets instead of one huge one and finish with a paper band or twine. Kraft paper is the strongest option here, and extra clear tape on the seams prevents tears.
Can I use crayons or markers on homemade wrapping paper?
Yes, and they are often the better choice for young children because there is nothing to wash and no drying time. Crayons grip well over cured paint and add texture, while washable markers work on plain paper straight away. Avoid permanent or oil-based markers on printer paper, as the solvent can bleed through and show on the other side of the sheet.
Conclusion
If you only remember one thing, remember the first step: get one big sheet of paper taped down and let each child pick a single decorating method. Whether it is sponge painting, potato stamps or a crayon scribble, one method per sheet is what makes the result look deliberate instead of chaotic.
And do not expect every sheet to be usable. The wonky one with a heavy corner is usually the one a kid is proudest of, so set it aside for a small present and keep the rest for the big ones.