The cheapest way to organize a playroom is to buy nothing until every toy has been sorted, then give each category one inexpensive container and a label kids can recognize. Most of the work is deciding what stays, and that part is free. Set aside a Saturday morning, expect the room to look worse around hour two, and finish with a short list of things you actually need to buy.
I have sorted three playrooms for friends over the last few years, and the same pattern holds every time. The rooms that turn into storage are the ones where toys were moved into new bins without being looked at first. The rooms that keep their shape are the ones with far fewer toys, clear categories, and a five-minute reset at the end of the day.
Here is the whole method in six moves: purge what is broken or outgrown, sort the rest into categories, match each category to a type of cheap storage, label every container, use the walls and the space under furniture before buying anything, and divide the room into a few play zones. Work in that order and you will spend far less than the number of organizers you think you need.
Table of Contents
- What You Need
- Step-by-Step: How to Organize a Playroom on a Budget
- How to Organize a Playroom on a Budget by Clearing and Sorting First
- How to Choose Inexpensive Storage for Every Toy Type
- How to Arrange the Playroom for Easy Access and Cleanup
- How to Make the Organized Playroom Stay Organized
- Common Mistakes
- Frequently Asked Questions
- What is the cheapest way to organize a playroom?
- How can I organize a playroom when I have very little storage space?
- What toys should I rotate out of a playroom?
- How do I keep toys from becoming messy again?
- Should I buy matching storage bins for a playroom?
- How do I decide which toys to keep, donate or discard?
- Conclusion
What You Need
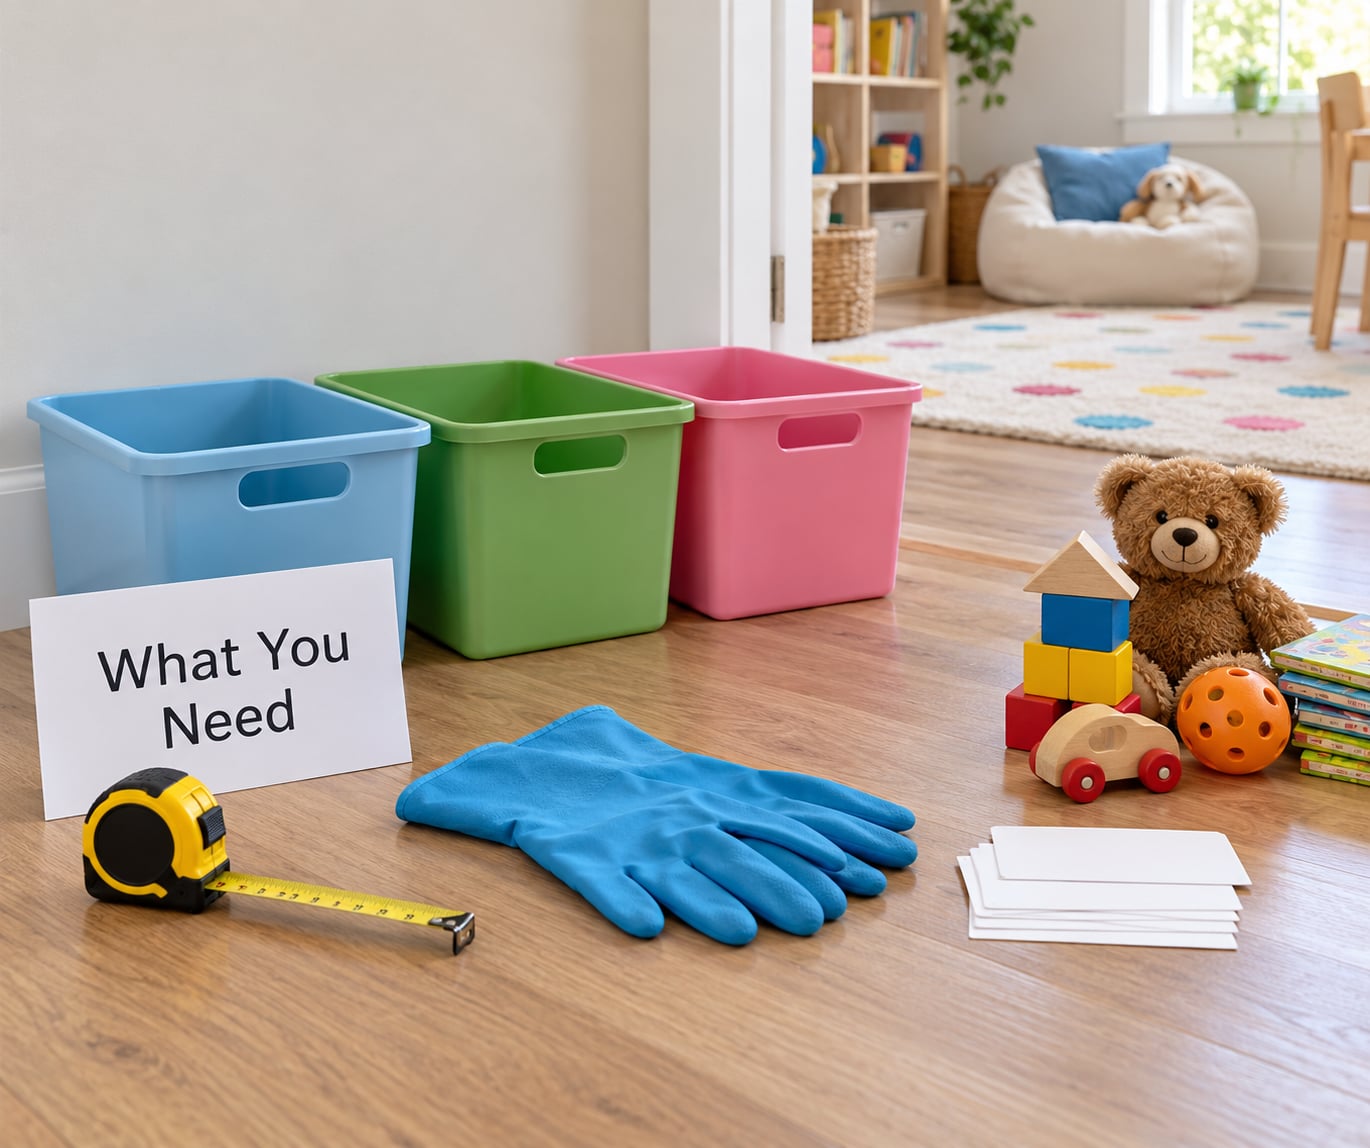
Gather your supplies before you touch a single toy. Having the right piles ready turns the sort into a twenty-minute job instead of an all-day project.
- Four sorting supplies per category. You need a container for keep, one for donate, one for recycle or trash, and one for items that belong somewhere else in the house. Cardboard boxes from moving or delivery work fine and cost nothing.
- Trash bags and a marker. Mark each box on the outside so nobody, including a helpful four-year-old, has to open them all to find out what is inside.
- Paper labels or a roll of masking tape. Plain paper with a hand-drawn picture works for pre-readers, and printed words work for kids who decode. Both cost a couple of dollars at most.
- A measuring tape. Measure the shelf, the closet floor and the gap under the bed before you buy anything. Most organizing purchases go wrong because nobody measured.
- Cleaning supplies. All-purpose cleaner, a microfiber cloth and gloves. You are going to find a sticky spot under the toy pile, and it is easier to handle once the floor is empty.
- Two or three inexpensive containers. Buy these last, after sorting, and only for the categories that have no home. Clear plastic bins, woven baskets and thrifted crates are the three that earn their keep most often.
Keep the donation box visible. Removing it from the room the same day is the difference between a donation and a pile that is still there in March.
Step-by-Step: How to Organize a Playroom on a Budget
How to Organize a Playroom on a Budget by Clearing and Sorting First
Clear and sort before you buy storage, because storage you choose too early will not fit the toys you actually own. Start in one corner and work clockwise, moving everything into the keep box as you go.
Use a simple purge order that decluttering communities repeat constantly. Throw out anything broken, missing pieces, or sharp-edged first. Then separate batteries, duplicates, and toys your children have clearly outgrown. Only after that do you sort what remains into categories.
Deal with the tough call by asking when the toy was last touched. If it has not come out in six months and the child is older than the toy, it is a donation, not a treasure. To avoid an argument, let your child choose the donating part and handle the recycling yourself.
A number of families use a limit instead of judgment calls. The 20 toy rule means roughly twenty toys per child out at any one time, with the rest rotated into a closet, garage, or under-bed bin. It sounds strict until you notice how much of the floor mess comes from volume rather than from any single toy.
Once the keep pile is a manageable size, you can see it. Count the categories, note how big each group is, and only now start thinking about containers.
How to Choose Inexpensive Storage for Every Toy Type
Cheap storage works when each container matches the toy type, not when the room matches a furniture set. Small pieces need closed clear bins, bulky ride-ons need open floor space, and books need something short and wide. Match each category below to the low-cost container that handles it best, and note where it belongs.
- Building blocks and magnetic tiles: a lidded plastic bin or a cube organizer, on a low shelf at floor level, labeled.
- Puzzles and board games: a slim vertical bin or an empty magazine holder, stored upright along a side wall in one row.
- Small toys with loose pieces: clear bins with clip lids, on a middle shelf within child reach.
- Art supplies and crayons: a divided craft caddy or an old utensil drawer, kept at an art station table or wall shelf.
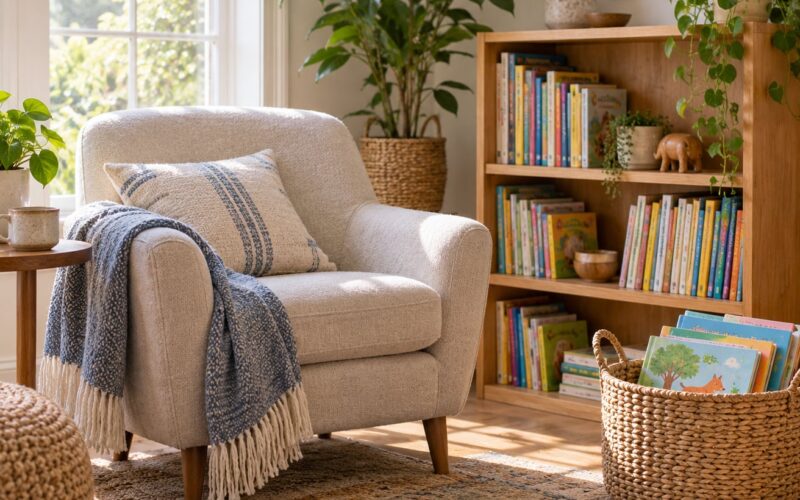
- Books: a short bookcase or a fabric basket turned sideways, front-facing in the reading nook.
- Dress-up clothes and props: a hanging fabric bin or a rod on the back of the door, in the dress-up corner.
- Large ride-ons and bulky items: no container at all, or one oversized lidded bin on floor space or in a garage rotation.
- Stuffed animals: a laundry basket, netting hammock, or large open basket in one corner of the floor play zone.
- Seasonal and outdoor toys: stacked lidded bins with a picture label, on a closet top shelf or in the garage.
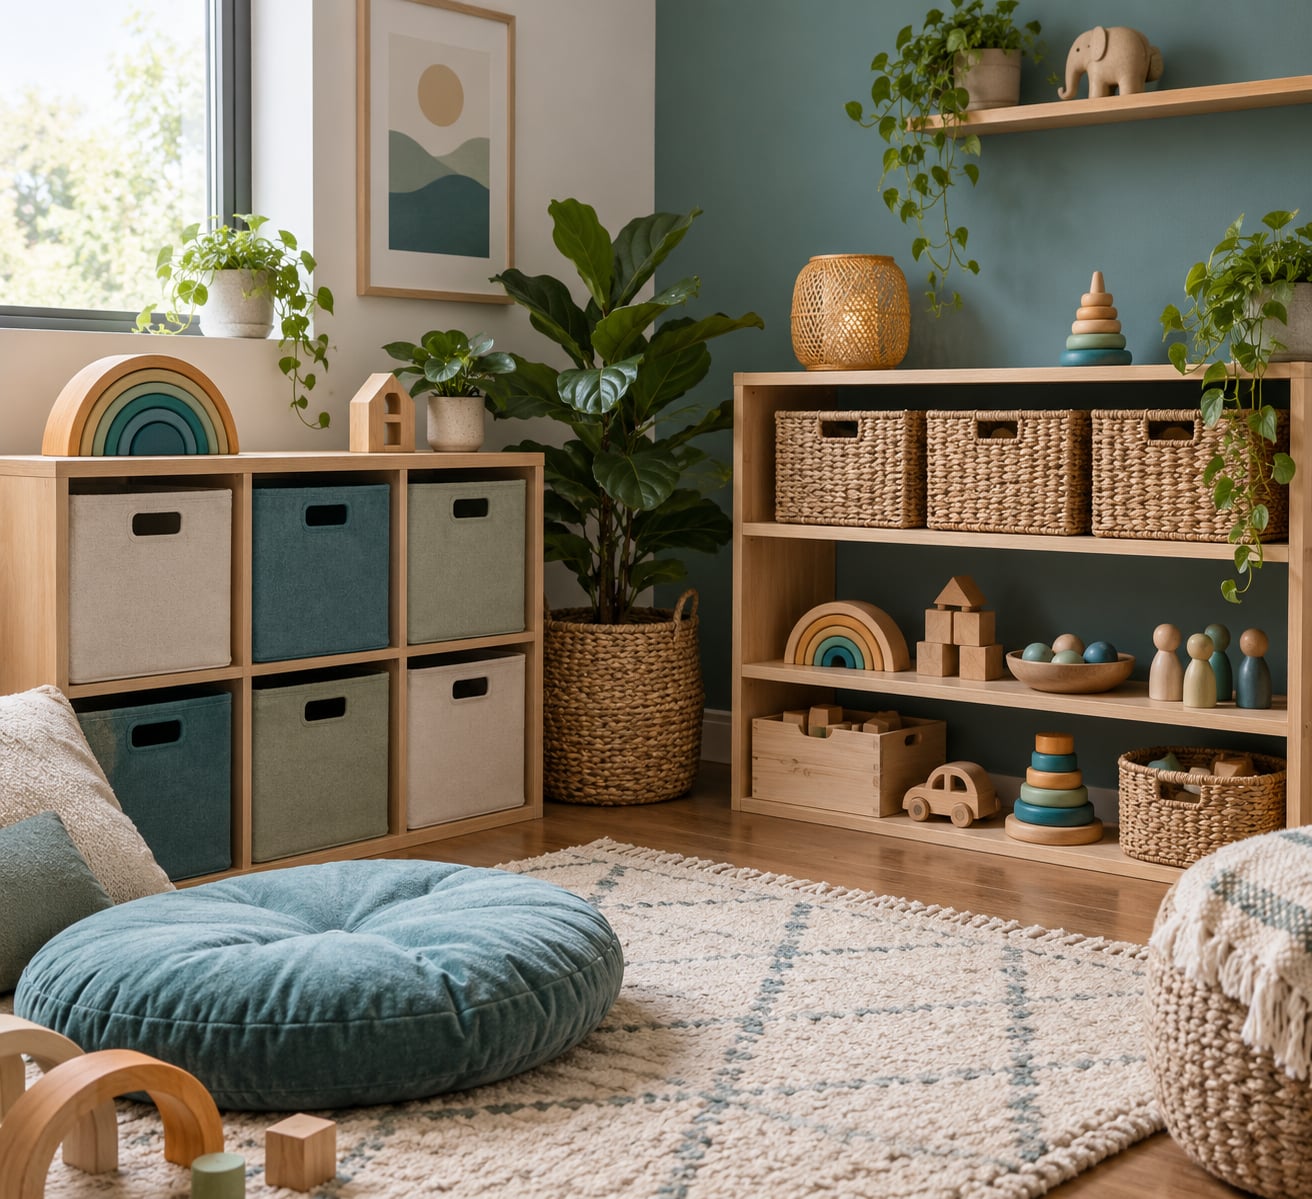
A few cheap options get recommended more than the rest. Clear bins win for small-piece toys because children can see the contents without pulling everything out onto the floor. Woven baskets suit everyday toys and books and blend into the room better than plastic. A rolling cart is worth it if you want the art station to travel to the table.
Two renter-friendly tricks cost nothing. Command strips rated for the weight can hold a shallow shelf or a rod for dress-up clothes, and an over-the-door organizer gives you vertical storage without touching a stud. If you do drill, anchor any tall shelf into the wall so it cannot tip, and skip wall shelves above a toddler’s bed entirely.
Skip small open bins for children under three. Anything a child can fit in their mouth is a choking risk, so small pieces go in bins with secure lids.
How to Arrange the Playroom for Easy Access and Cleanup
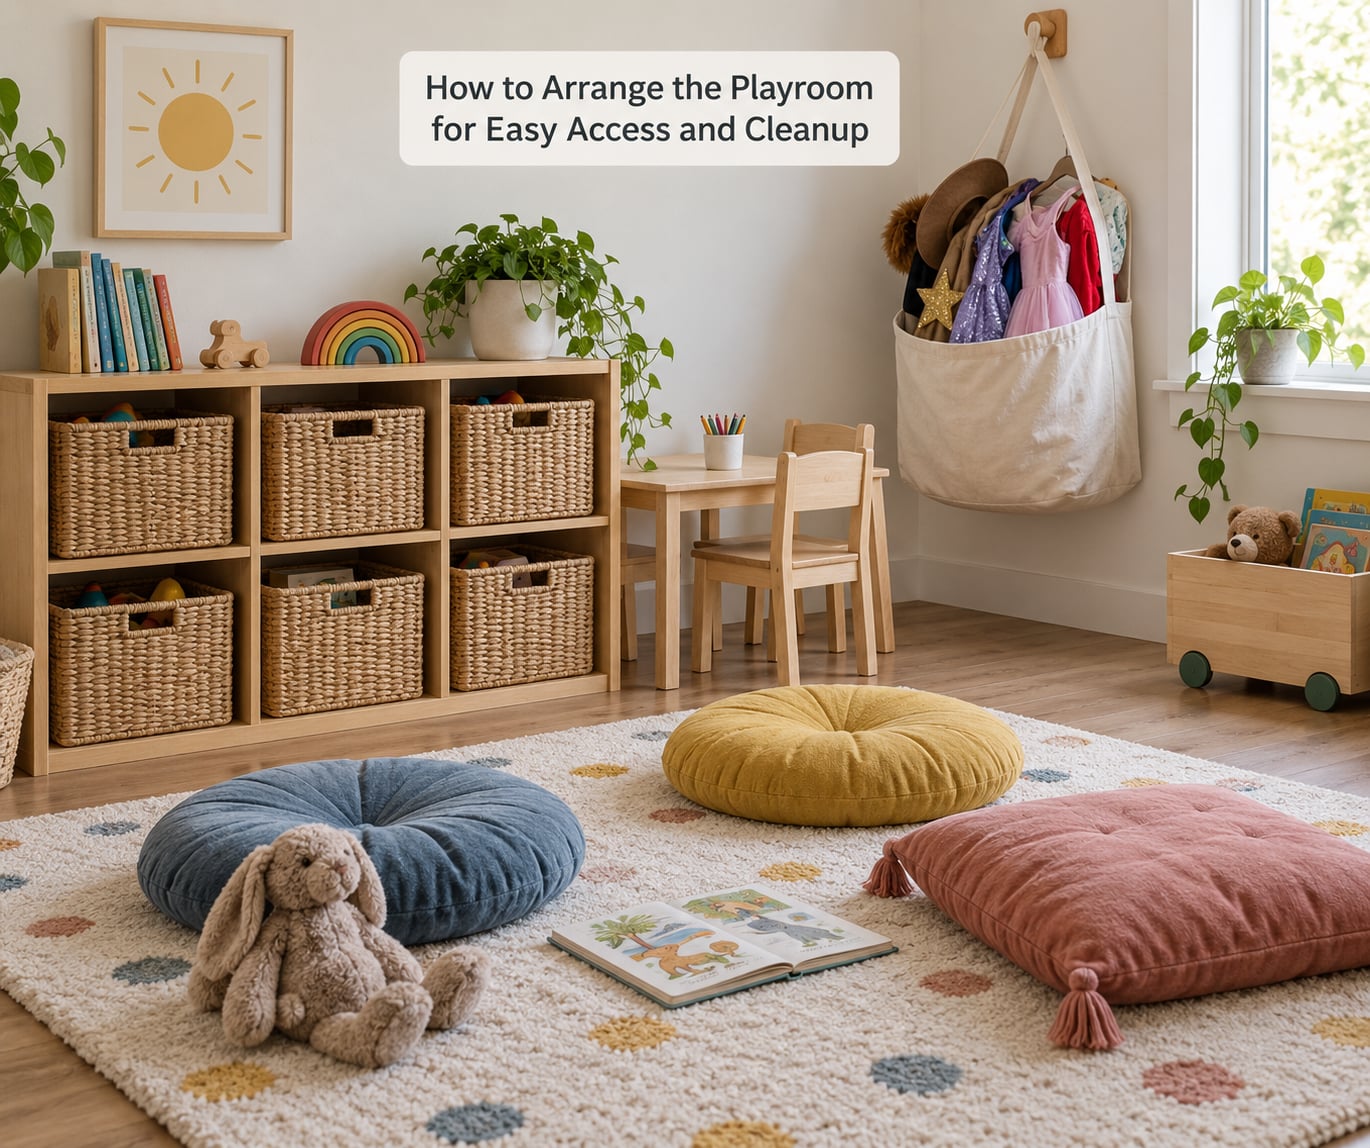
Arrange the room so the toys children use most are the ones they can reach and put away themselves. If a bin needs an adult to lift it, you will be lifting it every day.
Work from the floor up. Big items get floor space you can see from the doorway, everyday items get the first shelf at child height, and occasional items go high. Then use the space nobody counts: the wall above a low piece of furniture, the inside of a closet door, and the gap under a bed or sofa. Wall space is the cheapest square footage in any playroom.
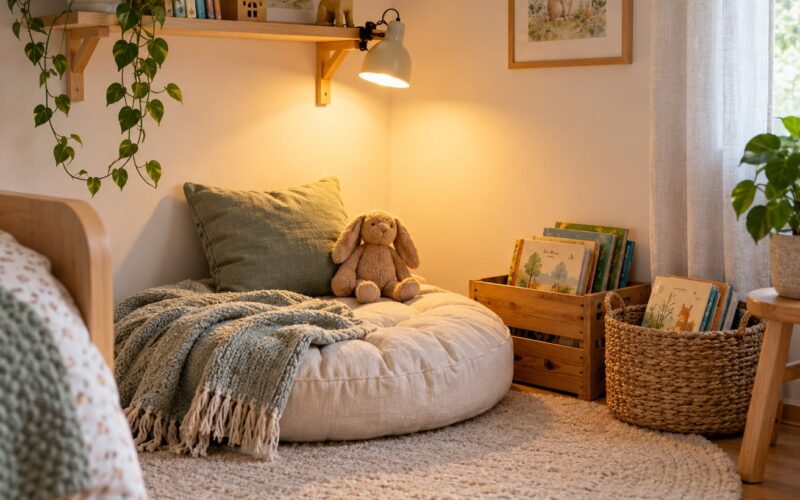
Now divide the room into four or five zones. A reading nook with a cushion and a small rug, a dress-up corner, an art station, a build zone near the storage for blocks, and a clear floor area for active play. Montessori-style play works the same way: low, open shelves holding one category each, so a child can see the choice and return it without help.
You can tell a zone is working if a child can walk into the room, find what they want, and put it away without being told. If a zone spills into the walkway, it is the wrong size, and the fix is usually to cut the number of toys in that zone rather than buy more storage.
How to Make the Organized Playroom Stay Organized
Keep the room organized with three habits: a five-minute daily reset, a weekly check, and a rotation twice a year. Without these, the system collapses within a week, which is the single most common complaint from parents who already bought organizers.
The daily reset is short. Set a timer for five minutes and clean up together while music plays. Everything goes back to its labeled home, including the three items on the floor that somehow never make it back. Do it at the same time every day and it becomes part of the evening rather than a nightly negotiation.
Rotate toys twice a year, before spring and before the holiday season. Move roughly a third of the collection into a lidded bin in another room, and swap in a fresh group. Old toys feel new again, and the visible count drops, which reduces the overwhelm parents describe when every toy is on the floor at once.
Add a one-in-one-out rule at birthdays and holidays. Before wrapping a new toy, something leaves the house. It is easier to give away ten toys in December than forty in June.
The weekly check takes two minutes. Wipe the bins, restock the art caddy, and check the floor for one-piece LEGO that ends up in the vacuum. That is the whole maintenance system, and it costs nothing.
Common Mistakes
Most failed playrooms share the same five problems, and each one has a simple correction.
Buying storage before sorting. This is the expensive mistake, because organizers that do not match the toys lead to buying more organizers later. Correct it by finishing the sort first and writing down the exact number of containers each category needs.
Labeling containers with no categories behind them. A label saying toys is not a system. Use categories like blocks, pretend play, puzzles, art and books, one word or one picture per bin.
Storing everything at child height. Heavy and seasonal items stored low get pulled out constantly. Put bulky and rarely used items high, and keep only daily toys where small hands can reach them.
Ignoring donations and trash. The donation box sits in the corner for months and becomes a second toy pile. Carry it out the same day, and check whether your area has a drop-off site or a buy-nothing group that collects from your front door.
Skipping the cleanup habit. An organized room without a reset routine drifts back to chaos within days. Fix it by attaching the five-minute reset to something already in the day, like dinner or bath time.
Two more mistakes worth naming. Buying matching bins for looks means a spare set costs full price later, so mix sizes instead. And skipping safety checks leaves real risk, so anchor tall shelves, keep heavy items low, and use lidded bins for anything small enough to choke on.
Frequently Asked Questions
What is the cheapest way to organize a playroom?
Reuse what you already own. Sort toys into categories, use cardboard boxes, laundry baskets and thrifted crates as containers, and write labels on masking tape. Add clear plastic bins only for small-piece toys that need lids, and use wall space and closets before buying furniture.
How can I organize a playroom when I have very little storage space?
Cut the toy count first, then use vertical space. A wall of anchored cube shelving, an over-the-door organizer and shallow baskets under furniture add storage without using floor space. Store seasonal and oversized toys in lidded bins inside a closet or garage so they rotate out.
What toys should I rotate out of a playroom?
Rotate out seasonal items, costume sets, large puzzles, water play things and anything the children have not touched in a few months. Keep the toys they choose most, plus a few quiet options like books, blocks and dolls. Swap groups twice a year, before spring and before the holidays.
How do I keep toys from becoming messy again?
Give every toy one labeled home and run a five-minute reset at the same time each day. Do a two-minute weekly wipe-down, keep the donation box for new arrivals, and apply a one-in-one-out rule at birthdays and holidays. Fewer toys on the floor means less to put away.
Should I buy matching storage bins for a playroom?
Matching bins look tidy but cost more and waste floor space because everything ends up the same size. Mixed sizes let you fit odd toys and let you replace a single container later. Choose containers by category instead: clear lidded bins for small parts, baskets for books and soft toys.
How do I decide which toys to keep, donate or discard?
Discard anything broken, sharp, missing pieces or recalled. Donate batteries, duplicates and toys that are too advanced or too young for the current age. Keep what has been used in the last few months. Let each child pick one or two toys to donate so the decision does not turn into a fight.
Conclusion
How to organize a playroom on a budget comes down to order of operations, not spending power. Purge what is broken and outgrown, sort the rest into a handful of clear categories, match each category to a cheap container, label it, and use the walls and closets before you buy furniture.
Start with one zone today. Pull everything out of the reading corner, sort it into four piles, and label what stays. Once you can see what you actually own, the shopping list writes itself, and it will be much shorter than you expected.