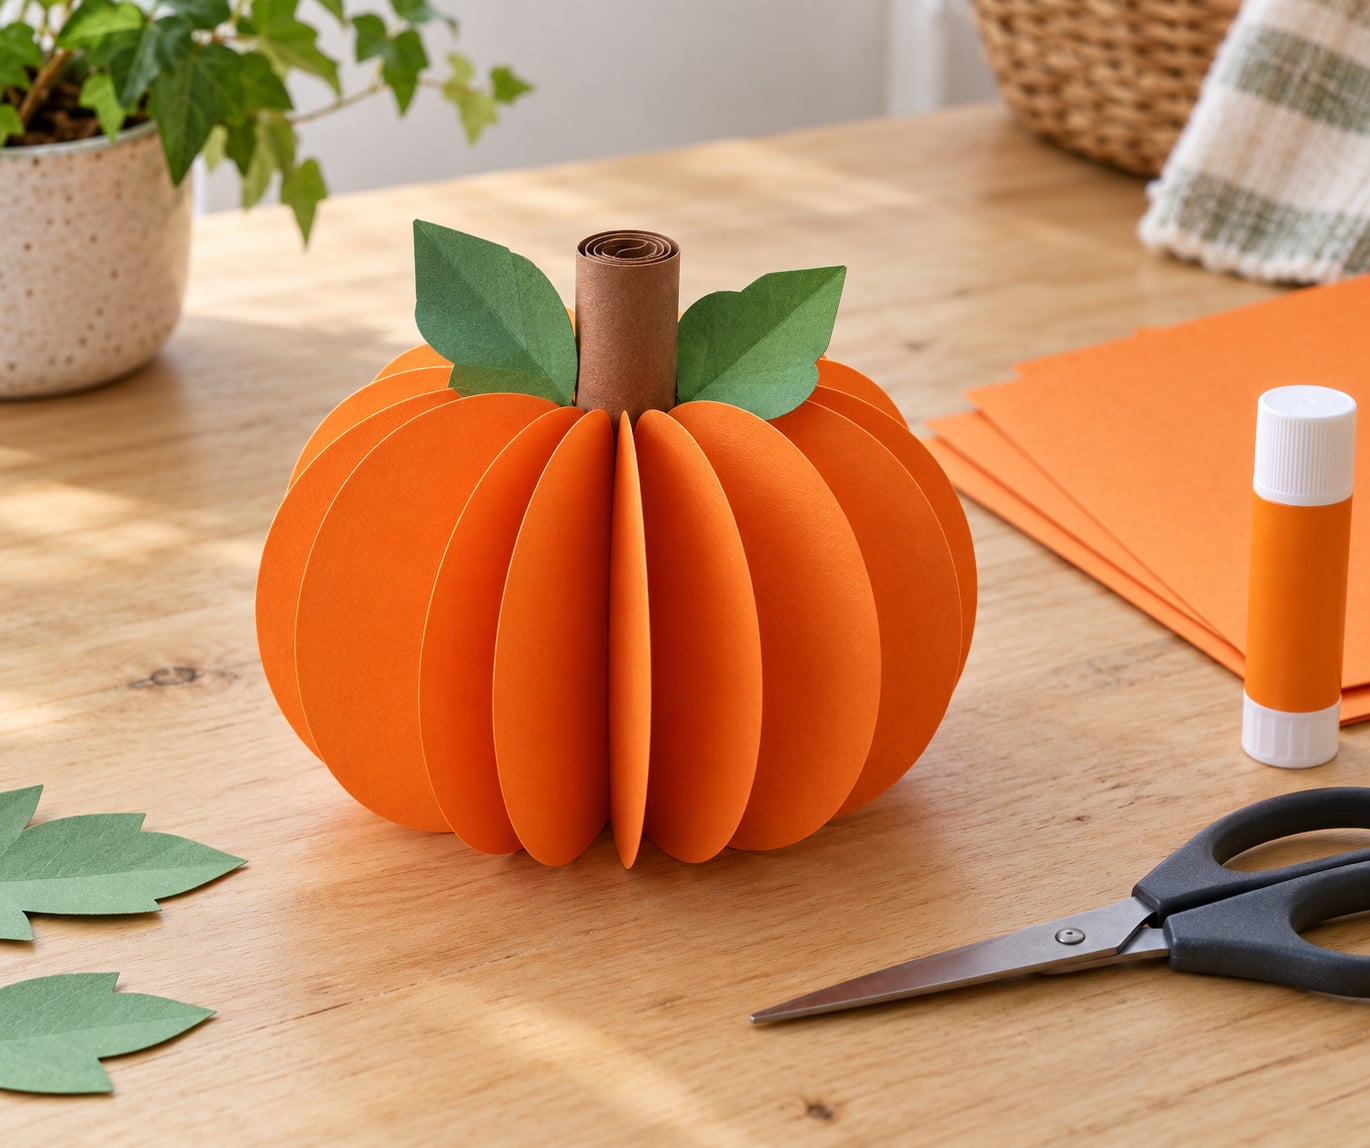
To make a paper pumpkin craft, cut a pumpkin shape out of orange paper, fold it into an accordion fan, glue the top and bottom edges together, then press the two sides inward so the paper bulges into a round, ribbed pumpkin. The whole project takes about 15 minutes for the first one and 5 to 8 minutes after that, and it works with nothing more than craft paper, scissors and glue.
It is the kind of activity that keeps going after the crafting stops. Kids do real fine-motor work in those folds, and the finished pumpkin ends up on a mantel, a Thanksgiving table or a party favor table rather than in the bin the next morning.
Table of Contents
- What You Need
- Step-by-Step: How to Make a Paper Pumpkin Craft
- How to Shape the Paper Pumpkin Body
- How to Add the Stem, Leaves, and Finishing Details
- Common Mistakes and Easy Fixes
- Ways to Make the Paper Pumpkin Craft Your Own
- Frequently Asked Questions
- What kind of paper is best for making a paper pumpkin?
- Can toddlers make this paper pumpkin craft?
- Do I need to use a template for a paper pumpkin?
- How do I keep the paper pumpkin from falling apart?
- Can I make a paper pumpkin without glue?
- What can I use instead of orange paint or construction paper?
- Conclusion
What You Need
Everything comes from a craft drawer or the recycling pile at home.
- 1 sheet orange construction paper, roughly 11 by 17 inches, or 2 letter-size sheets taped together
- 1 small piece of brown paper, kraft paper, or a wine cork
- 1 small piece of green paper for leaves (optional)
- Scissors, and a small paper plate to trace
- A glue stick for kids, or liquid craft glue for a stronger hold
- Markers, a brown or black pencil, or orange tempera paint for finishing
Substitutions are easy. A paper plate traced twice gives you two back-to-back circles, which is the classic shortcut to a 3D pumpkin. Brown paper bags cut open work as the body in place of craft paper, and a rolled-up tube from a toilet paper roll makes a sturdy stem.
For a classroom set of 30, teachers report that paper plates and a single shared tub of paint markers keep the cost and the cleanup down. Lay a trash bag or a sheet of newspaper over the table first.
Step-by-Step: How to Make a Paper Pumpkin Craft
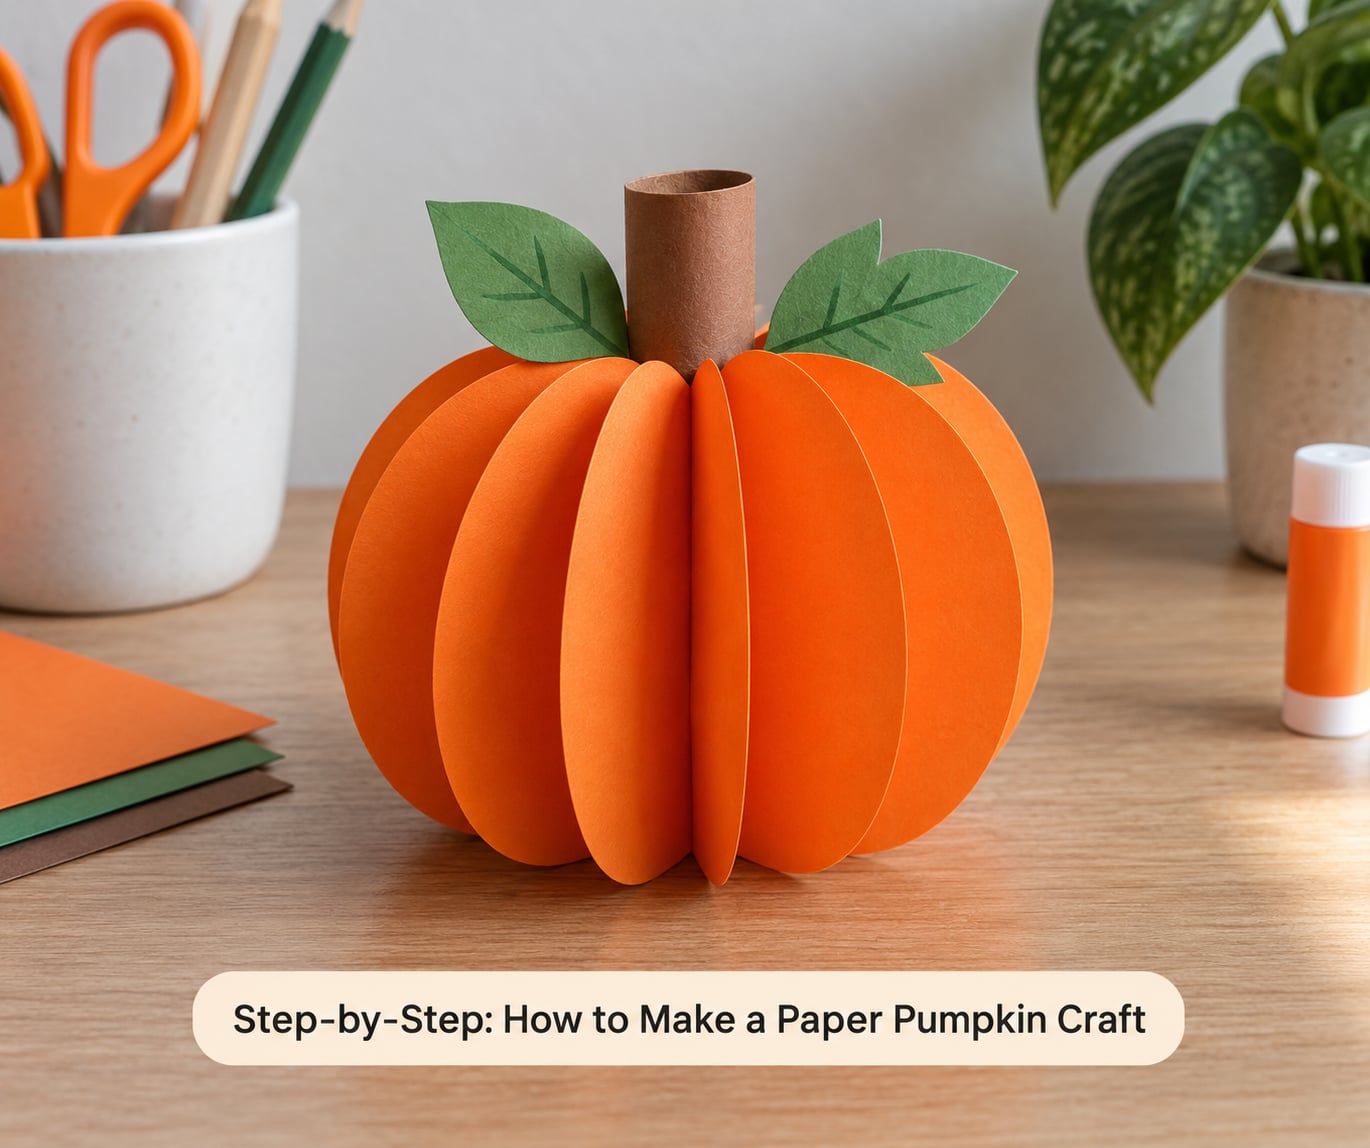
The instructions below are the full method. Follow them in order and the pumpkin holds its shape on the table without anything holding it in place.
- Make the pumpkin shape. Trace a small paper plate onto orange paper and cut it out. For a fuller pumpkin, cut a second circle the same size and tape or glue it to the back of the first so you have a double-thick shape that will not tear at the folds.
- Add a stem bump. Draw a short rectangle on top of the circle where the stem will sit, then cut around the whole outline including the rectangle. You now have a pumpkin with a tab at the top.
- Cut a short slit below the tab. Snip down about a third of the way down from the bottom edge, between the left and right sides. This opening is what lets the pumpkin curve later.
- Accordion-fold the shape. Fold it back and forth like a fan, working from one side to the other, until the folds are even. The accordion fold is simply a back-and-forth zigzag; the paper should look like a squeezed paper fan, not a concertina with tight creases.
- Glue the top and bottom edges. Pinch the folds together into a rounded shape and run a thin line of glue along the top and bottom edges, then press them together. Half of the folds should face one way and half the other so the shape can be flattened and reopened like a fan.
- Let it dry. Give the glue 3 to 5 minutes to set, holding the shape or setting it on a flat surface. Do not move it while it is still tacky, or the top will peel open.
- Curve the body. Lay the pumpkin on its side, push the center in with your thumb, and bring the two edges together. Then turn it upright and spread the folds out into a circle. The paper pops outward on its own and gives you the ribbed look.
- Add the stem and stand it up. Roll a brown paper strip tightly, glue it into the tab, and set the pumpkin upright. It should stand on its flat base without support.
How to Shape the Paper Pumpkin Body
The rounded body comes down to one fold pattern and one squeeze. Fold every crease in the same direction, mountain to valley, so the fan can open and close smoothly.
Even folds matter more than perfect ones. If your folds bunch up in one place and gap in another, the pumpkin will lean. Use a ruler edge or a bone folder to press each crease firmly before you glue anything.
For younger children, skip the scissors-heavy version and pre-cut the pumpkin shape yourself. A three-year-old can handle folding, gluing and the thumb-press that curves the paper, which is honestly the fun part.
How to Add the Stem, Leaves, and Finishing Details
Roll a strip of brown kraft paper into a tight tube, tape the loose end, and glue it into the tab. A short wine cork pushed into the same tab gives a chunkier, more rustic stem that will not bend.
For leaves, fold a small green square in half, cut a half-moon along the folded edge, and unfold it. Two or three leaves tucked under the stem is enough. Torn green tissue paper works just as well and needs no cutting.
Finishing details can be as plain or as silly as you like. A brown marker gives crease lines that emphasize the ribs, and a jack-o-lantern face turns the same pumpkin into a Halloween decoration. Clear tape over a stem that came out too long hides the cut edge, which is the fix the maker of one popular goodie-bag tutorial uses.
Common Mistakes and Easy Fixes
Almost every failed paper pumpkin comes down to one of four things. Most are fixable without starting over.
- The pumpkin goes flat or springs back open. The folds were not alternated, or the glue had not dried. Reopen it, squash it flat into a fan, and check that the ridges alternate ridge, valley, ridge, valley down the whole length. Then re-glue the top and bottom edges and give it the full 5 minutes.
- The folds are uneven. Press every crease again with a ruler before gluing. Uneven spacing is the number one reason a pumpkin ends up lopsided.
- Paper tears at the slits or tabs. The shape was single-thick. Tape two pieces of paper together or use cardstock, and cut the slit with sharp scissors in one clean snip rather than sawing back and forth.
- Layers will not stick. Craft glue beads and slides on coated or waxy paper. Roughen the surface lightly with the back of a spoon, switch to double-sided tape, or score the paper first. For a heavy hold, run hot glue along the seam and pin it with a clothespin until it cools.
- The stem falls off. The tab is too small or the glue was too wet. Enlarge the tab, use less glue, and hold the stem in place for 30 seconds before letting go.
- Excess glue squeezes out. Glue a piece of scrap paper to the underside to catch it, then peel the scrap away once it dries.
One more habit pays off: glue dries faster in a cool room with a fan moving the air. Spread finished pumpkins out on a cardstock scrap so air can reach the bottom, otherwise the base stays damp and soft.
Ways to Make the Paper Pumpkin Craft Your Own
The accordion pumpkin is the version most people keep. These variations answer different situations rather than just adding steps.
- Tissue-paper version. Layer three squares of orange tissue paper, accordion-fold them together, and glue the layers along one edge before rolling. A small ball makes a good mold while you wrap, and a wad of newspaper works in place of one if you have no ball. The result is soft and translucent rather than crisp.
- Painted-paper version. Paint a plain white paper pumpkin instead of cutting orange paper. It is a good rainy-day activity because the drying and the fine-motor work give kids something to do for 20 quiet minutes.
- Single-sheet construction. Cut a 2-inch wide strip of orange paper, fold it into tight accordion folds, roll it into a circle, and glue the bottom edge. Push the two sides in for the body. This one takes under five minutes and uses a fraction of a sheet.
- Classroom bulk set. Pre-cut 30 pumpkin shapes ahead of time, stack the supplies in trays, and let the gluing be the only messy part. A teacher on a craft forum asked specifically how to make this for a full class of kindergartners, and the pre-cut approach is what made it feasible.
- No-glue version. Use double-sided tape instead, or pierce the folded shape along the top edge with a needle and thread it closed. Toddlers can manage the tape version with help on the tearing.
- Functional versions. A wider pumpkin makes a tea light holder when you leave a finger-wide gap at the base. A taller one works as a treat pouch if you leave the top unglued. A flat one tied to a treat bag becomes a party favor. One reader uses a finished pumpkin to decorate an autumn wreath, which is a good excuse to make two.
Frequently Asked Questions
What kind of paper is best for making a paper pumpkin?
Orange construction paper works well for most kids because it is forgiving to fold and easy to cut. Cardstock holds a crisp shape and is the better choice for a decoration you want to keep, but it is harder to fold for small hands. Scrapbook paper is decorative but often too coated for glue to grip, and kraft paper gives a rustic look if you roughen the surface first.
Can toddlers make this paper pumpkin craft?
Yes, with the cutting done ahead of time. A three-year-old can accordion-fold the shape, run a glue stick along the edges, and press the sides in with a thumb. Skip the slit and the stem tab and you have a simple fan-fold pumpkin that still stands up. Have a second sheet ready, because the first one usually gets squashed.
Do I need to use a template for a paper pumpkin?
No. A small paper plate is the most reliable template and most people already own one. Trace it twice for a double-thick shape, or draw a wide arch with a small rectangle at the top for the stem. If you want a printable pattern, search for a free paper pumpkin template and trace it onto cardstock for a sturdier result.
How do I keep the paper pumpkin from falling apart?
Alternate your folds properly: every ridge should be followed by a valley, all the way down the shape. Then glue both the top and the bottom edges, not just the top, and let the pumpkin dry flat for 3 to 5 minutes before you curve it. Pinch the two ends together as you curve, and the accordion will lock itself closed.
Can I make a paper pumpkin without glue?
You can, using double-sided adhesive tape instead. Run a strip along the top and bottom edges just before you press them closed, and tape holds better than a glue stick on most paper. A sewing needle and thread also works for an older child. Both options need a firm press and a few minutes of settling time to stay together.
What can I use instead of orange paint or construction paper?
An orange paper bag cut open works, and so does a flattened cardboard box painted orange, which is sturdier. Orange tissue paper gives a soft, translucent pumpkin for party favors. Markers in two shades of orange give you shading on plain paper without paint, and entirely skip color with a kraft paper pumpkin topped with real dried leaves.
Conclusion
Start with the accordion method above and make one pumpkin yourself first, mainly to feel out how tightly to press the folds. After that, the timing drops and you can double a sheet, pre-cut the shapes for a class, and let the kids do everything from the fold onward.