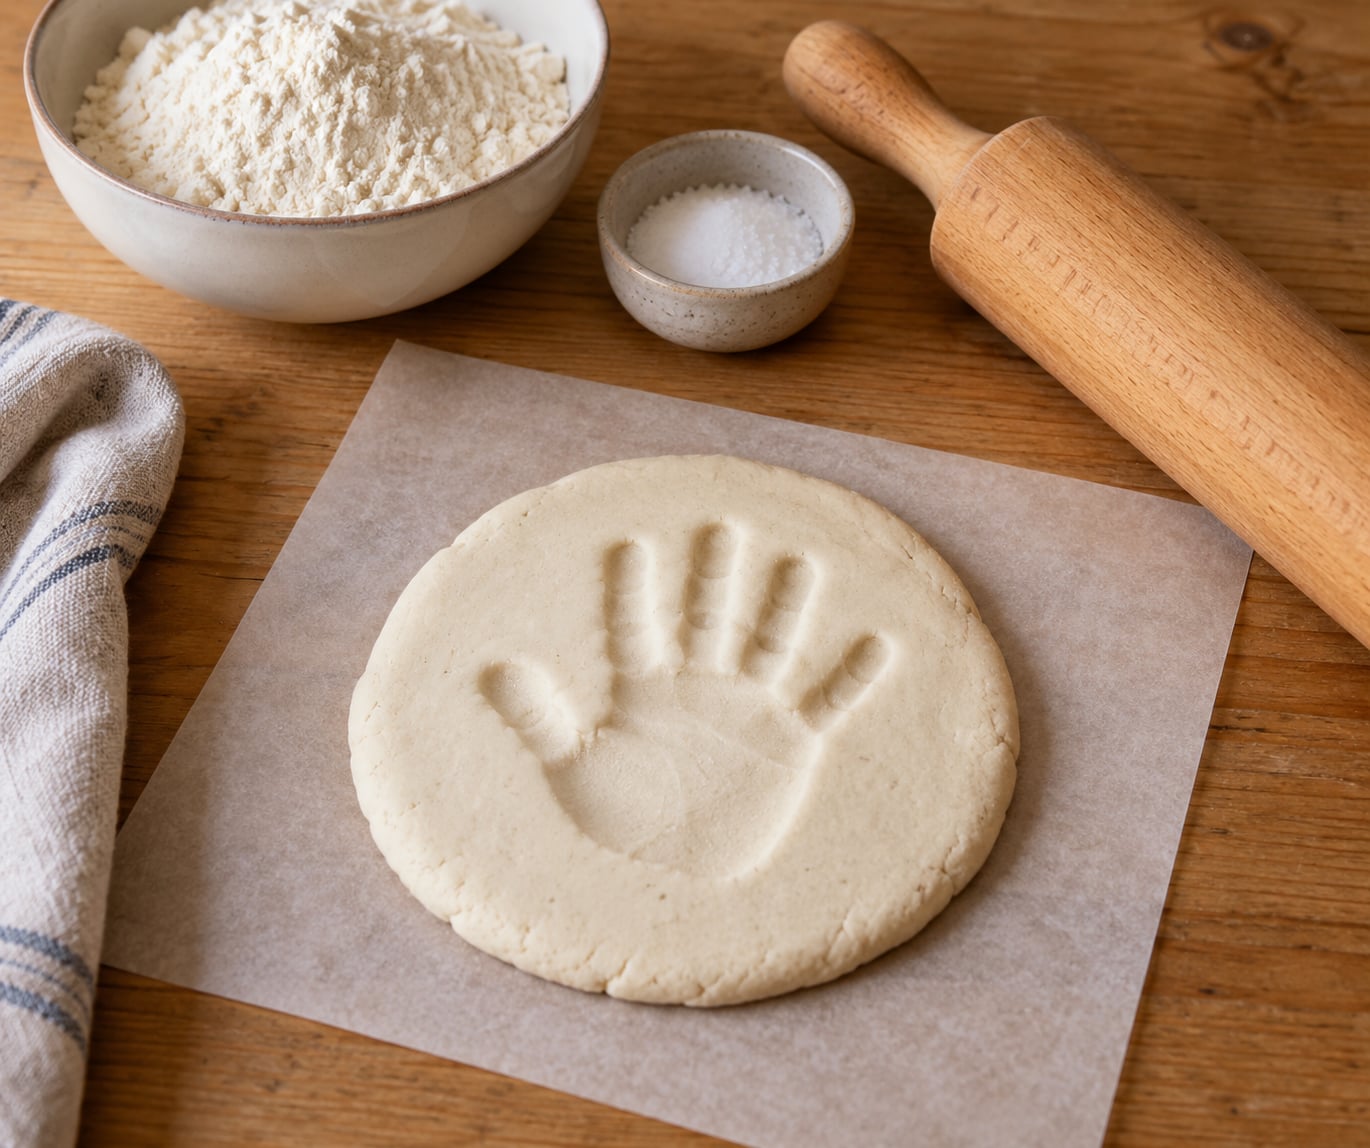
How to make salt dough handprints is a two-ingredient job: mix 2 cups of all-purpose flour with half a cup of table salt, add about three-quarters of a cup of warm water, knead, press the hand in, and bake low and slow. The whole batch takes roughly three hours including drying, and the only tricky part is getting an even thickness.
A finished print turns a chunk of paste into the thing grandparents actually keep: proof of how small a hand was on a particular Tuesday. It costs almost nothing, needs no kiln or specialty clay, and survives years once it is sealed.
Table of Contents
- What You Need
- How to Make Salt Dough Handprints
- Step 1: Mix the Dough for Your Salt Dough Handprints
- Step 2: Flatten the Dough
- Step 3: Make the Handprint
- Step 4: Dry the Handprint
- Step 5: Add Color and Details
- Step 6: Preserve or Display the Keepsake
- Common Mistakes
- How to Fix Sticky Dough
- How to Keep Edges from Cracking
- How to Avoid a Smudged Handprint
- How to Prevent the Handprint from Cracking
- Frequently Asked Questions
- Can I make salt dough handprints with toddlers?
- How long does a salt dough handprint take to dry?
- How should I store a finished salt dough handprint?
- Can I add color before or after pressing the handprint?
- What is the best way to turn a handprint into a gift?
- Start with the Dough and One Simple Print
What You Need
The base dough is flour, salt and water, in a ratio of roughly 4:1:1.5 by volume. Everything beyond that is convenience.
- 2 cups all-purpose flour (about 240 g)
- 1/2 cup table salt (about 72 g), plain iodized or non-iodized both work
- About 3/4 cup warm water (about 177 ml), warmed in the microwave for 20 seconds or run under a warm tap
That makes roughly four handprints or six to ten small ornaments, depending on how thick you roll it.
For the workspace, set out a shallow baking sheet or unglazed tile, parchment paper, a small cup for water, a rolling pin, and a pencil. A pencil matters more than it sounds: you mark the outline before you cut, so you keep a margin around the impression instead of shaving it off.
Worth adding if you have them: food coloring for tinting the dough, a cookie cutter or knife for trimming, a toothpick for the hanging hole, and paint or markers for the decorate step.
One safety note before anyone starts licking the dough. The finished material is non-toxic once dry but it is not food, it is high in salt, and dogs will not treat a handprint ornament as decor. Keep pets out of the craft box and have everyone wash their hands when the session ends.
How to Make Salt Dough Handprints
Six steps, and the whole reason most attempts fail is rushing the first one. Work on a clean surface, keep the dough at room temperature, and resist the urge to add water every time the dough feels resistant.
Step 1: Mix the Dough for Your Salt Dough Handprints
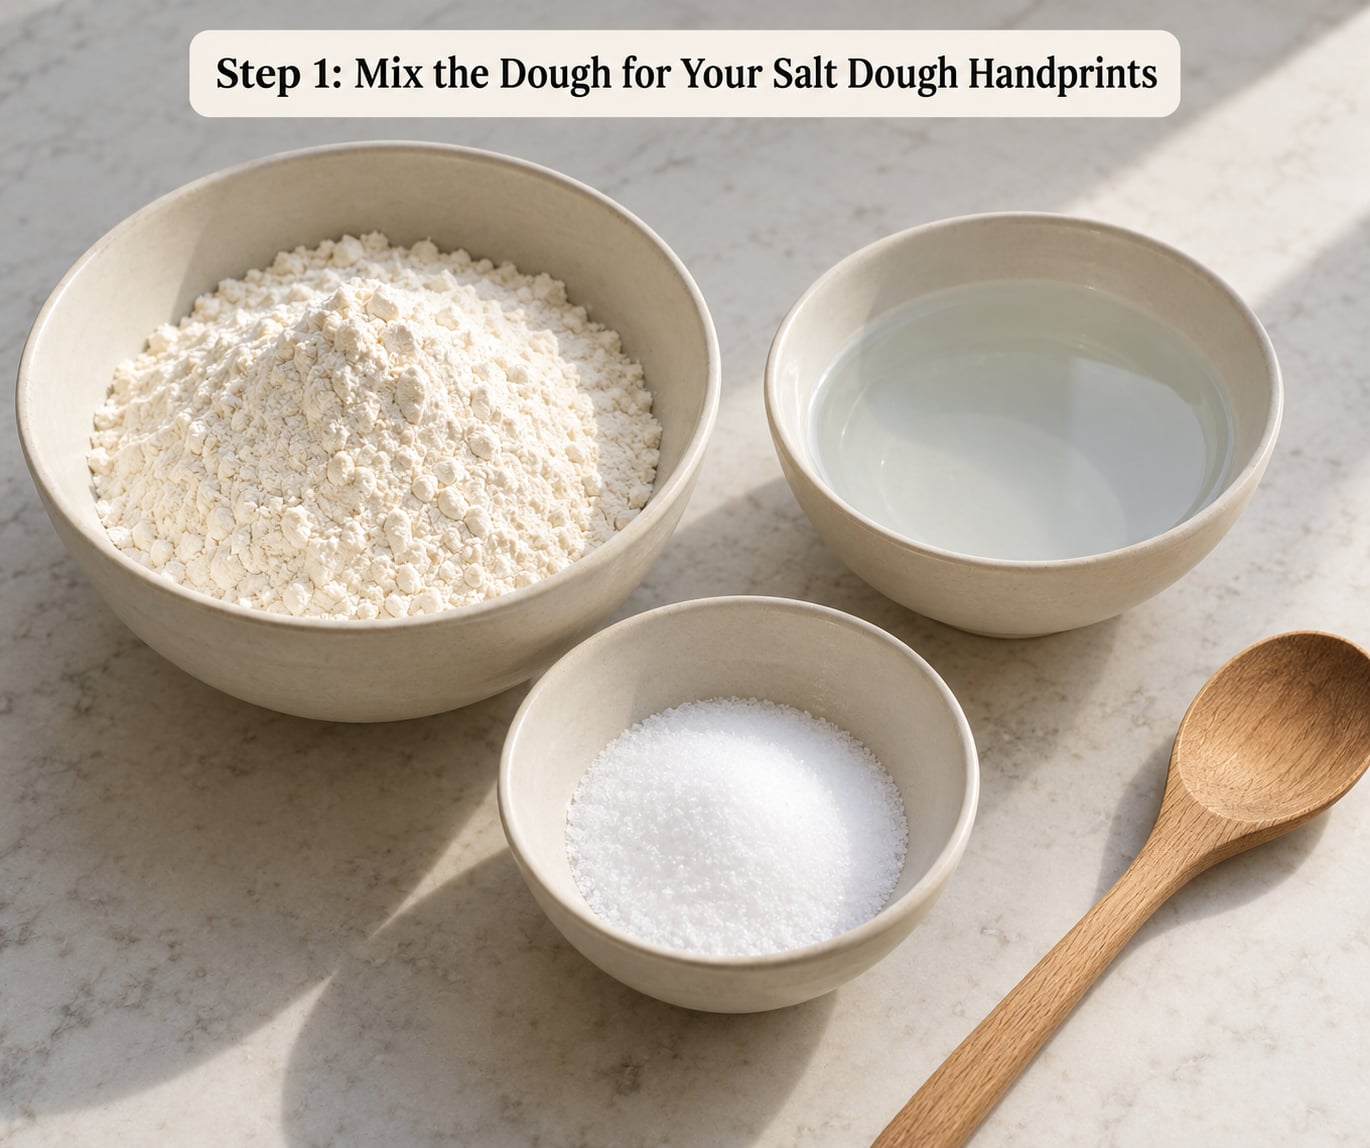
Combine the flour and salt in a bowl and stir so the salt is distributed evenly, then add the warm water a spoonful at a time. You worked out how to make salt dough handprints the moment you go gradual here: water added all at once leaves wet pockets that turn into cracks later.
Knead for two to three minutes until the dough is smooth and pliable and no longer sticks to your palm. It should feel like soft play dough. If it is tacky, add one more tablespoon of flour. If it tears at the edges when you pull it, add a teaspoon of water and knead again.
Wrap the ball in plastic and let it rest for 15 minutes so the flour hydrates fully. That rest alone removes most of the cracking people blame on the recipe.
Step 2: Flatten the Dough
Roll the dough into an even disk about one-quarter inch thick. Put a pencil next to the dough and use its diameter as a depth gauge: when the pencil covers the edge, you have roughly the right thickness.
Rolling an even sheet is what keeps the print crisp and stops the rim from cracking. If you hit a spot thinner than the rest, it dries fast and cracks; thicker spots stay damp in the middle and warp the piece as they cool. Cut a fresh patch from the leftover dough rather than stretching a thin spot back out.
Step 3: Make the Handprint
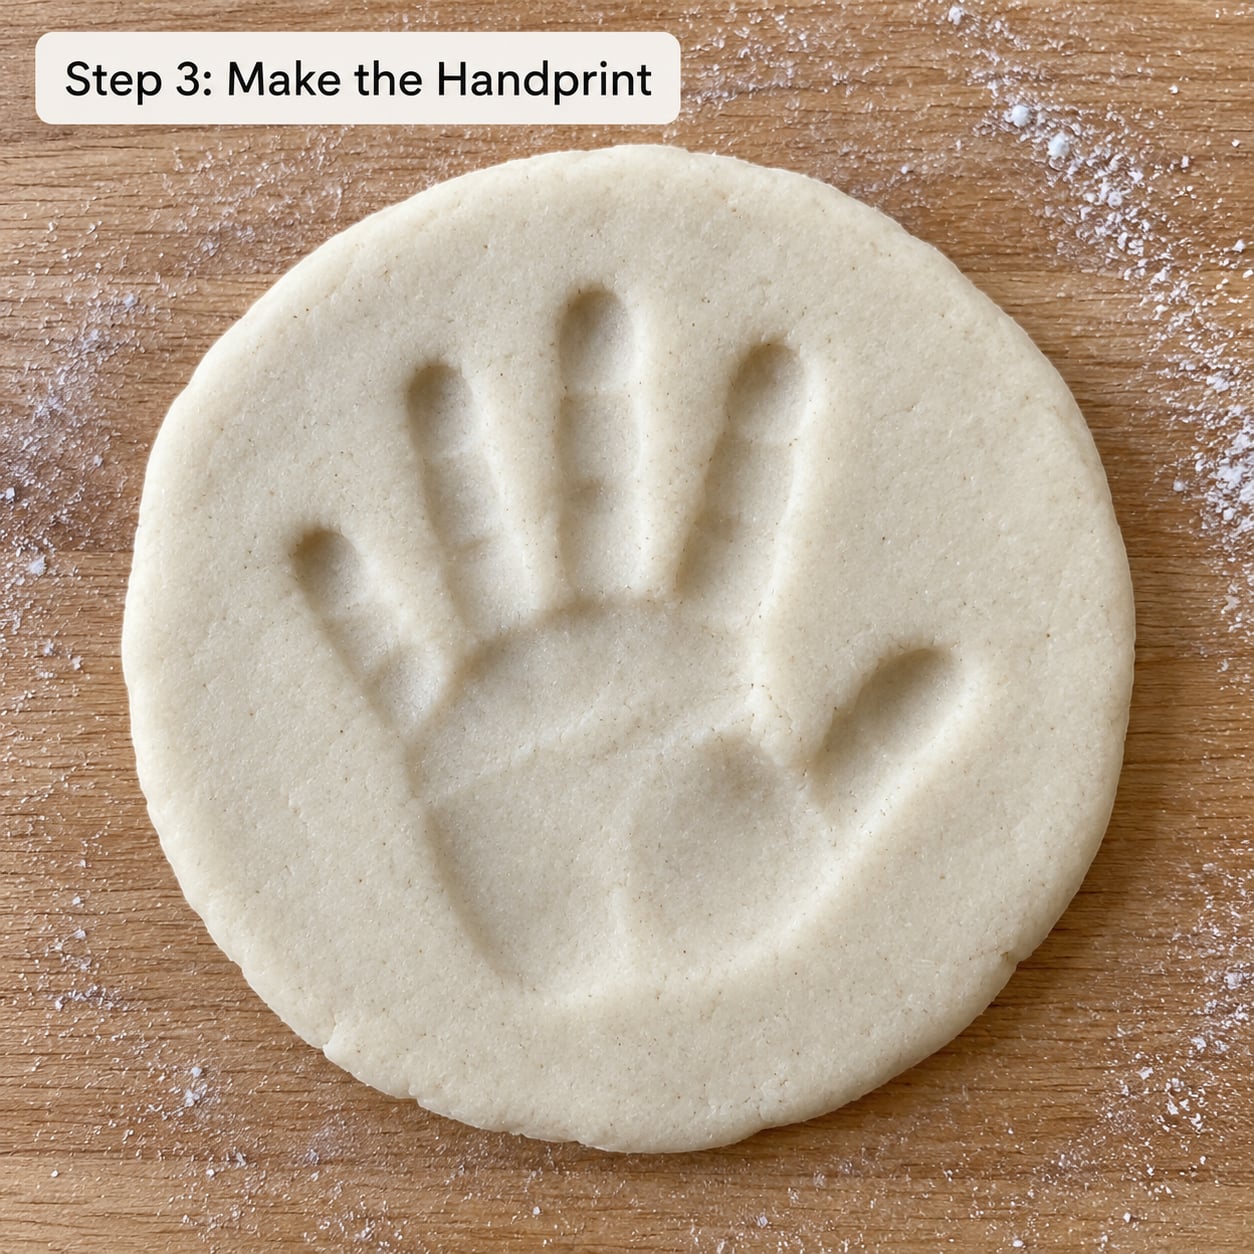
Wash and dry the hand thoroughly, then set it down first to test the fit. Place the dough on parchment paper so you can slide it without tearing, and have a second sheet ready for the next print.
Press the palm in first, then the heel, then the fingers one at a time. Even pressure, about ten seconds, no shifting once you have started. Then lift straight up and away in one movement rather than peeling a finger at a time, which drags and smears.
For a newborn, wipe the palm with a damp cloth first and skip any lotion or powder. A tiny hand slips out of a deep impression on its own, so a lighter press is fine. For a toddler, press a second print on a scrap of dough first so you learn how hard this particular dough resists.
Step 4: Dry the Handprint
Air drying works and it is the gentlest option on the detail: set the dough somewhere dry and dust-free for four to seven days depending on your climate. Bake the print at 200 degrees Fahrenheit for two to three hours instead if you want it today. A food dehydrator at 150 to 185 degrees Fahrenheit also works well.
Slow is the point. Salt dough has to lose all of its water, and water leaves from the surface fastest, which is why pieces puff and curl at the edges when the oven is hot. Turn the piece halfway through the bake so both sides dry evenly, and use parchment paper rather than foil, which traps moisture underneath and leaves a damp back.
Let the finished print cool on the pan before you touch it. It feels room temperature while the middle is still damp, and the truth is in the underside: a fully dry piece is pale, hard all the way through, and sounds hollow when you tap it. If the center still gives at all, put it back in for another 30 minutes.
Step 5: Add Color and Details
Color can go on before or after pressing, and each version has a purpose. Tint the dough with a few drops of food coloring mixed into the water for a solid, painted-from-the-inside look. Leave it plain if you want a natural clay tone.
For a print that is already dry, acrylic paint or school tempera both stick to the porous surface. Washable markers and paint pens are convenient but they sit on top, so they scuff if a child handles the piece. Add the name and date before sealing.
Let any paint dry fully before you move on. Rushing to the sealer is the usual reason a finished print ends up tacky or smeared.
Step 6: Preserve or Display the Keepsake
Salt dough is porous, so untreated pieces absorb humidity and eventually grow a musty smell or white spotting. Seal first, decorate second in importance only because the seal goes on last.
Two coats of Mod Podge, brushed on thin and allowed to dry fully, handle most indoor keepsakes. Clear acrylic spray sealer dries faster and resists moisture better. Keep both options out of reach of children while they cure.
Then decide what the piece is. Punch a toothpick hole near the top edge and thread twine or ribbon for a tree ornament or a garland. Glue it to a piece of cardboard for a gift tag. Leave it flat and framed for a milestone plaque, which shows the print off far better than hanging it. For a table setting, write the guest’s name on the rim once it is sealed.
Store finished pieces flat in an airtight container or a zip bag in a dry cupboard, not in a shed or garage where damp gets in. If you are gifting one, wrap it in tissue rather than a paper bag so the surface does not scratch against the paper.
Common Mistakes
Almost every salt dough problem is one of four things going wrong, and each has a fix.
How to Fix Sticky Dough
Add flour one tablespoon at a time and knead for a minute between additions. You are looking for dough that pulls away from your palm and holds a shape when squeezed.
The opposite error is common too: people add salt or flour until the dough feels dry and crumbly, then it cracks while drying. A little stickiness in the ball is normal. Flour is the only ingredient you can add later without changing the ratios, so measure it in spoons rather than shaking it from a bag.
How to Keep Edges from Cracking
Push the cracks closed with a fingertip while the dough is still slightly damp, then smooth the rim flat with the edge of a spoon or a piece of parchment. Wet dough repairs easily; dry dough does not.
Add moisture only when the dough is genuinely dry and will not knit together, and then only a teaspoon at a time. Edge cracks mostly come from rolling too thin and from drying in moving air, so an even quarter inch is a better fix than patching.
How to Avoid a Smudged Handprint
Keep the surface dust-free and work on parchment, not straight onto a floured counter or a cutting board. Loose flour transfers to the palm and turns the impression into a grey blur.
Clean dry hands, fingers spread evenly, one steady press, then lift straight up. If a print comes out soft, let it sit for two minutes before adding the next one, since the dough firms slightly as the surface loses moisture.
How to Prevent the Handprint from Cracking
Thickness and drying speed do most of the work. A quarter-inch piece dried slowly at a low temperature cracks far less than a thin one blasted in a hot oven, and a humid kitchen is slower than a dry one.
Turn the piece during baking, let it cool fully before handling, and apply the protective coat only when it is completely dry and at room temperature. Sealing a warm or damp piece traps the moisture that causes the cracking you were trying to prevent.
Frequently Asked Questions
Can I make salt dough handprints with toddlers?
Yes, and most of the difficulty is patience rather than technique. A toddler hand is small enough to lose in the dough, so roll it about a quarter inch thick, press gently but do not shift once you start, and lift straight up. Let the print firm for a minute or two before pressing the next one onto the same sheet. Skip the hanging hole until the piece is dry and you know you want an ornament.
How long does a salt dough handprint take to dry?
Baked at 200 degrees Fahrenheit, a quarter-inch handprint takes two to three hours, and a thicker piece can need four. Air drying on a rack in a dry room takes four to seven days; a humid kitchen stretches that out further. Test rather than guess: a dry piece is hard and pale all the way through, including the underside, and sounds hollow when tapped. If the center still dents under a fingernail, give it another 30 minutes.
How should I store a finished salt dough handprint?
Once it is fully dry and sealed with Mod Podge or clear acrylic sprayer, store it flat in an airtight container or a zip bag in a dry cupboard. Salt dough is porous, so moisture is what causes mold, musty smells and crumbling later. Keep pieces away from bathrooms and sheds, do not stack anything heavy on top, and wrap each one in tissue if you are gifting it so the surface does not scratch.
Can I add color before or after pressing the handprint?
Both work. Tint the dough by mixing a few drops of food coloring into the warm water for an even, colored-through result, which is best for something meant to hang on a tree. Painting after drying with acrylic paint or tempera gives sharper, more precise coverage and a better result on a frame or plaque. Paint pen and washable marker colors sit on the surface and scuff easily if small hands handle the finished piece.
What is the best way to turn a handprint into a gift?
Glue the dried, sealed handprint onto a piece of card cut slightly larger than the piece, then add a hole at the top for twine. That turns it into a gift tag that will not bend or snap in a bag. For grandparents, writing the name, date and age on the card before sealing is often the part people remember. A flat framed plaque suits a milestone, while an ornament suits a holiday.
Start with the Dough and One Simple Print
If you only remember three things, remember these. Mix the flour and salt dry first and add the warm water gradually, knead until the dough stops sticking to your palm, and rest it wrapped for fifteen minutes. Roll an even quarter inch, press the hand once with steady pressure, and lift straight up.
Then let the print dry completely at 200 degrees Fahrenheit for two to three hours before you paint or seal it. That wait is the difference between a keepsake and a souvenir that cracks by Christmas.