How to make a plaster sculpture with kids is simpler than it sounds: mix plaster powder with water, press or pour it over a shape your child builds, let it harden overnight, then paint. The whole project takes about an hour of active time plus a day of drying, and the finished piece is a permanent keepsake rather than something that turns to dust in a week.
Plaster of Paris is the material you want. It is a fine white powder made from gypsum, and when you add water it turns back into solid stone. The setting is an exothermic reaction, which means the mixture gets warm as it hardens, and the change from liquid to solid is what makes it so satisfying to work with.
Plan the shape first, mix only what the package says, and let your child make the decisions about the details. That last part is where the good pieces come from.
Table of Contents
- What You Need
- The essentials
- Shapes and armatures
- Protective gear and workspace
- Finishing supplies
- Materials and what to use instead
- Step-by-Step: How to Make a Plaster Sculpture with Kids
- Plan the Shape and Make an Armature
- Mix the Plaster
- Build Up the Sculpture
- Add Details While the Plaster Is Soft
- Let the Sculpture Dry
- Finish and Display the Sculpture
- Common Mistakes
- Safety Tips for Making Plaster with Children
- Frequently Asked Questions
- What age is appropriate for making a plaster sculpture with kids?
- Can I use a homemade plaster mixture instead of Plaster of Paris?
- How long does a kids’ plaster sculpture take to dry?
- Can children paint a plaster sculpture after it dries?
- How do I keep a plaster sculpture from cracking?
- What can I do with leftover plaster mixture?
- Start with a Simple Shape
What You Need
You need very little. Most of the list is the plaster itself, a bowl, and something to build the shape on. Everything else is optional and makes the job easier or the finished piece look better.
The essentials
- Plaster of Paris powder, bought by weight. Read the label before you start, because mixing ratios and drying times differ between brands.
- Water, plus a jug for the rest
- A mixing bowl you can scrape out afterwards, or a plastic bag if you want almost no mess
- A wooden spoon, a spatula or a whisk
- Measuring cups or a jug with clear markings
- Cardboard, thick paper or a board for the base
- Paper or a plastic sheet to cover the table
Shapes and armatures
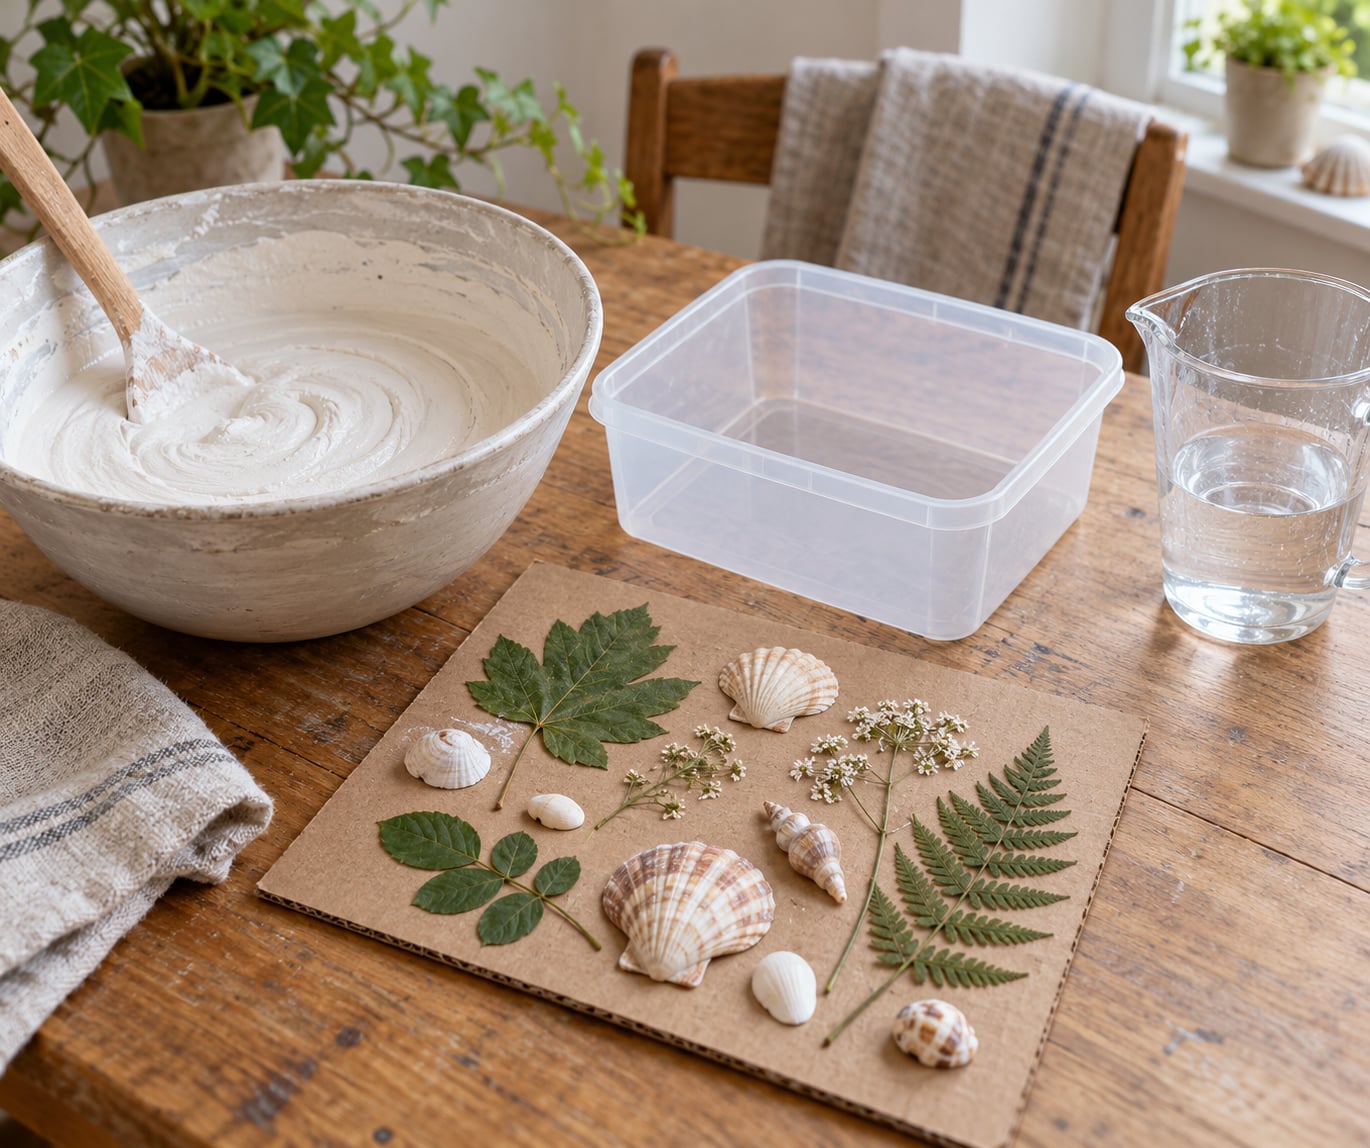
Found objects work well: a pinecone, a shell, a smooth stone, a toy animal, a cut foam shape. Air-dry clay or salt dough makes a sturdier base if you want to build upward, and foil-wrapped scrunched-up paper or rolled-up newspaper tape makes a light armature for something bigger.
Protective gear and workspace
- A dust mask for whoever opens and pours the powder, plus goggles
- Disposable gloves for the adult handling wet plaster
- A room with a window cracked or a fan running
- A dedicated bucket for rinsing tools, so nothing goes down the sink
Finishing supplies
Once dry, a coat of acrylic gesso primer keeps paint from soaking in and lifting, and a clear acrylic varnish or a thin layer of Mod Podge makes the piece more wipe-proof. Tempera or acrylic paint both work; tempera is washable, acrylic is tougher.
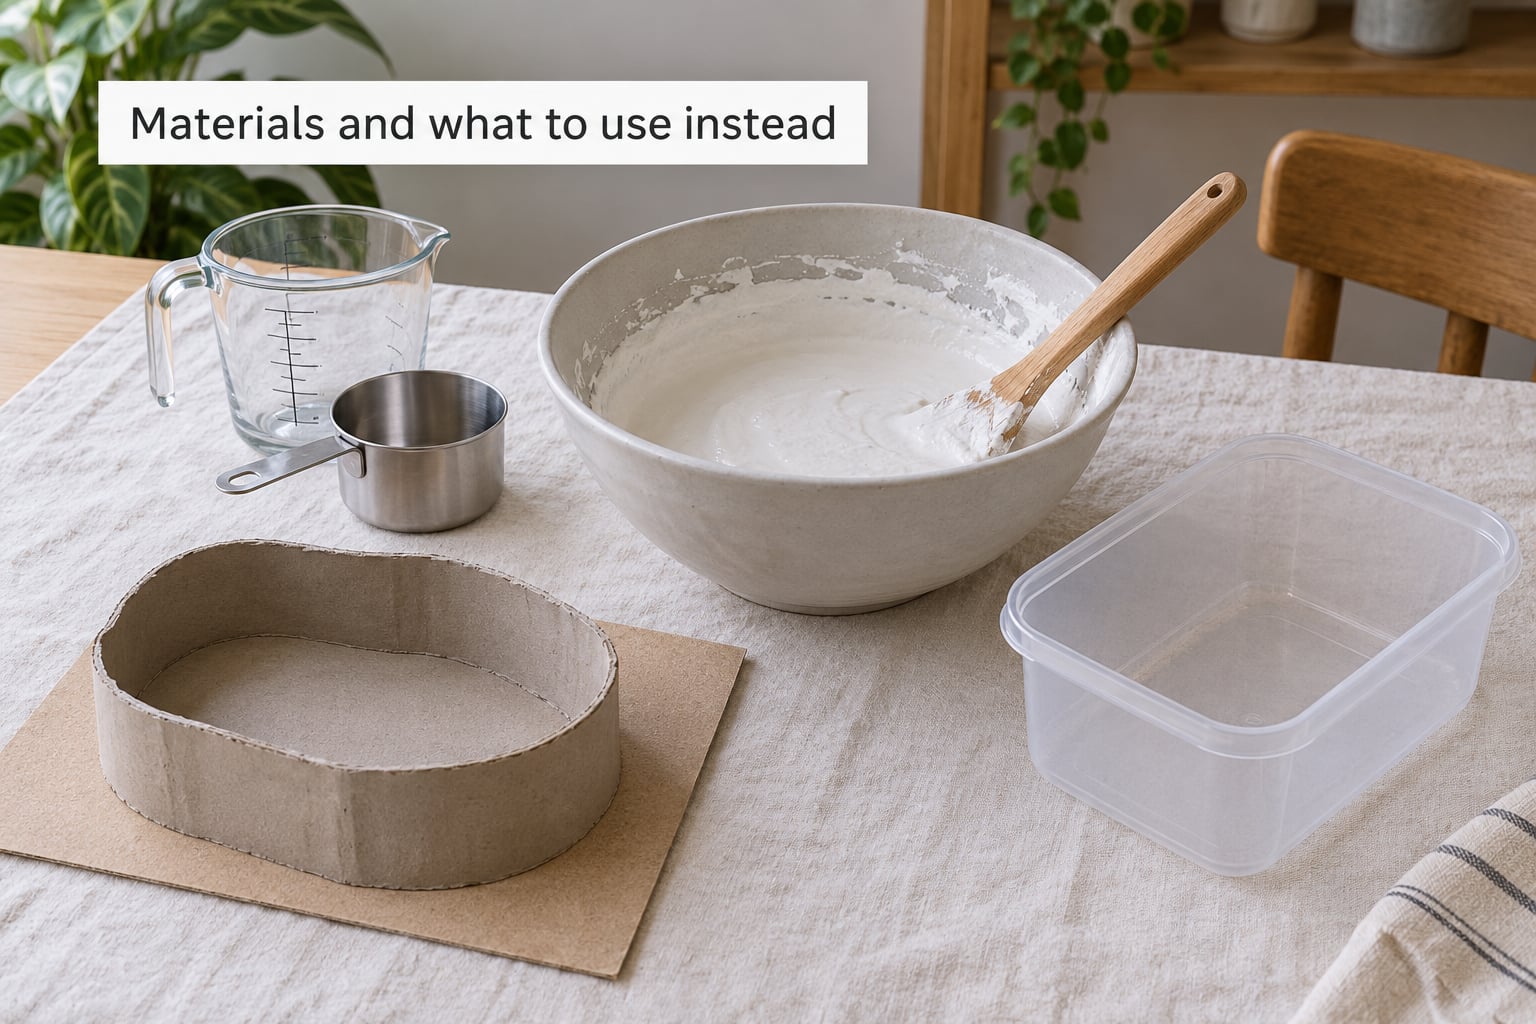
Materials and what to use instead
Not every surface behaves the same way, and release agent matters more than most people expect. If nothing is coating the inside of the mold, the cast may bond to it and chip on the way out.
| Need | Best choice | What works instead |
|---|---|---|
| Mold or form | Plastic yogurt tub, silicone mold, sand bed | Cardboard ring, clay base, foil-wrapped found object |
| Release agent | Petroleum jelly or cooking oil sprayed thinly | Wax paper for flat impressions, nothing for disposable containers you plan to cut away |
| Mixing vessel | Bowl with a spatula | Zip-lock sandwich bag for the lowest-mess version |
| Binder or strengthener | Nothing, for most small pieces | Small amount of white glue or a little fibre for thin shells |
| Surface prep before paint | Acrylic gesso primer | Two thin coats of Mod Podge, sanded lightly between coats |
| Sealant | Clear acrylic varnish | Water-based matte varnish, diluted Mod Podge |
One question comes up constantly: what is the difference between plaster and plaster of Paris? Plaster of Paris is a specific kind of gypsum plaster, and for craft purposes the two names describe the same material. Joint compound is the wall filler, and it sets far too slowly, sands down to chalk and bends under a fingernail. Air-dry clay is softer, lighter and easier for small hands, but it is not stone and it will not take a fine cast. Salt dough is the cheapest option and the least durable, which is fine for a one-afternoon project.
Step-by-Step: How to Make a Plaster Sculpture with Kids
Here is the whole process in six stages: plan and build the form, mix the plaster, build the sculpture up, add details while it is soft, let it dry, then finish and display it. Work in that order and each stage has one clear sign that it worked.
- Plan the shape and build a base or armature
- Mix the plaster to the consistency the label describes
- Press or pour plaster onto the form and build up layers
- Add texture, marks and small objects before it firms
- Let the piece dry undisturbed for the full cure time
- Prime, paint and seal the finished sculpture
Plan the Shape and Make an Armature
Start by having your child sketch the idea on paper and choose one object to build, rather than a whole scene. One animal, one tower, one creature with a clear outline is a project that finishes in one sitting.
Give it a flat cardboard base about 2 cm thick and roughly 15 cm across. Anything standing upright needs weight at the bottom, so if the design leans or reaches up, build a core from crumpled foil or newspaper tape and tape it to the base first.
You know it worked when the base sits flat on the table without rocking when you tap it. That flatness is what keeps the finished piece from cracking later.
Mix the Plaster
Measure the plaster and water according to the package directions and put the water in the bowl first. Add the powder slowly on top and stir until it is evenly smooth, with no dry pockets in the middle.
Working time is short once the water hits the powder, so treat whatever your label says as a ceiling rather than a suggestion. Experienced makers mix a small batch at a time rather than one big one, and cold water buys a little extra room before the set begins.
How do you know it is right? The mixture should hold the shape of the spoon for a second when you lift it, like soft double cream. If it runs off the spoon in a ribbon, add a little more powder. If it is stiff and tearing, add water a spoonful at a time and mix again.
Once the mixture starts thickening, stop adding water. Extra water slows the set but leaves the piece weak, chalky and easy to snap, which is the most common reason a first attempt falls apart.
Build Up the Sculpture
Scoop the plaster on with a spoon or your fingers, in small amounts, and press it firmly onto the base and any armature. Hand application works better than pouring for freeform shapes, because you control where the material goes instead of letting it slump.
Build in layers rather than one lump. Let each layer firm up slightly before adding the next, and keep the mass down near the base so nothing top-heavy is left hanging out on its own.
Makers report that a piece built on a solid base survives far better than a thin hollow shell, so if your design is an enclosed form, fill the bottom third solidly. It feels like waste at the time and it is not.
Add Details While the Plaster Is Soft
Texture comes first. Press a leaf, a shell, a piece of lace or the end of a fork into the surface, and drag a spoon handle or a twig through the soft plaster to make lines. Small pebbles and buttons pressed in at this stage become part of the sculpture rather than decoration stuck on later.
Keep fingers clear of fragile areas, support anything you are pressing into, and hold thin protruding pieces until the plaster around them has gone off-white and firm. An adult handles the sharp or pointy tools; the kids handle the pressing and the arranging.
The sign it is time to stop is when the surface no longer moves under a fingertip but the interior is still soft enough to accept a final mark.
Let the Sculpture Dry
Move the piece carefully, keeping a hand under any overhang, and set it somewhere flat and stable where nobody will brush past it. Do not stack anything on it and do not speed the drying with a hairdryer or a radiator; heat at the wrong moment drives water out of the surface too fast and cracks the piece.
Give it the ventilation and drying time your product label recommends. As a rough guide, plaster of Paris feels solid to the touch in roughly 20 to 40 minutes but is not finished: it reaches full cure over one to two days, and it is not worth handling, priming or painting until then.
Two checks before you move on. The piece should feel room-temperature all the way through, not just on the surface, and a fingernail pressed to an unseen corner should leave no mark. If it does, give it another day in a dry room.
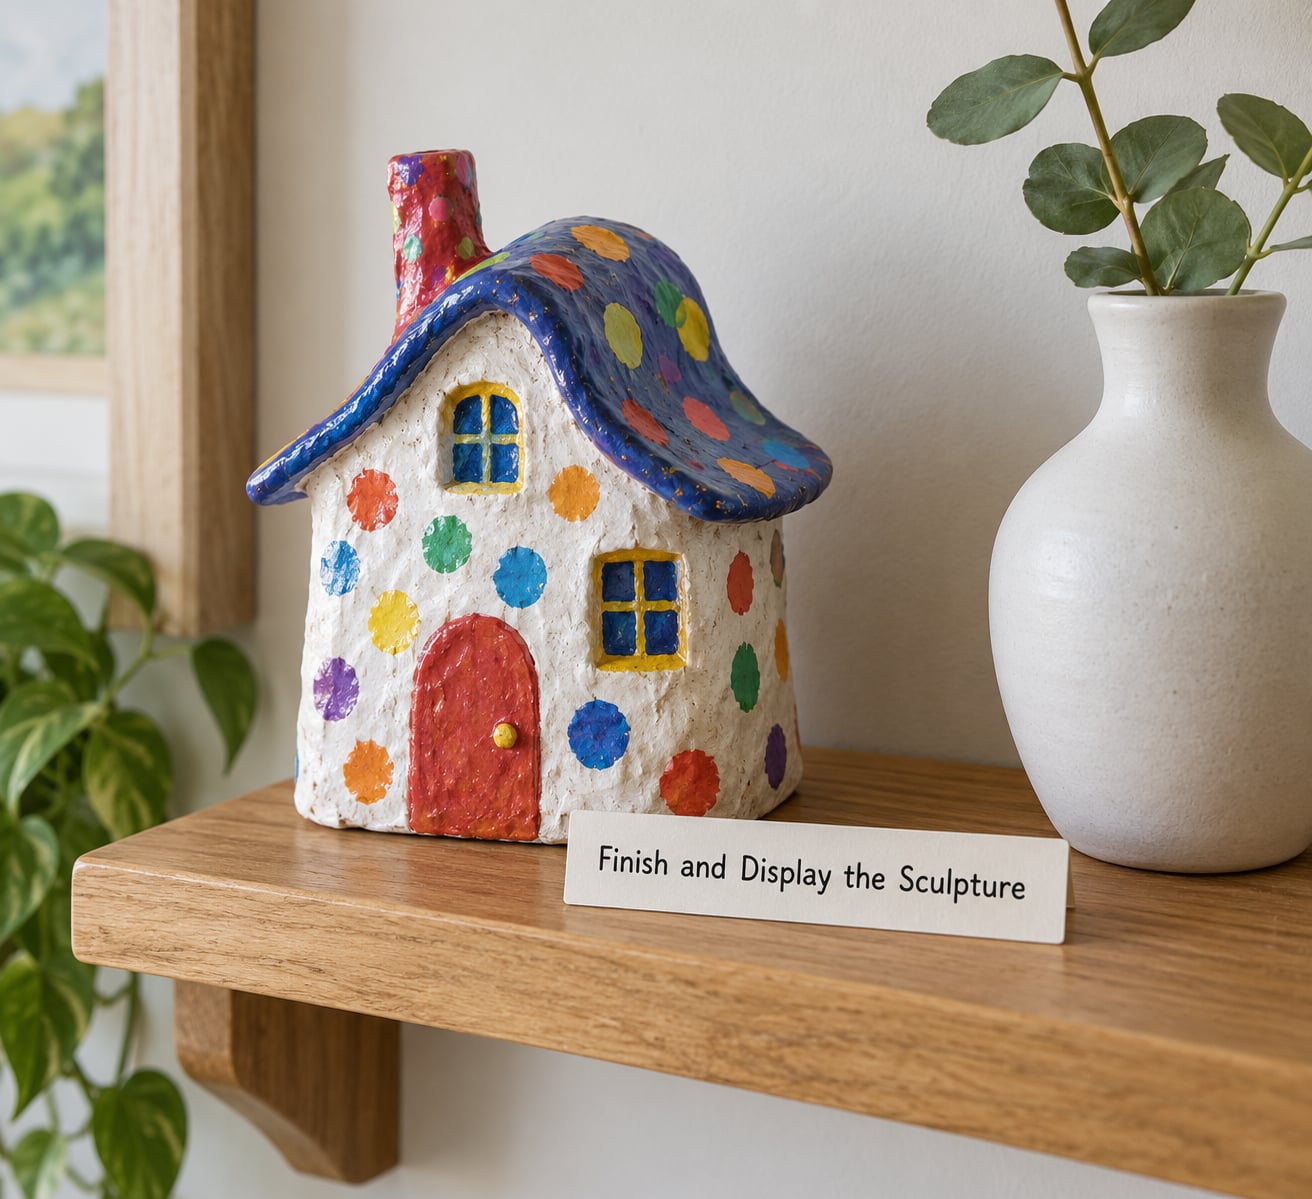
Finish and Display the Sculpture
Brush on a thin coat of acrylic gesso primer, let it dry, sand lightly with fine sandpaper if you want the paint to sit flat, then wipe off the dust with a damp cloth and paint. Two thin coats beat one thick one, which tends to crack as it dries over the plaster.
Seal once the paint is fully dry. A clear acrylic varnish gives a hard, wipeable surface; diluted Mod Podge gives a softer matte finish that suits a child’s piece better.
Display it indoors. Plaster is porous, not waterproof, and an untreated piece outdoors or in a bathroom will stain, soften or crumble. Mount a flat piece on a wooden board with strong adhesive, or set the piece on a small wooden base so it does not sit on a shelf edge where it can be knocked.
Not every plaster is food-safe either, so keep these out of reach of anything that might chew on a shelf or a classroom table.
Common Mistakes
Almost every failed plaster project comes down to one of five things: too much water, a trapped air bubble, drying too fast, a thin section under strain, or paint applied before the piece was properly cured. Here is what each one looks like and what fixes it.
| What you see | Why it happened | Fix and prevention |
|---|---|---|
| Plaster runs off the spoon and stays soupy | Too much water, usually added to slow the set | Add a little more powder and mix again. Next time measure by volume as the label directs, and use cold water |
| Pitted surface full of small holes | Air bubbles trapped during mixing and pouring | Let the mixed plaster stand briefly so bubbles rise, then stir gently from the bottom. Tap the mold firmly on the table after filling |
| Cracks as it dries | Drying too fast, a section too thin, or too much water | Keep it out of direct sun and off radiators, keep sections thick, and use the full cure time before handling |
| Weak, chalky, crumbly piece | Over-watered mix, or plaster added after it began to set | There is no fix once it is set. Discard it, mix a fresh small batch, and never top up old mix with new powder |
| The cast is stuck to the mold or chips out | No release agent, or it was pulled too early or too hard | Coat the mold with petroleum jelly or oil. For a disposable plastic tub, let it cure fully, then cut the tub away with scissors instead of peeling |
| Thin arms or legs snap off | Weight hanging off an unsupported thin section | Thicken the join, add a solid core inside, and leave an extra day before demolding or lifting |
| Paint lifts or flakes off | Painting before full cure, or skipping primer | Wait the full cure time, then use acrylic gesso primer and two thin paint coats |
| Not enough working time | Mixed too much at once | Mix half-size batches. Small sculptures also set faster than large ones |
One more repair worth knowing: a chipped or broken piece can usually be fixed. Mix a small amount of plaster to a thick paste, spread it over the broken area, press the loose fragment back into place, and let it cure before painting. A little white glue in the paste adds strength. For glue alone on a joint, wood glue or cyanoacrylate works, but a plaster paste repair looks far better on a keepsake.
Never pour plaster, rinse water or leftover slurry down a sink or toilet. It sets inside the pipe. Let it harden in the container, chip it out into the bin, and wash your tools in a dedicated bucket that you pour out on the grass or a compost area once dry.
Safety Tips for Making Plaster with Children
Plaster of Paris is not highly toxic, but the powder dust irritates lungs and eyes and wet plaster is alkaline enough to bother skin, so a few rules keep the afternoon painless.
- An adult handles opening, measuring and pouring the powder, and wears a dust mask while doing it. Children stay clear of the measuring stage.
- Crack a window or run a fan. Wet plaster gives off fine dust as it dries, which settles on nearby surfaces.
- Use goggles for the pour, since a splash of wet plaster in the eye is the most likely accident.
- Wash plaster off skin with cool water and soap, then wash hands thoroughly. If powder gets on clothes, brush it off dry first rather than shaking it into the air.
- Gloves for the adult handling the wet mixture. Most kids can shape plaster with bare hands once it has firmed slightly and is no longer wet.
- Keep the finished piece somewhere children cannot chew on it, and keep wet plaster out of reach of pets.
- Follow the instructions on your specific product label, because additives and recommended ages vary by brand.
If your child has asthma or a dust sensitivity, weigh the pour-cast version against the sandbox or bag method, where nobody needs to be near airborne powder.
Frequently Asked Questions
What age is appropriate for making a plaster sculpture with kids?
Around age four works for simple projects, where an adult mixes and pours and the child presses objects into the surface. Ages seven to nine can handle most of the mixing and shaping with supervision. From ten upward, kids can run the whole project, including weighing the powder, as long as goggles and a dust mask are worn for the pour.
Can I use a homemade plaster mixture instead of Plaster of Paris?
You can make a workable mixture from plaster of Paris and water at the ratio on your package, but a true homemade substitute is hard to match. Joint compound, flour-and-salt dough and cement mixes all behave differently: some set too slowly, some are weak, and cement gets dangerously hot. For predictable results, buy the real plaster and follow the label ratio.
How long does a kids’ plaster sculpture take to dry?
Plaster of Paris feels firm to the touch after roughly 20 to 40 minutes, but that is only the initial set. The piece needs a full one to two days to cure before you handle it, prime it or paint it. Thin pieces cure faster than thick or hollow ones, and a cool, dry, ventilated room gives the most even result without cracking.
Can children paint a plaster sculpture after it dries?
Yes, once it has fully cured rather than merely touched dry. Brush on acrylic gesso primer first so the paint does not sink into the porous surface and lift. Then use two thin coats of washable tempera or acrylic paint. Let each coat dry before the next, and seal with clear acrylic varnish or diluted Mod Podge when the painting is finished.
How do I keep a plaster sculpture from cracking?
Use the mixing ratio on the package and resist adding extra water to slow the set, because the weakest casts come from over-watered mixes. Keep sections thick and the weight near the base, dry the piece in a room-temperature spot away from sun and radiators, and wait the full cure time before lifting or moving it. Thin unsupported parts are the first thing to snap.
What can I do with leftover plaster mixture?
Let it sit in the mixing bowl until it hardens completely, then chip or break it out and put it in the bin. Do not tip it down the sink or toilet, where it sets inside the pipe, and do not add fresh powder to old mix trying to revive it, since that gives a weak, crumbly batch. Keep a rinse bucket for your tools and pour that out away from drains once it settles.
Start with a Simple Shape
Pick one easy form today, a single animal or a small house, and stick to it. Cut a flat cardboard base, let your child arrange the found objects and pressed details on it, mix only the amount your plaster label lists, and leave the final choices to them. Paint it once it has cured fully, which takes a day or two, and you will have a piece that survives long after the box of powder is gone.