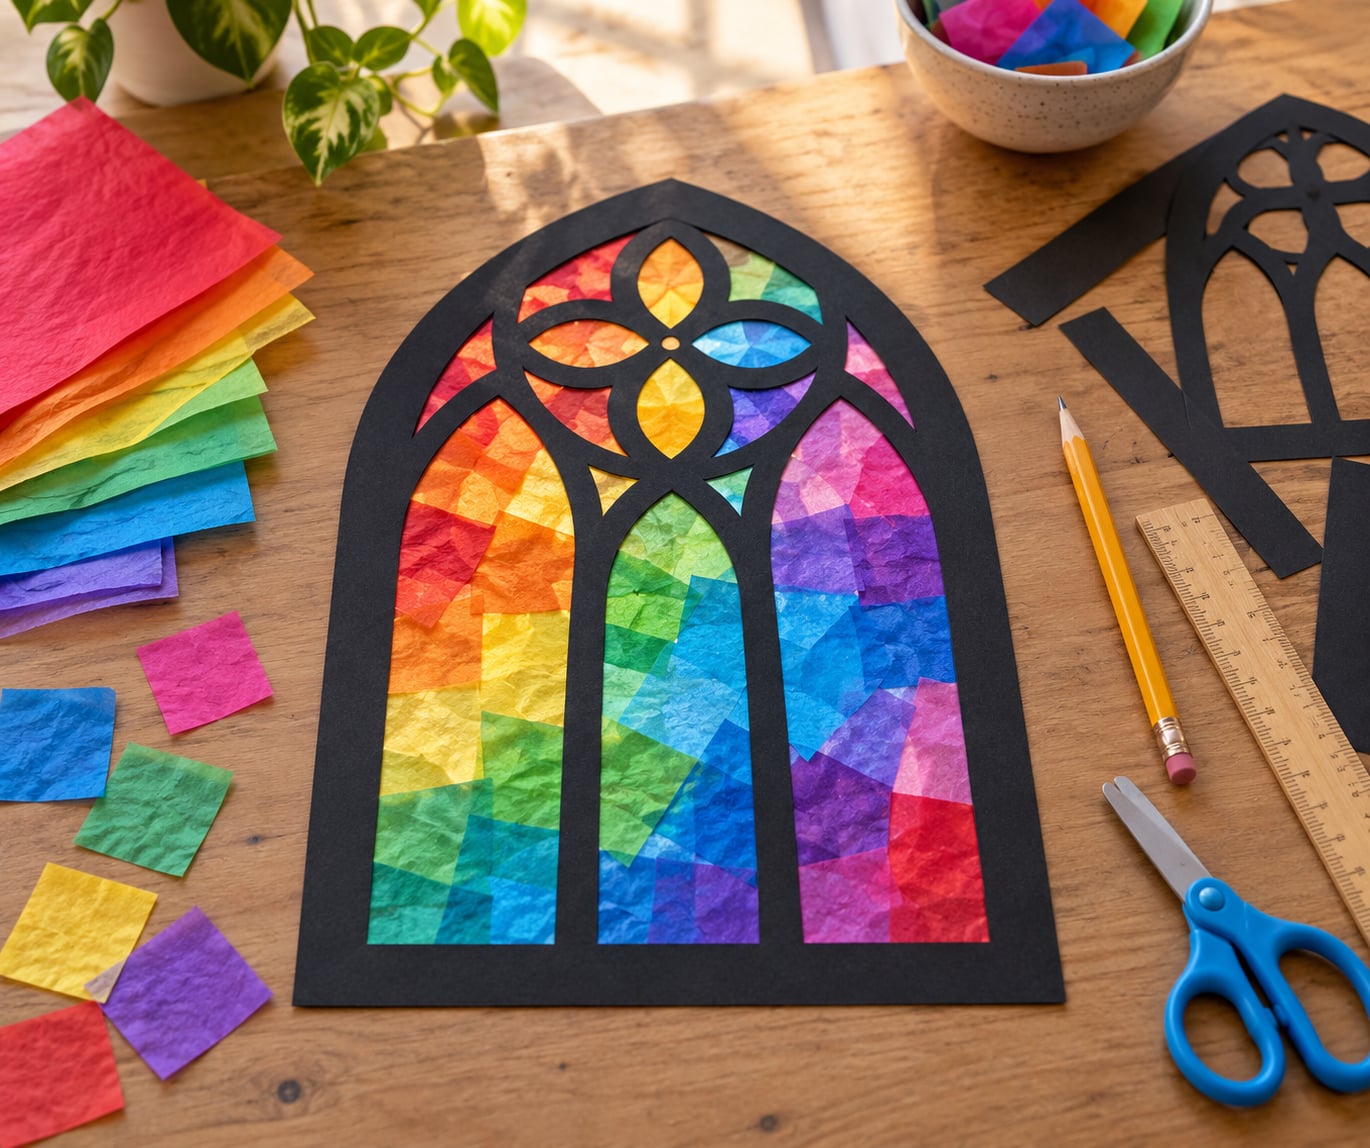
A stained glass window craft for kids is a faux stained glass project built from tissue paper, colored glue or paint, with dark lines drawn between sections so sunlight looks like it is passing through real leaded glass. No glass cutting and no soldering. Set aside about 30 minutes of making time plus two to three hours of drying.
The basic version works well from about age three, and every variation below scales up for older kids who want finer detail. I have made this craft with my own kids and with a preschool group of eight, so the timings and the failures below are real.
Table of Contents
- What You Need
- Cheap substitutions
- Step-by-Step
- Choose a Window Design
- Make the Template
- Color the Glass Sections
- Add Texture
- Cut and Arrange the Pieces
- Assemble the Window
- Display the Finished Craft
- Common Mistakes
- Frequently Asked Questions
- What is the best stained glass window craft for young children?
- Do I need real glass or soldering to make this craft?
- What materials can I use to make the stained-glass effect?
- How do I keep the paper pieces from tearing when children cut them?
- Can I make a stained-glass window craft with preschool-aged kids?
- How can I make the finished window decoration last longer?
- Conclusion
What You Need
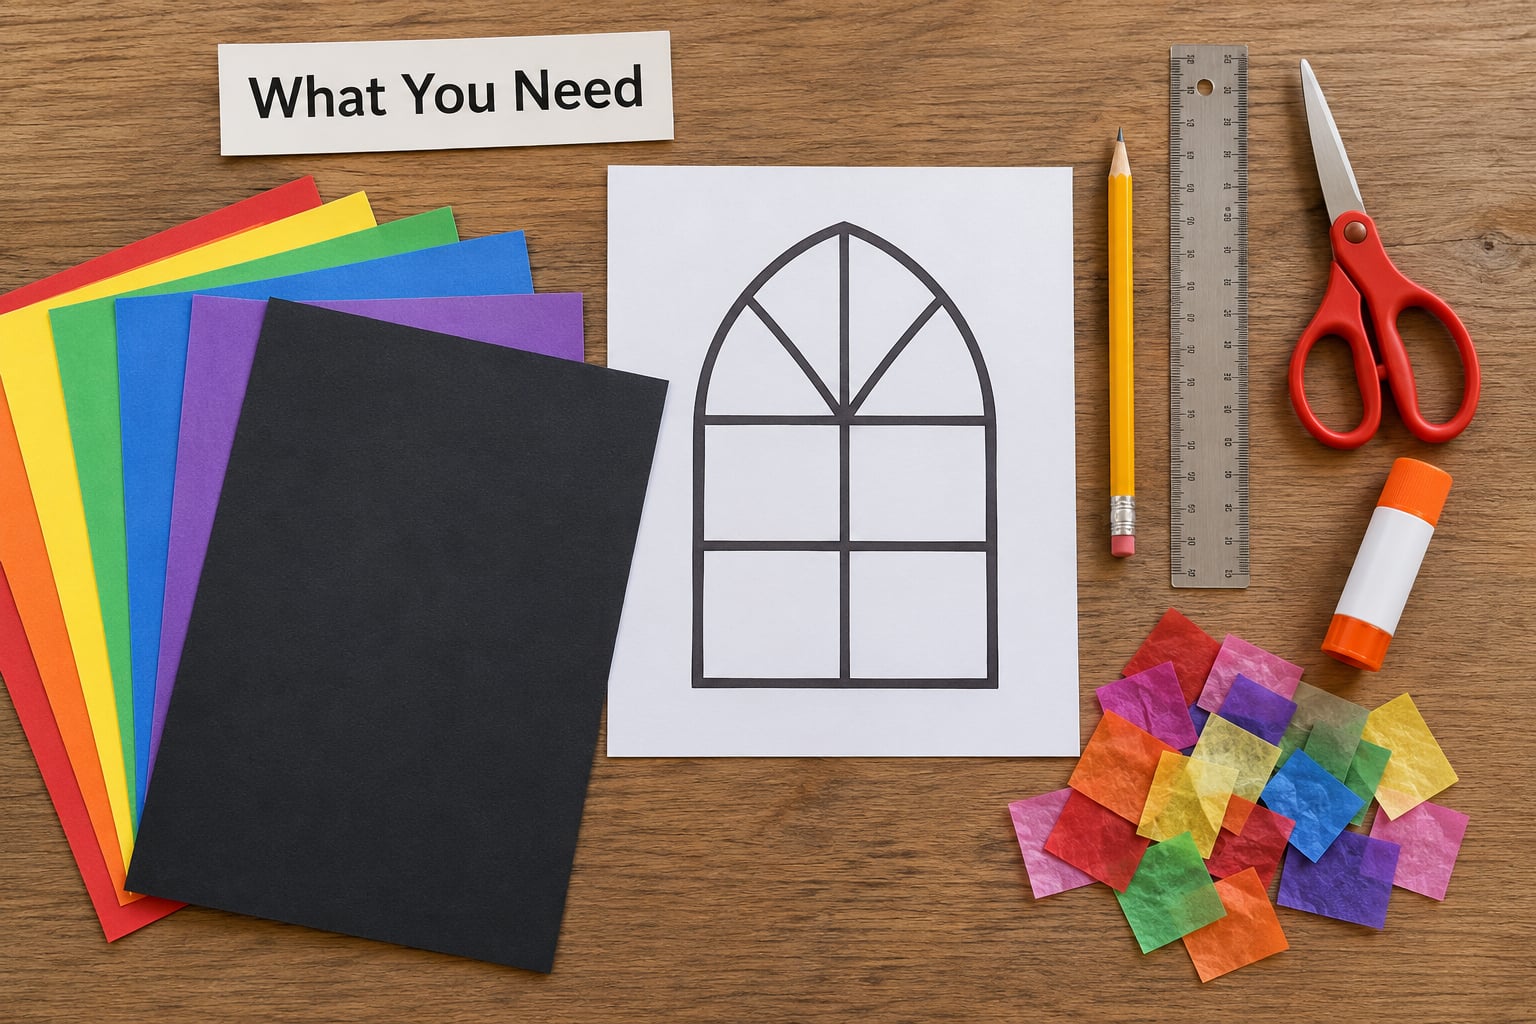
Gather everything on one surface before the kids arrive at the table. That ten seconds of setup is what turns a craft into a calm one.
- Black cardstock or black construction paper, one sheet per window. This is the base and the outline, and it is the one supply you cannot fake.
- Tissue paper, six to ten sheets. Mixed colors are better than one rainbow pack, because the shading looks more like glass.
- White school glue or clear PVA glue, one bottle.
- Washable markers, crayons or washable paint, whichever your child already reaches for.
- Child-safe scissors and a pencil with a good eraser.
- Glue stick for mounting, and a ruler for straight lines.
Cheap substitutions
Skip buying anything new. Hand-me-down gift wrap paper works in place of tissue paper, clear packing tape from a shipping box replaces contact paper, and a butter knife spreading glue on wax paper does the same job as liquid starch.
If you have no black paper, print the design in black ink on white cardstock. The line only needs to look dark, not be thick.
Before the kids start, pre-cut the tissue paper into squares roughly two inches across. Pre-cutting removes the single biggest source of frustration, and it lets very young kids do the whole project without adult help at the scissors.
Step-by-Step
Work through these in order. Each stage has a quick check so you know it worked before moving to the next one.
Choose a Window Design
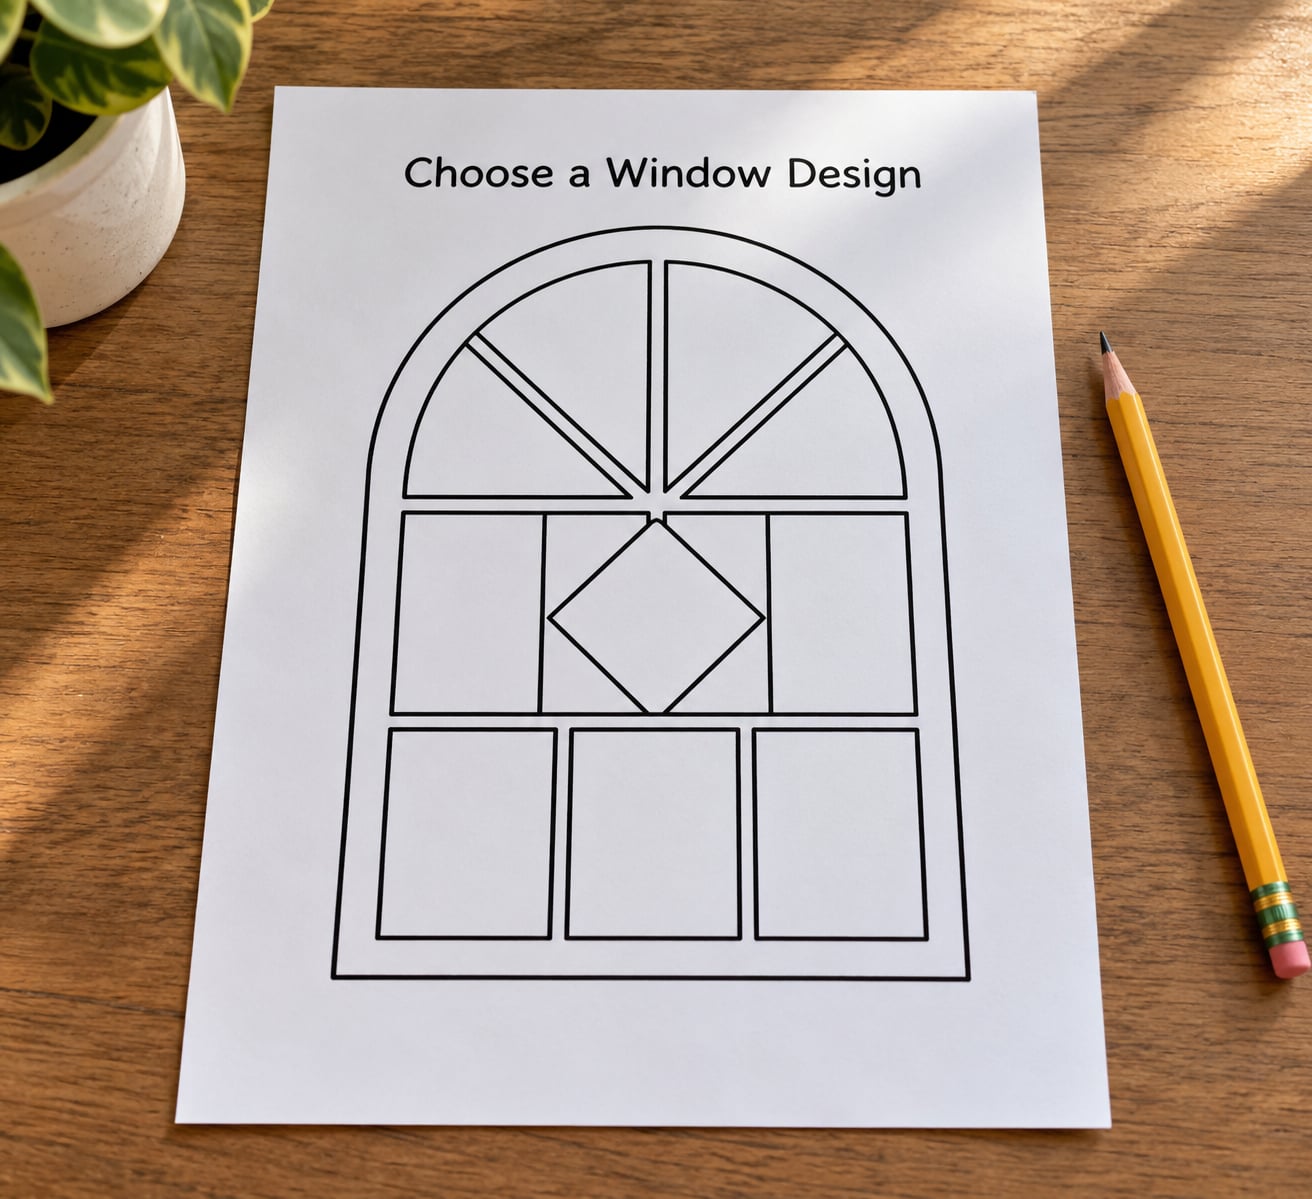
Pick one simple window shape and a design made of a few large sections. An arch with four or five big shapes is a good starting point for a beginner stained glass window craft for kids.
Sketch the design lightly in pencil with big shapes at least the size of a hand. Small shapes tear and get lost on the table.
Check: stand back a foot and squint. If you cannot tell the sections apart at that distance, simplify.
Make the Template
Trace or redraw the design onto the black cardstock and cut out the window shape, leaving a border of black around the outside. Cut the inner sections as separate pieces instead of drawing the lines on one sheet.
Cutting each section separately takes five extra minutes and makes coloring, gluing and display far easier. It also means a mistake damages one piece instead of the whole window.
Check: every piece should fit back inside the outline with a sliver of black showing between sections. That sliver is your leading.
Color the Glass Sections
Color each paper piece with markers, crayons or washable paint. Crayons and markers stay inside the lines more reliably than paint, which is why they are easier for younger kids.
Work one color at a time and set finished pieces aside to dry. Brushes that hop between colors turn the palette muddy brown, which is the most common disappointment in this craft.
Check: hold a finished piece up to a lamp. The color should glow slightly when light passes through it. If it looks flat and dark, add a second coat.
Add Texture
Optional, but this is what separates a paper collage from something that reads as glass. Layer a square of tissue paper, a piece of clear cellophane or a scrap of wax paper over each colored section and press it flat.
For a layered effect, use two or three shades of the same color family per section. Avoid anything with glitter or loose fibers near small children, and skip hot glue guns entirely for this project.
Check: the section should look slightly uneven when you tilt it under a light. Perfectly uniform surfaces read as printed paper, not glass.
Cut and Arrange the Pieces
Have your child name each piece by color and position, such as the blue left piece, before cutting begins. That naming system is what lets the design go back together correctly.
Cut along the pencil line in short, slow strokes with child-safe scissors. Cut on a scrap sheet of paper so the table underneath stays clean.
Check: lay every piece on the outline in place before gluing anything. Fix the order now, not after three pieces are already stuck down.
Assemble the Window
Glue each colored section onto the black cardstock base, working from the center outward. Leave the black gaps showing between pieces, then reinforce the outer border with a thin line of glue.
If the design has fallen apart once, run a thin line of glue along the black base before setting each piece down. The pieces grab immediately instead of sliding.
Check: turn the window over. You should see no bare gaps in the black backing and no white showing through the front.
Display the Finished Craft
Let the finished window dry flat under a book for a few hours if the paint is thick. Then hang it in a window with removable adhesive strips, or punch a hole in the border and run a ribbon through it.
A backless picture frame works nicely if you have one, since the black cardstock edge reads as a frame. Removable strips matter on real windows, because the sun will fade the colors over months and you may want to move the display for a holiday.
Check: hang it where the sun hits it directly at midday and turn it a few hours later. If the colors glow, the effect worked.
Common Mistakes
Torn or crumpled tissue paper. Wet paper tears when it is pulled. Cut pieces from the edge inward in short snips instead of trying to cut around a shape in one motion, and lay the tissue flat rather than bunching it in your hand.
Colors bleeding outside the lines. Draw the section borders in black marker first and let them dry, or keep the paper on a scrap sheet while coloring so a stray mark never lands on the base. Let each color dry before adding the next one.
Pieces becoming too small. Design with fewer, larger sections from the start. If a piece tears during cutting, glue it back together on the scrap paper first rather than discarding it.
Glue sticking to the work surface. Put a sheet of wax paper or newspaper under the whole project. School glue lifts off paper easily, but ground into a table it takes real scrubbing.
A design that will not go back together. Name each piece out loud as it is colored, and lay the full set out in position before the first drop of glue. This one habit prevents nearly every assembly failure.
Paint too runny on a window. If you are painting directly on glass, add a small amount of water and mix it back to a thin washable consistency. A loaded brush leaves drips, and drips on a real window dry as marks you cannot undo.
Frequently Asked Questions
What is the best stained glass window craft for young children?
The tissue paper version is the safest and most reliable for young children, because there is no glass, no heat and no liquid to spill. Give each child a window template already cut from black cardstock, and pre-cut the tissue paper into squares so no one has to use scissors. Markers or crayons color faster and bleed less than paint, and glue stick works well on the small pieces.
Do I need real glass or soldering to make this craft?
No. The whole point of a kids’ stained glass window craft is the light effect, not the material, and that effect comes from translucent paper or tinted glue held by dark leading lines. Real stained glass requires cutting tools, a grinder and a soldering iron, none of which belong anywhere near a child. If you have a backless picture frame, you can still use real glass and paint on it, but an adult handles the glass.
What materials can I use to make the stained-glass effect?
Tissue paper, clear cellophane and wax paper all transmit light, so any of them works for the colored sections. For the dark leading lines you can use black construction paper, black cardstock cut into thin strips, black paint, or black paint mixed into white glue. A squeeze bottle gives kids finer control than a brush, and a piece of clear packing tape works in place of contact paper.
How do I keep the paper pieces from tearing when children cut them?
Cut from the edge of the paper inward in short snips instead of trying to follow a curve in one pass, and keep the paper flat on the table rather than holding it in the air. Pre-cut everything you can before the child begins, which is the single most effective fix. If a piece tears anyway, glue it back together on a scrap sheet instead of throwing it away.
Can I make a stained-glass window craft with preschool-aged kids?
Yes, with two changes. Swap the scissors for pre-cut pieces, and swap thin markers for chunky crayons or washable broad-line markers. Three or four large sections are plenty at that age, and the cutting stage can be handled by you beforehand while your child chooses the colors and arranges the pieces. Most four-year-olds finish this in about fifteen minutes and want to make another one the next day.
How can I make the finished window decoration last longer?
Mount the finished window on cardstock or inside a backless frame so it is not flexing in the window, and hang it with removable adhesive rather than permanent tape or glue. Direct sun will fade any dye or marker over several months, so rotate the display between a bright window and an interior wall. Keep it away from condensation by not pressing it against a cold pane, and roll it loosely rather than folding it if you store it.
Conclusion
Start with one arched window divided into four large sections and let your child pick every color. That version takes fifteen minutes of actual crafting, teaches color mixing and fine motor control, and ends with something they will want to hang in their own room. Once the basic window works, try the layered tissue version or the painted glass version for a bigger group.