How to carve plaster blocks with kids is simpler than it sounds: sketch a design in pencil, scrape away the surface with a hobby knife or wood rasp, then sand, paint and seal it. A full session takes about 45 minutes of active work plus drying time, and the tools cost very little. Most of the effort is patience, not skill.
The trick is picking the right block and waiting long enough before carving. Plaster of Paris hardens in about 25 minutes but stays workable for a day or two, so you don’t have to rush. What you do need is a ventilated work spot, a dust mask, and an adult close enough to hand tools over one at a time.
I’ve done this with kids from age 5 up, and the version that works best is the small one. A 2×3 inch block fits in a child’s palm, and a palm-sized block means fewer chances to gouge a corner by accident.
Table of Contents
- What You Need
- Step-by-Step: How to Carve Plaster Blocks with Kids
- Step 1: Choose a Plaster Block and Plan the Design
- Step 2: Mark the Carving Lines
- Step 3: Carve the Outline
- Step 4: Add Details and Smooth the Surface
- Step 5: Finish and Display the Plaster Carving
- Common Mistakes
- Frequently Asked Questions
- Is plaster safe for kids?
- How long does plaster take to dry before carving?
- What tools can I use to carve plaster?
- What are the ingredients of plaster?
- How long do plaster sculptures last?
- How do I seal a plaster carving?
- Conclusion
What You Need
The list is short, which is part of why this activity holds up on a rainy afternoon. Most families already have the paper and pencil end of it.
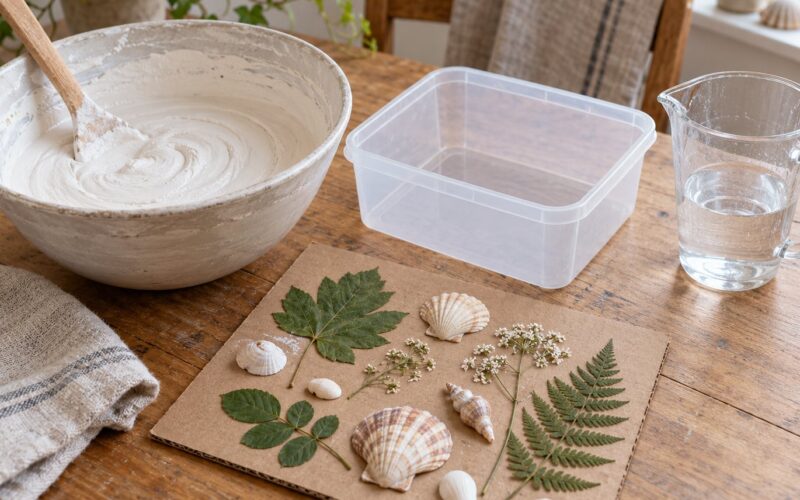
- The block. A plaster of Paris block sold for craft use, or one you cast yourself in a silicone mold, juice carton or clean plastic tub. Blocks cure to a soft white finish that carves like fine soap.
- A sketch surface. Pencil, eraser and scrap paper for working out the design before it touches the block.
- Carving tools. A hobby knife with fresh blades for older kids, and a wood rasp, file or 120 grit sanding block for younger hands and for cleanup.
- Eye and dust protection. Impact-rated safety glasses for each person at the table, and a dust mask for anyone near the sanding.
- Design supplies. Masking tape to hold the block steady, a damp sponge for wiping dust, and acrylic or tempera paint for finishing.
- Optional finishing gear. 220 grit sandpaper for smoothing edges and a clear sealer to protect the finished piece.
You can improvise more than you’d think. A butter knife, a spoon handle, a nail file and even a sturdy wooden spoon will take off plaster, they just work more slowly and less evenly than a rasp. What matters most is a non-slip surface under the block. A damp towel on a cutting board stops it sliding, which stops almost every beginner mishap.
On supervision: carvers under 6 should stick to rasps, sanding blocks and pressing clay tools, with the adult doing any knife work. Between 7 and 10, many kids can manage a hobby knife, but you stay within arm’s reach and hand the blade over and back yourself. Past 10, most children can carve alone with the safety gear on and an adult in the room.
Step-by-Step: How to Carve Plaster Blocks with Kids
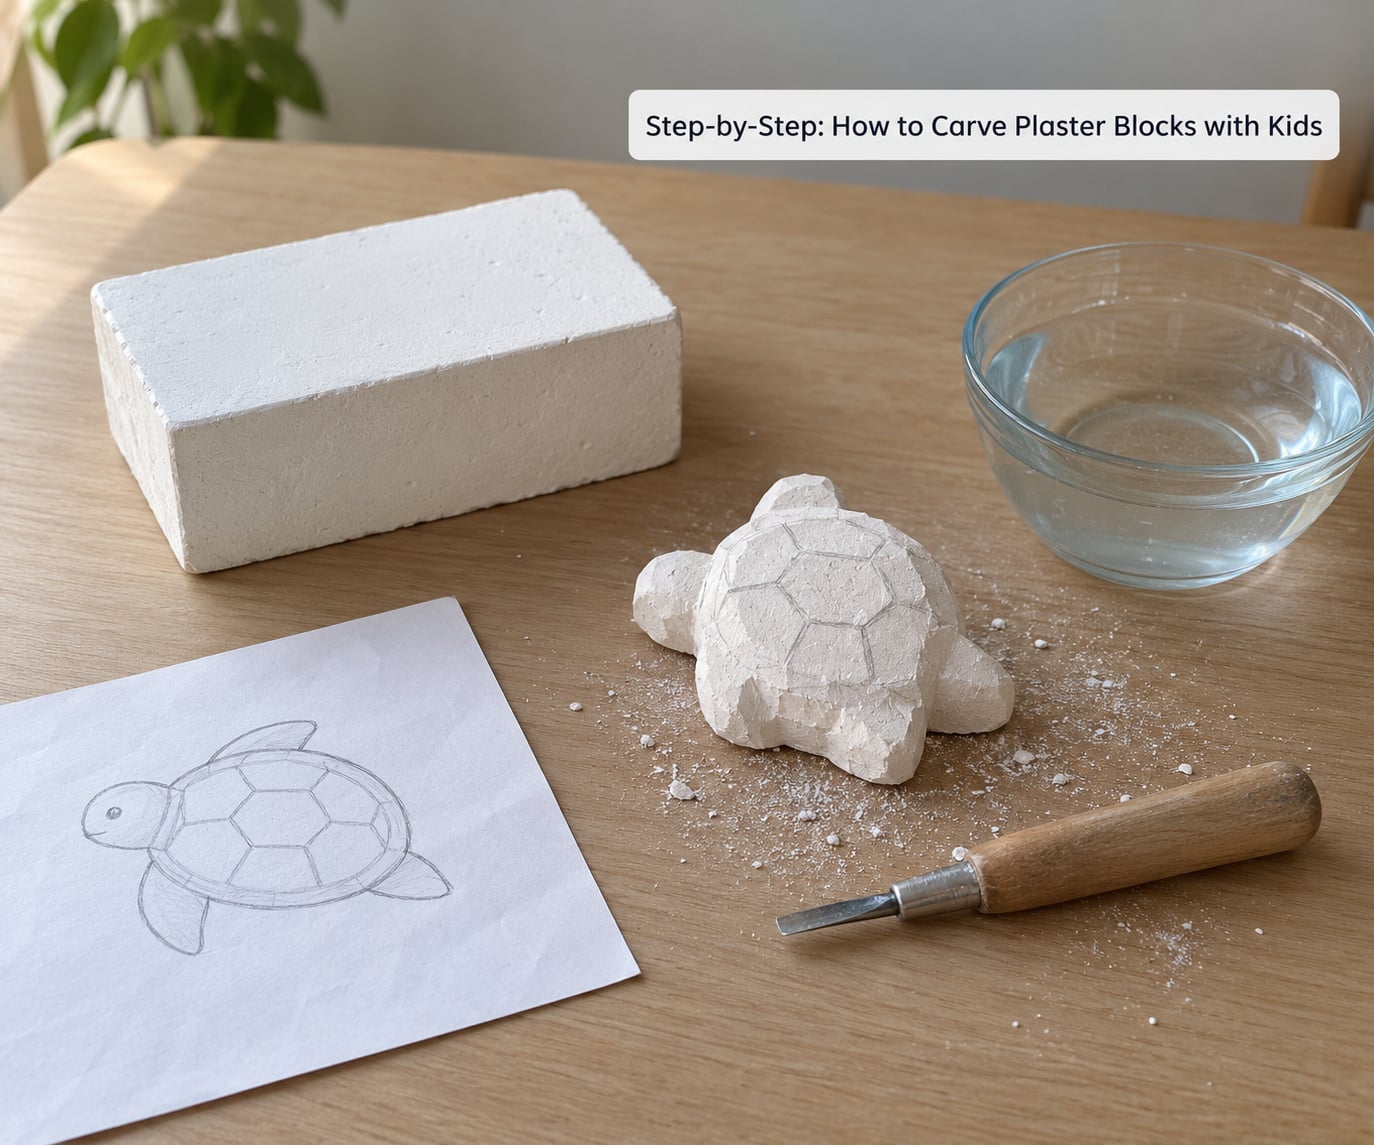
Five steps, and the first one decides how the rest goes. Take the whole session in order and stop at each stage to look before moving on.
Step 1: Choose a Plaster Block and Plan the Design
Pick a solid block with no visible cracks or air holes on the faces you intend to carve. Blocks with big bubbles crumble when you push on them, so inspect the surface under a light first.
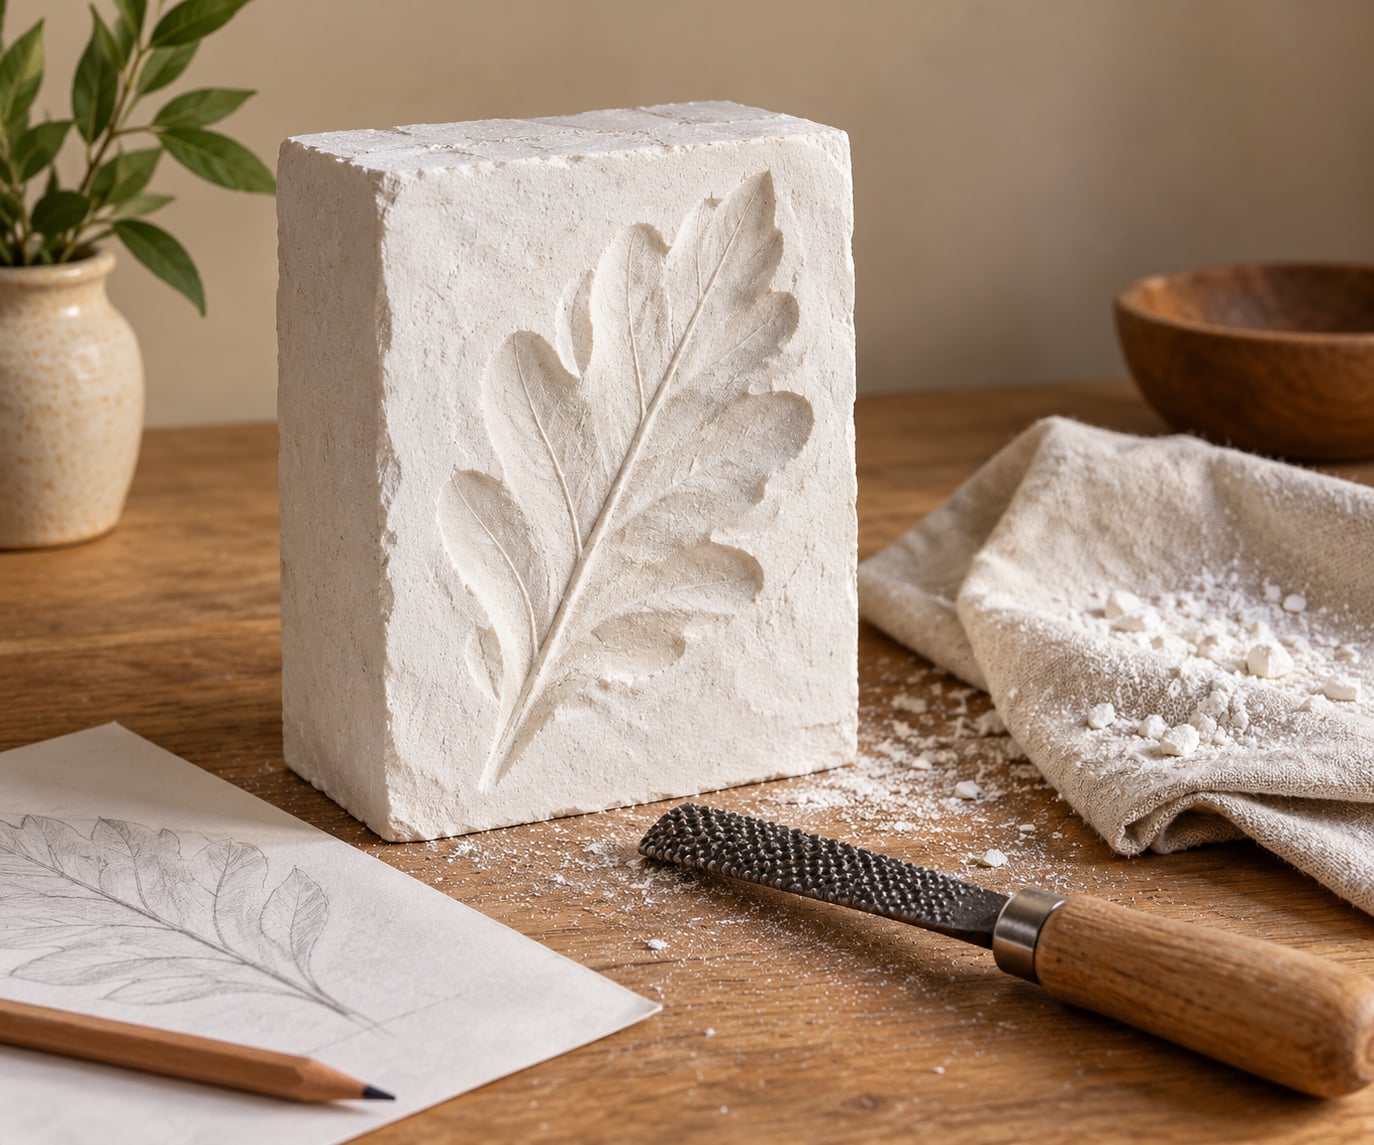
Sketch the design on paper roughly to scale before you touch the block. A simple silhouette, one big letter, or a repeating pattern fits a small block better than a detailed scene. Kids can tell the sketch worked when they can trace the outline with a finger without lifting it.
Step 2: Mark the Carving Lines
Transfer the sketch onto the block with a soft pencil. Hold the block on its side and mark the outline from your paper, or use a pencil to trace a cut-out shape laid flat on the surface. Light lines only, since every mark you leave is a line you’ll follow.
Let kids add guide lines that break the shape into simple sections. Cutting one section at a time is far easier than trying to carve the whole outline in a single pass. The block is ready when the whole design is visible from above and no part hangs off an edge.
Step 3: Carve the Outline
Hold the carving tool at a shallow angle, maybe 30 degrees, and use light repeated strokes rather than one hard push. Skim off thin curls of plaster the way you would peel a potato.
Check the groove often by brushing it with a finger. You want a shallow channel at this stage, roughly a couple of millimeters deep, so the design reads clearly without losing its shape. If the tool slips, stop, brush, and start the stroke again from a clear edge.
Step 4: Add Details and Smooth the Surface
Once the outline is visible, work the interior. Decorative cuts, texture dots, hatch marks or the background around the shape all come next, still with light pressure.
Switch to a rasp or 220 grit sanding block for the background and any sharp edges. Brush or sponge away the loose dust as you go, because a dusty surface hides the detail you just cut. A piece is finished when the edges feel smooth to a fingertip and the background sits level with the raised design.
Step 5: Finish and Display the Plaster Carving
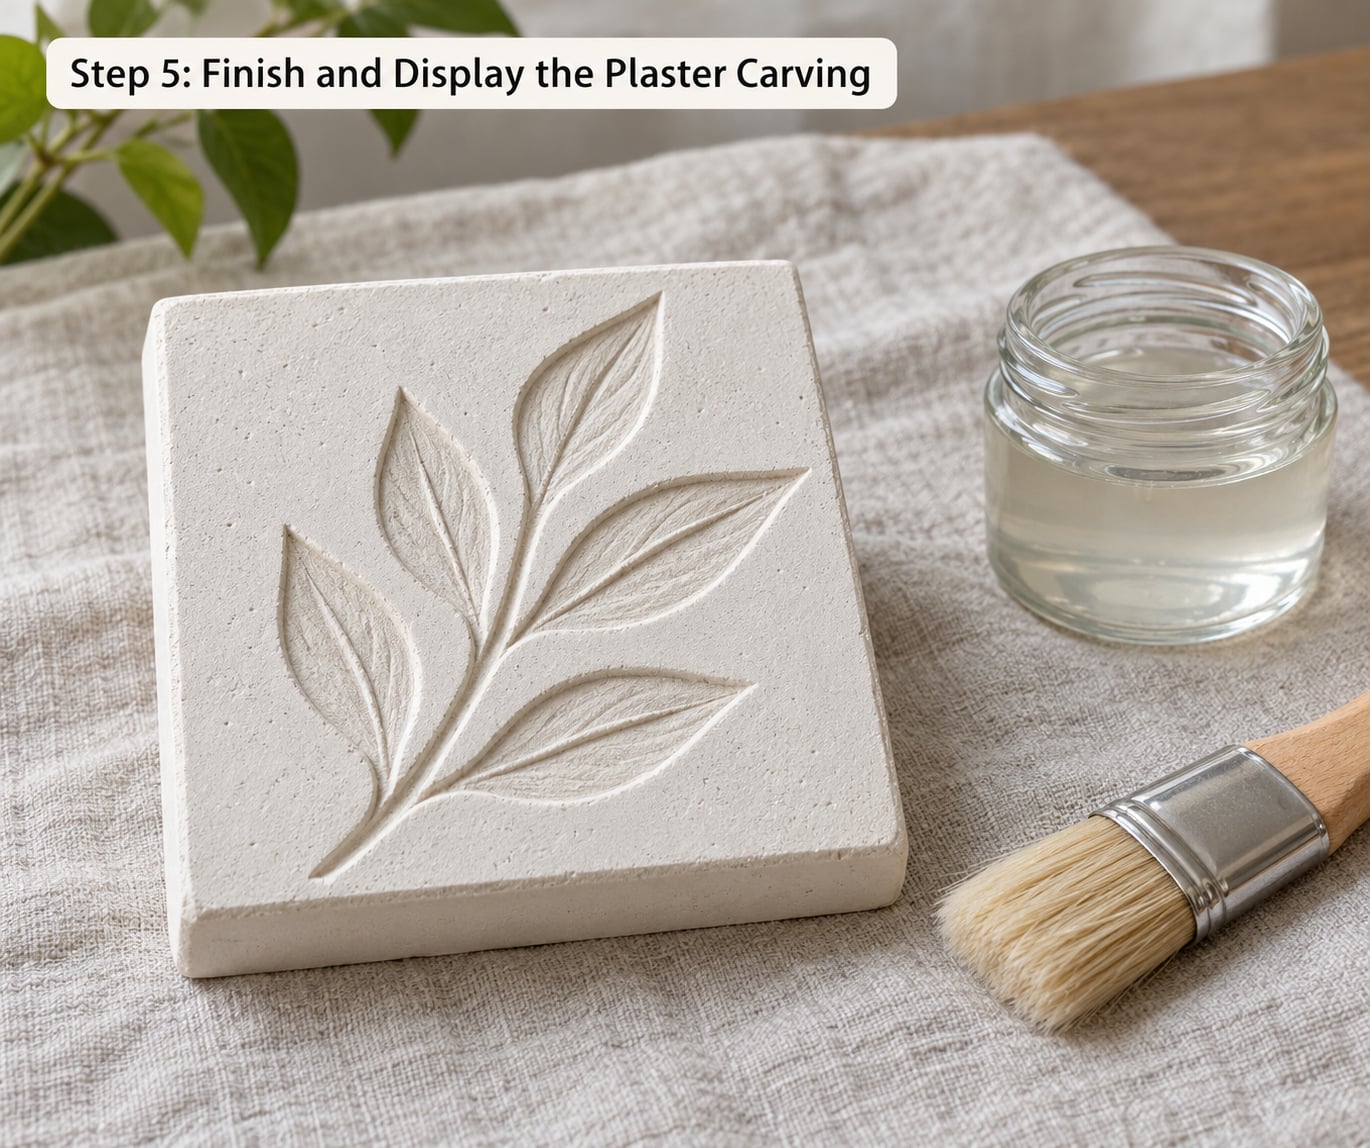
Let the carving dry fully in an open spot before painting, usually a day or two. Paint on a thin coat of acrylic or tempera with a fine brush, working from light to dark and letting each layer dry so you don’t lift earlier paint.
For the finish, a water-based clear sealer brushed over the dry piece keeps chalky plaster from rubbing off on shelves and hands. Hold the carving by the edges, never by the carved part, and set it on a shelf or tabletop away from damp rooms where plaster can absorb moisture and go soft.
Common Mistakes
Almost every disappointing first carving comes down to timing, pressure or a block that moved. The fixes are quick.
The block crumbles or powders. It was carved too early or too dry. Fresh plaster of Paris needs roughly 24 to 48 hours before it holds a clean groove, and the surface should feel hard and chalky rather than cool and damp.
Lines wander off the design. The pencil lines were too faint or too thick. Redraw them slightly heavier before cutting, and work section by section instead of chasing the whole outline.
Cuts go too deep. Angle the tool flatter and take two light passes instead of one deep one. If a deep groove is already there, fill it with a little spackle, let it dry, sand it level, and keep going.
The block slides or the tool slips. Put it on a damp towel or inside a shallow cardboard tray with a folded towel underneath. A non-slip surface solves this almost every time.
Too much dust. Carve over a sheet or tray, sand outdoors or near an open window, and dampen the surface with a sponge before wiping so dust settles instead of floating. A dust mask matters far more here than goggles do, because the risk is inhaling powder rather than being hit by a chip.
Paint pools in the carving. Let the piece dry, then thin your paint slightly and use a fine brush. Heavy coats gather at the bottom of every groove and hide your work.
Two habits prevent most of the above: work in small stages with a check between each, and match the tool to the age. A 5-year-old and a 12-year-old can work on the same block and have very different results, and that’s fine. The point is a finished piece they want to keep, not a competition.
Frequently Asked Questions
Is plaster safe for kids?
Plaster of Paris is a calcined gypsum powder with no toxic additives, so it’s generally safe for children once fully mixed and dry. The two real concerns are dust inhalation and sharp tools, not the material itself. Use impact-rated safety glasses, keep a dust mask on during sanding, and hand knives over directly rather than letting kids help themselves.
How long does plaster take to dry before carving?
Mixed plaster of Paris sets in about 20 to 30 minutes, which is when the mold feels firm and slightly warm from the setting reaction. Wait longer before carving: 24 to 48 hours gives a surface that cuts cleanly without crumbling. Test with a fingernail in a hidden corner, and add another day if the block still feels cool or damp.
What tools can I use to carve plaster?
A hobby knife with a fresh blade gives the most control for letters and fine lines. A wood rasp or file removes material faster and is much safer for younger children. Sandpaper and sanding blocks handle flattening and smoothing, and a loop tool or clay sculpting tool works well for rounded, organic shapes. Sponges are good for washing off dust.
What are the ingredients of plaster?
Plaster of Paris is one ingredient: gypsum that has been heated to drive off moisture, leaving calcium sulfate hemihydrate as a fine white powder. You mix it with water, and the powder chemically reconnects with that water to form a solid, hard-to-carve calcium sulfate dihydrate. Some craft plasters add color or extra strength, but plain plaster is just the powder and water.
How long do plaster sculptures last?
An unfinished plaster piece lasts indefinitely indoors as long as it stays dry, since the material does not decay on its own. Unsealed carvings pick up dust, shed chalky residue and can stain, so a coat of clear sealer keeps them looking new. Keep them off damp floors and out of basements and garages, where moisture softens the surface again.
How do I seal a plaster carving?
Wait until the carving is completely dry, then brush on a water-based clear sealer in thin coats, following the product label for drying time between layers. Two light coats handle most classroom pieces. Water-based sealer keeps the finish low odor and washes off tools; an outdoor-grade variant is worth it if the piece will live on a porch or in a damp room.
Conclusion
Start with one plain block and one simple outline, like a single leaf or an initial, and get that first cut looking clean before adding anything else. Draw the design lightly, rest the block on a damp towel, and use the shallowest pressure that will remove plaster. Stay close while anyone uses a knife, keep the dust mask on for sanding, and let the piece dry fully before it goes on display. Once the first block works out, the second one gets much faster.