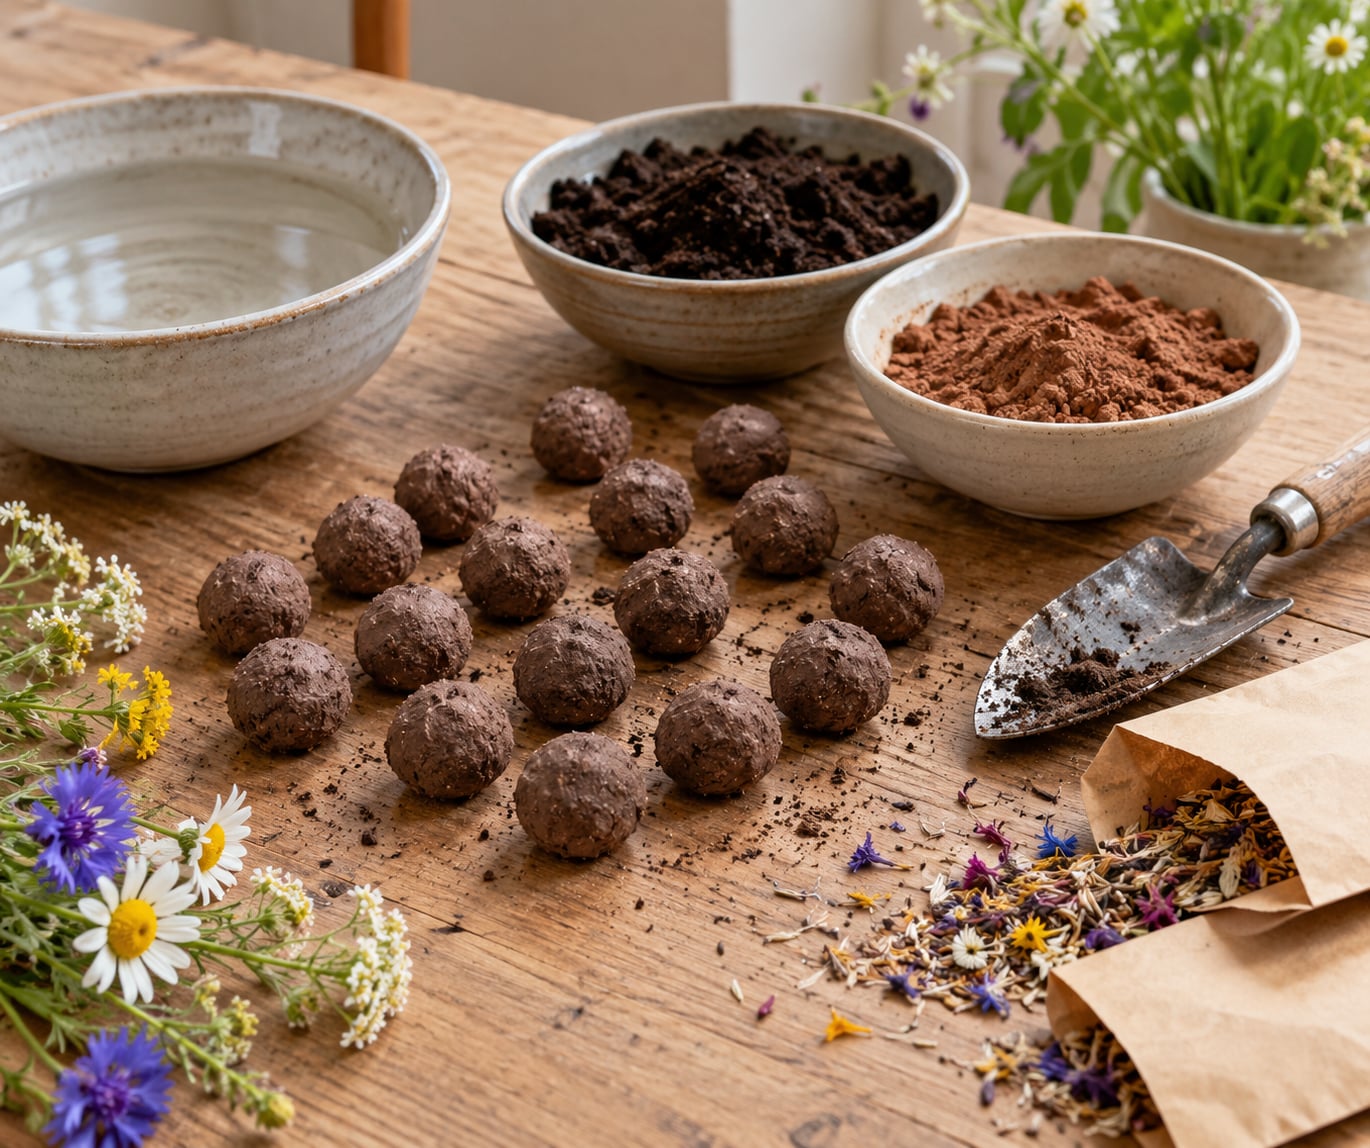
A seed bomb is a small ball of clay, compost and seeds that dries hard enough to throw and then breaks down in the first good rain so the seeds can sprout. Knowing how to make seed bombs with kids is simpler than it sounds: roughly five parts clay, one part compost, one part seeds, and the hands-on work takes about half an hour. Kids get to mix, squeeze and roll, and you end up with a small garden you planted together.
The clay shell is the clever bit. It keeps birds and ants from eating the seeds before anything has a chance to grow, then softens at the first soaking rain and lets the seedling push out into the soil underneath. Guerrilla gardeners have used the same idea since the 1930s, and families have been making them at kitchen tables ever since.
Table of Contents
- What You Need
- Clay, paper pulp or flour: which method suits your household
- Step-by-Step: How to Make Seed Bombs with Kids
- How to make seed bombs with kids: 8 steps
- Where the bombs can actually go
- Common Mistakes
- A few notes for parents
- Frequently Asked Questions
- Do seed bombs work?
- Can I just throw down wildflower seeds?
- What clay do I use for seed bombs?
- What paper to use for seed paper and paper pulp bombs?
- How long do seed bombs take to dry?
- Are seed bombs safe for children?
- Conclusion
What You Need
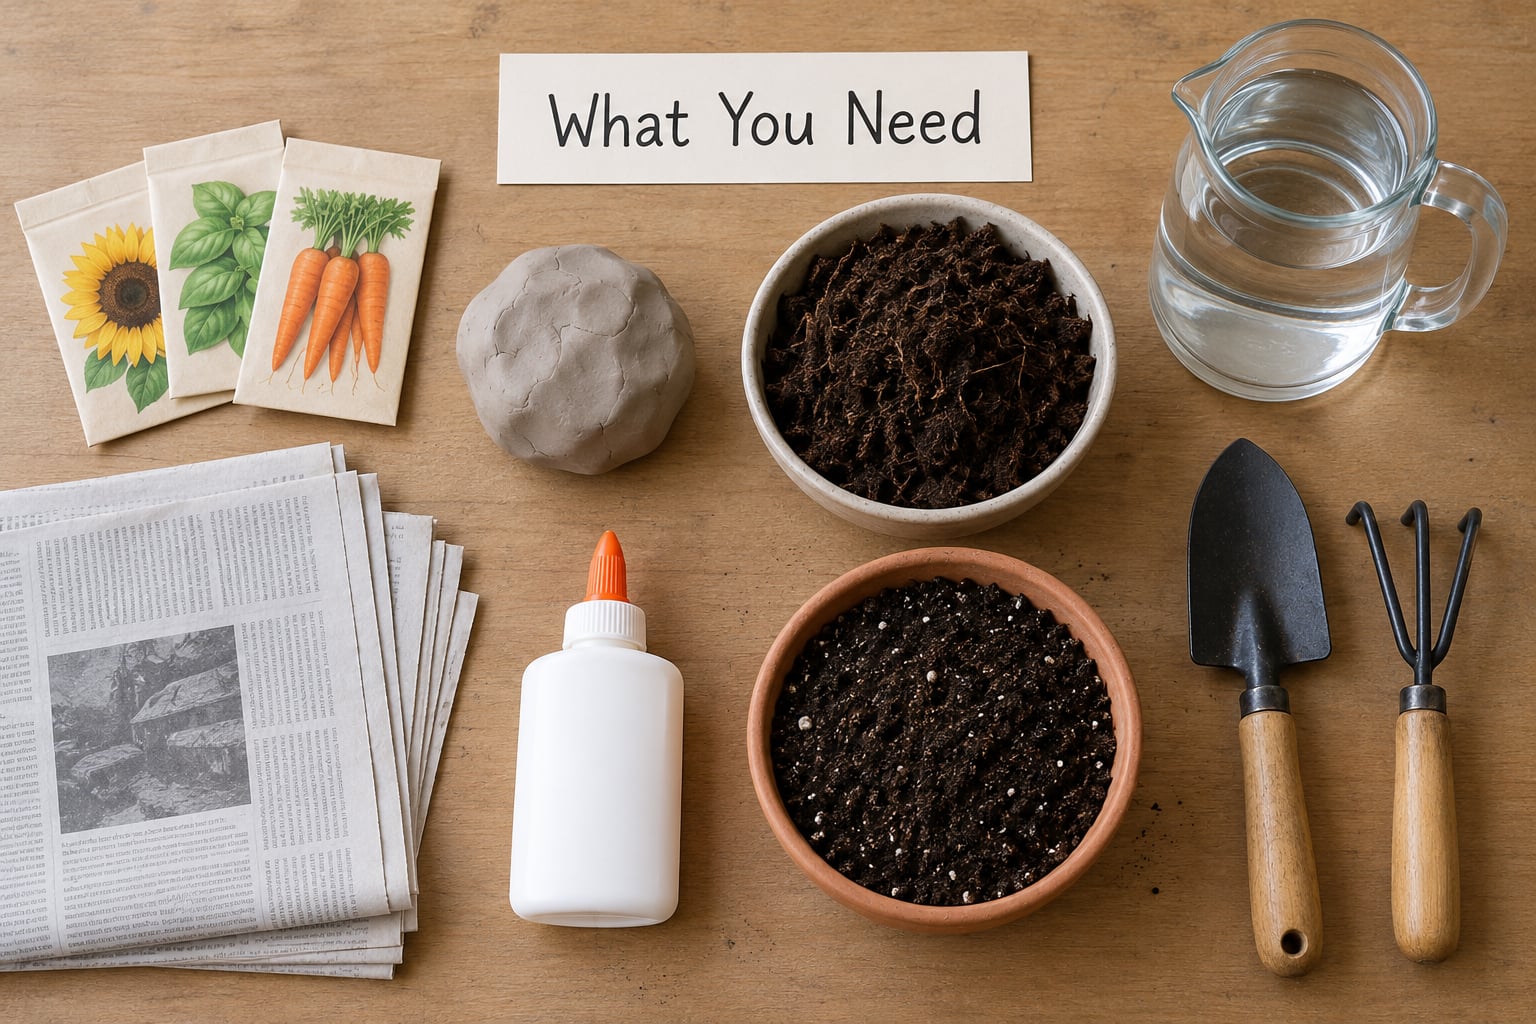
Almost every parent who has done this ends up buying three things and using cupboard staples for the rest. Here is the short list:
- Clay in roughly five parts. Air-dry clay from a craft store works well and comes in colours kids like.
- Compost or potting soil in about one part. This is the food the seedling gets once the shell opens.
- Seeds in about one part by volume. A wildflower mix, or single flower seeds so you know what to expect.
- Water for wetting the clay, in a shallow bowl or spray bottle.
- A tray and a damp cloth to catch the mess before it reaches the floor.
- Old newspaper or plain paper if you want the paper pulp method instead.
Natural clay powder, the kind sold for pottery or sold as garden clay, is the gardener’s version and costs less per batch. Plain air-dry clay from a dollar store is the easier find and works fine. The one thing to avoid is polymer clay, which is plastic and does not break down in soil.
Let your kids take over some of the prep. Opening the seed packets and sorting any debris out is a fine-motor task for ages three and up. Tearing newspaper into strips takes longer but burns energy in the best way.
Clay, paper pulp or flour: which method suits your household
| Method | What it is | Mess | Drying time | Best for |
|---|---|---|---|---|
| Clay | Sifted clay powder plus compost and seeds | Moderate, dusty while mixing | 24 to 48 hours | Outdoor gardens, throwing |
| Paper pulp | Blended paper soaked into a pulp | Wet, needs a blender | 24 to 72 hours | Homes without clay nearby |
| Flour paste | Flour and water glue with seeds and paper | Sticky hands | 48 hours or more | Toddlers and rainy days |
If you already own a food processor, the paper route needs nothing you have to buy. If you do not, use clay and skip the noise, since a household blender running dry with paper in it is a hard sell on a Saturday morning.
Step-by-Step: How to Make Seed Bombs with Kids
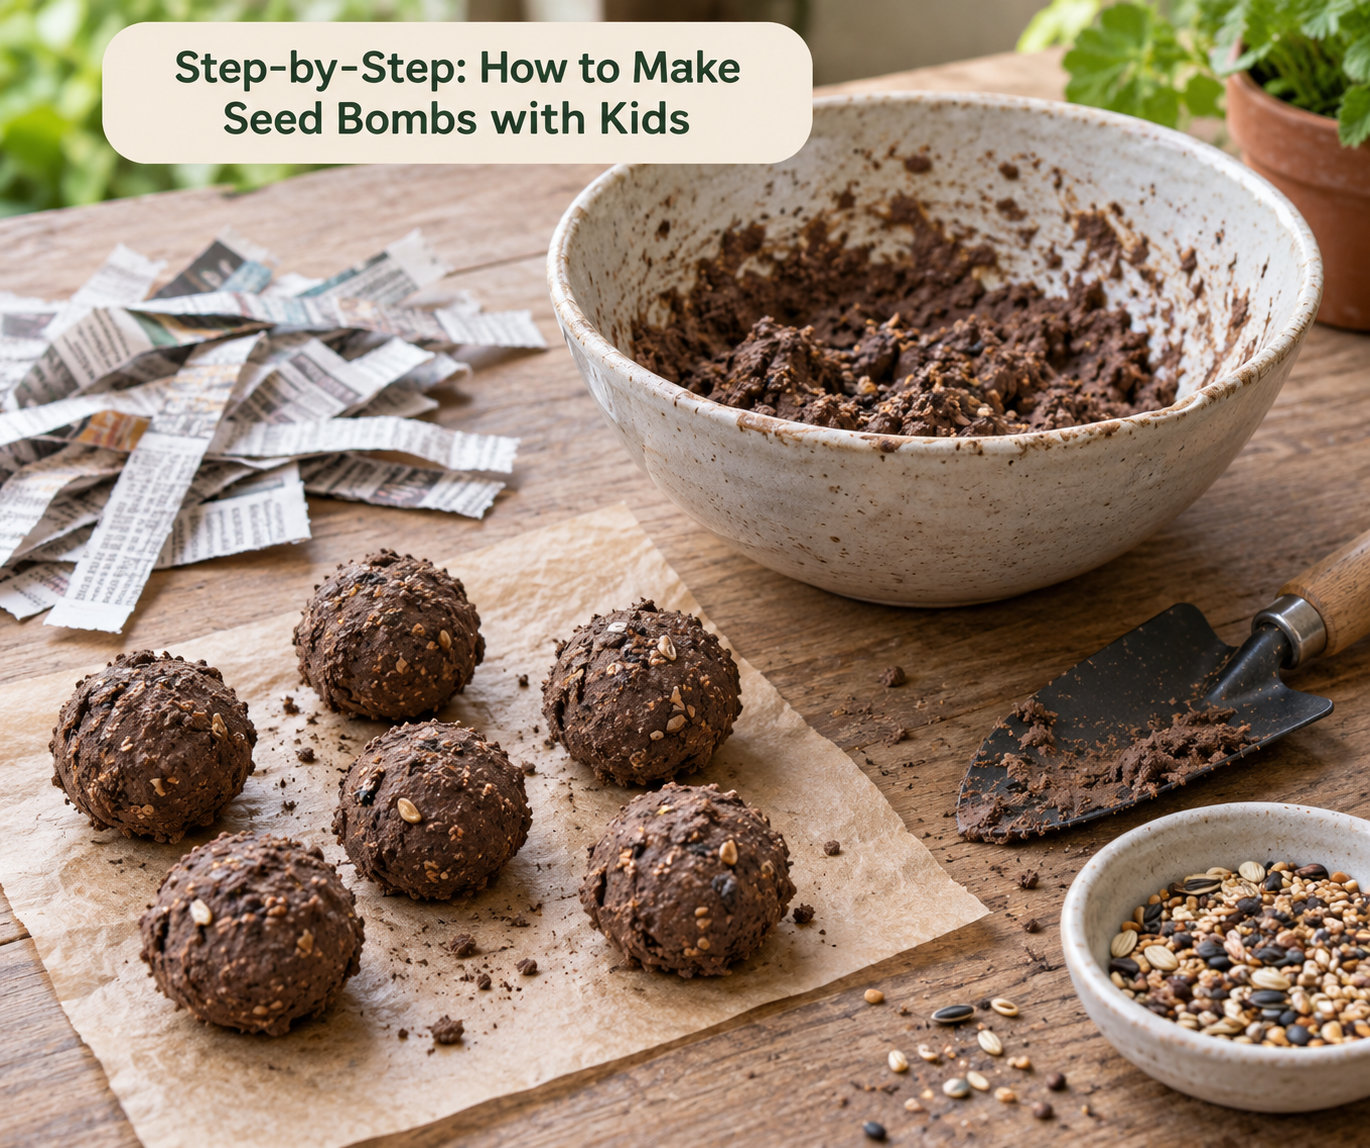
How to make seed bombs with kids: 8 steps
- Sift the clay. Push it through a mesh strainer or old colander so no hard lumps end up inside the balls. Children can do this with the back of a spoon.
- Measure the parts. Five scoops of sifted clay, one scoop of compost, one scoop of seeds. Use the same scoop for each so the ratio holds.
- Add water slowly. Spray or trickle just enough to make the clay hold together when pinched. It should feel like damp cookie dough, not paste.
- Mix it in a bowl, not on the table. A bowl keeps the dust contained and makes it far easier to scrape up afterwards.
- Fold the seeds in last. Stir gently so the seeds stay spread through the mix rather than sitting in one clump.
- Roll into balls. Aim for the size of a large pea, about half an inch across. Anything much bigger takes too long to break down in the rain.
- Let them harden. Spread on newspaper in a single layer, out of sunlight, for 24 to 48 hours until they feel dry and room temperature all the way through.
- Plant or hand them out. Press each one into damp soil, or give each child a few to plant wherever you have permission.
Where the bombs can actually go
Planting them straight into a bed is the most reliable route and the easiest to keep an eye on. For scattering, stay on your own land, on land you have asked the owner about, or on public land where seeding is clearly allowed, such as a designated pollinator strip.
Do not throw them into neighbours’ yards, onto construction lots, into ditches, or into water. When in doubt, keep them home. Guerrilla gardening communities are fairly firm about this, and it keeps the whole idea on the right side of friendly.
Timing matters more than most guides admit. Throwing right before rain that will actually soak the ground gives seeds the moisture they need. In dry weather the clay just protects them until conditions improve, which is fine but slow. Families who are working out how to make seed bombs with kids for the first time usually get better results starting on their own patch, where they can water it by hand if the rain is slow to arrive.
Common Mistakes
The mixture is too wet. Watery clay spreads, cracks as it dries, and leaves the seed exposed. Fix it by adding a little more dry clay and mixing again. You can test a pinch: if it holds shape without smearing, it is right.
The balls are too big. Golf-ball-sized bombs can sit sealed for weeks and rot. Keep them pea-sized. If they feel oversized, break a few apart and roll them smaller before the clay sets.
They were planted too deep. Cover them with roughly a quarter inch of soil, the same as you would for bare seed. Pushing them right down mimics burying a seed too far from light and warmth.
Nothing came up after a few weeks. Check three things: the season, the depth and the seeds themselves. Seeds thrown in late autumn mostly sit dormant, which is normal. Very old seed from a discount bin may simply be dead, so spend one batch on a fresh packet before deciding the method failed.
The clay crumbles to dust on drying. That usually means too little water or clay that was not properly sifted. Add a few drops more water next time and sift twice.
Birds and ants got the seeds anyway. The shell helps, but it is not armour against determined birds, especially in an open lawn. Planting the bombs just under the soil surface hides them completely and solves the problem.
Leftover bombs. Properly dried seed bombs stay viable for a couple of years in a labelled jar somewhere cool and dark. Write the seed name and the year on the jar, because an unlabelled jar becomes a science experiment nobody planned.
A few notes for parents
Use seeds that are not meant to be eaten, and keep the whole activity away from children under three, who put everything in their mouths. Wash hands after handling compost, since it is soil.
Work at a table with a washable cloth underneath and keep damp paper towels nearby. Mixing in a bowl, using a spray bottle instead of a jug, and giving each child a small scoop cuts the clean-up time dramatically. Lay newspaper under the drying rack and the rest of the dirt ends up where you can shake it out.
Worth knowing that this works well as a nature study project. Kids can follow the seed from dry packet to sprout to flower, keep a simple journal with a drawing every few days, and see which species beat the others. Those same journals are what make it worth doing a second batch and changing the seeds.
Frequently Asked Questions
Do seed bombs work?
Yes, and they work best when you help them along. The clay shell protects seeds from birds and insects and holds moisture until rain arrives, so a bombed patch often sprouts more seeds than the same seed scattered bare. Results still depend on the season, the soil and how fresh the seed is. Planting them about a quarter inch deep, just before a good soaking rain, gives the highest success rate.
Can I just throw down wildflower seeds?
You can, but seed bombs give the seeds a head start. Loose seed on bare soil dries out, gets eaten and washes away before it can settle. The clay and compost coating keeps the seed in one place and holds enough moisture for the first few days of germination. If you skip bombs entirely, tamp the seed into the soil rather than scattering it on top, and keep the area watered until it germinates.
What clay do I use for seed bombs?
Sifted natural clay or plain air-dry clay both work. Natural garden clay powder is cheaper per batch and breaks down in soil the way seed bombs are meant to. Air-dry clay from a craft store is easier to find and comes in colours that appeal to kids. Avoid polymer clay, which is plastic and will sit in your soil for years, and always sift out the lumps before mixing.
What paper to use for seed paper and paper pulp bombs?
Plain, uncoated paper is the safest choice for anything involving seeds. Newsprint, plain copier paper, unbleached paper and plain construction paper all break down in soil within a season or two. Skip glossy, laminated, coated or recycled craft paper, which often has a plastic or clay glaze that seeds cannot push through. Shred it, soak it, blend it and strain it into a pulp.
How long do seed bombs take to dry?
Small clay-based bombs usually feel firm to the touch after 24 hours and are fully hardened at 48 hours. Paper pulp versions take closer to 72 hours because they are wetter to begin with. Cool, humid rooms slow drying, and a sunny windowsill causes cracks, so dry them in shade on newspaper with the balls spaced apart and turn them once or twice.
Are seed bombs safe for children?
The materials are non-toxic, but there are still sensible rules. Skip any seed sold for eating, keep the activity away from toddlers under three who put things in their mouths, and have everyone wash their hands after handling compost. Spread the work on a washable cloth, because the mess is the real safety concern. If your child has a pollen allergy, pick low-pollen flowers such as violets or asters.
Conclusion
Start small. Pick one packet of native wildflower or flower seeds, one cup of sifted clay, a scoop of compost and a bowl of water, and roll fifteen or twenty balls the size of large peas.
Let your children choose the seeds and pick the spot in the garden where the bombs will go. That part is what turns a craft into a project, because they will come back every few days to see what happened. Once the first batch works, the second one can try a different seed mix or a different method.