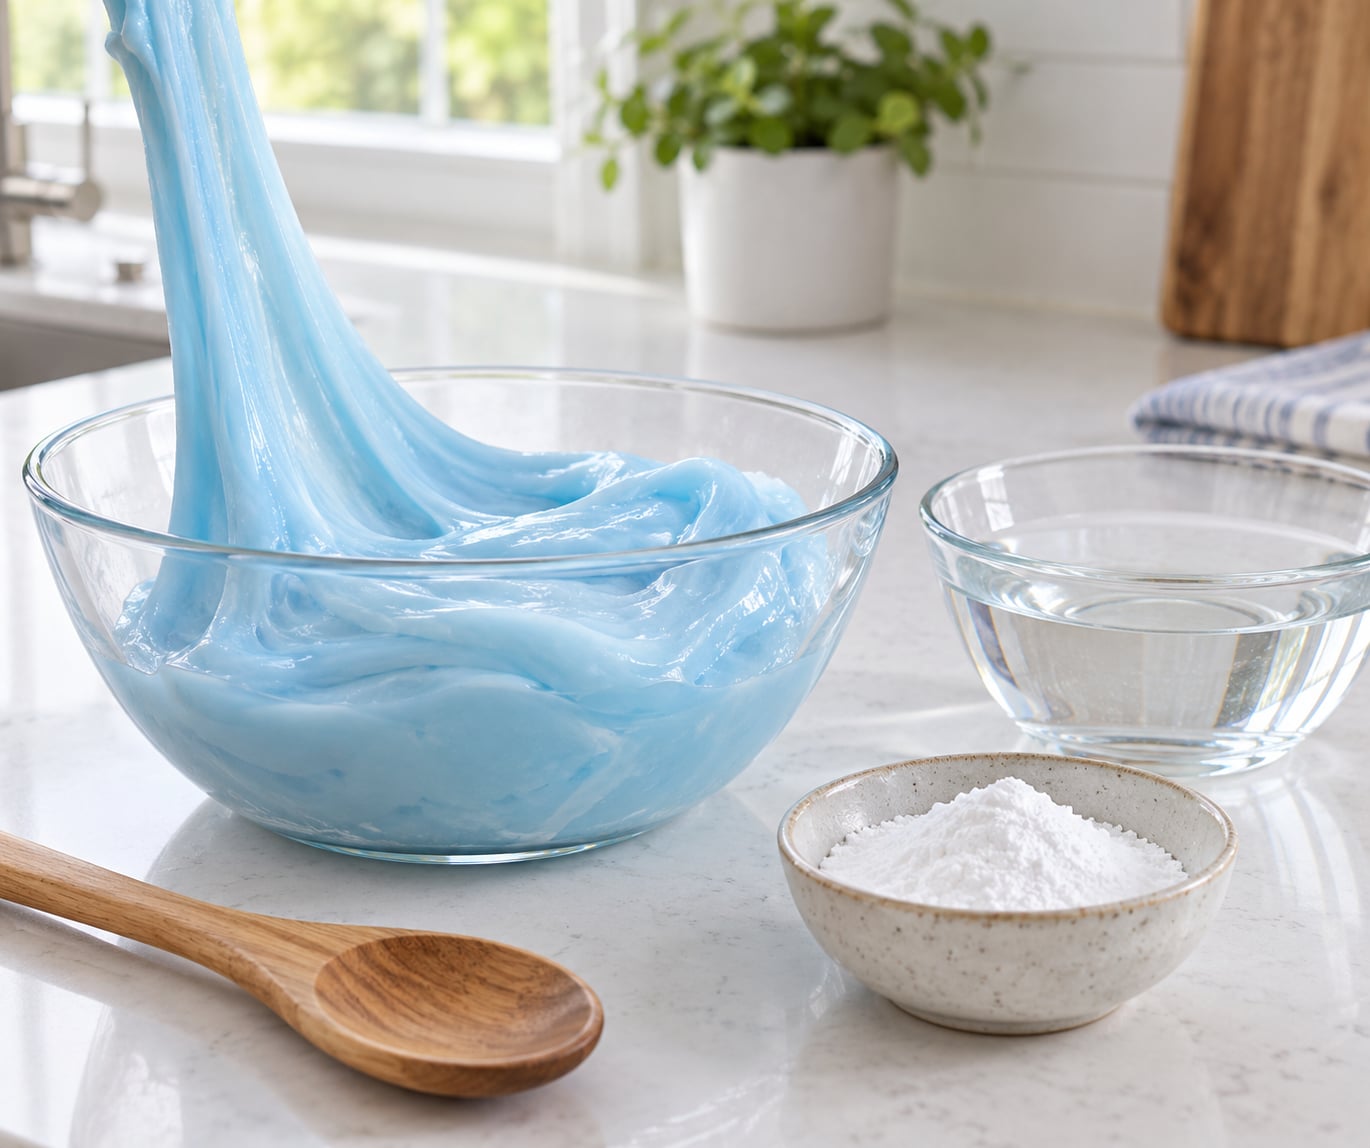
Flubber is a stretchy, bouncy polymer putty you can make in about five minutes from warm water, white PVA school glue and borax. The borax cross-links the glue’s long polymer chains, so the finished mixture acts like a solid when you pull it and like a liquid when you let it flow. That is how to make flubber for kids at home: three ingredients, one bowl, no heat, and a batch that lasts for weeks of indoor play.
Active time is about five minutes, then it needs an hour to settle before anyone touches it. The recipe is forgiving, but the two places batches usually go wrong are measuring too little glue and pouring the activator in too fast. Both are easy to fix once you know what to look for.
Table of Contents
- What You Need
- Step-by-Step: How to Make Flubber for Kids
- Step 1: Mix the Borax Solution
- Step 2: Combine the Water and Glue
- Step 3: Add the Activator
- Step 4: Knead Until Stretchy
- Step 5: Rest and Test the Texture
- Step 6: Store and Clean Up
- A note on the two-solution method
- Common Mistakes
- Frequently Asked Questions
- Can I make flubber without borax?
- What should I do if my flubber is too watery?
- Why is my flubber sticky after I make it?
- How long does homemade flubber last?
- Can toddlers play with flubber?
- Conclusion
What You Need
Measure everything before you start. Flubber problems almost always trace back to a guess rather than a number.
- 1 cup (240 ml) warm water for the glue base. It thins the glue so the polymer chains can move past each other and bond.
- 1 cup (240 ml, or 8 fl oz) white PVA school glue (Elmer’s is the classic). This is the flubber itself. One cup is two 4 oz bottles, or slightly less than one 7.6 oz bottle.
- 2 tablespoons (30 ml) borax (sodium tetraborate). This is the activator that links the glue chains together.
- 1/2 cup (120 ml) warm water for the borax. Hot, not boiling, so the powder dissolves fully.
- A few drops of food coloring, optional. Add it to the glue base so the colour spreads evenly.
- Two bowls, a wooden spoon, and a tray or old towel. The tray is not optional in my kitchen.
That 1 cup of water plus 1/2 cup for the borax is the total, and it is the part most recipes get confusing: 1 cup for the glue, 1/2 cup for the borax. Doubling the batch means doubling both, not just the glue.
Borax lives in the laundry aisle beside the laundry detergent and fabric softener. Outside the US it is harder to track down, and a chemist or pharmacy counter is usually a better bet than a general store. If you would rather skip the hunt entirely, the starch and saline alternatives below do the same job.
Two substitutions worth knowing: an equal volume of liquid laundry starch works in place of the borax solution, and saline contact lens solution works too. Both give a stretchier, less bouncy result, and neither needs the laundry-aisle hunt. Full method below in the FAQ.
Step-by-Step: How to Make Flubber for Kids
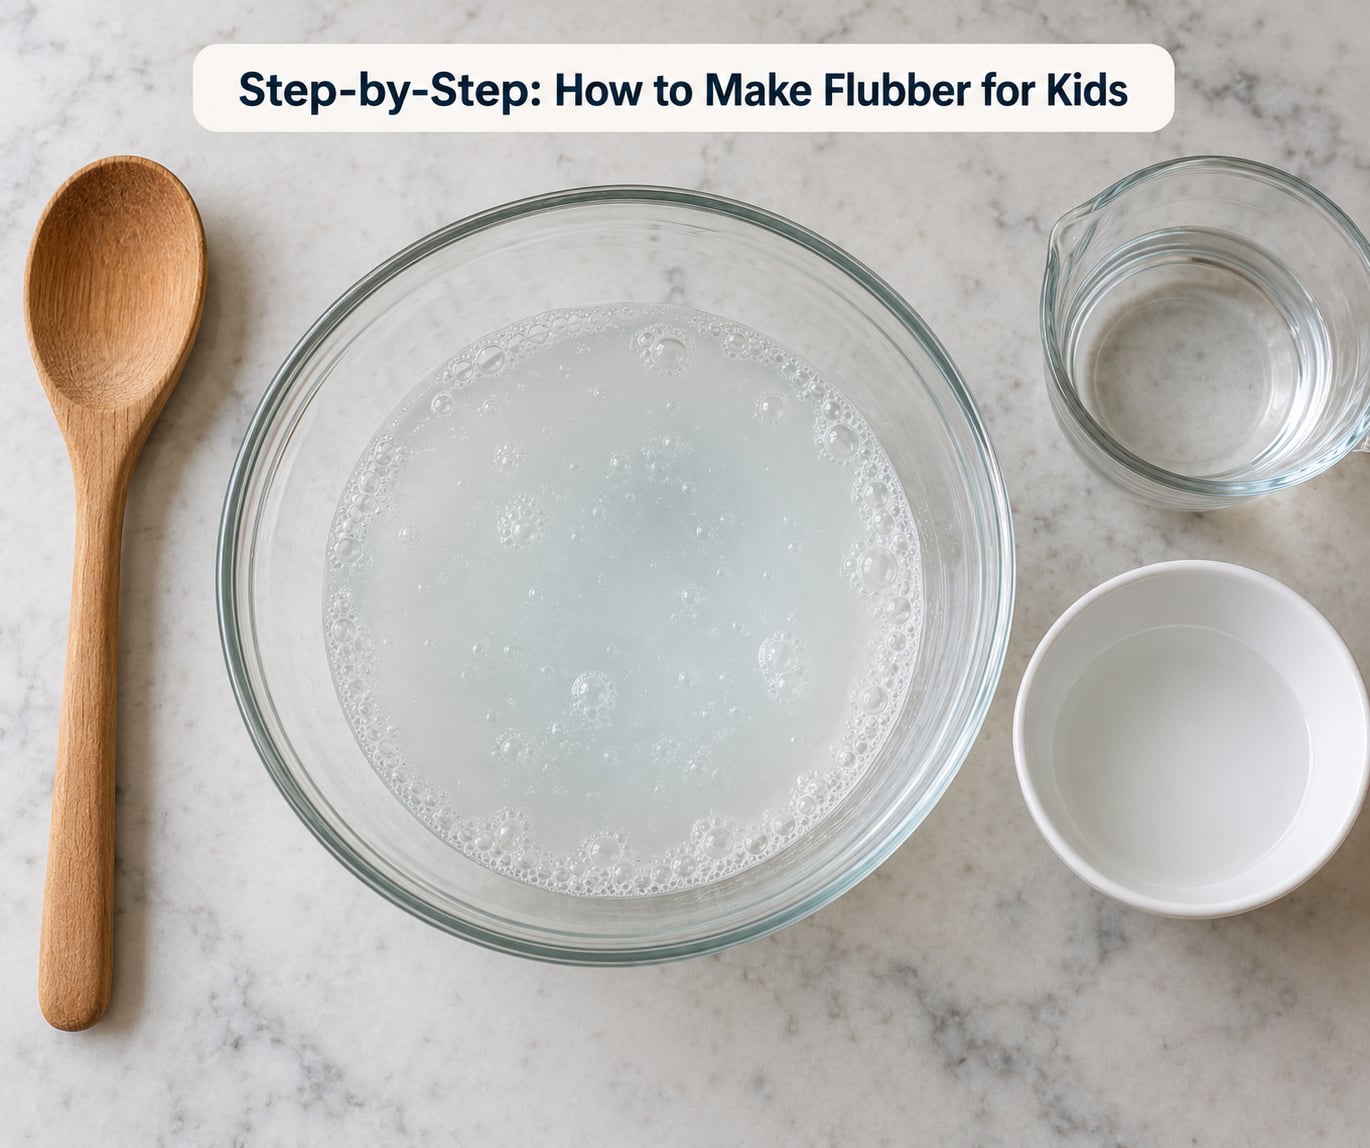
Use a clear bowl if you can. Watching the glue pull itself away from the sides is half the fun, and for kids it turns mixing into a magic trick.
Step 1: Mix the Borax Solution
Pour 1/2 cup of warm water into a bowl and add 2 tablespoons of borax. Stir for a full minute, scraping the bottom, until the water is completely clear and nothing is gritty at the bottom.
If crystals are still sitting there after a minute, give it another 30 seconds or add a splash more hot water. Undissolved borax is the number one reason a batch turns lumpy later. Do not taste this solution, and keep it out of reach of small hands while it sits.
Step 2: Combine the Water and Glue
In a second, larger bowl, stir together 1 cup of warm water and 1 cup of white PVA glue. Add your food coloring here rather than later, and swirl the spoon until the colour is even.
Stir for about 30 seconds and then check the bottom of the bowl with the spoon. If you see thick glue streaks pooling in the base, keep going. A properly mixed base is uniformly milky with no clear water and no sticky pockets.
Step 3: Add the Activator
Now pour the borax solution into the glue base a tablespoon at a time, stirring slowly after each one. Watch the mixture go from milky and loose to faintly lumpy and stringy.
Keep going until it starts pulling away from the sides of the bowl and clinging to the spoon. That is the moment it turns. Then stop pouring and lift the whole mass out; once you can pick it up in one piece, adding more activator will only make it stiff and rubbery.
Step 4: Knead Until Stretchy
Put the mass on a clean surface and knead it with two hands for a solid two minutes. Fold, press, squeeze, pull. The first minute feels slimy and wet, then it turns tacky, and then it goes smooth.
For younger kids, put the flubber in a sealed bag first and let them knead and squish it through the plastic. They get the same result and you skip the sticky-hands problem entirely. This is the part of how to make flubber for kids that most guides skip, and it is where a lumpy batch actually becomes good flubber.
Step 5: Rest and Test the Texture
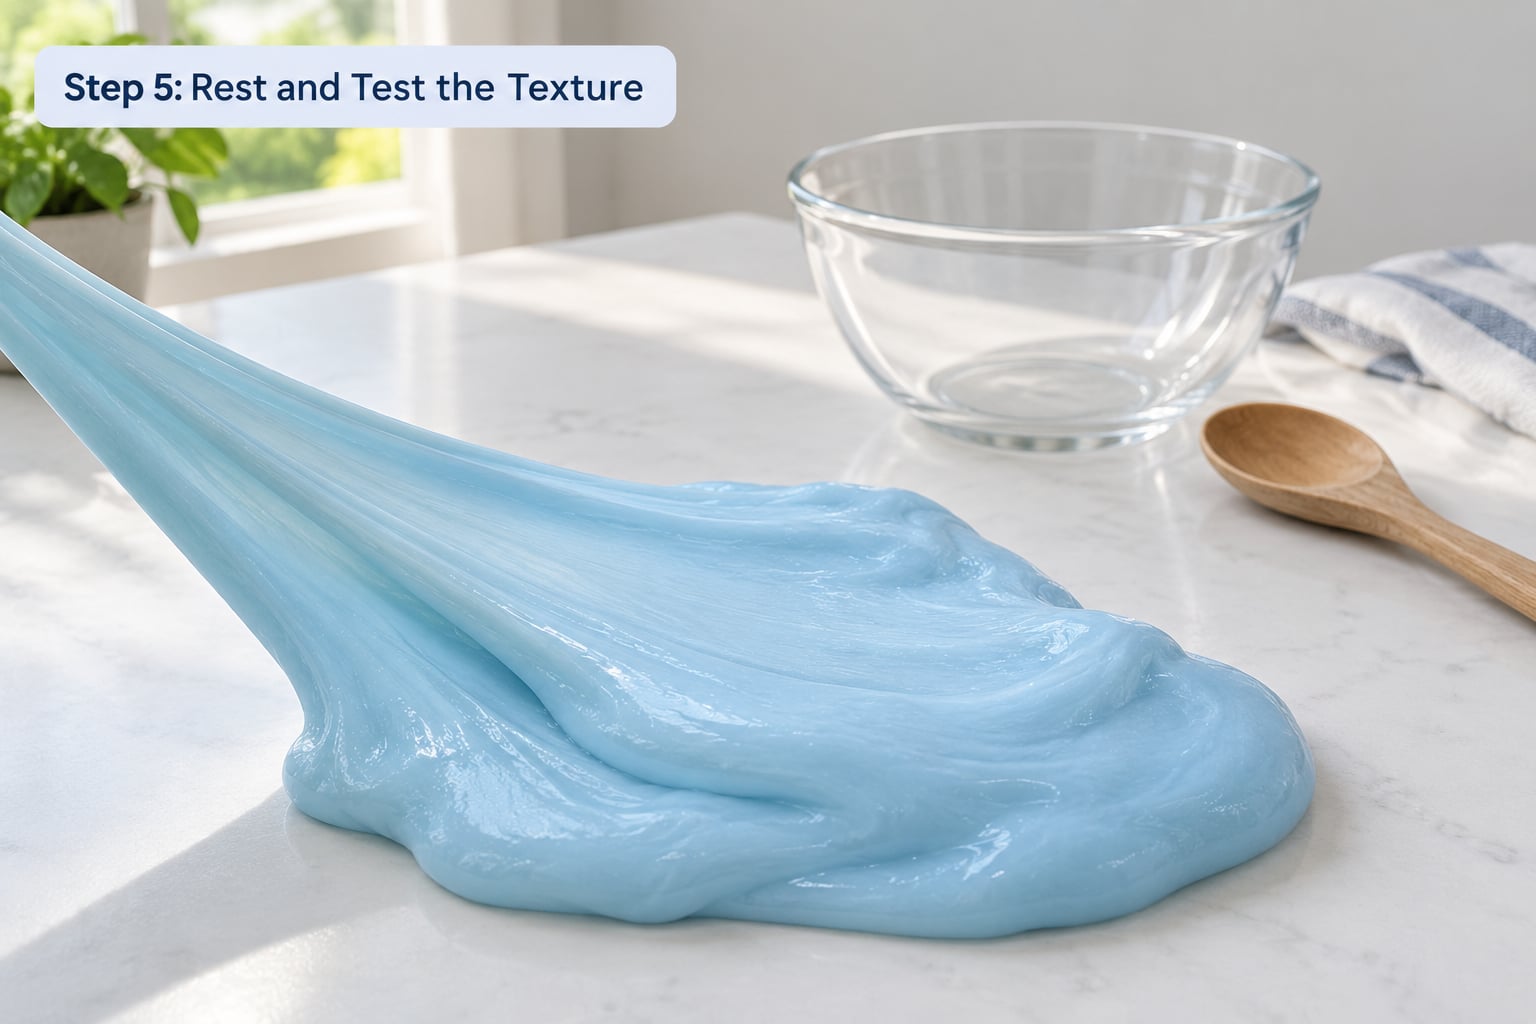
Leave the flubber somewhere undisturbed for an hour. It finishes setting while you sit back, and the surface skins over slightly.
Then run three quick checks. Pull a lump apart slowly: it should stretch several times its resting length without tearing. Press a fingertip into it: the dent fills in slowly. Drop a small piece on the counter: it bounces once or twice and settles, instead of splattering or splatting flat. Pass all three and it is ready to play.
Step 6: Store and Clean Up
Put the flubber in a sealed bag or an airtight container and press the air out. With regular use you get roughly three weeks before it dries out and gets stiff. If it starts shrinking, knead a drop of warm water back in and it comes right around.
For the bowls, spoon the mass out and rinse with warm water, then wash the dishes as normal. A paste of baking soda and water on a counter works well if anything has dried on. For laundry, lift what you can, soak the garment in cold water overnight, then pretreat the stain and wash as usual. Warm water sets flubber into the fibres, which is why cold is the rule. For hair, comb out the big pieces with a wide-tooth comb and rinse the rest under cold water.
A note on the two-solution method
Some recipes tell you to pour the glue base into the borax and then not stir at all, letting the flubber form on its own. That looks spectacular in a clear bowl. It also leaves a bowl of gluey leftovers at the bottom, so for regular play I stir mine and get more usable flubber per batch.
Common Mistakes
Here is what went wrong, and what to change. Nearly every failed batch is one of these five.
- Too watery or runny. Almost always under-measured glue, or activator added too fast. Stir in an extra tablespoon of white PVA glue and knead for a minute. Rest it 20 minutes before adding more, because time alone tightens a slightly loose batch.
- Sticky and tacky even after kneading. Either it needs longer, usually another minute or two of squeezing, or the glue was under-measured. Add a tablespoon of glue and knead again. Rinse your hands with cool water as you work; warm water makes stickiness worse.
- Lumpy, stringy, or a globe of brains. The borax did not dissolve fully, or it was poured in one big gulp. Make the borax solution again in hotter water, then add it slowly. If the batch is already ruined, knead it for a full three minutes; the lumps usually work through.
- Foamy and full of bubbles. You stirred too fast or too hard when combining. Pour the base slowly next to the spoon and fold gently, or make a fresh batch. Foam traps air and gives you a lighter, weaker flubber that dries out fast.
- Firm, rubbery, or will not stretch. Too much activator. It cannot be undone, so the fix is prevention: add the borax solution a tablespoon at a time and stop as soon as the mass pulls away from the bowl.
Play works best on a tray, a towel, or a shower curtain, and keep a damp cloth nearby for hands. Keep the activator solution well away from mouths, do the pouring yourself, and have everyone wash their hands when the session ends. Children under three are better served by a cornstarch or play-dough version, and everyone does this one with an adult within arm’s reach.
Frequently Asked Questions
Can I make flubber without borax?
Yes. Replace the borax solution with an equal volume of liquid laundry starch and stir it into the glue one tablespoon at a time. Saline contact lens solution works the same way. The result stretches easily but bounces less than the borax version, and neither activator needs a trip to the laundry aisle.
What should I do if my flubber is too watery?
Add glue, not more activator. Stir a tablespoon of white PVA glue straight into the bowl, knead for a minute, and test it again. Watery batches almost always mean too little glue or an activator poured in too fast. If it is only slightly loose, leaving it to sit for 20 minutes will tighten it on its own.
Why is my flubber sticky after I make it?
Usually it just needs longer. Give it another one to two minutes of squeezing, folding and pulling until it goes smooth and cool to the touch. If it stays tacky no matter how long you knead, the glue was under-measured or the wrong kind, so add a tablespoon more and work it in. Rinse hands with cool water while you do.
How long does homemade flubber last?
In a sealed bag or airtight container, expect about three weeks of regular play. It dries out gradually from the air, and a batch used every few days is usually the first to go stiff. Storing it airtight and away from direct sun stretches that a little further, but a floppy, shrinking batch usually needs fresh water kneaded back in.
Can toddlers play with flubber?
With an adult within arm’s reach, yes, and it is a genuinely useful sensory activity for them. Borax is not for eating, so do the mixing yourself, keep the activator solution out of reach, and have everyone wash their hands afterwards. For children under three, a cornstarch or play-dough version is the safer pick to work with.
Conclusion
Get the measurements right, add the borax solution slowly, and knead for a full two minutes. That is the whole difference between a bowl of gluey lumps and flubber that stretches, bounces and holds a shape. Ten minutes of work buys you an hour of resting time and a week or three of play.
Keep the activator away from small mouths, mix it yourself, and stay close. If borax is not available or you would rather skip it, the liquid starch version in the FAQ works just as well. That is how to make flubber for kids: a five-minute recipe, three ingredients, and the polymer science that comes free with it.