Moon sand is flour and oil mixed at an 8-to-1 ratio until it crumbles like dry sand but packs together like wet sand, and learning how to make moon sand with flour and oil takes about ten minutes with no cooking at all. Four cups of flour and a half cup of oil gives you roughly a quart and a half of play dough, enough for one very long afternoon in a sensory bin.
The whole trick is that ratio. Too much oil and it turns greasy and sticky, too little and it stays powdery, so I measure rather than pour and adjust one teaspoon at a time. Updated for 2026, this is still the version my kids ask for by name.
Here is exactly what you need, the five steps in order, and what to do when the texture is off.
Table of Contents
- What You Need
- Step-by-Step: How to Make Moon Sand with Flour and Oil
- Step 1: Combine the Flour and Oil
- Step 2: Add Water and Mix the Moon Sand
- Step 3: Add Color, Scent, or Extra Texture
- Step 4: Test and Shape the Dough
- Step 5: Set Up Play and Store the Leftovers
- Common Mistakes
- Frequently Asked Questions
- How much flour and oil do I need for moon sand?
- Can I make flour moon sand without oil?
- Why is my moon sand too dry or too sticky?
- Can I add food coloring or glitter to moon sand?
- How long does homemade moon sand last?
- Is flour moon sand safe for toddlers?
- Conclusion
What You Need
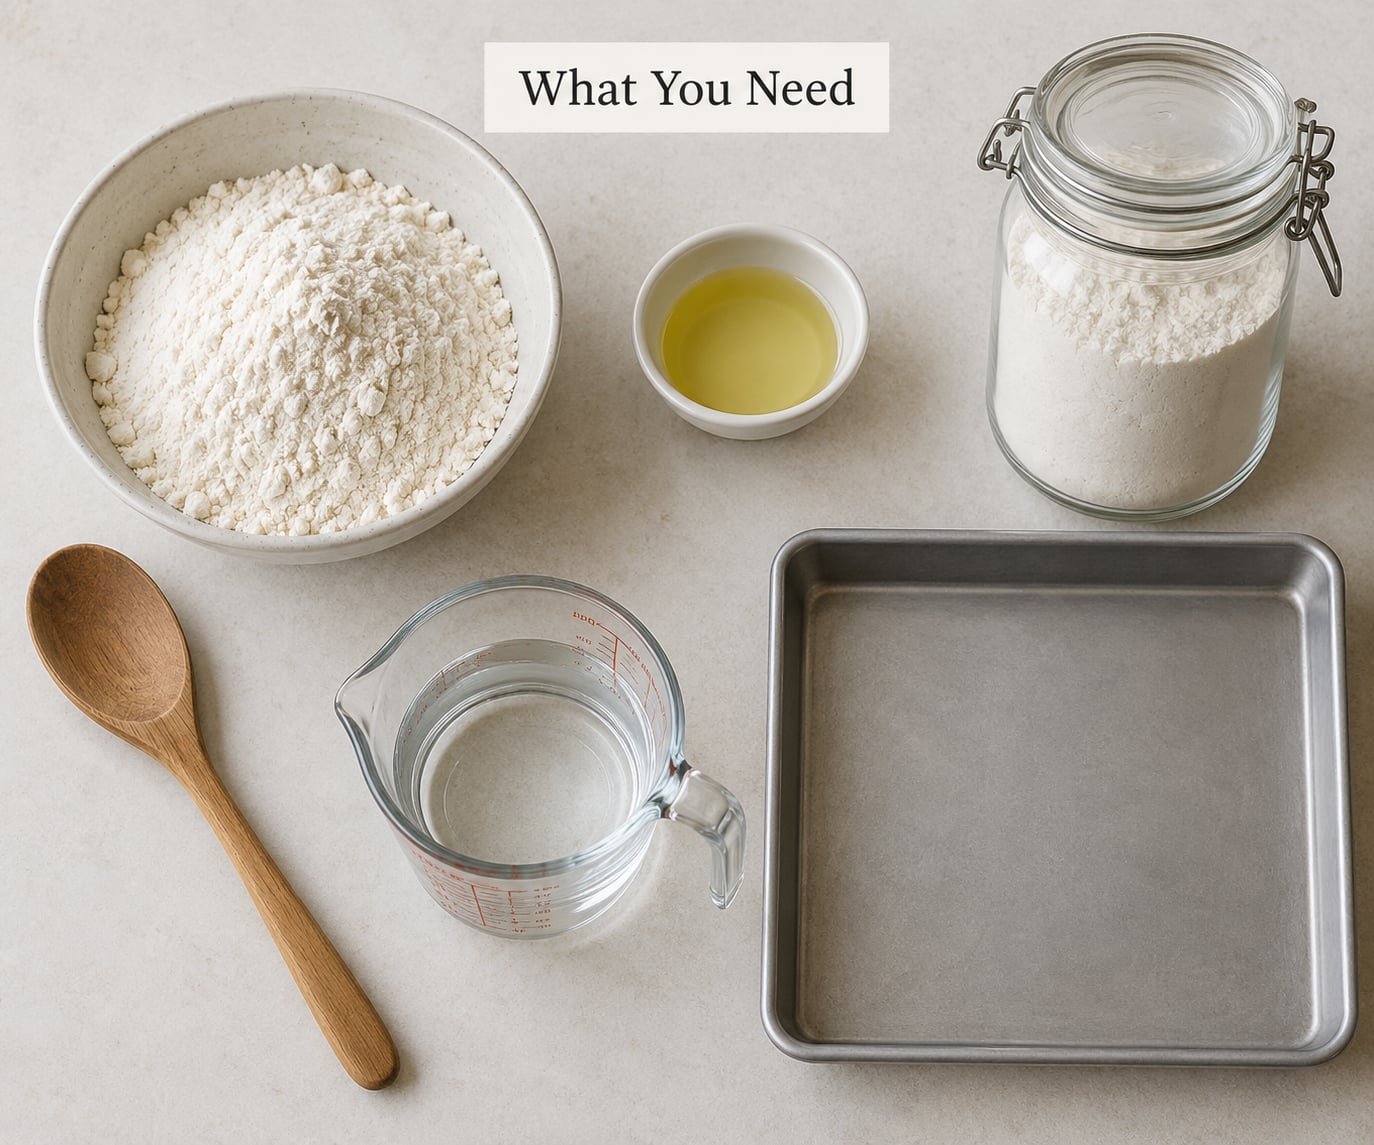
For a standard batch you need 4 cups of all-purpose flour and half a cup of oil. That is the 8:1 ratio scaled to a home kitchen, and it scales cleanly: 2 cups flour to a quarter cup oil for a small batch, 8 cups to a full cup for a classroom bin.
Which oil you pick changes the texture more than most people expect:
- Canola or vegetable oil is the everyday pick. Neutral taste, pantry-stable, and the best choice if a child might get a bit on their hands and then their mouth.
- Melted coconut oil adds a faint scent and makes the sand slightly softer and warmer to the touch. Solid coconut oil does not mix well until melted.
- Mineral or baby oil gives the silkiest, slippiest texture, which younger kids tend to love. It is petroleum-based and not food-grade, so skip it for under-threes and anyone with a tendency to mouth things.
- Coconut oil and vegetable oil blended 50/50 is a decent compromise if you want a hint of scent without a strong smell in the bin.
A one teaspoon of water is optional and only used in step two. Skip it entirely for a firmer, sandier dough that holds shape better.
For the play area, set a large baking sheet, a plastic tablecloth, or a sheet pan on top of an old towel. A shallow storage bin with a lid is worth having from the start, because the sand travels. Cookie cutters, measuring cups, a small rolling pin, plastic trucks and a cookie sheet work far better than digging with bare hands.
One more thing worth doing before you start: if you plan to bake the flour to make it taste-safe, do that first and cool it fully. Spread it on a baking sheet and bake at 350°F for five minutes, which kills the raw flour bacteria and takes you from ten minutes to about twenty.
Step-by-Step: How to Make Moon Sand with Flour and Oil
Step 1: Combine the Flour and Oil
Pour 4 cups of flour into a large bowl, make a well in the center, and add half a cup of oil. If you are coloring it, this is where the dye goes: stir a few drops of oil-based food coloring or a spoonful of grated sidewalk chalk into the oil first so you dye the fat instead of the flour.
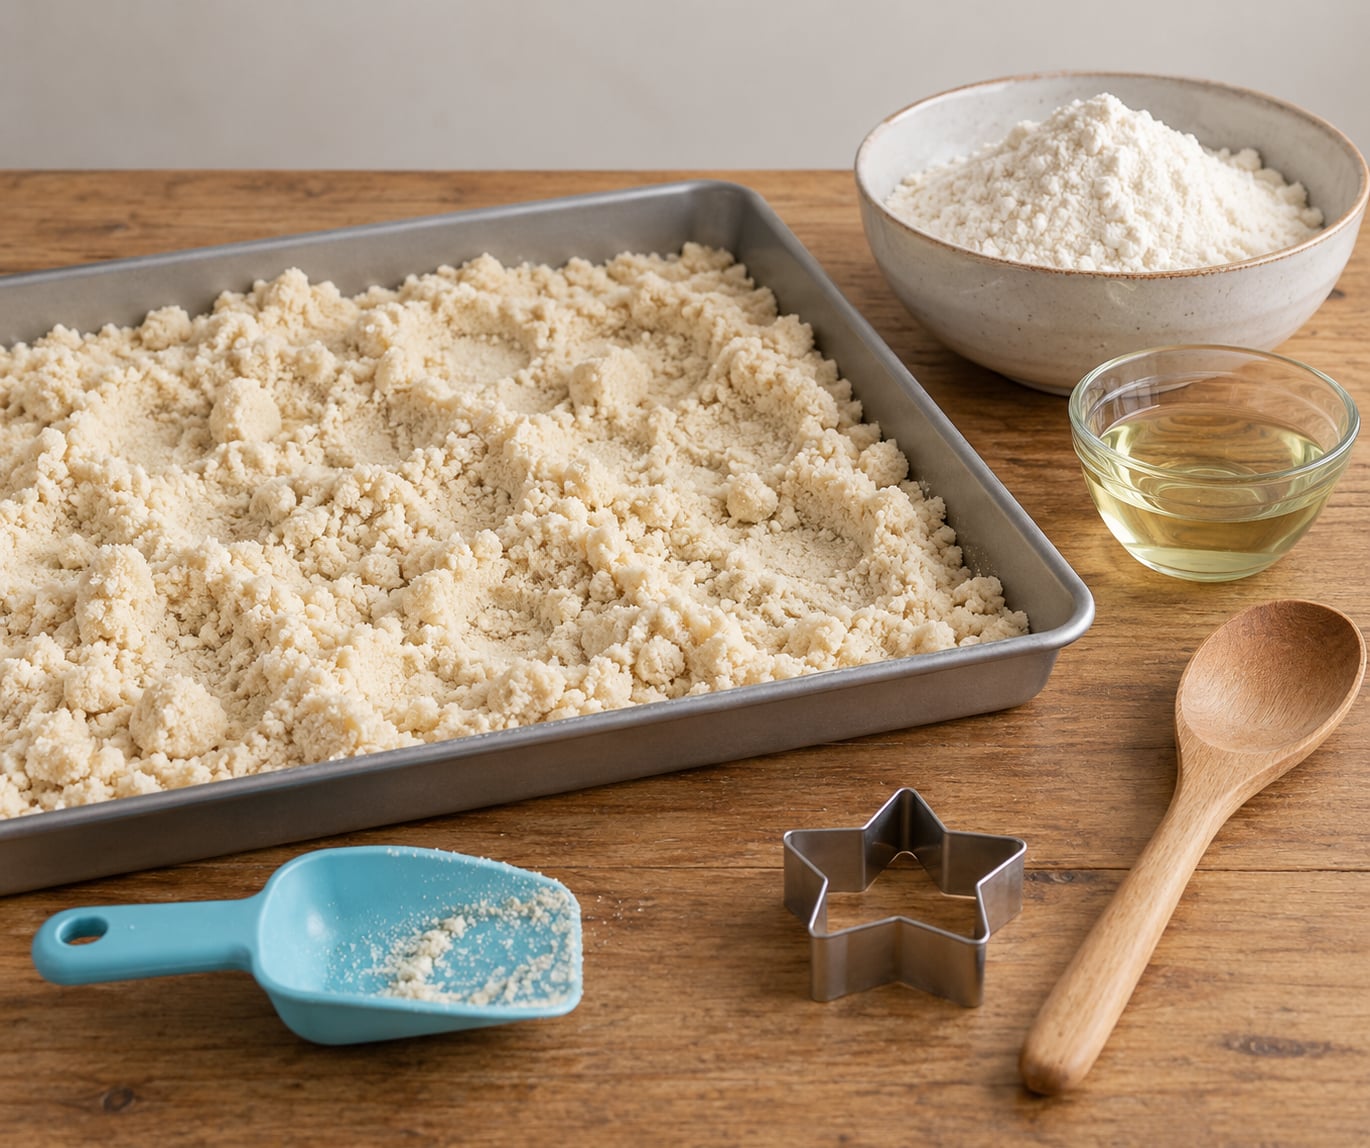
Mix with a spoon, then with clean fingers, until no streaks of oil are visible. The texture at this point should look like damp breadcrumbs or coarse crumbs that hold their shape briefly when you squeeze them. That crumbly stage is correct, not a mistake. Flour that still feels powdery in the bottom of the bowl needs another minute of rubbing, not more oil.
Step 2: Add Water and Mix the Moon Sand
The pure two-ingredient version stops here and is already good. For a softer, less crumbly dough, add water one teaspoon at a time and knead between each pinch.
Stop adding water the moment the dough holds together when squeezed but still breaks apart with a tap. More than about two teaspoons for a four-cup batch and you cross the line into sticky territory. If your dough feels tacky and clings to your palm, you have gone too far.
Step 3: Add Color, Scent, or Extra Texture
Dry colorings work best. Grated sidewalk chalk gives the most saturated, even color of anything I have tried, tempera powder works too, and water-based liquid food coloring will clump the flour into sticky blobs the moment it hits. If you only have liquid drops, mix them into the oil in step one and the problem disappears.
A few drops of vanilla extract or one essential oil like lavender or peppermint scent the whole batch, and a spoonful of glitter makes it look like actual moon dust. Glitter is fine for over-threes; under-threes do better with coarse salt, which gives a sparkle and a safe licking mishap.
Keep add-ins under a teaspoon per cup of flour. A heavy hand with glitter or extract makes the dough sticky in a way that looks like a mixing failure but is just too much of something.
Step 4: Test and Shape the Dough
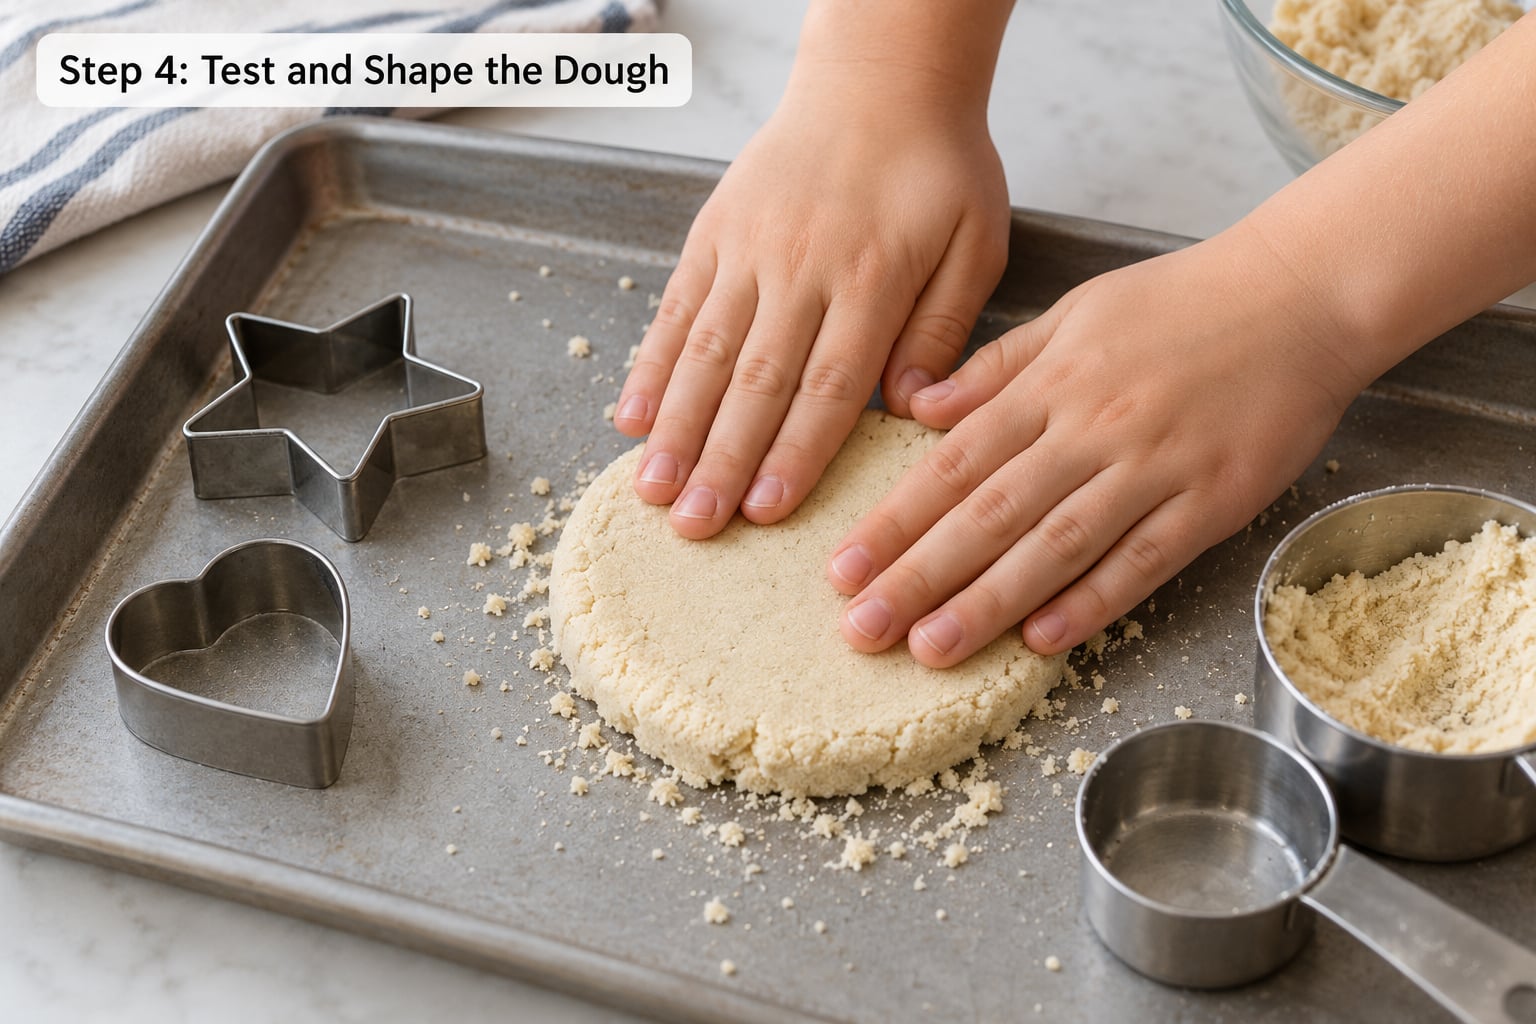
Squeeze a handful. It should compress into a lump and stay lumped when you open your hand, with a soft, slightly damp feel rather than a dusty one. That is your ready texture.
Now test what it actually does:
- Towers and castles need the firm version with little or no water, packed hard with the back of a spoon.
- Balls and snakes work at any consistency, and are the easiest thing for a toddler to do.
- Flat impressions and cookie shapes need the dough pressed flat with a palm or a roller, which most kids figure out on their own.
- Scooping and pouring is the whole game at eighteen months, and the sand pours like a thick, slow sand.
Step 5: Set Up Play and Store the Leftovers
Spread the finished sand in a layer about two inches deep in your tray or bin. A deep pile packs down into one hard lump and frustrates small hands; a shallow layer stays scoopable.
Supervise directly with children under three, and keep the session short enough that it ends while they are still asking for more. Outside on a porch or patio, or inside a kiddie pool lined with a sheet, is the difference between relaxing and vacuuming.
For storage, press the sand flat, scoop it into a rigid airtight container, and keep it somewhere cool and dark. Properly sealed it stays usable two to four weeks. If you only seal loosely it dries out within days and grows grey or green speckles after a week or two, at which point it goes in the trash rather than back in the bin.
Common Mistakes
Too dry and powdery. The most common problem, and usually a mixing issue rather than a ratio issue. Rub the mixture between your fingers for another minute, then add oil one teaspoon at a time. Two teaspoons fixes most four-cup batches.
Sticky, greasy hands and a tacky dough. You are past the ratio, most likely from too much oil or too much water. Add flour a quarter cup at a time and knead it through. You cannot take water back out, but flour will absorb it.
Watery and soup-like. Far more water than intended. This is the one failure flour alone fixes slowly. Mix in another half cup to a full cup of flour and accept a doughier, less sandy result, or start over.
Clumpy color. Water-based food coloring. The dye wets the flour and creates sticky pockets that never blend out. Use dry chalk or tempera powder, or mix liquid drops into the oil beforehand.
Mold or a sour smell. Storage, not mixing. Scrape out any discoloration, and reseal and date the container from now on. Flour holds moisture for weeks, so the container matters far more than the recipe.
Three habits fix most of this ahead of time. Measure the oil instead of pouring it. Dye the oil, not the flour. And play on a tray over a sheet, outdoors when the weather allows, so cleanup is a fifteen-minute sweep rather than an evening project.
Frequently Asked Questions
How much flour and oil do I need for moon sand?
Use 4 cups of all-purpose flour to half a cup of oil for a standard batch, which is an 8-to-1 ratio and yields roughly a quart and a half of sand. For a small sensory bin, halve both amounts: 2 cups flour to a quarter cup oil. You can scale the same ratio up to 8 cups of flour and a full cup of oil for a classroom or a long week of play.
Can I make flour moon sand without oil?
Yes, and the result is closer to plain packed flour than to moon sand. Without oil the mixture packs together but crumbles to powder almost immediately, so it will not hold a tower or a ball. A small amount of water gives you a denser, clay-like dough that children enjoy molding, though it dries out and cracks within a day or two. Most people add the oil back within one session.
Why is my moon sand too dry or too sticky?
Too dry and powdery usually means under-mixing, not the wrong ratio. Rub the mixture between your fingers longer and add oil one teaspoon at a time. Too sticky and greasy means you exceeded the 8-to-1 ratio, usually by pouring oil instead of measuring it or by adding too much water. Fix sticky dough by working in extra flour a quarter cup at a time; you cannot remove water once it is in.
Can I add food coloring or glitter to moon sand?
Yes. Dry colorings work best: grated sidewalk chalk gives the most vivid, even color, and tempera powder works too. Liquid water-based food coloring makes the flour clump, so stir the drops into the oil before it meets the flour. Glitter looks wonderful for children over three. Under-threes do better with coarse salt, which sparkles just as well and is harmless if it ends up on their hands.
How long does homemade moon sand last?
Sealed in a rigid airtight container and kept cool and dark, flour and oil moon sand stays usable for two to four weeks. Press it flat before closing the lid so air pockets do not form. If the container is loosely sealed the sand dries out within days, and you may see grey or green speckles after a week or two. Discard any batch that smells sour or shows discoloration rather than trying to revive it.
Is flour moon sand safe for toddlers?
Flour and oil are both food ingredients, so a small taste is not dangerous, but raw flour can carry bacteria and eating a quantity of it is not something you want to encourage. Use a food-grade oil such as canola or vegetable rather than mineral or baby oil, and supervise closely under age three, since toddlers put everything in their mouths. For full peace of mind, spread the flour on a baking sheet and bake it at 350°F for five minutes, then cool it before mixing.
Conclusion
Start with 4 cups of flour and half a cup of oil, mix until it looks like damp crumbs, and stop there unless you want a softer dough. Add water only one teaspoon at a time, and only until a squeezed handful holds its shape.
Most problems with homemade moon sand come from measuring oil by eye or coloring wet flour. Measure it, dye the oil, and play on a tray you can wipe. Get the flour baked if a toddler will be the one digging in it, and the rest takes care of itself.