The short answer: heat the wax until it is liquid, pour it into a mold, and let it harden again. Most people melt broken crayon pieces in an oven at 275 to 350 degrees F for 10 to 20 minutes, then give the molds 30 to 60 minutes to cool before popping the new crayons out. The whole project takes about an hour, most of it waiting.
Wax gets dangerously hot fast, so an adult handles the oven, the pans and the unmolding. Kids can sort, fill and decorate.
Knowing how to make crayons from broken crayon pieces is also a genuinely satisfying use for the stubby half-inch crayons that rattle around the bottom of the craft drawer. Nobody else wants them, but remelted they color just as well as the originals, and the change is fully reversible, which makes it a decent science demonstration for older kids too.
Table of Contents
- What You Need
- Step-by-Step: How to Make Crayons from Broken Crayon Pieces
- Step 1: Prepare the Broken Crayons
- Step 2: Melt the Wax Safely
- Step 3: Pour and Shape the Melted Wax
- Step 4: Cool and Remove the New Crayons
- Common Mistakes When Melting Broken Crayon Pieces
- Tips for Reusing Broken Crayons
- Frequently Asked Questions
- Can I melt broken crayons in the microwave?
- What container should I use to make crayons from broken pieces?
- Do I need to remove the paper wrappers before melting crayons?
- Why are my homemade crayons brittle or difficult to draw with?
- Can I mix different colors when making crayons from broken pieces?
- How long do homemade crayons need to cool before removing them?
What You Need
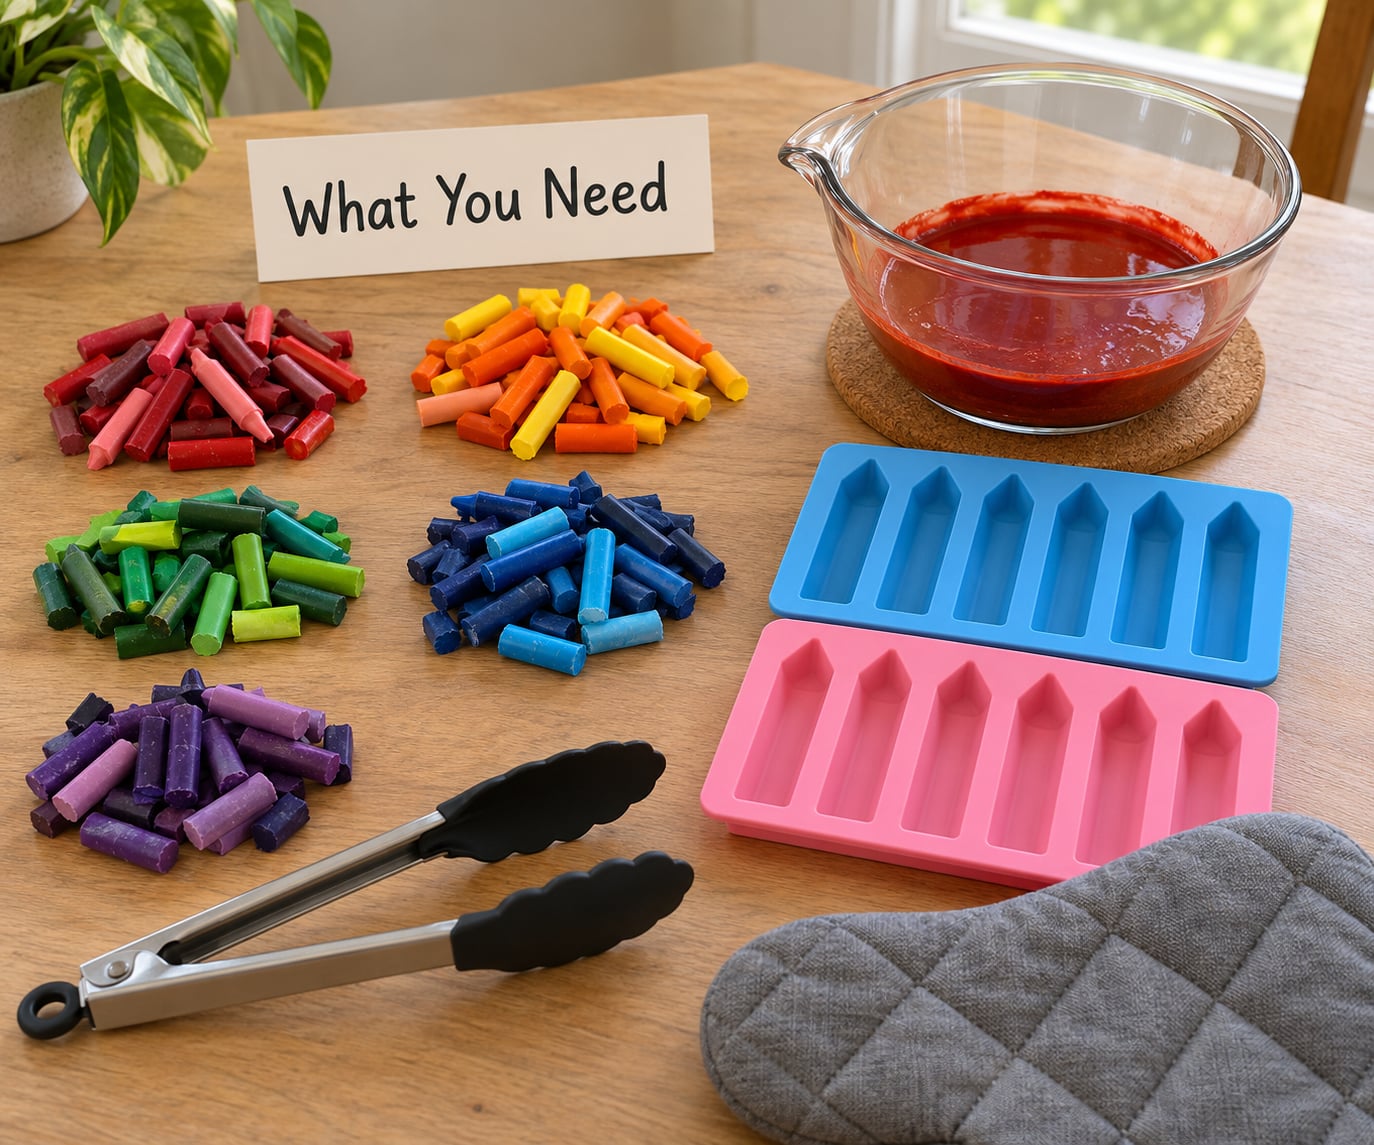
Most of this list is already in your house.
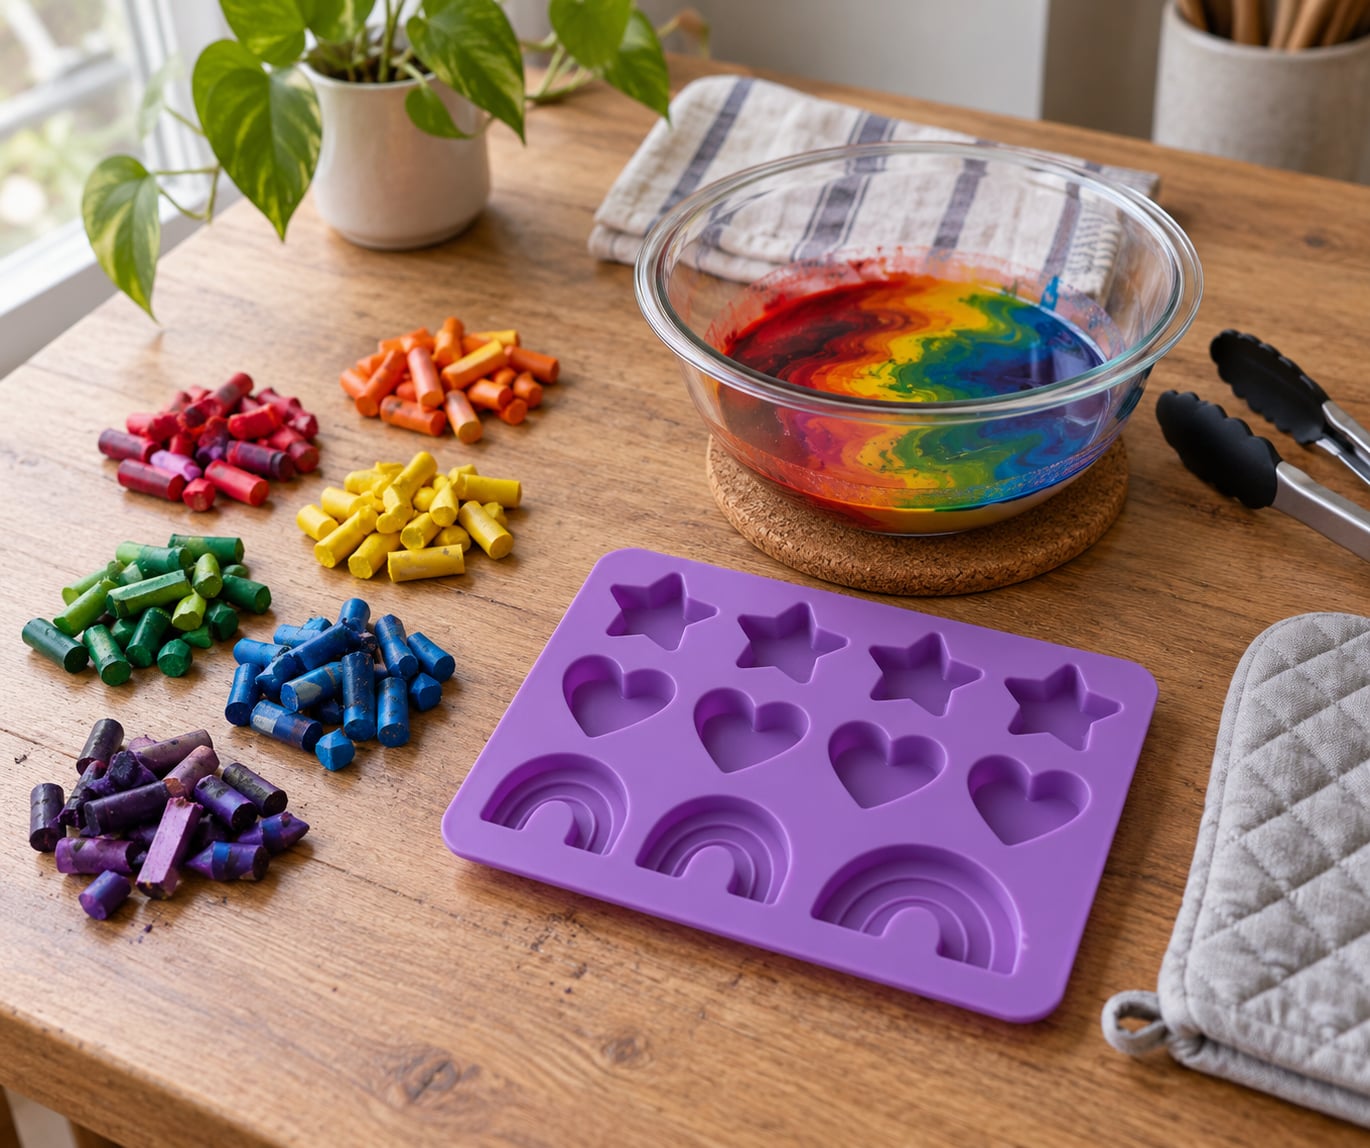
- Broken crayons — any length of stub. Short pieces about a quarter-inch long melt fastest, and equal-length pieces give you an even fill.
- A silicone mold — crayon-shaped molds give you crayons, letter and shape molds give you something more giftable. Deep cavities need longer baking than shallow ones.
- A baking sheet — to catch overflow, and to let you carry the hot mold in and out.
- Heatproof tongs or a potholder — wax melts well past the temperature where a bare hand is comfortable.
- Warm water and a bowl — for loosening the paper wrappers.
- A knife, a craft knife or scissors — for chopping the stubs into chunks.
Substitutes that work as well: a mini muffin tin, a cleaned-out pill canister, cookie cutters on a lined tray, or an old ice cube tray. Pull any free plastic containers out of the recycling bin first, since you want a mold you can dedicate to wax.
Step-by-Step: How to Make Crayons from Broken Crayon Pieces
Step 1: Prepare the Broken Crayons
Soak the unpeeled crayons in warm water for 10 to 15 minutes, then slide the damp paper off. It comes away cleanly on most boxes, though it refuses on certain brands no matter how long you soak, and those you just peel dry with your fingernails or leave the wrapper out of the mix entirely.
Here is the trap most people fall into: microwave a cup of water and drop the crayons in, and the wax melts instead of the paper loosening. Use water you have run until it is warm, not water you have boiled.
Chop the bare stubs into pieces roughly a quarter-inch across, then sort them by color into small bowls. Fill each cavity about three-quarters full, which is roughly three to four small chunks per cup. Leave headroom, because wax expands slightly as it warms and an overfilled cavity spills onto the baking sheet and into the oven.
Set the mold on a lined baking sheet before it goes in, and keep the matching colors grouped. Nothing else needs doing yet.
Step 2: Melt the Wax Safely
The oven is the most predictable method. Preheat to 300 degrees F and bake for 10 to 12 minutes, checking every minute after that. Wax holds heat and the tail end of the bake is when thin pieces finally give up, so the color underneath a chunk often melts last.
A microwave works and takes about three minutes for a full mold, in 30-second bursts with a stir between them. Melted wax is extremely hot, so use a heatproof bowl or a microwave-safe silicone mold and let it sit two minutes before handling.
For the oven-free route, stand a heatproof bowl over barely simmering water, drop the wax in and stir with a wooden stick until it goes liquid. It takes longer than the oven but you control the heat directly, and nothing scorches.
Do not stir if you want distinct colors. Each stir drags every pigment through every other one, and a bowl of red, yellow and blue turns into mud within seconds.
Step 3: Pour and Shape the Melted Wax
Lift the mold out and pour off any wax that pooled on the surface of the mold, because that thin film ends up as the flat back face of your crayon. A toothpick lifts it off in one piece while it is still warm.
If you are pouring from a bowl, fill each cavity in one steady motion and stop a finger-width short of the rim.
Layers and swirls are the fun part. Let the first color set for a few minutes, spoon a second color on top, and repeat. Tilting the mold as you pour marbles the colors into each other without blending them into brown, and a wooden stick dragged once through the cavity gives you a single clean swirl.
Step 4: Cool and Remove the New Crayons
Wait until the mold is completely firm, which takes 30 to 60 minutes at room temperature depending on how deep the cavity is. A thick mint-shaped crayon needs the full hour; a shallow heart pops out in half that.
Once it is solid, flex the silicone and press from underneath. Metal molds need a short run under cold water, no more than 20 seconds, and a butter knife around the edge.
Skip the freezer, or give it no more than 10 minutes. Long chill sessions make the wax contract onto the mold walls and the crayon will not release at all.
Then draw with one. A good homemade crayon has a hard flat edge and a solid mark on the first pass. If it skates and leaves a faint streak, the mix was too shallow or you poured off too much wax from the back.
Common Mistakes When Melting Broken Crayon Pieces
- A pale film on the back of the crayon that will not color — thin wax pooled at the base of the mold, or colorless paraffin ran to the bottom. Skim the surface before cooling, or shave the film off with a knife after unmolding.
- Lumpy, half-solid results — the oven was too cool, or the pieces were too thick. Chop to a quarter-inch and add 5 minutes at 300F.
- Wax all over the baking sheet and oven — cavities overfilled and the wax expanded with heat. Fill to three-quarters and leave the sheet in place.
- Everything turned muddy brown — you stirred, or you poured colors together while liquid. Pour each color in turn without mixing, or accept the mud and lean into it.
- The crayon will not come out of the mold — you froze it too long, or the wax was still warm and soft. Warm the mold briefly with a hairdryer, or wait for full cooling first.
- Paper left in the wax — the wrapper did not soak off. Wipe the cooled crayon with a damp cloth, or pick the paper out while the wax is liquid.
One more worth naming: the clear film on the back face shows up most often with crayons that have a harder wax base, and it is the single most common complaint about this project. It is not a failed crayon, just a five-second shave with a butter knife once it is cool.
Tips for Reusing Broken Crayons
Sort before you melt. Grouping reds together, blues together and greens together gives you clean single-color crayons instead of surprise swirls, and it is the fastest way to rescue a mixed-up bin.
Make jumbo drawing sticks by filling one deep cavity with six or seven stub pieces. They last noticeably longer than the originals and work well for toddlers who grip hard.
Layer for a rainbow effect. Pour red, then yellow, then blue in that order, letting each layer sit a few minutes before the next. Blue over yellow over red reads as a stained-glass stack once it cools.
Pour the wax outdoors or open a window. Crayons and paraffin wax are non-toxic, so the fumes are not a danger, but melted wax gives off a faint smell that settles into curtains and carpet if the room is closed up.
Let the kids pick the color order. Sorting two-inch stubs into bowls is a fine-motor exercise, and knowing they chose the sequence makes the finished crayon feel like theirs.
Frequently Asked Questions
Can I melt broken crayons in the microwave?
Yes, and it is the fastest method. Use a microwave-safe silicone mold or a heatproof bowl, melt in 30-second bursts, and stir between each one. A full mold takes about three minutes. Remember that melted wax reaches far above the temperature of boiling water, so let the container sit for two minutes before anyone touches it, and never pour hot wax into a thin plastic tub.
What container should I use to make crayons from broken pieces?
A silicone mold is the easiest choice because it flexes and the crayon pops out with a press of your thumb. A mini muffin tin also works, though the smaller cavity makes stubbier crayons and the metal needs a light spray of cooking spray first. Cookie cutters on a lined baking sheet, an ice cube tray, and a cleaned-out pill canister all make usable shapes.
Do I need to remove the paper wrappers before melting crayons?
It is much better if you do, because the paper scorches at oven temperatures and can leave a dark film in the wax. Warm tap water for 10 to 15 minutes loosens most wrappers. Do not use microwaved or boiling water, which melts the crayon instead of the paper. Some stubborn brands never come off, and you can pick the pieces of paper out with a toothpick while the wax is still liquid.
Why are my homemade crayons brittle or difficult to draw with?
Usually there is not enough wax in the cavity, or a thin film of clear wax ended up on the base. Fill cavities about three-quarters full and skim the pooled wax off the mold surface before it cools. Very short cooling times can also leave a crayon that feels hard but has a thin, crumbly core, so give it the full 30 to 60 minutes depending on cavity depth.
Can I mix different colors when making crayons from broken pieces?
You can, but decide first whether you want the colors clean or combined. Mixed colors poured together without stirring still turn muddy, because the pigments drag into each other. Marbling works better: pour one color, wait a few minutes, then add the next and tilt the mold once so the colors edge into each other without fully blending.
How long do homemade crayons need to cool before removing them?
Thirty minutes works for shallow molds, and up to an hour for deep ones like jumbo sticks or mint shapes. The wax has to be fully firm, not just cool to the touch, or the crayon will flex and tear on the way out. Avoid the freezer for more than about 10 minutes, because fast cooling makes the wax shrink and grip the mold walls.
Start with three-quarters of a small silicone mold and one color. Soak the stubs, chop them, fill the cavity, bake at 300F for about 10 minutes, and wait half an hour before you touch it. Once that first one works, sort the rest of the drawer and pick your colors.