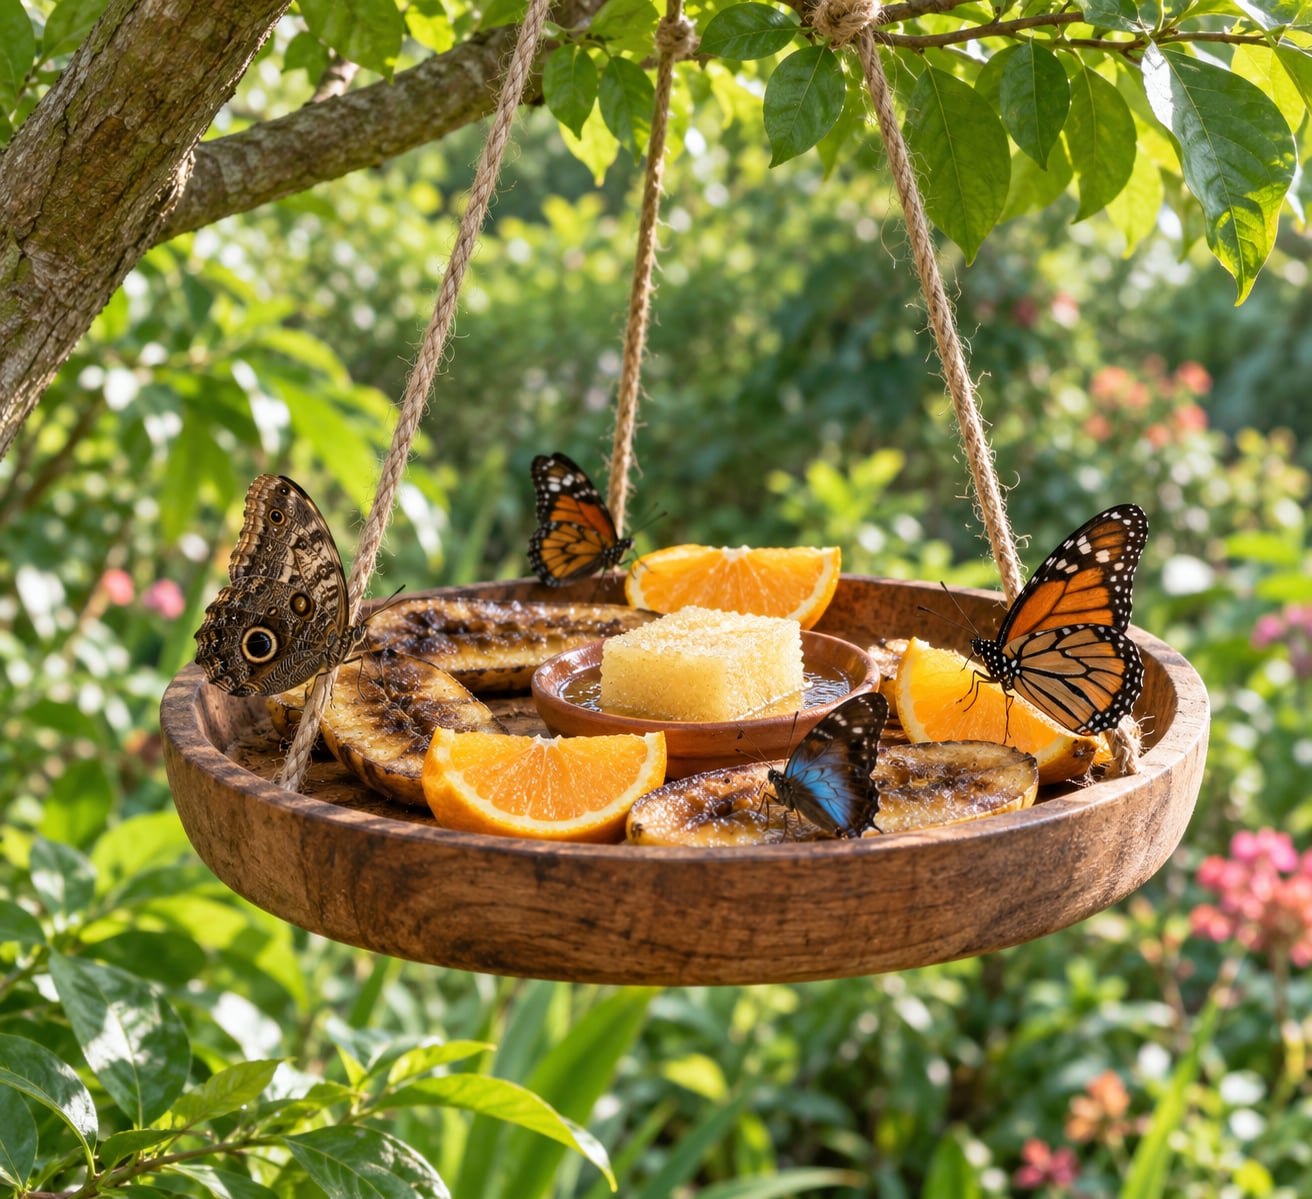
A butterfly feeder is a shallow dish or a jar with a sponge wick, hung on twine and filled with sugar water and pieces of overripe fruit. It gives butterflies a safe, easy place to refuel so kids can watch them up close. The whole project takes about 20 minutes and uses things most households already own.
Here is how to make a butterfly feeder that actually gets used, what to fill it with, where to hang it, and what to do when it stays empty.
Table of Contents
- What You Need
- How to Make a Butterfly Feeder: Step-by-Step
- Step 1: Choose a Simple Feeder Design
- Step 2: Make the Nectar
- Step 3: Add Fruit Without Making a Mess
- Step 4: Position the Feeder Safely
- Step 5: Observe Without Disturbing the Butterflies
- Step 6: Clean and Refill the Butterfly Feeder
- Common Mistakes
- Frequently Asked Questions
- What is the best material for a butterfly feeder?
- How high should I hang a butterfly feeder?
- Where should I place a butterfly feeder in my yard?
- What food should I put in a butterfly feeder?
- How often should I clean and refill a butterfly feeder?
- Why are butterflies not coming to my feeder?
- Conclusion
What You Need
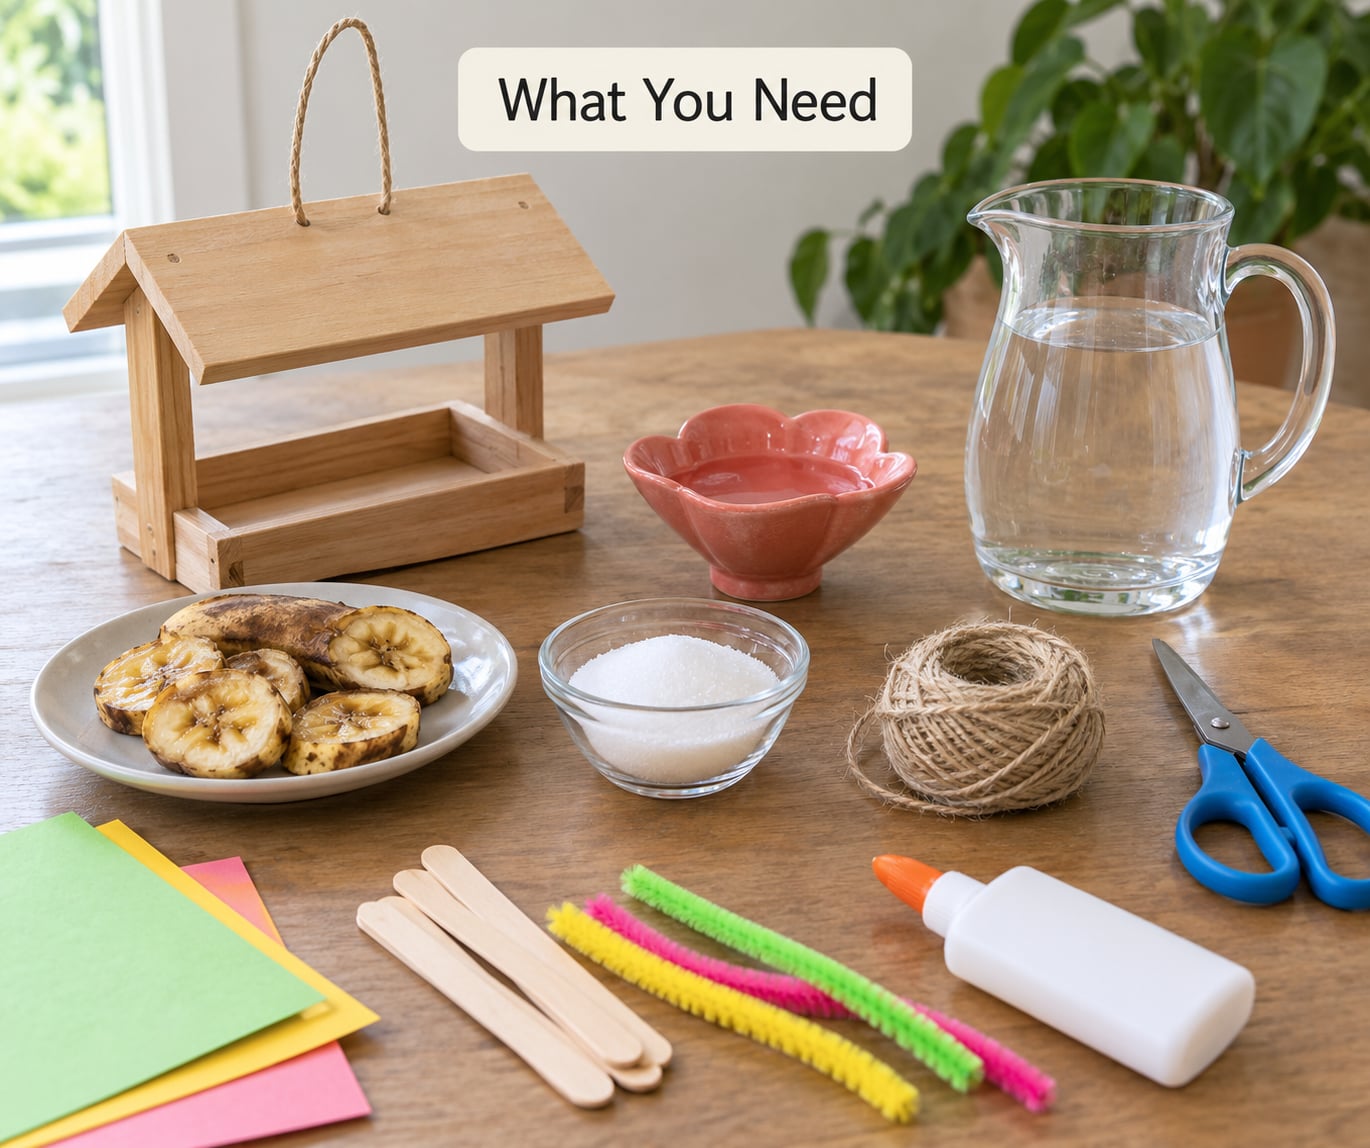
The core shopping list is short, and most of it is cupboard stuff. Gather it before you start so the build isn’t interrupted halfway through.
- A shallow dish or container — a plastic plate, a lid, a small saucer, or a clean jam jar. Wide and flat beats deep and narrow, because butterflies need a landing surface.
- A kitchen sponge — cut into a piece roughly the size of your palm. This is the wick that holds nectar at the right height.
- Sugar and water — one part sugar to four or more parts water, plus a spoon and a small pot or mug for warming.
- Overripe fruit — one banana and one orange are plenty. Black spots are a good sign, not a bad one.
- Twine, yarn or string — three pieces about 45 cm (18 inches) long if you’re poking holes in a plate.
- A nail and a hammer, or a hole punch for paper or thin plastic. Have an adult do the hammering.
For a kid-friendly version, swap the hammer and nail for a plastic plate and a hole punch, which punch cleanly without a sharp tool anywhere near small hands.
Most of what you need for how to make a butterfly feeder is already sitting in a kitchen drawer, which is why this is a weekend project rather than a shopping trip. Nearly everything gets reused: the plate and jar go back in the cupboard, the twine lasts for years, and the sponge can be tossed in the compost when the project ends. The only things you use up are the sugar and the fruit.
If you’d rather not build anything at all, a shallow saucer of fruit set on a small table works. A plate with a raised edge, balanced with a few pebbles inside the rim so it hangs level, is the easiest homemade design there is.
How to Make a Butterfly Feeder: Step-by-Step
Step 1: Choose a Simple Feeder Design
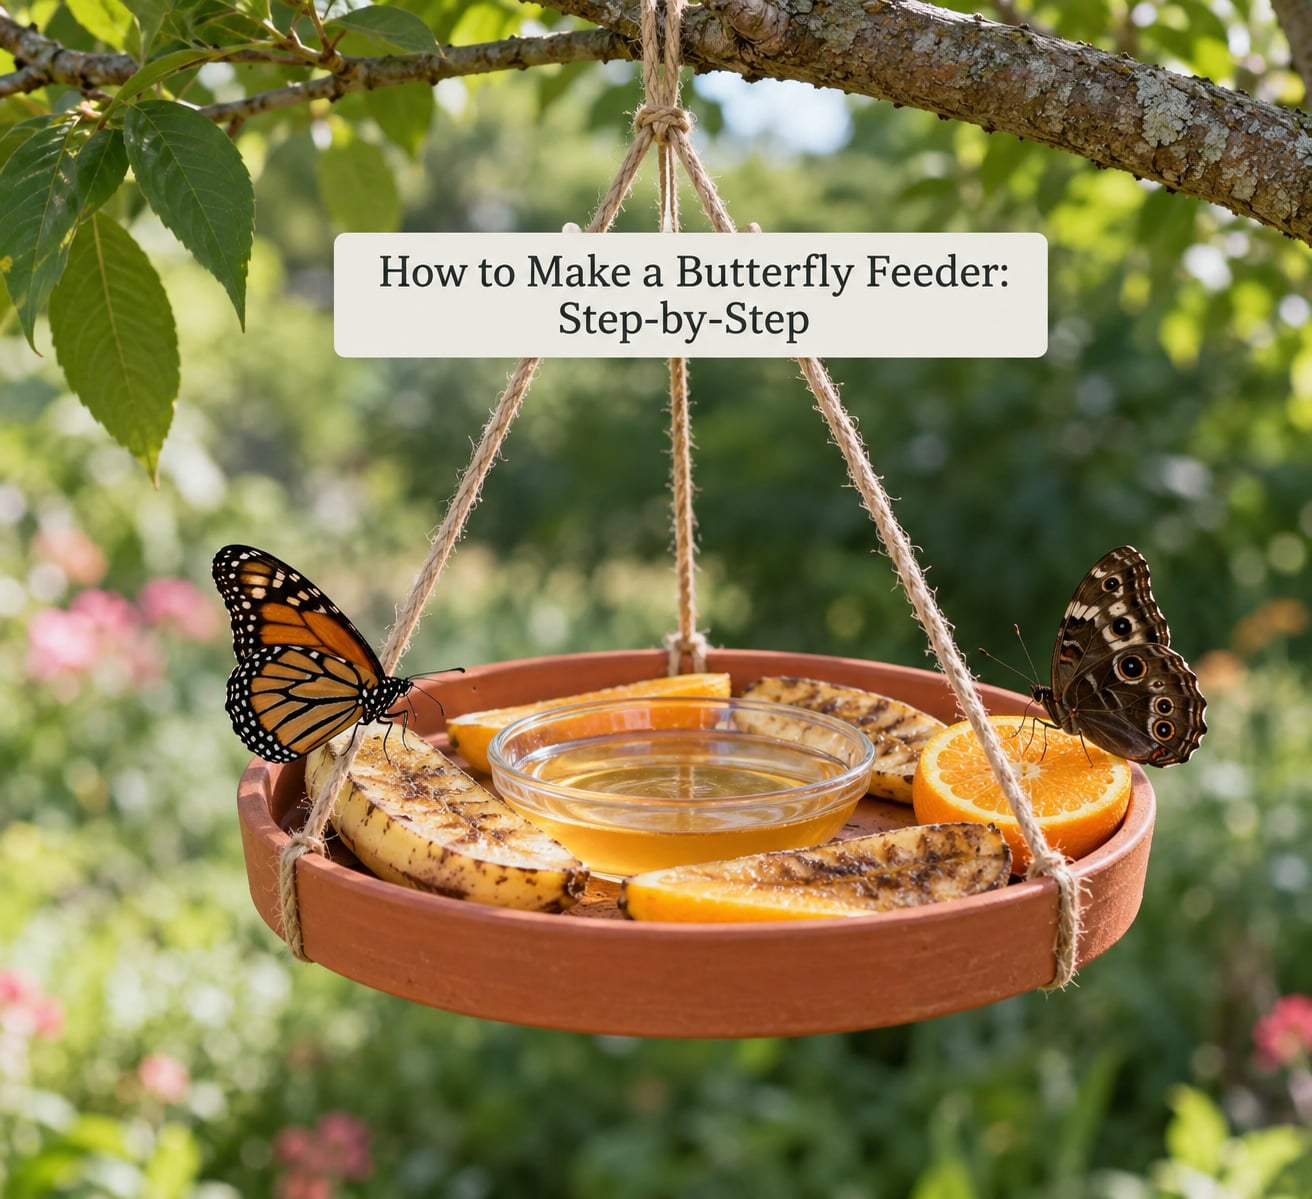
Pick something shallow, wide and open. A plate with a raised edge or a saucer with a lip is the safest landing spot, since butterflies perch with their legs down and need to steady themselves.
When families ask how to make a butterfly feeder that butterflies actually use, the answer is nearly always the same: keep it shallow, keep it open and keep it in the sun. Butterflies drink through a straw-like mouthpart called a proboscis, and deep liquid means they can drown. A finger of depth at most is what you want. You’ll know the design is right when the surface area is bigger than the volume.
The household shortcuts that work best: an upside-down plastic lid with a couple of holes, a clean jam jar with a sponge wedged in the mouth, or a foil cup folded from a square of heavy-duty foil. A feeder is working when an adult hand can reach every part of it for cleaning.
Step 2: Make the Nectar
Mix one part sugar with four to nine parts water. Four parts gives you a rich nectar for cool or cloudy days, nine parts is the standard for warm weather, and anything sweeter than one-to-four tends to spoil instead of attracting.
- 1:4 sugar to water — very sweet, closer to overripe fruit. Best for cool, overcast spells.
- 1:6 — balanced. Good for mild days and mixed weather.
- 1:9 — lightly sweet and closest to real flower nectar. Best for hot summer afternoons.
Stir the sugar into warm water until every grain has gone, then let it cool completely before it goes near the feeder. Sugar that hasn’t dissolved leaves a gritty patch on the sponge, and butterflies will drink around it.
For a small feeder, make about 60 ml (a quarter cup). Big batches just ferment in the bottom of the jar. Never use honey, which attracts ants and can be harmful to butterflies, and skip red dye that isn’t food colouring.
Step 3: Add Fruit Without Making a Mess
Slice the banana and peel the orange, then place the pieces on one side of the plate, away from the sponge. Use a separate section rather than mixing fruit into the nectar. Fruit juices soak in, sour the sugar water and encourage mould.
Yes, bananas are good for butterflies. Soft, spotty fruit ferments into a weak sugary liquid they can reach with the same proboscis they use for nectar, and it draws swallowtails, cabbage whites and sulphurs especially well. Melon, apple and watermelon also work.
Pierce the pieces with a fork or toothpick if the plate is smooth, so the fruit doesn’t slide off when the feeder swings. Set the feeder under an eave or a leaf if you can, since rain soaks the fruit and rinses the nectar clean.
Step 4: Position the Feeder Safely
Hang it in sun but not blazing all-day sun. Butterflies warm themselves in morning light, and feeders in deep shade stay empty. A spot with a few hours of morning sun, shelter from wind, and partial cover overhead is the sweet spot.
Hang the feeder about waist to shoulder height, roughly 1 to 1.5 metres off the ground. High enough that curious pets and small children cannot reach the fruit, low enough that kids can see the butterflies without climbing.
Check the spot before you drill anything. Keep it well away from overhead wires, and never hang it near a bee feeder or a beehive, because ants and bees will find your nectar long before a butterfly does. Keep pesticides off any nearby flowering plants, since residue on flowers will do more damage than a missing feeder.
Tie the twine to a branch and loop it around itself, no drilling required. Add a dab of removable putty if the bark is smooth.
Step 5: Observe Without Disturbing the Butterflies
Give it two or three days before you judge it. Some feeders are ignored for a week and then suddenly busy, and that delay is normal rather than a sign the project failed.
Signs a butterfly has used it: nectar sitting lower than you poured, a fruit slice with a small clean patch eaten out of it, or a faint smudge on the sponge where a proboscis touched. Empty fruit and a dry sponge after three days in good weather usually mean nothing is visiting.
Sit about two metres back, keep still, and let them come to you. A pair of binoculars helps. Skip the handling, however tempting it is when a butterfly lands on your hand — that is their good behaviour, not a trick you should train them out of.
A simple butterfly log makes this a real project: date, time, weather, and a sketch or photo of each visitor. Kids remember their own records far longer than they remember a fact from a worksheet.
Step 6: Clean and Refill the Butterfly Feeder
Replace the nectar every one to two days in warm weather, every three or four days when it’s cool. Fresh nectar matters more than anything else you do to this feeder.
Toss the fruit the moment it looks leathery, fuzzy or smells fermented. Sweep the plate, wash the sponge and the dish with hot soapy water, rinse well and dry before refilling. Anything that touches the feeder is washable, and anything that isn’t washable should be replaced.
Sticky spills attract ants, and a few ants are normal. If they become a swarm, wipe the rim with soapy water and set the feeder on a saucer of water, which acts as a moat. Take the whole thing down for winter, clean it thoroughly, and bring it back when your first spring flowers open.
Common Mistakes
Nectar that’s too strong. If you used more than one part sugar to four parts water, thin it or start again. Over-sweet nectar ferments, smells, and gets ignored.
A feeder in deep shade. Move it to a spot with morning sun and some cover. This is the single most common reason a homemade feeder stays empty.
Spoiled fruit left out. Discard fruit daily in heat. A rotting banana draws flies and wasps, and those are not what you want teaching your kids about butterflies.
Contamination from dirty hands. Wash the dish and sponge properly between refills. Fermented nectar attracts wasps, which is a genuine sting risk on a family yard.
Too many butterflies crowding one dish. If the feeder is mobbed, add a second one rather than enlarging the first. Crowding spreads disease between insects that share a feeding surface.
Placement near pets, wires or a busy path. Reposition before you refill. A feeder that sways into a child’s swing is not a safe spot, however good the view.
Frequently Asked Questions
What is the best material for a butterfly feeder?
A shallow plastic plate or a clean glass jar with a sponge wick is the best material, because both are easy to wash and hold a thin layer of nectar. Avoid anything rusted, painted with solvent-based paint, or sharp-edged. A saucer, a plastic lid or a folded foil cup all work, provided the depth stays under about a centimetre.
How high should I hang a butterfly feeder?
Hang the feeder roughly one to one and a half metres off the ground, which is around waist to shoulder height for an adult. That is high enough that cats and small children cannot reach the fruit, and low enough that a child can watch and photograph without climbing. Always hang it level so the nectar stays pooled in one spot.
Where should I place a butterfly feeder in my yard?
Choose a spot with a few hours of morning sun, shelter from wind and partial cover overhead. Keep it near nectar flowers but not underneath them, where falling petals and rain will spoil the food. Stay well clear of bee feeders, beehives, overhead wires and heavily sprayed areas, since butterflies pick up pesticide residue from nearby plants.
What food should I put in a butterfly feeder?
Offer both. Use sugar water at one part sugar to four to nine parts water for nectar-feeding species, and separate pieces of overripe banana, orange or melon on the other side of the plate for fruit-feeders. Keep the two apart so fruit juices do not sour the nectar, and never use honey, which draws ants and is not suitable for butterflies.
How often should I clean and refill a butterfly feeder?
Replace the nectar every one to two days in warm weather and every three or four days when it is cool. Take the fruit out as soon as it looks leathery or fuzzy. Wash the dish and sponge with hot soapy water and dry them before refilling. A feeder that is never cleaned goes cloudy and smells within a few days.
Why are butterflies not coming to my feeder?
Most empty feeders are a placement or timing problem, not a food problem. Too much sugar, deep shade, a spot that is too exposed or too busy, nearby wasps, or simply a feeder put out at the wrong time of year will all keep it bare. Give it two or three days, move it into morning sun, thin the nectar, and expect visits within a week.
Conclusion
Start tonight by slicing one banana and mixing a quarter cup of nectar at one part sugar to nine parts water. Hang a shallow plate in the morning sun, fill it, and give your kids a week to log their first visitor. Getting how to make a butterfly feeder right is less about the build than about the follow-up: fresh nectar, sun, and patience. The build is twenty minutes, and the watching is the good part.