Most paper airplanes that fall short are a folding problem, not a throwing problem. To make a paper airplane that flies far, you push weight into the nose, press every crease sharp enough to behave like a stiff frame piece, and tilt the wings very slightly upward. Seven folds and about ten minutes is all it takes, and you need no glue and no scissors.
The classic dart below is the design I hand to kids who have never folded one before, because it still flies when the folds are a little ragged. Once you have it flying, the three tweaks below turn a decent plane into one that sails the length of a hallway.
Table of Contents
- What You Need
- Step-by-Step: Seven Folds From a Flat Sheet to a Long Flight
- 1. Choose the Paper and Fold It in Half
- 2. Create the Center Crease
- 3. Fold the Nose Down
- 4. Fold Each Side Toward the Center
- 5. Fold the Wings Down
- 6. Make the Final Nose Fold
- 7. Test and Adjust the Flight
- Common Mistakes and How to Fix Them
- Frequently Asked Questions
- What kind of paper makes a paper airplane fly farther?
- Why does my paper airplane spiral or turn instead of flying straight?
- Should I fold a paper airplane with a nose or without one?
- How do I throw a paper airplane so it flies farther?
- Can I make a paper airplane fly farther by adding weight?
- What is the easiest paper airplane design for beginners?
What You Need
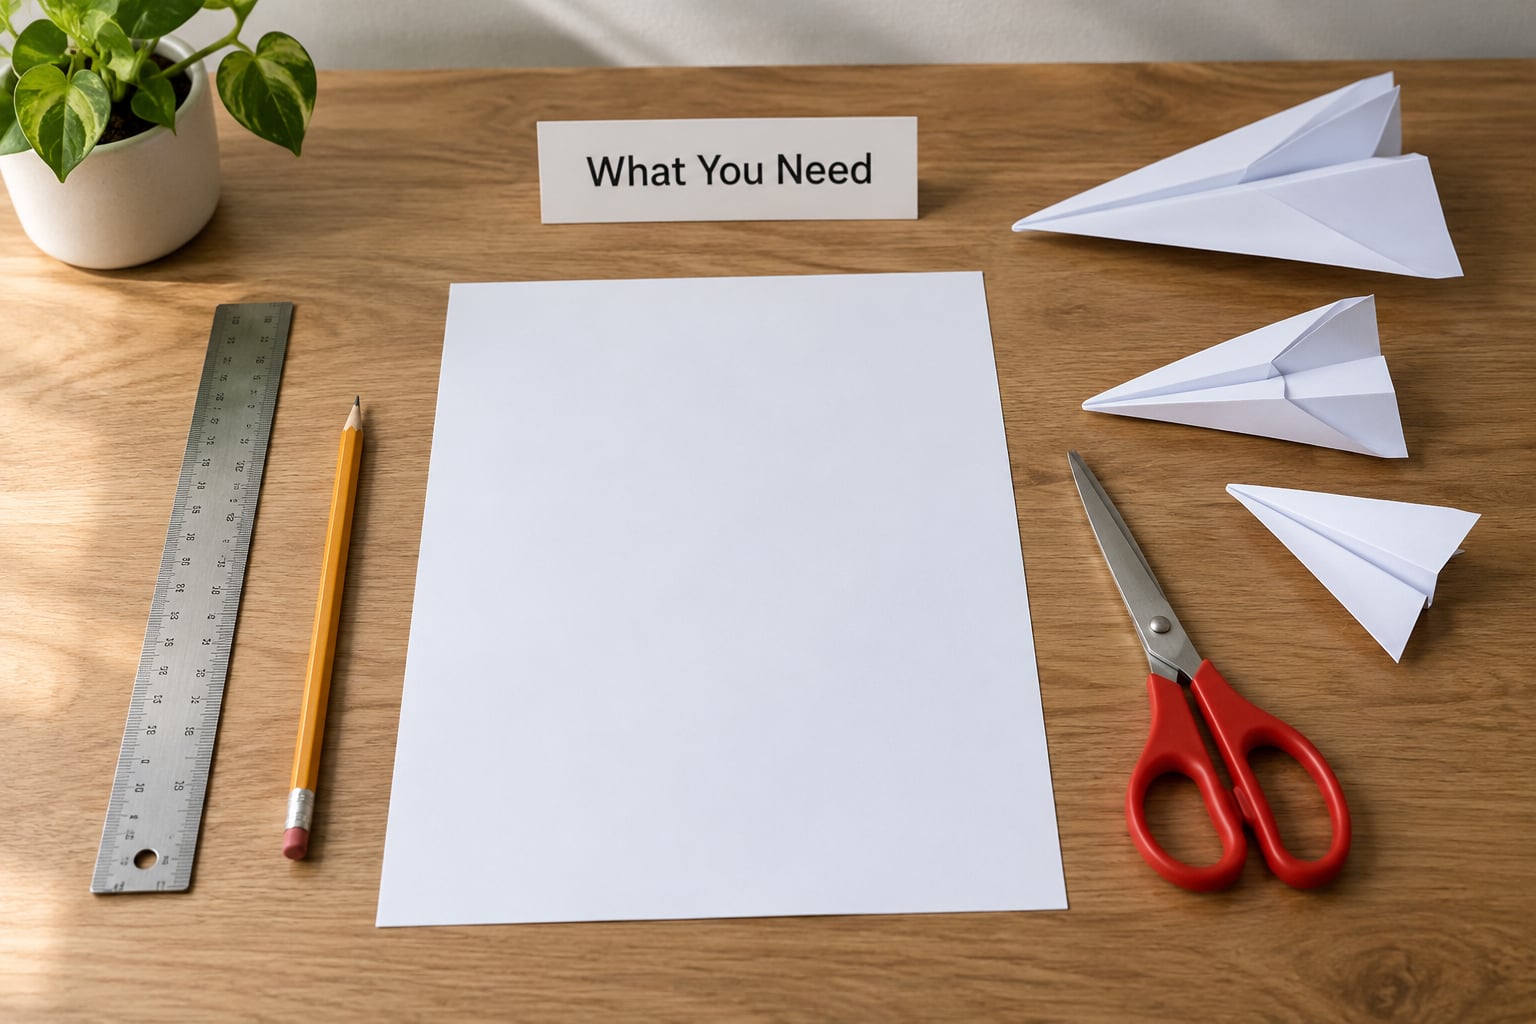
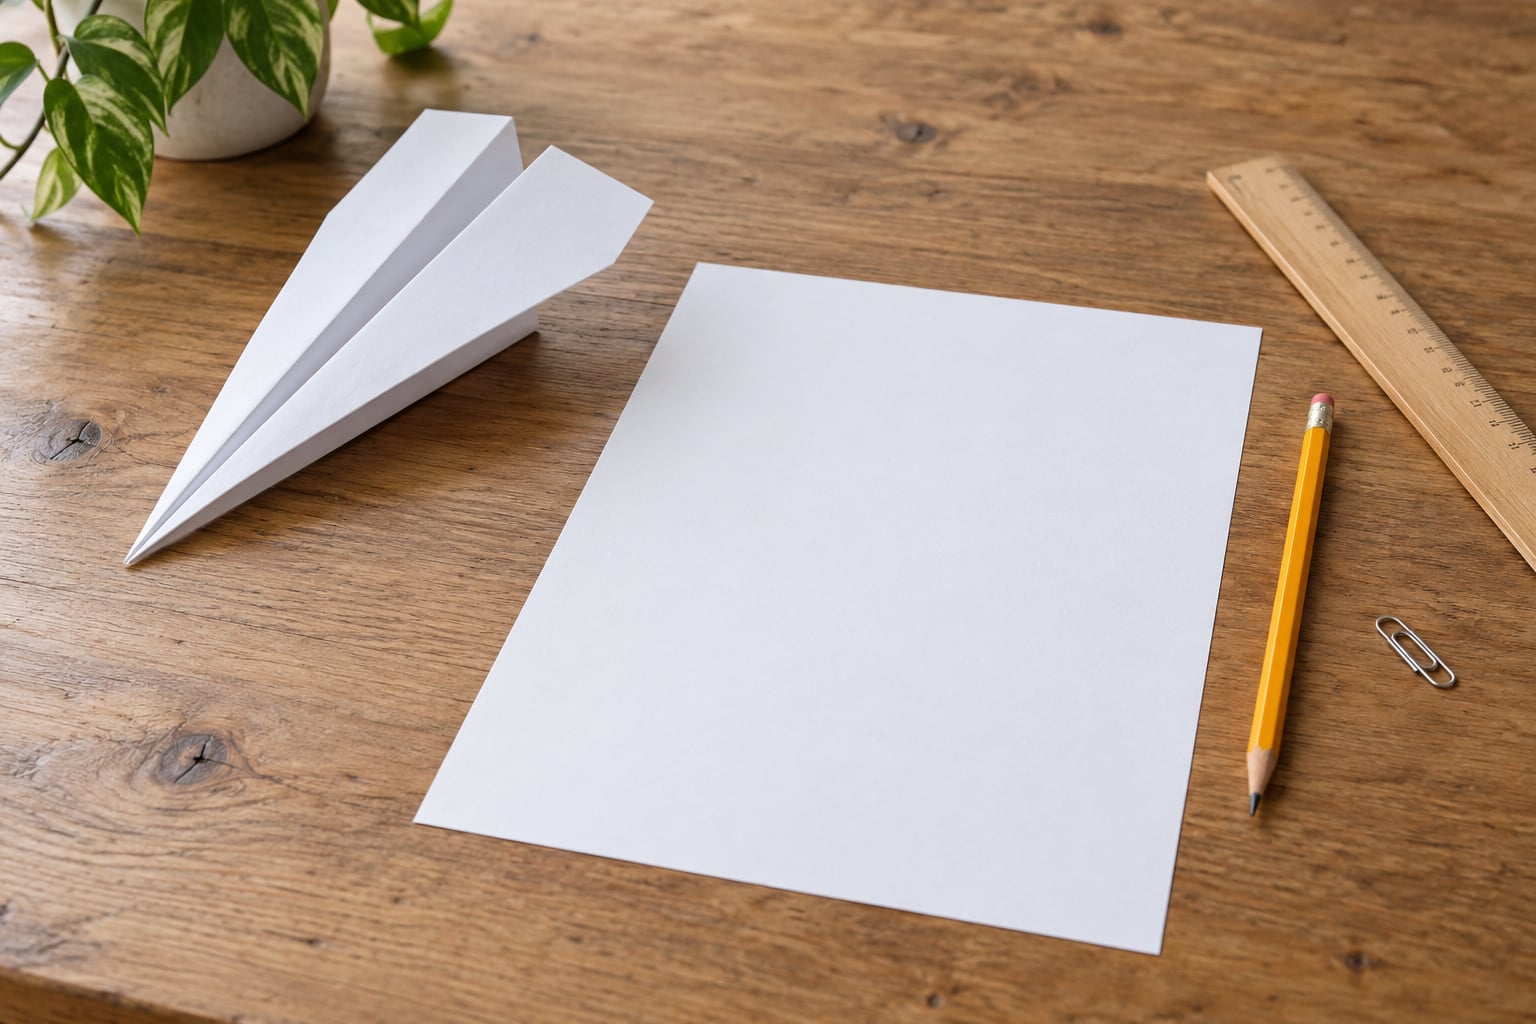
You need one sheet of standard 20-24 lb (roughly 75-100 gsm) printer paper, a flat table, and about ten minutes. That is the whole supply list.
- Paper: one sheet of A4 or letter-size copy paper, 20-24 lb. Lightweight printer paper folds evenly and stays light in the nose.
- Surface: a table or desk you can slide the paper across flat.
- Optional: a pencil and ruler for marking fold lines, and scissors if you want to notch the tail (not needed for the base design).
- Optional: a small paper clip for extra nose weight, or a bit of tape.
- Launch space: a clear indoor runway, or an open outdoor area with no people, dogs, or roads in the flight path.
Cardstock and notebook paper are the two mistakes I see most. They are heavier and stiffer, so the folds come out uneven, the wings twist, and the plane noses over. Origami paper works well if you fold from a square sheet rather than forcing a rectangle design.
| Paper type | Weight | How it flies | Best use |
|---|---|---|---|
| Printer / copy paper | 20-24 lb, about 75-100 gsm | Even folds, light nose, long straight glides | Best all-round choice for beginners |
| Origami paper | Light, thin, square format | Smooth and light, folds into a clean nose | Square-based designs and kids who fold often |
| Notebook paper | Varies, often too soft | Ragged creases, wings flutter | Only when nothing else is available |
| Cardstock | Heavy, stiff | Dives early, wings warp | Short nose-weighted designs only |
If you want to test weight quickly, hold a sheet in one hand. It should feel noticeably lighter than a book page, and it should flop over your fingers rather than stand up on its own.
Step-by-Step: Seven Folds From a Flat Sheet to a Long Flight
Learning how to make a paper airplane that flies far comes down to following the folds in order and creasing firmly at each one. Work in a single direction, turn the plane over only when a step says so, and press every crease with the flat of your hand rather than your fingertips.
1. Choose the Paper and Fold It in Half
Lay the sheet down with the long edge running horizontally in front of you. Fold the top edge down to meet the bottom edge exactly, then run a fingernail or a ruler edge along the fold and press it flat.
You know it worked when the open edges line up with no gap of paper showing. Creases that are sharp now keep the wings flat later; soft ones let the plane twist in flight.
2. Create the Center Crease
Unfold the sheet completely. The crease from step 1 is now your guide, running from one short edge straight to the other. Open the paper into a book shape, with the crease on the inside, so you can see the center line clearly while you work.
Almost every lopsided nose traces back to a skipped center crease, which is worth the extra ten seconds.
3. Fold the Nose Down
With the crease facing you, take the top two corners of the sheet and fold them inward so each corner touches the center line. The folded edges should meet along the crease and form a triangle at the top with a point facing down toward you.
Check that both corners land on the center line at the same height. If one sits higher, open it up and re-fold before creasing.
4. Fold Each Side Toward the Center
Fold the plane in half along the center crease again, then open it slightly. Bring each straight outer edge down toward the center line so they meet just below the nose, and crease each one firmly from tip to tail.
After this fold the layers stack over the nose, which is where the weight needs to be. You know it worked when the plane looks the same from both sides and the nose is a sharp, single point.
5. Fold the Wings Down
Hold the plane on its back with the nose pointing away from you. Fold one wing straight down from the base of the nose to the tail, creasing along the line where the wing meets the body. Turn the plane over and repeat on the other side with the fold in the same place.
Match the two folds by holding the plane up to the light or looking at it head-on. Wings of different sizes cause most spinning.
6. Make the Final Nose Fold
Pinch the nose and give it one last firm crease, then run your fingers along the whole body from nose to tail to set the shape. A sharper, reinforced nose keeps the center of gravity ahead of the wings, so the plane settles into a glide instead of wobbling side to side.
This is also the moment to add a paper clip if you want a heavier nose. Slide it onto the folded tip and wrap it in a strip of tape, or skip it entirely and see how the plane flies first.
7. Test and Adjust the Flight
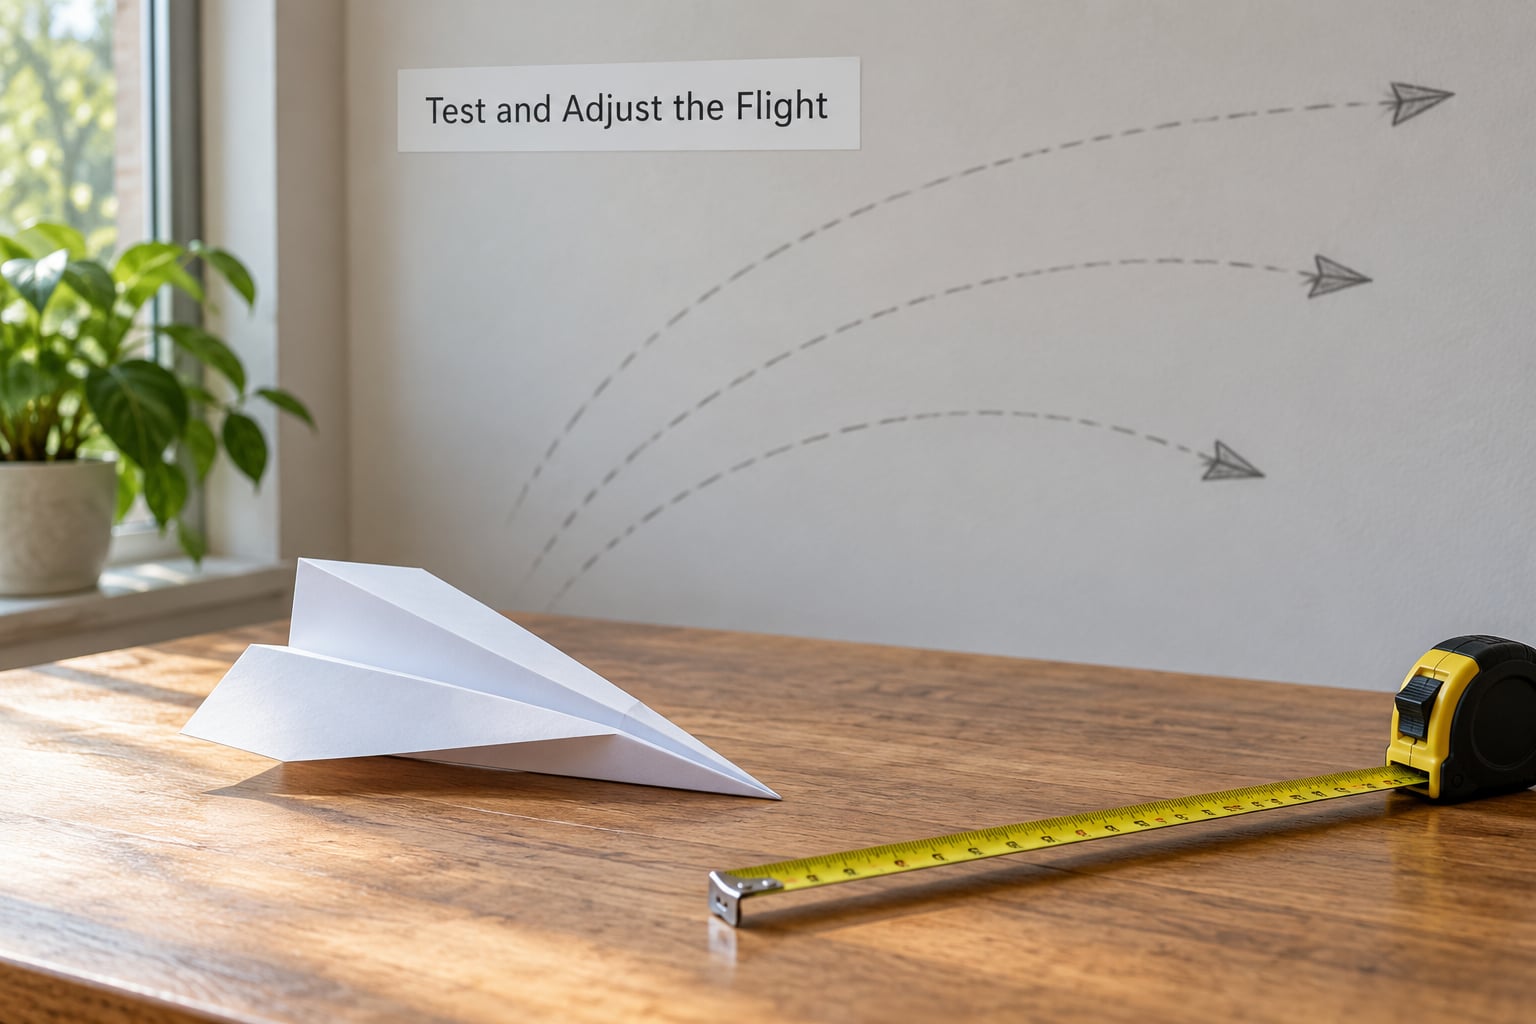
Hold the plane level with the underside of the wings, pinching it lightly at the base of the body just behind the wings. Aim very slightly upward, about five degrees, and throw it forward with a gentle push from your fingers.
Push rather than punch. A hard fast throw sends a good plane into the floor, which is the most common reason a well-folded dart looks bad.
Read the flight and change one thing at a time:
- Flies straight and glides: measure it and change nothing.
- Dives into the floor: bend the back edges of both wings up very slightly, or aim higher on the next throw.
- Turns or spins: the wings are uneven. Unfold and re-fold them at matching angles.
- Stalls and drops mid-air: it is flying too fast. Throw softer.
- Too short: add nose weight with a clip, or narrow the wings by folding them down a fraction further.
Lay a tape measure along the floor and throw each design three times from the same spot. Recording the best of three turns a guessing game into a real test, and it turns the whole activity into a science-fair-style experiment where you change one variable at a time.
Common Mistakes and How to Fix Them
Almost every disappointing flight comes from one of five problems, and all of them are fixable in under a minute.
Uneven folds. One side sits higher or further forward than the other. Open the paper back up and re-fold against the center crease rather than eyeballing it. Crease with the flat of your hand, not a fingertip.
Wings of different sizes. The plane rolls, then spirals. Unfold both wings, lay them flat together, and refold both along the exact same line. Look at the plane head-on to confirm they match.
A nose that dives. Either the nose is too light or you are throwing it downward. Fold the trailing edges of the wings up a touch to push the nose level, and aim a few degrees above level.
Too much speed. A fast throw creates drag and the plane stalls and drops. Throw with a soft forward push, the way you would hand someone a plate, not the way you would throw a ball.
Wings folded completely flat. Flat wings have no self-righting tilt, so gusts and uneven folds send the plane over. A small upward angle on each wing, called dihedral, is what keeps a plane flying straight. Leave a few degrees in.
Paper that is too heavy or too soft. Cardstock and notebook paper do not crease sharply enough. Swap to 20-24 lb printer paper before you rework the folds.
One more habit worth naming: let the plane rest on a flat surface between throws so the wings settle instead of staying bent from the last grip. Kids who reset the plane before every launch usually get a much longer flight on the third throw than the first.
Frequently Asked Questions
What kind of paper makes a paper airplane fly farther?
Standard 20-24 lb printer paper, roughly 75-100 gsm, is the sweet spot. It is light enough to glide, stiff enough to hold a sharp crease, and available everywhere. Thicker cardstock folds unevenly and sends the plane into a dive, while very thin paper loses its nose weight and flutter. Origami paper works well too if you are folding a square-based design.
Why does my paper airplane spiral or turn instead of flying straight?
A spiral almost always means the wings are different sizes or the two sides were not folded along the same line. Unfold both wings, lay them flat together, and refold them at matching angles. A small upward tilt on each wing adds self-righting stability, so make sure the wings are not folded completely flat.
Should I fold a paper airplane with a nose or without one?
With a nose, if your goal is distance. A pointed nose concentrates weight at the front, which puts the center of gravity ahead of the wings so the plane holds a steady line instead of pitching down. Nosedeless designs like simple gliders are fine for slow indoor floats, but they rarely carry far outdoors.
How do I throw a paper airplane so it flies farther?
Pinch the plane at the base of the body just behind the wings, hold it level with a very slight upward aim of about five degrees, and push it forward gently from your fingers. A hard throw creates drag and a stall. Let the plane settle flat between throws, and use the same spot and distance each time so your results mean something.
Can I make a paper airplane fly farther by adding weight?
Yes, as long as the weight goes in the nose. A small paper clip slid onto the folded tip and wrapped in tape adds mass exactly where the plane needs it, helping the flight stay level. Weight added to the wings or the tail does the opposite and makes the plane nose over or spin, so keep new weight forward.
What is the easiest paper airplane design for beginners?
The classic dart is the easiest and the most forgiving, which is why it is the one to teach first. It takes seven folds, needs no scissors or glue, and still flies when a child rushes a crease. A long, narrow glider is a good second design once the dart is reliable, since it teaches the same basic folds with wider wings.
Start with the one change that matters most: crease every fold firmly and keep both wings the same size. Nearly every long flight I have measured came down to those two habits, and they cost nothing. Keep launches indoors short and down a clear hallway or yard so the activity stays fun for everyone, and throw from the same spot each time so your kids can see their own distance improve across 2026.