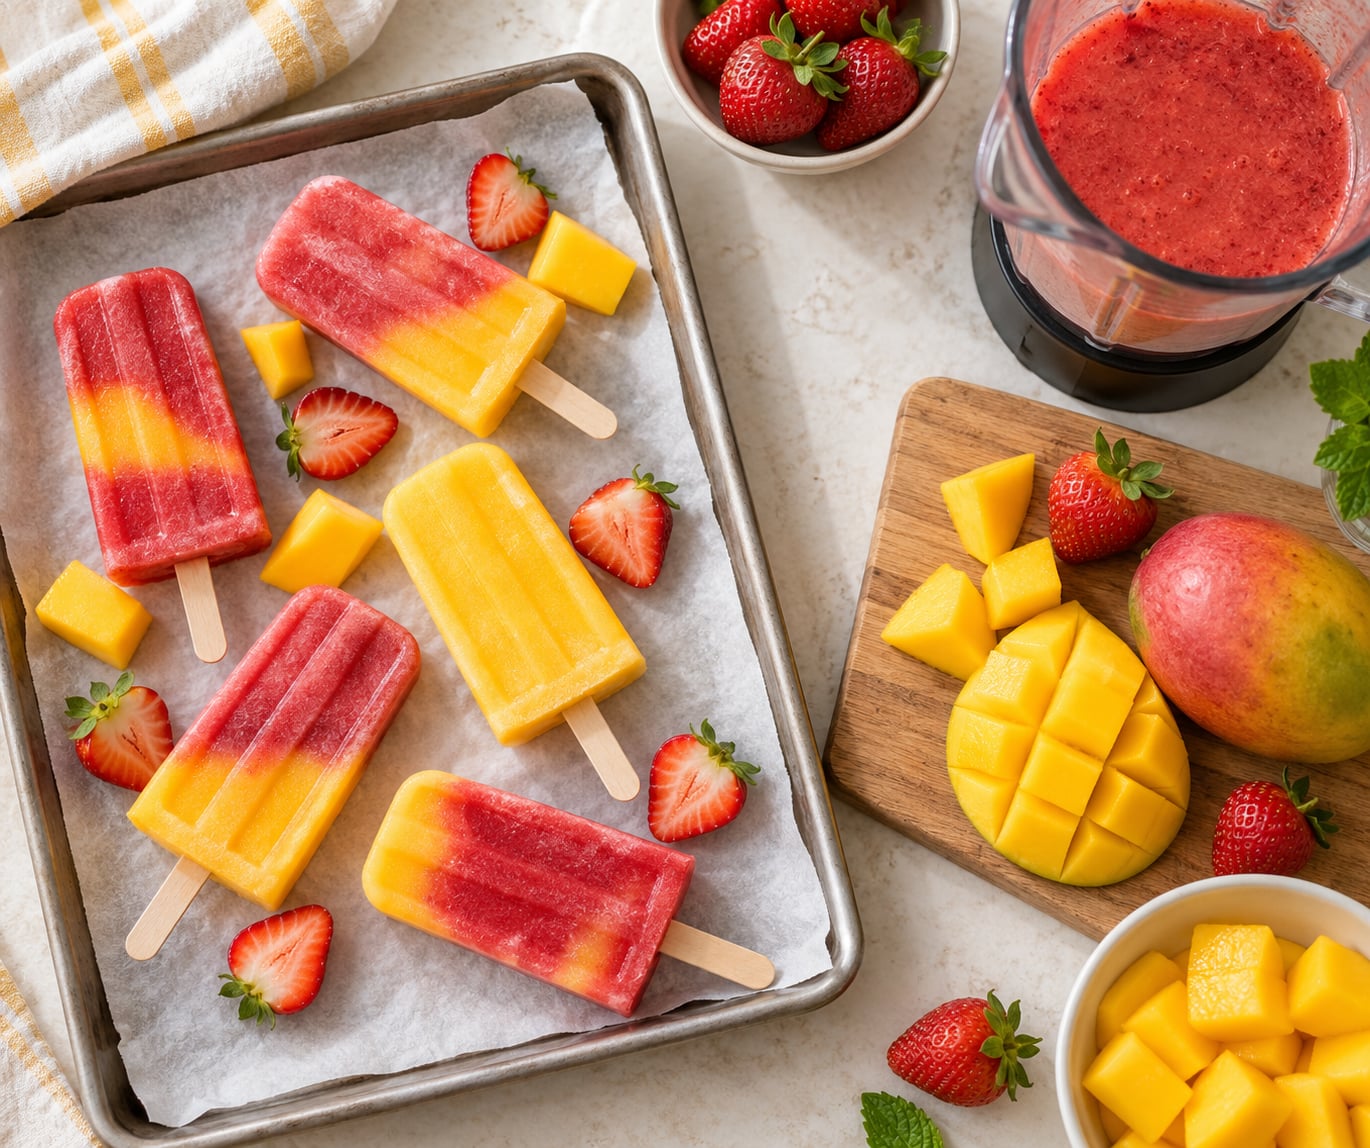
To make homemade popsicles with fruit, blend 2 cups of fruit with 1 cup of liquid and 2 tablespoons of sweetener, pour the mixture into molds, and freeze for 4 to 6 hours until firm. It takes about 10 minutes of active work plus freezing time, and the hardest part is waiting.
You do not need a special machine or a store-bought base. A blender, some ripe fruit and whatever containers you already own are enough, and the recipes below work whether you have a popsicle mold, an ice cube tray or nothing but a baggie and a pair of scissors.
There is one detail that separates a good pop from an ice brick: what you blend in with the fruit. Sugar, fiber and fat all slow freezing down, so a blend with a little fat or pectin in it comes out creamy and biteable instead of rock hard. I will walk through that as we go, because it is the whole trick.
Table of Contents
- What You Need
- Step-by-Step: How to Make Homemade Popsicles With Fruit
- 1. Choose and Prepare the Fruit
- 2. Blend the Fruit Base
- 3. Fill the Popsicle Molds
- 4. Freeze and Unmold
- Common Mistakes
- Frequently Asked Questions
- Can I use milk or juice instead of water in homemade fruit popsicles?
- How long do homemade fruit popsicles stay frozen?
- Do popsicle molds need wooden sticks?
- How can I keep homemade popsicles from sticking to the mold?
- Can I make fruit popsicles without adding sugar?
- Conclusion
What You Need
The starting ratio is 2 cups fruit to 1 cup liquid to 2 tablespoons of sweetener. If the fruit is very ripe and sweet, drop the sweetener entirely.
You need a blender or food processor, a knife and cutting board, and something to freeze the pops in. A silicone or hard-plastic popsicle mold is the easiest option, but it is far from required.
When you have no mold, these all work about as well:
- An ice cube tray for small-batch taste tests before committing to a full round.
- Paper or plastic cups, with a stick stood upright in the still-soft mixture after a short chill.
- Silicone muffin cups, which give you a handle-free frozen cup kids can eat straight from.
- Zip-top freezer bags, snipped at one corner, for single-serve squeezable pops.
- A quartered watermelon, frozen with the rind on and cut into slabs. This is the easiest no-equipment method there is.
The base decides the texture more than the fruit does:
| Base | What you blend | Sweetness | Texture |
|---|---|---|---|
| Fruit only | 2 cups fruit, 1 cup water or juice | As sweet as the fruit | Hard and icy |
| Fruit and yogurt | 2 cups fruit, 3/4 cup Greek yogurt, splash of milk | Mild, tangy | Creamy, soft bite |
| Fruit and coconut milk | 2 cups fruit, 1 cup coconut milk | Mild, natural | Creamy, richest of the three |
| Fruit and juice | 2 cups fruit, 1 cup juice | Sweeter, flatter | Firm, ice-adjacent |
Greek yogurt and coconut milk are the two swaps that turn an icy fruit pop into something that bites like a soft frozen dessert. If you are avoiding dairy, coconut milk does the same job and is widely reported by home cooks as the single best dairy-free texture fix.
For honey, maple syrup or refined sugar-free sweeteners, the amount is a matter of taste: start at half the recipe amount and taste the blended mixture before it goes in the freezer. Fruit is sweetest at peak ripeness, so unripe fruit usually needs a small sweetener and a squeeze of lemon to taste like something worth eating.
Step-by-Step: How to Make Homemade Popsicles With Fruit
1. Choose and Prepare the Fruit
Wash the fruit under cool running water, then remove everything the blade will choke on: pits, seeds, peels and tough cores. A standard six-count mold needs roughly 2 cups of prepared fruit, which is about 3 to 4 medium strawberries, 1 cup of berries, a small mango or half a cup of pineapple chunks.
Strawberries, bananas, mango, pineapple, peaches and grapes blend to a smooth puree with no fuss. Kiwi, blueberries and pomegranate seeds are fussier: seeds and skins survive the blade and leave a gritty pop, so push those through a fine strainer first or leave them out.
Allow about 5 minutes for this prep. Cutting the fruit into chunks rather than trying to blend it whole is the single change that turns a frustrating ten minutes into a calm one.
2. Blend the Fruit Base
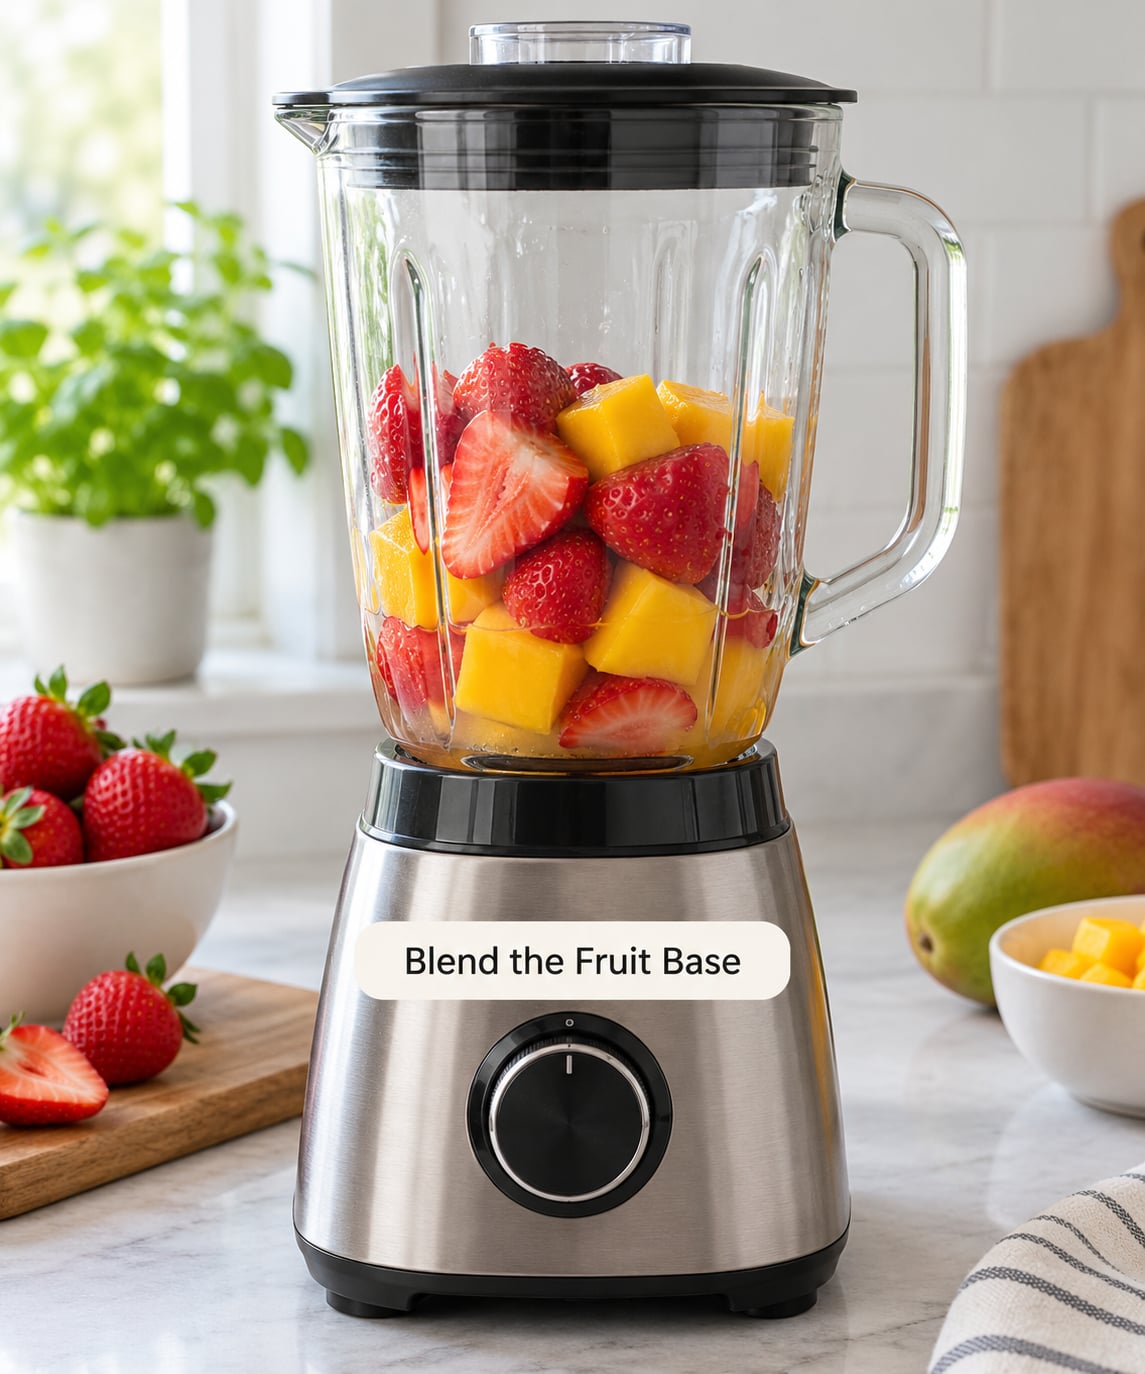
Put the prepared fruit in the blender, then add 1 cup of liquid. Water keeps the flavor pure, juice softens the fruit, milk makes it richer, and a squeeze of lemon or lime brightens anything that tastes flat.
Blend on high for 45 to 60 seconds until there are no visible chunks. The mixture should pour like thick cream. If it is too stiff to pour, add liquid a tablespoon at a time; if it runs like juice, add a handful more fruit.
Taste it before freezing. With ripe fruit, added sugar, honey and maple syrup are unnecessary, and adding them anyway is how you end up with popsicles that taste like candy instead of fruit.
Frozen fruit works straight from the freezer with no thawing. Blending it with a splash of liquid gives you a thicker, sorbet-like base that is naturally creamy because the fruit has less water to freeze.
3. Fill the Popsicle Molds
Set the molds on a flat surface inside the freezer, not on the counter, so you can move them once without sloshing. Pour each cavity to about three-quarters full, then run a knife or a small offset spatula around the rim to knock the air pocket down.
Leave that top quarter empty. Every liquid expands as it freezes, and a full mold pushes the mixture up and out of the seams as it grows, which is the single most common reason a batch gets ruined.
Push the stick in about halfway. If the mixture is thin enough that the stick leans, leave the molds in the freezer for an hour first, then press the sticks into the half-frozen surface where they hold straight. Kids can help with the pouring from a small pitcher, with an adult handling the knife beforehand.
4. Freeze and Unmold
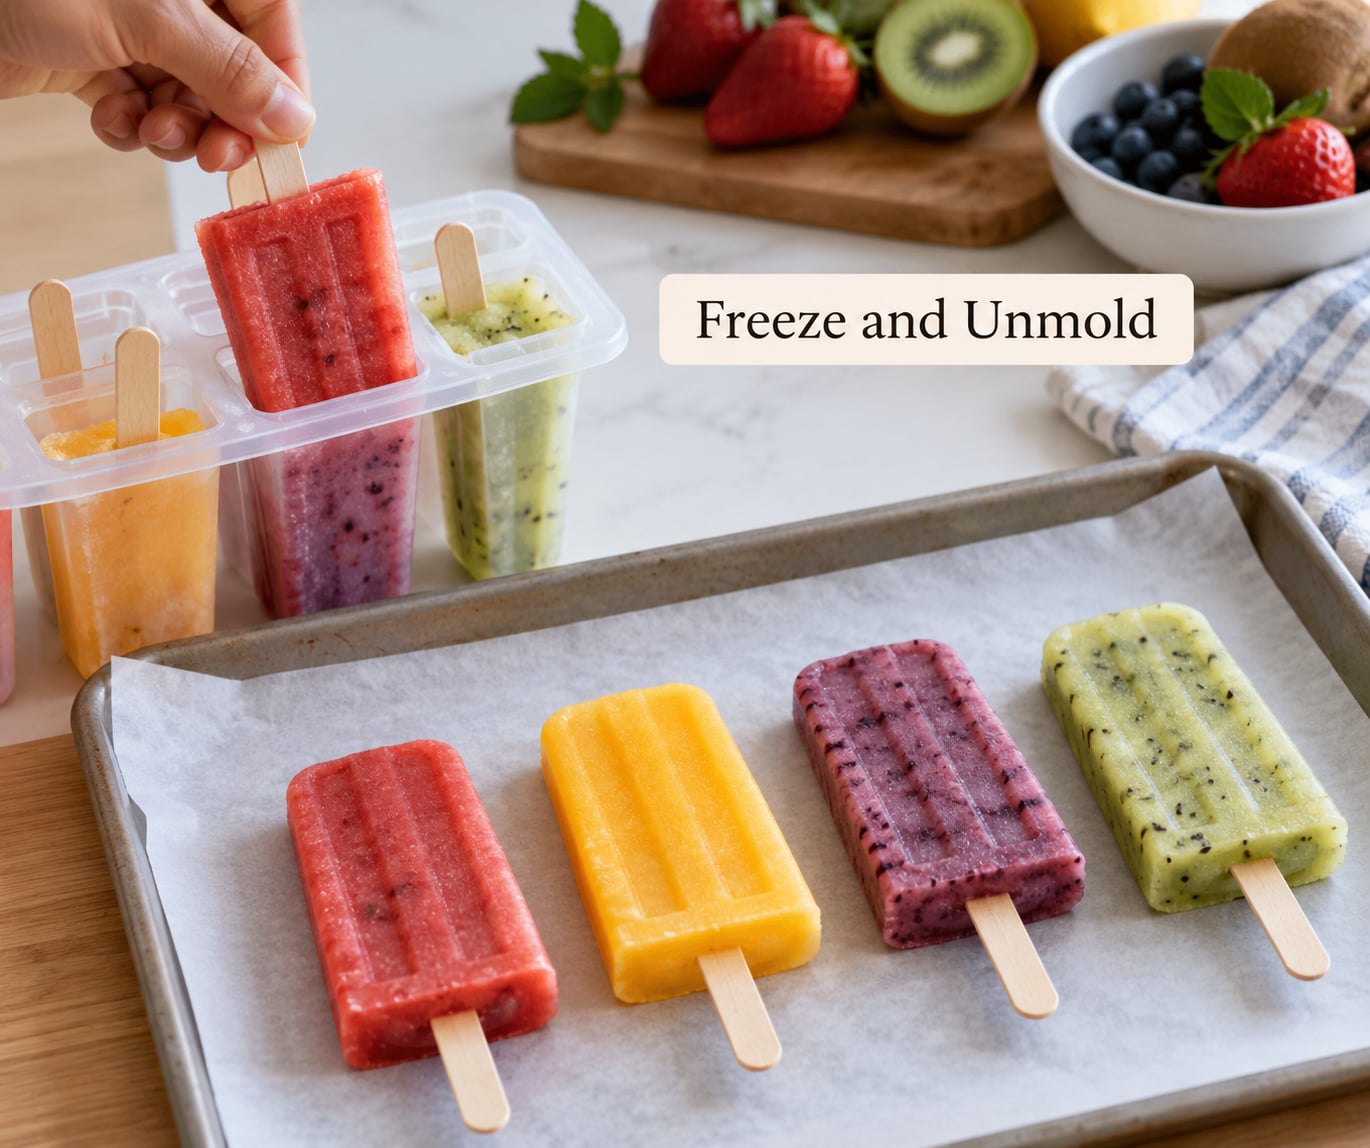
Freeze for 4 to 6 hours, ideally overnight. Fruit-only and juice bases need the full window; yogurt and coconut bases usually firm up closer to the four-hour mark.
To check the center, pull one stick halfway out and look at the exposed cross-section. Firm all the way through means it is ready. A pale, slushy or translucent core means give it another hour or two rather than serving it half-frozen.
To unmold, run the outside of the mold under warm water for 10 to 15 seconds. The silicone will flex away from the pop. Push the stick from the bottom rather than pulling from the top, which is what snaps sticks and leaves half a pop behind.
For cups, hold the cup in your hands until the outside feels soft, then peel the paper away. For baggies, hold the pop by the stick and squeeze the bag off; the seam is usually the sticking point, not the stick hole.
Common Mistakes
Almost every disappointing popsicle batch comes down to one of five things:
| Problem | Cause | Fix |
|---|---|---|
| Pops are hard as an ice cube | Not enough sugar, fiber or fat in the base | Blend in Greek yogurt, coconut milk or a spoon of honey |
| Center stays slushy | Underfrozen, or the cavity was overfilled | Freeze overnight; fill only three-quarters full |
| Mixture overflowed the mold | Filled to the top before freezing | Leave a quarter inch of headroom every time |
| Flavor is weak | Watery liquid, or unripe fruit | Use less liquid, add lemon or lime juice, pick riper fruit |
| Too sweet or candied | Sweetener added to already-ripe fruit | Skip the sweetener and let the fruit do the work |
| Stuck in the mold | No warm water, pulled too fast | Warm the mold for 15 seconds, push the stick from below |
Two serving tips that matter more than the recipe. Store the finished pops in a freezer bag or a covered tray so they do not pick up freezer odors, and eat them within a few weeks for the best texture. Fruit bars lose their creaminess faster than you would expect.
For batch freezing, freeze a tray of fruit pieces flat first, then bag them. It takes ten extra minutes and stops everything from freezing into one solid clump, which is exactly what happens when you skip it.
One more trick worth naming: leftover smoothies. Blend a fruit smoothie in the morning, pour the remainder into molds, and you have a breakfast popsicle that took no extra work.
Frequently Asked Questions
Can I use milk or juice instead of water in homemade fruit popsicles?
Yes, and the swap changes the result more than most people expect. Juice gives you a sweeter, flatter pop that freezes firmer. Milk makes it richer and creamier while adding protein. For the creamiest result, replace the cup of liquid with three-quarters cup of Greek yogurt plus a splash of milk, or use a full cup of coconut milk for a dairy-free version.
How long do homemade fruit popsicles stay frozen?
Kept in a sealed freezer bag or covered tray, homemade fruit popsicles stay good for two to four weeks, but the texture is best in the first week or so. Fruit and yogurt bases soften and turn slightly grainy as they sit, while coconut and juice bases hold up longer. Keep them sealed so they do not absorb freezer odors.
Do popsicle molds need wooden sticks?
No. Wooden craft sticks work and cost little, but they are not required. Paper cups, silicone muffin cups and ice cube trays all freeze perfectly well on their own, and kids can eat straight from the cup. A thin wooden spatula or a silicone spatula also works as a handle. If the stick leans in a thin mixture, chill the mold for an hour first, then press the stick into the firmed surface.
How can I keep homemade popsicles from sticking to the mold?
Run the outside of the mold under warm water for 10 to 15 seconds before touching the pop. Silicone flexes away from the frozen surface once warmed. Then push the stick out from the bottom rather than pulling from the top, which is what breaks sticks and tears the pop. For paper cups, soften the outside in your hands until it feels pliable, then peel the paper off slowly.
Can I make fruit popsicles without adding sugar?
Yes, and with ripe fruit it is the better way. The best no-added-sugar approach is fruit-only pops blended with a splash of water or citrus juice, with a quarter of a lemon to keep the color bright. Another option is Greek yogurt or coconut milk, which adds body and protein and slows freezing without any sweetener. Skip honey and maple syrup if the goal is no added sugar at all.
Conclusion
Start with the simplest version: ripe fruit, a six-count mold and a splash of water or juice. Blend until it pours like cream, fill the cavities three-quarters full, and freeze until the center is solid all the way through.
Once that works, the texture is the fun part. Add Greek yogurt or coconut milk for creaminess, a squeeze of citrus for brightness, and whatever fruit is about to go bad. With young children, an adult handles the blade and the warm-water unmolding, and the kids take over the pouring and the stick-sticking.