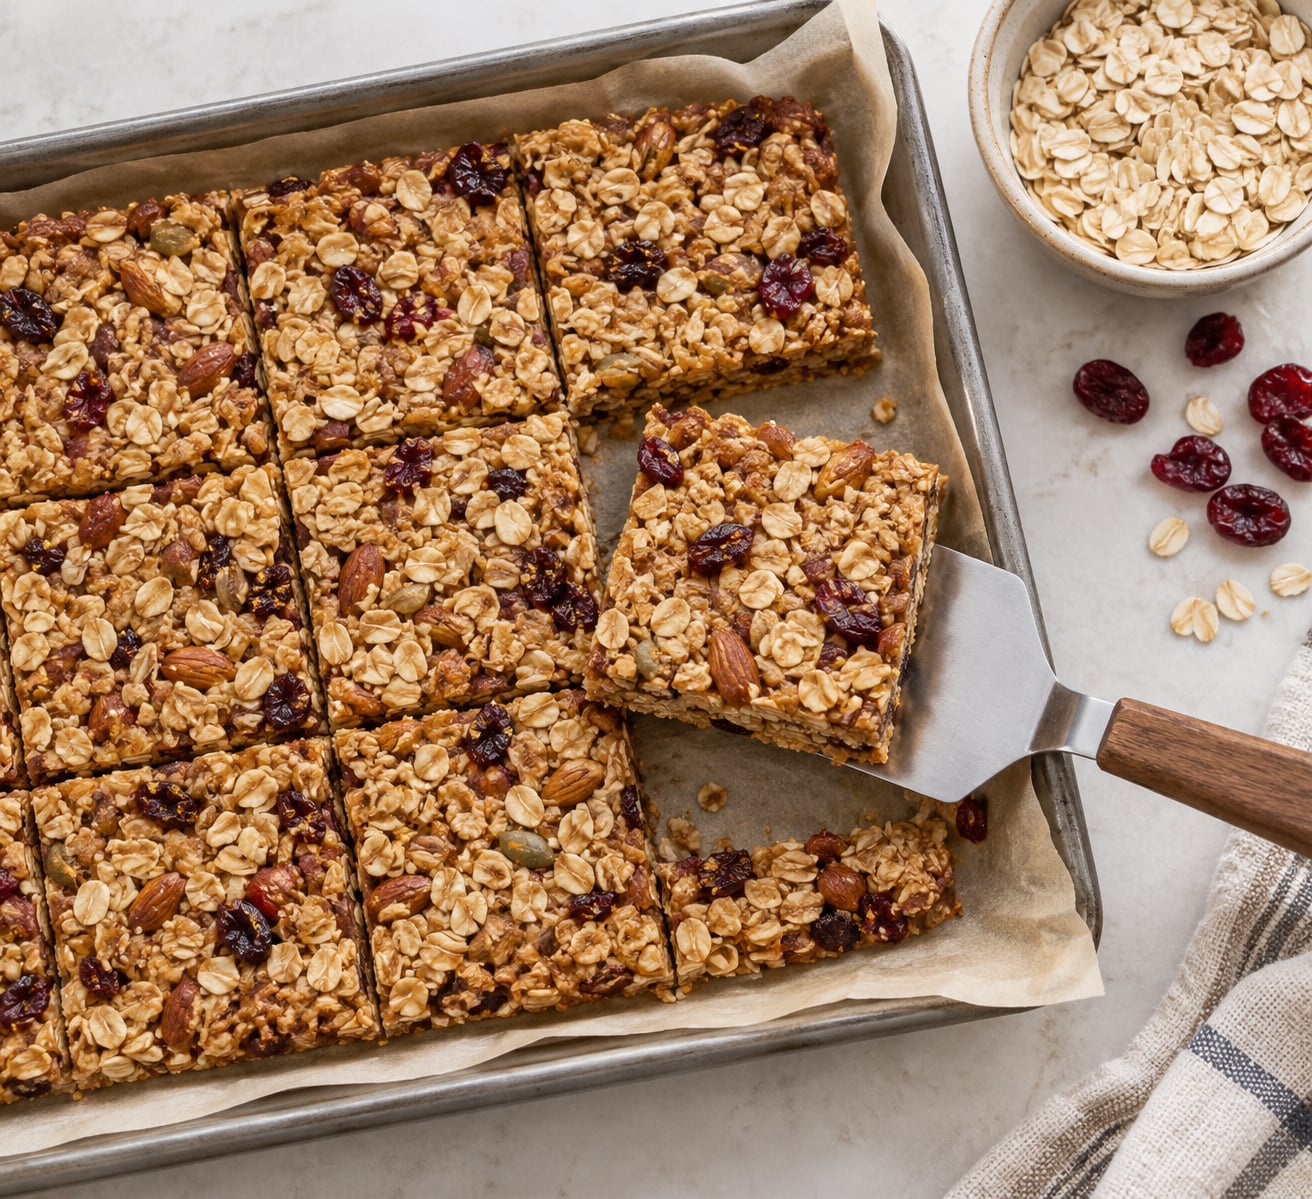
To make homemade granola bars with kids, stir oats with a sticky binder such as nut butter, honey or maple syrup, press the mix flat into a lined pan, then chill it until firm or bake it for a crunchier bar. That is the whole method. Hands-on work takes about 15 minutes, and most of it is exactly the kind of measuring, stirring and pressing small children love to own.
The reason this recipe works as a family activity rather than just a snack is that the dough is forgiving. There is no yeast to kill, no knife work in the mixing bowl, and nothing that has to be right on the first try. A child can dump in the oats, stir with a wooden spoon and press the top with the bottom of a measuring cup while you handle the part that involves heat.
Parents on forums talk about store-bought bars the same way every time: the kids inhale them, the ingredient list is unreadable, and the box disappears fast at a price that stings with three kids in the house. Homemade bars address all three complaints. You control every ingredient, the pantry staples are cheap, and one batch makes a lunchbox for the week.
Table of Contents
- What You Need
- Step-by-Step: How to Make Homemade Granola Bars with Kids
- Step 1: Line the pan
- Step 2: Measure the oats
- Step 3: Warm the binder
- Step 4: Mix
- Step 5: Press
- Step 6: Chill, then cut
- How to Make the Mixture Hold Together
- Get Kids Involved Safely: Granola Bar Jobs by Age
- Fixing the Mixture While You Mix
- Common Mistakes
- Frequently Asked Questions
- Can children make homemade granola bars without using a stove?
- What ingredients can I use instead of nuts or honey?
- How do I keep homemade granola bars from falling apart?
- Can I freeze granola bars after making them?
- How long do homemade granola bars stay fresh?
- What can toddlers do to help make the bars?
- Conclusion
What You Need
Five ingredients make the base bars. Everything else is optional, and you almost certainly have it already.
- 2 cups quick-cooking oats (rolled oats work too, see the notes below)
- 1 cup creamy natural nut butter or seed butter
- 1/2 cup honey or maple syrup
- 1/2 teaspoon vanilla extract
- Pinch of salt
For add-ins, measure out about 1/2 cup total. That cap matters, because every extra cup of mix-ins absorbs binder and turns a tidy bar into a tray of crumbs. Good choices: mini chocolate chips, dried cranberries or raisins, shredded coconut, sunflower seeds, chopped dates, or sliced banana chips.
Chopped nuts work too, but they carry the usual allergy warning and many school classrooms will not accept them. If your child eats with kids who have nut allergies, go straight to sunflower seed butter and skip the nut add-ins entirely. Ask about the classroom rule before you pack a batch, not after.
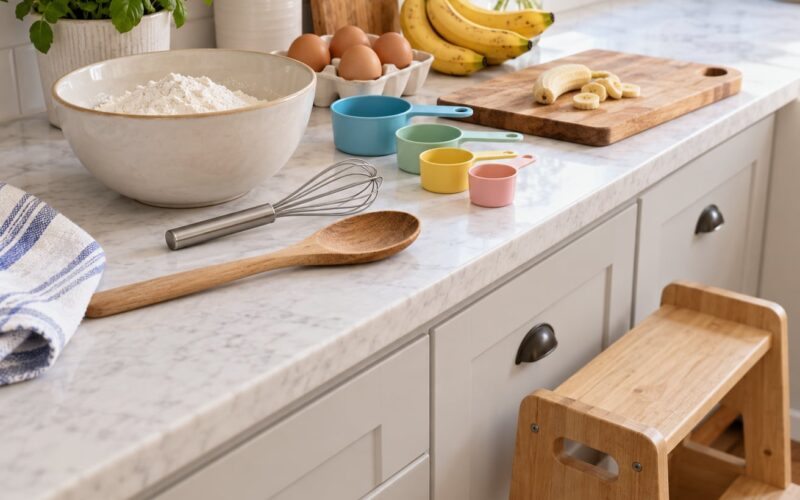
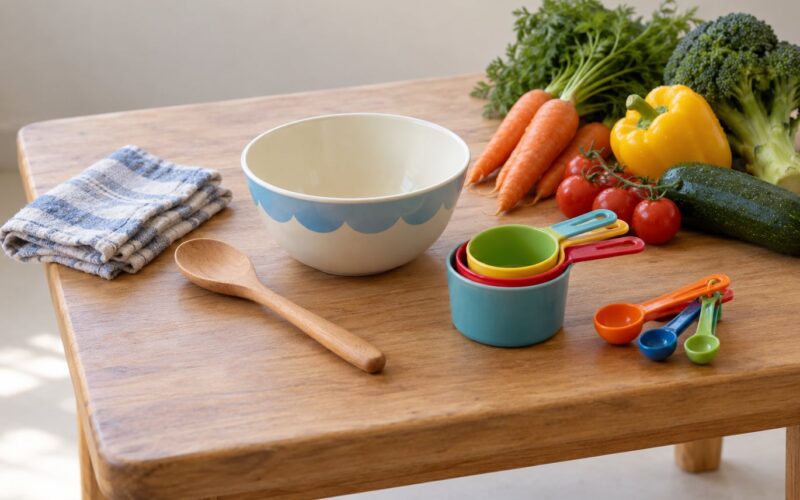
You will need a parchment-lined 8×8-inch square pan for about 10 to 12 bars, or a 9×13-inch pan for roughly 16 to 20. A mixing bowl, a rubber spatula, measuring cups and spoons, and something flat to press with (the bottom of a measuring cup works better than a wooden spoon) round out the tools.
A couple of adult notes before anyone starts. Honey and maple syrup are sticky and get everywhere, so have a damp cloth within reach and have the kids wash up right afterward. If you are baking instead of chilling, the oven step is entirely an adult job, and the bars need to cool completely before anyone tries to cut them.
Step-by-Step: How to Make Homemade Granola Bars with Kids
Step 1: Line the pan
Pull the parchment paper out and let the kids tear or press it into the corners of the pan. A child who lines the pan properly has already done real work, and it makes the bars far easier to lift out later.
Step 2: Measure the oats
Measure 2 cups of oats into the bowl. This is the best job for a young child: leveling off a measuring cup of oats is scooping, filling and pouring, which is exactly the fine motor practice you want from a cooking activity at home.
Step 3: Warm the binder
Warm the nut or seed butter and the honey or maple syrup together in a small saucepan over low heat for a minute or two, stirring until it looks like one smooth sauce. If you skip the heat, you can mix in cold and simply press harder. Warming only makes the job easier.
Step 4: Mix
Pour the warm binder over the oats and stir until every oat is coated. Let the kids do the first minute of stirring, then step in yourself to finish. Add your 1/2 cup of extras once the oats are coated, not before.
Step 5: Press
Tip the mixture into the lined pan and press it down firmly and evenly with the bottom of a measuring cup. Pack it until it looks like one solid slab with no loose oats sitting on top. Kids are good at this part, and the slab that holds together is almost always the one that got the most pressing.
Step 6: Chill, then cut
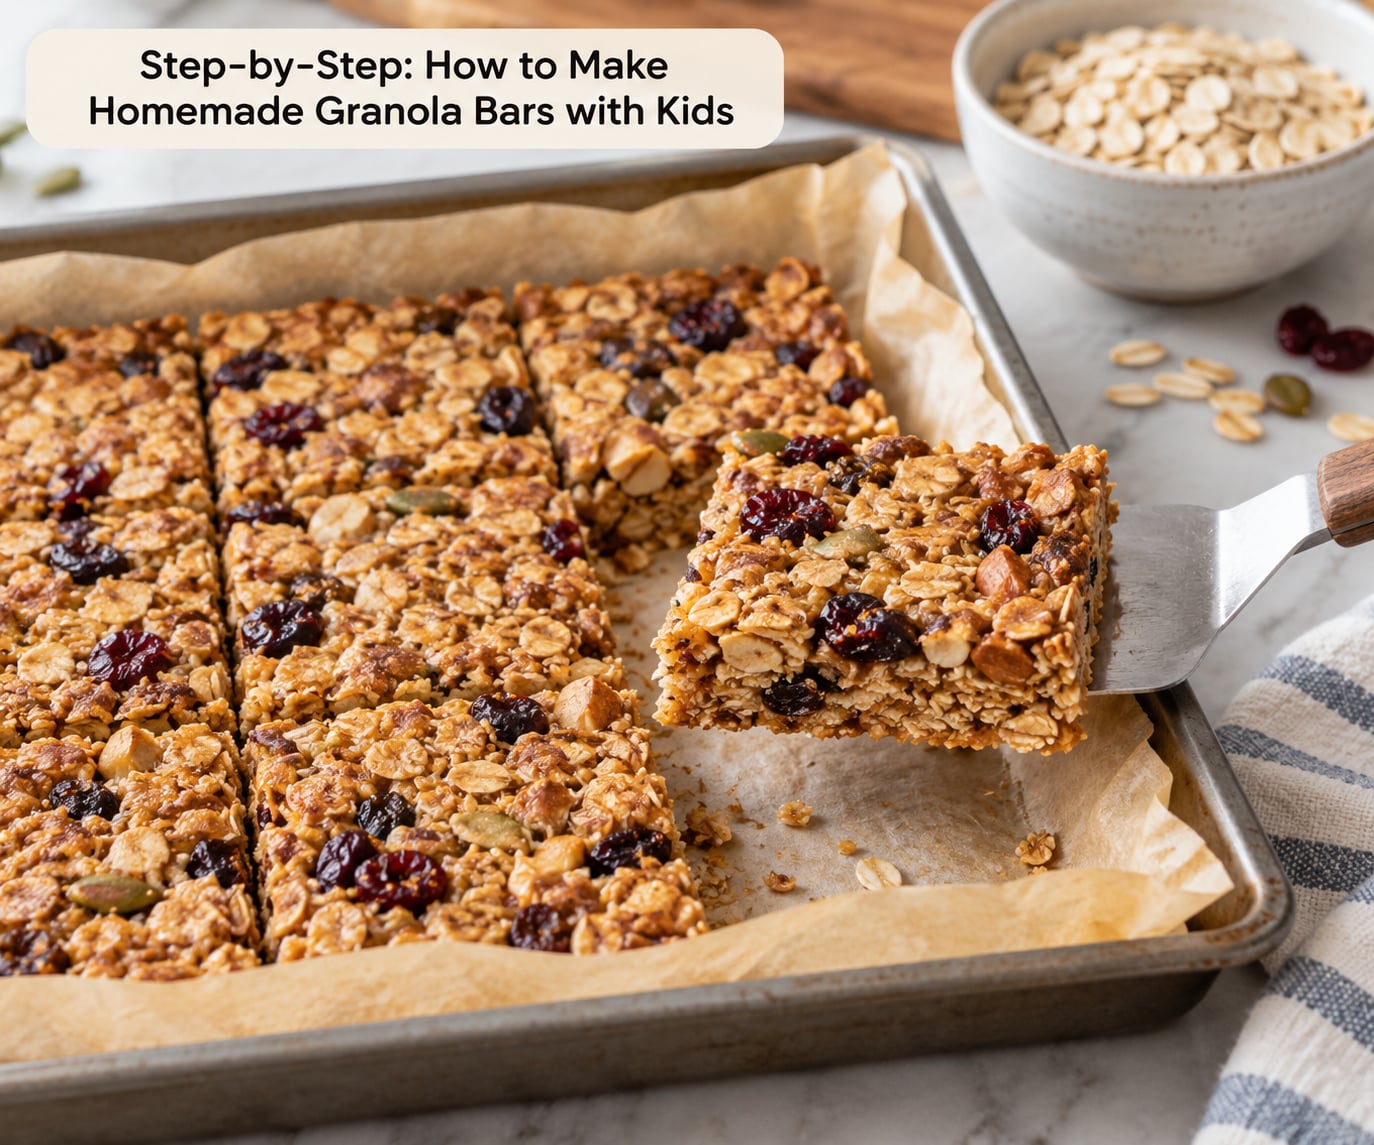
Refrigerate for 45 to 60 minutes, or freeze for 20 minutes, until the slab is firm all the way through. Lift it out using the parchment, then cut it with a sharp knife into bars or squares. Wipe the blade between cuts so it does not drag crumbs across the surface.
For a crunchier, baked version, press the mixture as above, bake at 350F for 18 to 20 minutes until the edges turn golden, and cool the whole pan on a rack before cutting. The no-bake route is chewy and softer; the baked route is crisp and keeps longer.
How to Make the Mixture Hold Together
The binder is what holds the bars together. Honey, maple syrup, nut butter and seed butter all coat the oats in a sticky film, and the pressing step compresses that film into a single layer. Chilling or baking then sets the binder so the bar slices cleanly instead of sagging. Honey is the strongest binder, syrups are the mildest, and nut or seed butter sits in between with the added benefit of holding more mix-ins.
Too dry means the mixture will not clump when you pinch it. Add a tablespoon of honey or warm nut butter and press again. Too wet means it sticks to your hands and the sides of the bowl; sprinkle in a couple of tablespoons of oats, mix, and give it another minute. Adjust in small steps. You can always add more binder, but you cannot take it back once it is in the pan.
Get Kids Involved Safely: Granola Bar Jobs by Age
Granola bars are one of the safer first recipes for a small child because there is no raw egg, no blade in the mixing stage and no heat in the no-bake version. Two things still need an adult: the saucepan step, and any knife work. Everything else can be handed over in pieces.
| Age | Jobs they can own | Keep it safe |
|---|---|---|
| 2 to 3 years | Pouring pre-measured oats into the bowl, stirring with a big spoon, sprinkling on toppings | Skip whole nuts and hard chunks. Sit them on a kitchen stool so they can see the counter. |
| 4 to 5 years | Measuring the oats, mashing the butter, mixing, pressing with the measuring cup | Adult warms the binder and does all cutting. Keep the hot pan handle turned inward. |
| 6 to 8 years | Measuring everything, reading the steps aloud, pressing, choosing add-ins | Supervised knife work on a scored cutting board is reasonable here. No oven handling. |
| 9 and up | Whole recipe including baking, portioning and wrapping | Teach oven mitt handling and the rule that the oven door is never opened alone. |
On choking risk, keep it simple and follow your pediatrician’s advice. Whole nuts, hard raw vegetables and anything small and round are the usual culprits in snacks for this age group, which is why the mix-in list above stays chopped, flaked or chip-sized, and why bars are cut into small squares for the youngest eaters.
Fixing the Mixture While You Mix
Catch problems before the pan. Dry corners that stay pale mean the binder has not reached them yet, and the fix is more stirring, not more honey. Oats that clump into a heavy dough usually mean the binder was too warm, which makes it too fluid; let the mixture sit for two minutes and stir again. And if the surface looks loose but the bottom feels solid, press it and check again, because that loose top layer is exactly what ends up as crumbs in the lunch bag.
Common Mistakes
The bars crumble when you cut them. They were not pressed firmly enough, or they were cut before the chill finished. Compress the mixture harder than feels reasonable, and give the full 60 minutes. If you are in a hurry, freeze instead of refrigerate.
They are sticky and squishy. Too much binder, or not enough oats. Stir in two more tablespoons of oats, press harder, and chill longer. Sticky bars also happen when they sit in a humid kitchen, so store finished bars in a sealed container rather than on a plate.
They will not set at all. This is nearly always a binder problem rather than a time problem. A warm, loose mixture stays soft no matter how long you chill it. Warm the peanut butter and honey together properly next time, and press the slab until no loose oats show on the surface.
The edges burned but the middle is soft. The oven was too hot or the pan was too thin. Bake at 350F and check at 18 minutes. Pull them when the edges are golden, since the center finishes cooking as it cools on the pan.
The add-ins fall out. You added them before the oats were coated, or you went over the 1/2 cup. Mix-ins need binder on the outside, and they need room to be pressed in rather than sprinkled on top.
A few habits that make the results consistent. Use quick-cooking oats for chewy bars; rolled or old-fashioned oats give a nuttier texture but stay looser, so press extra firmly and add a tablespoon more binder. Double the recipe freely for a bigger family or a freezer batch, and keep the same 8×8 pan so the thickness stays identical, which is what makes the bars cut evenly. Weigh out your butter instead of scooping it when you can, since a heaped cup of nut butter is the most common reason a batch turns out wet.
For storage, keep the bars in an airtight container at room temperature and eat them within about a week. Fridge storage stretches that closer to two weeks, though the bars firm up a little. Freeze them in individual portions and they hold for about three months, which is the version that survives a school week and comes out chewy rather than crunchy.
Frequently Asked Questions
Can children make homemade granola bars without using a stove?
Yes. The no-bake version never needs heat at all. Warm the nut butter and honey in the microwave for 20 to 30 seconds in short bursts, or skip warming entirely and mix them cold, then press the mixture firmly into a lined pan. Chill it for 45 to 60 minutes and cut. That keeps the oven, the hot saucepan and the sharp knife as the only adult-only steps in the recipe.
What ingredients can I use instead of nuts or honey?
Replace nut butter with sunflower seed butter or a certified nut-free seed butter, which behaves the same way and is usually the safest choice for a school classroom. Replace honey with maple syrup or agave nectar for a vegan version. For texture, swap dried cranberries for raisins or chopped dates, and use sunflower seeds in place of chopped nuts. Coconut oil melted and cooled works too, though it gives a softer, shorter-keeping bar.
How do I keep homemade granola bars from falling apart?
Press harder than you think you need to, using the flat bottom of a measuring cup, and pack the slab until no loose oats show on top. Make sure your binder ratio is right: two cups of oats to one cup nut butter and half a cup syrup is a firm bar. Chill for the full hour before cutting, and wait until the pan is cold to the touch. Add-ins over half a cup loosen the mix considerably.
Can I freeze granola bars after making them?
Yes, and it is the best way to make a big batch for a school week. Cut the bars first, wrap each one individually, then freeze them flat in a single layer before moving them to a container. They keep for about three months. Thaw one bar at room temperature for 15 to 20 minutes, or pack it frozen in a lunchbox, where it softens by lunchtime and eats like a fresh one.
How long do homemade granola bars stay fresh?
In an airtight container at room temperature they stay good for about five to seven days, which covers a normal school week. Refrigerating them keeps them two weeks or so but firms up the texture. Freezing individual portions extends that to roughly three months. Whatever you choose, keep them sealed, because exposure to air is what makes the oats turn stale and the surface lose its snap.
What can toddlers do to help make the bars?
Toddlers can pour pre-measured oats into the bowl, stir with a large spoon, and sprinkle on small add-ins like mini chocolate chips or shredded coconut. Give them a step stool so they can see the work surface, and keep them away from the saucepan and the knife. Skip whole nuts and skip big chunks, cutting the finished bars into small squares for the youngest eaters.
Conclusion
Start with the five-ingredient base and skip the add-ins on the first try, so the recipe is easy to judge. Set out the oats, the nut or seed butter, the honey, the vanilla and the salt, and hand your child the measuring cup and a sturdy spoon. Let them mix, then press the slab down together, because that pressing is what decides whether the bars hold together in a lunch bag. Chill or bake the pan until it is firm all the way through, cut with a sharp knife once it has cooled, and pack a few in the freezer for the days that get busy.