You do not need to be an artist to teach art in homeschool. Your job is to set the rhythm, gather the materials, and ask good questions, while the actual technique instruction comes from how-to-draw books, video lessons, a co-op, or a real artist you borrow for an hour. Most of the work is done in about 30 minutes a week.
I know the feeling. I can plan a whole week of history and still freeze at the idea of demonstrating how to draw a tree. That freeze is exactly why so many families quietly drop art, and why this guide exists: the gap is much smaller than it looks.
Here is what actually matters. Children are not waiting for a polished masterpiece or a parent who can shade a sphere. They are waiting for materials within reach, a prompt worth thinking about, and an adult who is curious about what they made rather than disappointed by how it turned out.
Table of Contents
- What You Need
- Step-by-Step: How to Teach Art in Homeschool Without Being Artistic
- Set a relaxed art routine
- Offer a clear prompt with room to choose
- Teach techniques as experiments, not models
- Ask questions instead of correcting the artwork
- Display and reflect on the process
- Common Mistakes
- Frequently Asked Questions
- Do I need to be artistic to teach art in homeschool?
- What if my child does not like drawing or painting?
- What materials are best for beginner homeschool art?
- How do I teach art skills without making my child copy me?
- How often should children have art time during homeschool?
- How can I include art in a homeschool curriculum without adding a lot of work?
- Conclusion
What You Need
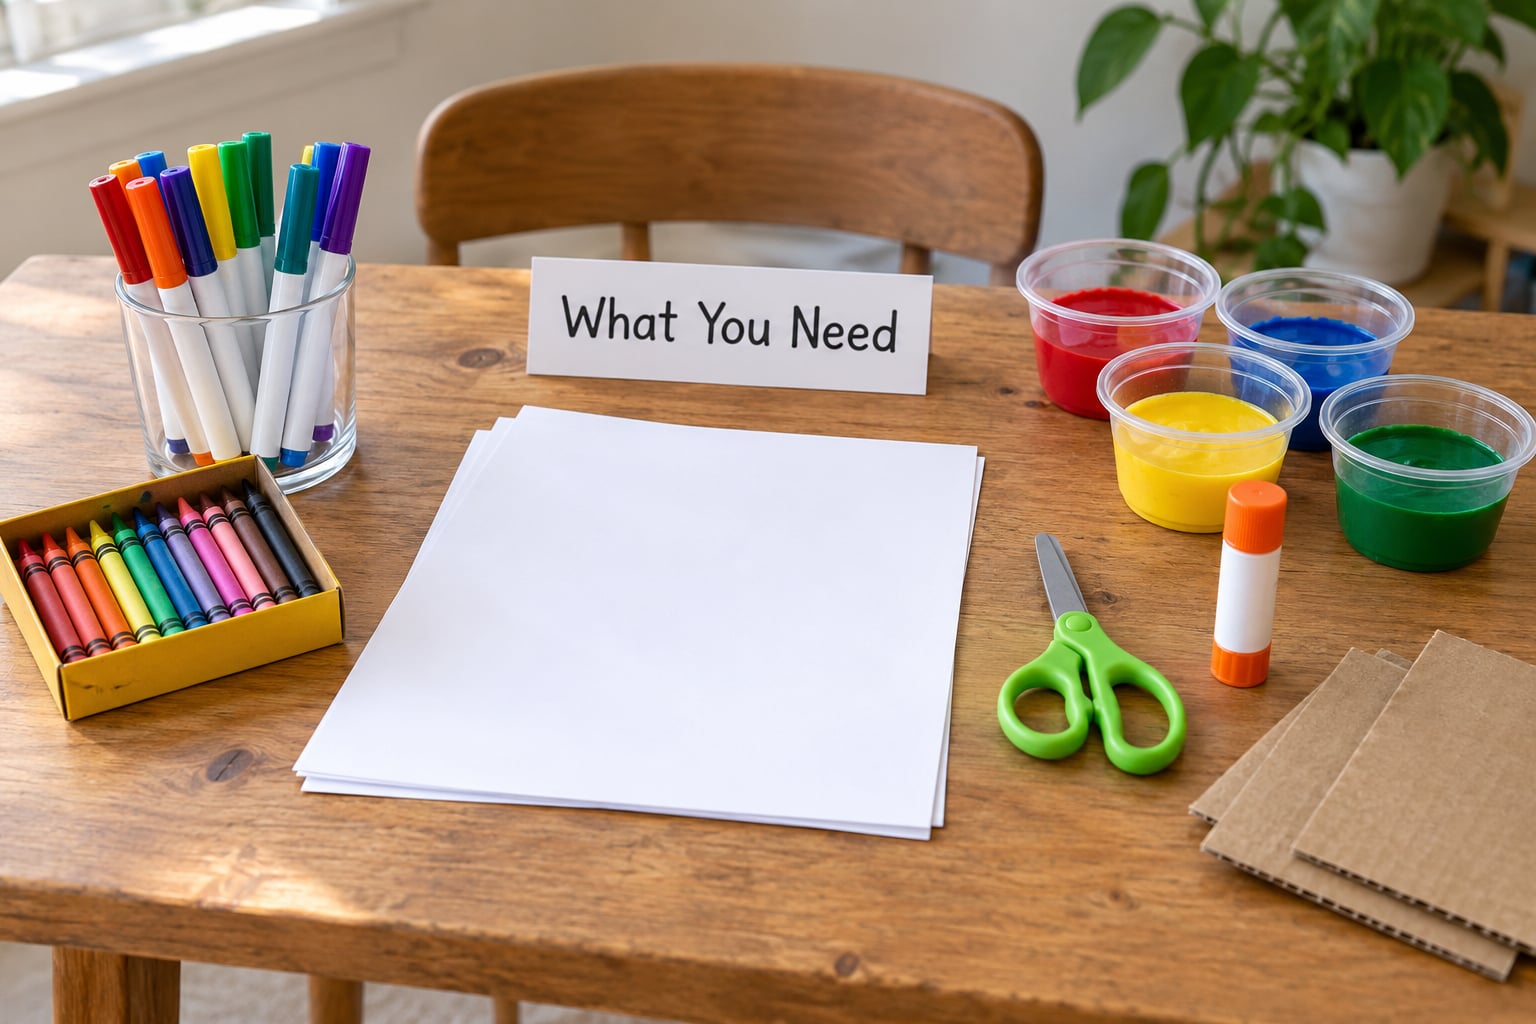
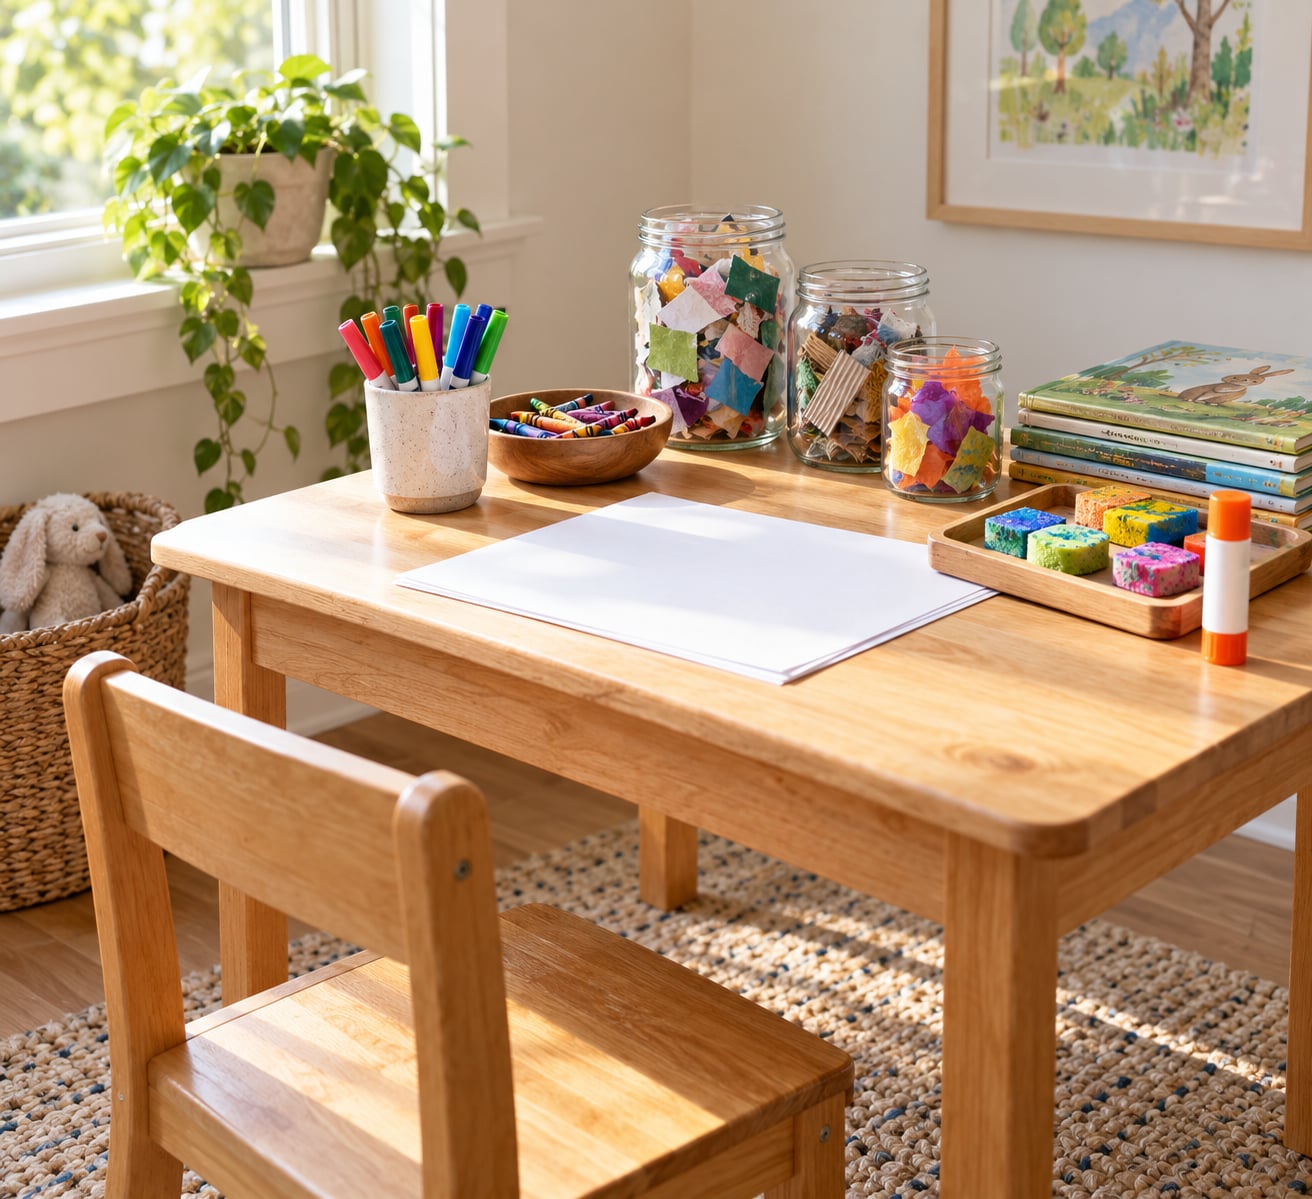
The supplies list is short, and almost nothing on it is specialised. If you have paper, something to draw with, and scissors, you can start this week. Everything else is a later purchase.
| Supply | Why it earns its spot | Buy first or later |
|---|---|---|
| Drawing paper | Thin copy paper tears under marker. Anything heavier holds more medium and takes a correction. | Buy first |
| Washable markers and crayons | Low commitment, low mess, and the ones that get used when nobody feels artistic. | Buy first |
| Child-safe scissors | Cutting builds the same fine motor control that shows up later in handwriting. | Buy first |
| Glue stick | Collage is the easiest entry point for children who refuse to draw. | Buy first |
| Recycled cardboard, mailers, and cereal boxes | Free building material, and it absorbs paint without warping. | Free, gather now |
| Tempera paint | Washable, opaque, forgiving. Better than tempera powder for beginners. | Buy first if painting |
| Paint sponges and wide brushes | Sponges give instant results with almost no brush skill required. | Later |
| Watercolour paper | Holds water without buckling. Cheap paper makes beginners think they are bad at watercolour. | Later |
| Reference pictures and a picture book stack | Something to look at beats something you are trying to recall from memory. | Free, from the library |
Skip the oil paints, the easel, and the professional paper until someone asks for them. Beginners fail on heavy setups far more often than on cheap ones, mostly because the surface fights them.
Then there is the pantry option, which nobody talks about enough. Coffee and water give a soft sepia wash. Baking soda and white vinegar make instant fizzy painting. Sugar and water make edible paint. Salt on wet watercolour granulates into a texture you cannot buy. Flour and salt plus a drop of food colouring make paint that costs almost nothing and rinses out of clothes far better than it has any right to.
These are not emergency substitutes. They are genuinely good media, and a child mixing blue and yellow on cardboard to discover green has learned colour mixing either way.
Step-by-Step: How to Teach Art in Homeschool Without Being Artistic
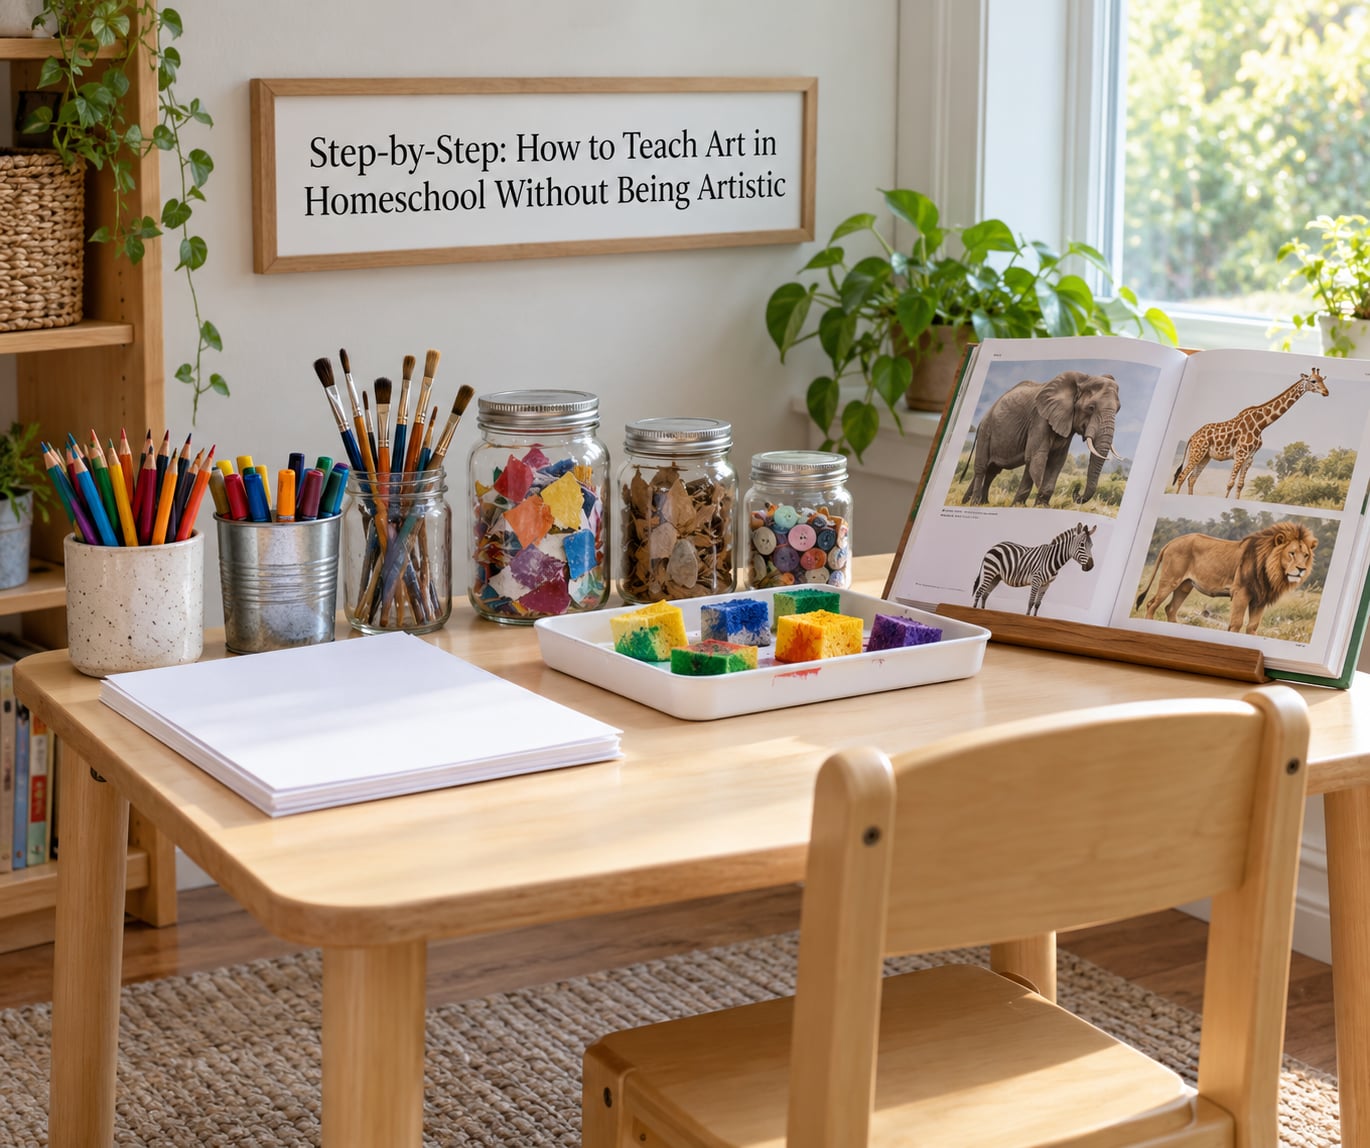
The whole method comes down to five moves, repeated weekly. A useful split I have borrowed from music practice is roughly 30 percent parent-directed and 70 percent child-led: you set up the session and share one idea, then the child decides the rest.
Set a relaxed art routine
Pick a slot and keep it. Thirty minutes twice a week beats a heroic two-hour Saturday session you skip every other week, because consistency is what builds a habit of reaching for materials instead of a screen.
Announce the time the way you would announce reading time, not a special occasion. And say the useful part out loud before you start: the goal is that they made something, not that it turned out well.
My own test of whether a session worked is simple. Did the child make a choice, try something, and clean up? I do not grade the result and I have stopped judging it entirely.
Offer a clear prompt with room to choose
A good prompt gives a question and leaves the medium open. “Make something that shows heat” works far better than “Draw a volcano,” because it lets a child use red pencil, or paint, or build it out of foil.
Prompts I have used with my own children: something bigger than a cat, a map of a place that does not exist, the view from a window, a machine that does one strange job, and your family as animals. Five of these cover about a term.
Change the medium as the prompt changes, and the same prompt will not get old. The trick is that you are never asking for a specific object to appear on the page.
Teach techniques as experiments, not models
Here is where the parent skill question comes up most, and the answer is that you do not demonstrate. You invite trials. Line, shape, colour, texture, value, form, and space are the elements of art, and each one can be explored as a question: what happens if the line goes thick, then thin?
For actual technique, borrow it. A how-to-draw book gives you step-by-step instruction you do not have to deliver yourself. So do a video lesson, which has the bonus of showing a real working artist, and that alone changes how seriously a child takes the activity.
Sketching channels and full painting tutorials are searchable by medium and age, so a five-year-old and a fourteen-year-old can watch the same afternoon without you knowing anything about art. You become the inviter rather than the instructor.
Teach colour early and it pays for itself. Give them a page with three primaries, ask for a colour that is not there, then a lighter one, then a darker one. That single exercise covers a surprising amount of what grown-up courses spend a whole session on.
Ask questions instead of correcting the artwork
This is the habit that changes everything, and it costs you no skill at all. Ask what they notice, what they were trying, and what they would change. Do not ask whether it is good.
Questions that work: What is the hardest part of this one? Tell me about this corner here. If you did it again, would you use a different colour there? What did you try that did not work? Where did the paint go thickest, and how does that look?
Those questions build observation skills and visual vocabulary, which are two of the things art is actually for. They also take the sting out of a kid who has already decided they are bad at it.
When a child says “I’m not artistic,” do not argue with it. Ask what they mean, because they usually mean something specific: I can’t make things look real, or I don’t like how it turns out, or the last one was hard. Naming the actual fear lets you address it.
Display and reflect on the process
Hang the work. Every scrap, including the ones that got scrapped, because the discards are the most honest record of effort you will ever keep. Then ask about them at the end of the week rather than the minute they come off the table.
Keeping a simple portfolio is the cheapest form of homeschool art documentation there is. A labelled folder and a date is enough, and after a year you have a record no test score gives you.
Once a year, put everything on the floor of the living room with a piece of paper and string, let the child write the labels, and hold a family exhibition. They talk about their own work to an audience, which is a different skill entirely.
Common Mistakes
These are the six that cost families the most art time, and none of them are about skill.
Copying a famous artwork. The Picasso-project failure is so common it has a name. When a child is told to reproduce something they cannot draw, they either produce a flat grey copy or they quit. Parents on homeschool forums describe older children discarding a dozen attempts in frustration and younger ones painting the table. Fix it by studying the artist and then making your own piece about the same idea.
Taking over the work. Handing out step-by-step instructions, correcting the horizon line, or quietly fixing the vase at the corner makes the art yours. Fix it by deciding out loud what you will not touch before the session starts, then letting the result be imperfect.
Giving too many instructions. Five rules in a ten-minute session turns art into a worksheet. Fix it with one prompt and one constraint at most.
Judging the result. Even a raised eyebrow lands hard on a nine-year-old who is already unsure. Fix it by describing what you see instead of evaluating it: that band of blue is much darker than the one above it.
Comparing siblings. Two children, one table, one wall of artwork, and a comment about how the younger one draws better is how art time turns into an argument. Fix it with separate display space and separate materials tubs.
Expecting a finished piece. Most real art is a pile of attempts. Fix it by planning for three pieces per session and keeping the first two without comment.
Two more worth naming: making art a reward or a punishment, and buying a full curriculum before the child has decided they even like it. Both work better if art stays ordinary.
Frequently Asked Questions
Do I need to be artistic to teach art in homeschool?
No. You need three things: a consistent time slot, materials within reach, and questions that show interest in what your child made. Actual technique instruction can come from a how-to-draw book, a video lesson, a co-op class, or a hired artist, and most parents do the first three jobs well without any training at all.
What if my child does not like drawing or painting?
Stop offering drawing and painting and offer collage, building, printing, or sculpture instead. Many children who refuse a blank page will spend twenty minutes gluing scraps with no complaint, and that is real art practice. The medium does not matter; being allowed to make things without being told what to make does.
What materials are best for beginner homeschool art?
Start with heavier drawing paper, washable markers, crayons, child-safe scissors, a glue stick, recycled cardboard, and tempera paint. Add watercolour paper, sponges, and proper brushes later if someone asks for them. Add pantry media like coffee, salt, and baking soda paint any time you want a free experiment.
How do I teach art skills without making my child copy me?
Do not demonstrate a finished picture. Instead present each element as a trial: try thick lines and thin ones, mix two colours and see what happens, press the crayon hard and then soft. You can sit alongside them and try the same thing yourself, so the activity reads as an experiment rather than an exam.
How often should children have art time during homeschool?
Two short sessions of about 30 minutes a week is enough for most children, and one 45-minute session works fine for older kids. What matters more than the count is that it happens at a predictable time, so children stop needing to be convinced. Roughly 36 sessions a year is a solid year of art.
How can I include art in a homeschool curriculum without adding a lot of work?
Use art to carry subjects you already teach rather than adding a new block. A history week becomes an illustrated timeline, a science week becomes a labelled plant cross-section, a geography week becomes a map with hand-drawn symbols. The prep is the same as the lesson you were already going to teach.
Conclusion
Start with the smallest possible version. Put paper, markers, scissors, and a glue stick in one box within reach, choose a slot in the week, and give yourself one prompt such as “make something that shows heat.” Let the child choose the rest.
You are not the artist in this arrangement, and you were never hired to be. You are the person who makes the time, keeps the materials stocked, and notices what your child tried. Everything else can be borrowed from a book, a video, or somebody who draws well.