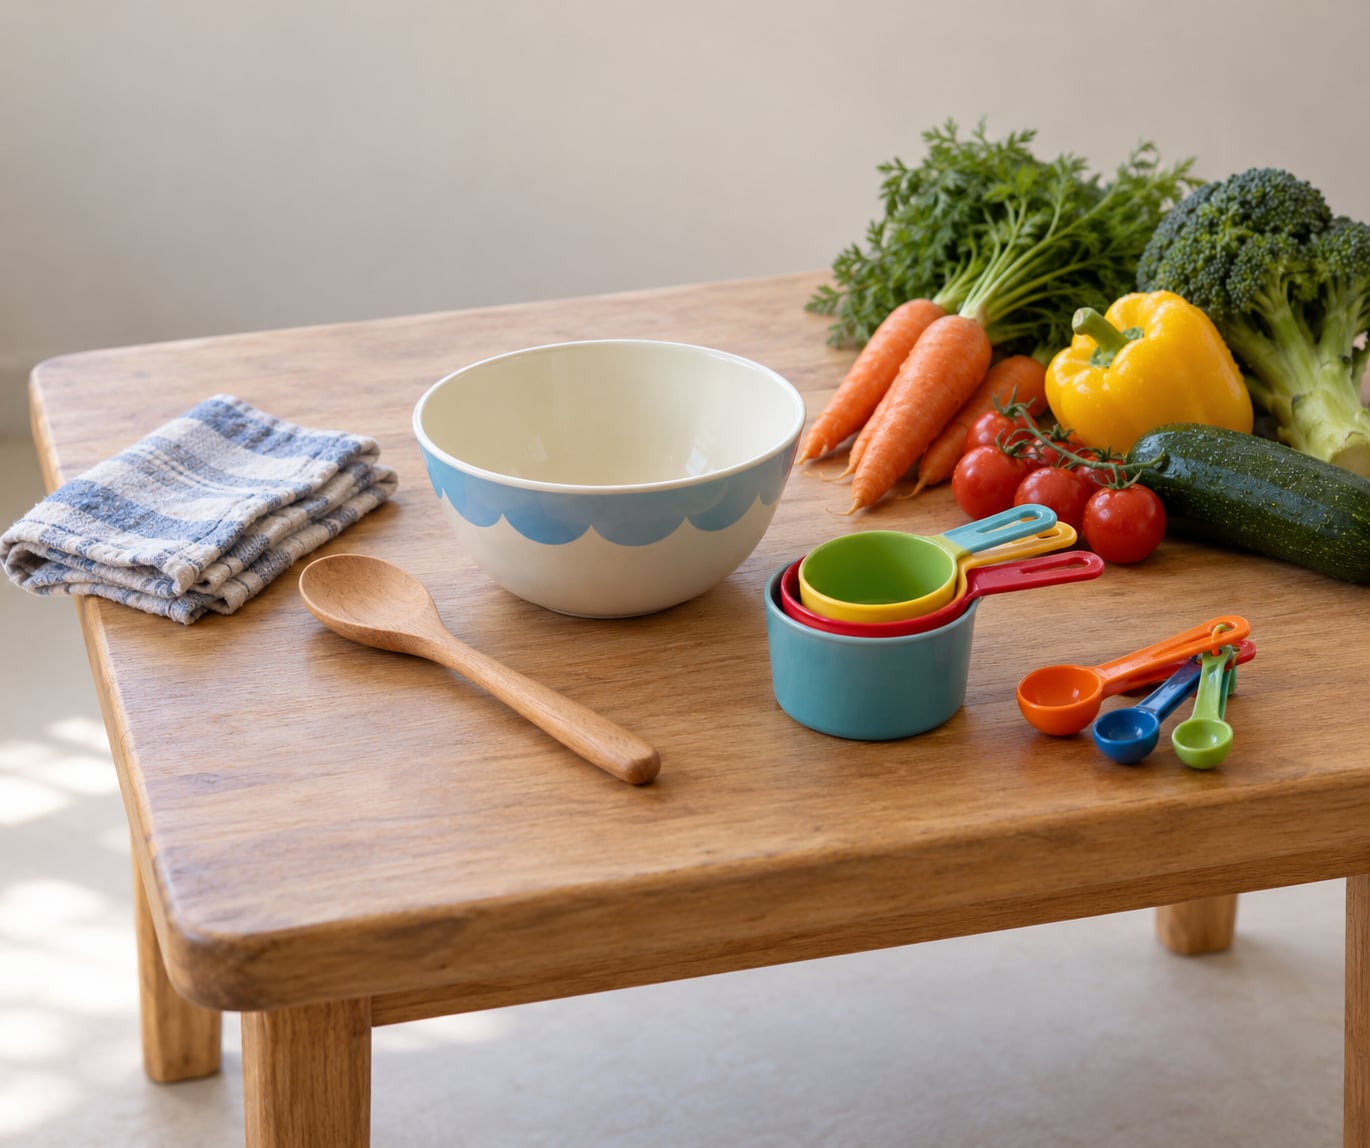
The first cooking skills for a four year old are simple, repeatable kitchen jobs: washing produce, tearing greens, stirring, mashing, pouring and measuring. A child this age can genuinely do these tasks well, with an adult close enough to reach. Start there and the rest of cooking follows over the next few years.
Most four year olds manage a ten to fifteen minute session, not a half hour. That limit shaped everything in this guide, including the week-by-week plan below. Cooking alongside a parent at age four builds fine motor skills, counting, sequencing and a willingness to try foods that reheating alone never manages.
Table of Contents
- What Are the First Cooking Skills for a Four Year Old?
- Which Kitchen Skills Are Safe and Developmentally Appropriate?
- How Do You Teach First Cooking Skills for a Four Year Old Safely?
- How long should one practice session last?
- How to praise without taking over
- When to step in
- How Can You Practice These Skills Without Making a Full Meal?
- What Should You Cook First With a Four Year Old?
- How Do You Set Up a Child-Friendly Kitchen?
- What Are the USDA Food Safety Rules for Children Helping to Cook?
- What Is a Four-Week First Cooking Skills Plan?
- Week one: washing and organizing
- Week two: scooping, pouring and measuring
- Week three: tearing, mashing and stirring
- Week four: one recipe, together
- How Do You Know Your Child Is Ready for the Next Step?
- What Common Mistakes Should Parents Avoid?
- Frequently Asked Questions
- Is a four year old old enough to help cook?
- Can a four-year-old safely use a knife?
- What is the easiest first recipe for a four year old?
- Should a four-year-old take a kids cooking class?
- How much cooking independence is appropriate at age four?
- Conclusion
What Are the First Cooking Skills for a Four Year Old?
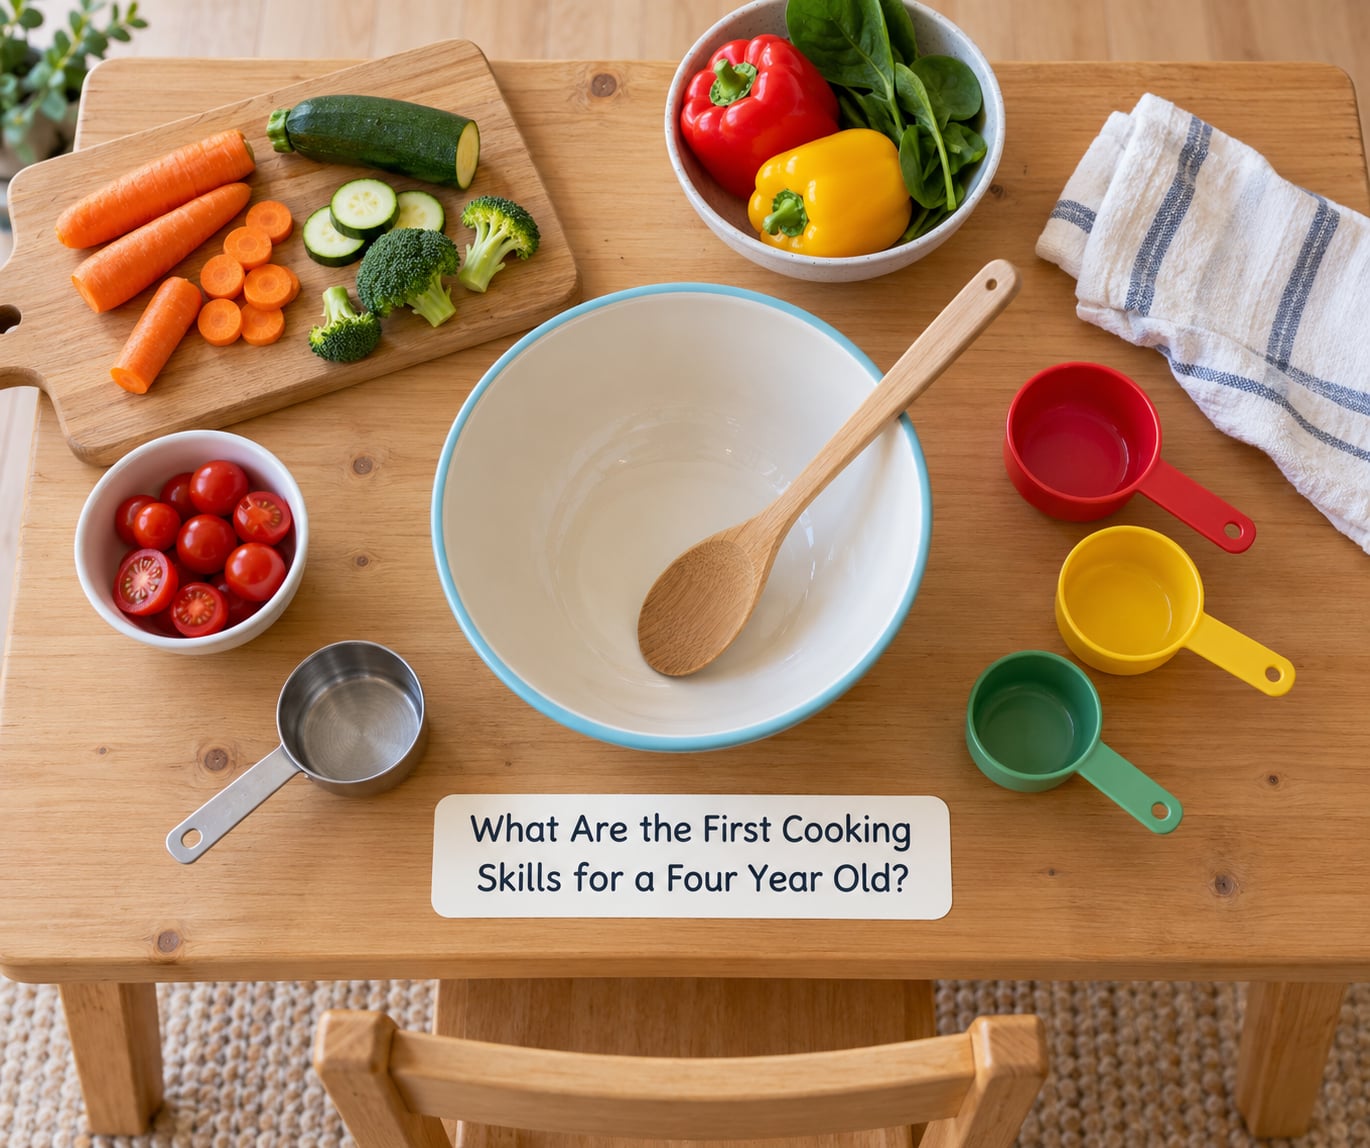
The skills that come first are the ones with no heat, no sharp edge and a visible result within seconds. Washing produce, tearing lettuce, scooping with a spoon, stirring a cold mixture, mashing soft fruit, pouring pre-measured ingredients and setting out a snack plate all qualify.
Knives, the stove and the oven are a later chapter. A four year old can begin with a blunt nylon knife on soft foods such as banana or cooked carrot, but only while an adult sits at counter height with hands ready. Heat stays an adult job for another year or two.
Order matters more than difficulty. A child who cannot yet hold a spoon steadily will not benefit from being handed a whisk, so work down the list from washing and organizing upward.
Which Kitchen Skills Are Safe and Developmentally Appropriate?
Readiness varies a lot at this age. Some four year olds can already pour without spilling, others cannot, and that is normal. Use the table as a guide and pick the row that matches what your child can do calmly today.
| Kitchen task | Typical readiness | Supervision | Difficulty |
|---|---|---|---|
| Washing produce under running water | 3 to 4 years | Close, hands nearby | Easy |
| Tearing lettuce or herbs by hand | 3 to 4 years | Close | Easy |
| Scooping and spooning into a cup | 3 to 4 years | Close | Easy |
| Stirring a cold or cool mixture | 3 to 4 years | Close | Easy |
| Pouring pre-measured ingredients | 4 to 5 years | Close, two hands on the container | Moderate |
| Filling measuring cups and spoons | 4 to 5 years | Close | Moderate |
| Mashing bananas or cooked potato | 4 to 5 years | Close | Moderate |
| Rolling dough or cookie dough | 4 to 5 years | Close | Moderate |
| Cracking an egg with help | 5 years and up | Hand over hand | Hard |
| Cutting soft food with a blunt nylon knife | 4 to 5 years | Hand over hand at first | Hard |
| Using a sharp adult knife | Not yet | Adult only | Not appropriate |
| Operating the stove or oven | Not yet | Adult only | Not appropriate |
Round foods such as whole grapes, cherry tomatoes, popcorn and uncut hot dogs are choking hazards at this age. If you use them, quarter them lengthwise, cut them into thin discs and remove the pits before your child gets anywhere near the plate.
How Do You Teach First Cooking Skills for a Four Year Old Safely?
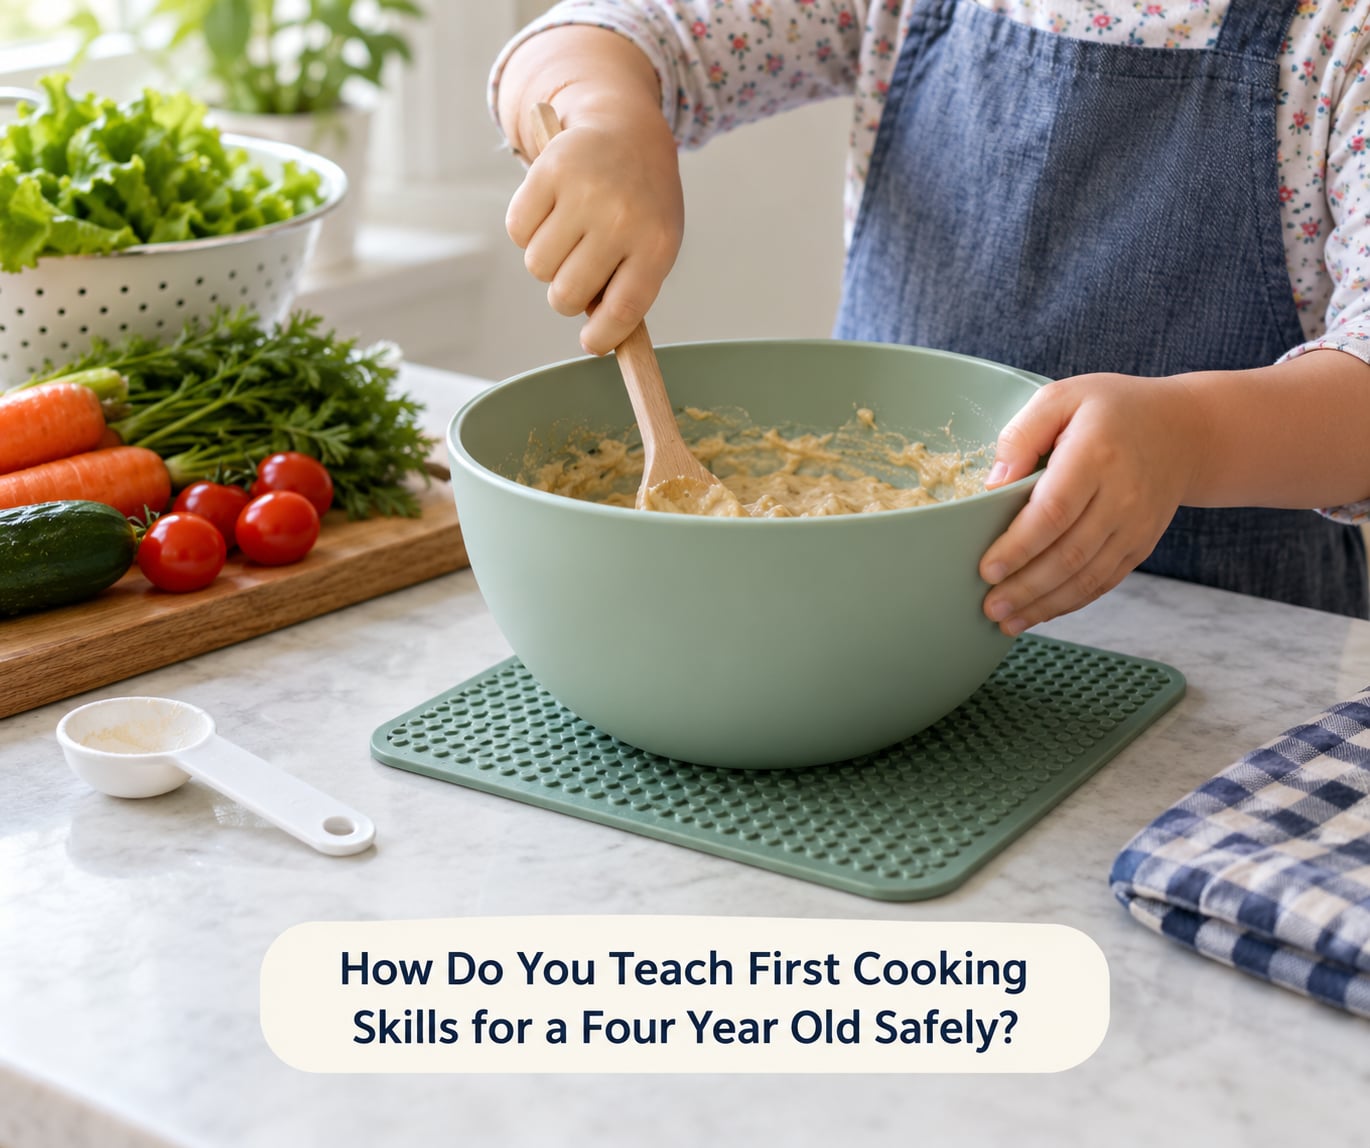
Teach one skill at a time, and give it a week before adding the next. A child who is handed six jobs at once gets overwhelmed and you get a floor covered in flour by minute four.
The method that works best is simple: you demonstrate the task once, slowly, while narrating what your hands are doing. Then your child copies you. You stand within arm’s reach the whole time.
How long should one practice session last?
Ten to fifteen minutes, once or twice a week, is plenty. Stop while the child still wants more. A session that ends on a high note is easier to repeat than one that ends in tears, and repetition is what turns a task into a skill.
How to praise without taking over
Name the specific thing your child did rather than offering a general cheer. “You held the spoon steady the whole time” teaches more than “good job,” and it tells you exactly what to reinforce next week.
When they stall, wait five seconds before helping. Most of the time the child works it out, and the small struggle is where the fine motor control actually develops.
When to step in
Step in for anything sharp, hot, heavy or breakable. Also step in when they are frustrated enough to flail, because a distracted child holding a tool is the combination worth avoiding.
How Can You Practice These Skills Without Making a Full Meal?
You do not need a recipe to teach a skill. These ten activities each take under ten minutes and can be slotted into an ordinary day.
- Wash and dry produce. Put a colander in the sink, add cold water and let them scrub each item with their hands.
- Sort a bowl of vegetables. Round ones in one bowl, long ones in another. Counting happens without you asking.
- Make fruit salsa. Diced melon, banana and berries they tore themselves, stirred in their own bowl.
- Stir pancake batter. You pour, they stir, you scrape the sides. No cooking required to learn the motion.
- Spoon oatmeal. Level, scrape and heap with a big spoon on a plate you do not mind losing.
- Assemble a snack board. Cheese cubes, crackers, grapes cut into quarters, arranged by them.
- Pour cold milk. From a small pitcher into their cup at the table, with a cloth underneath.
- Build a sandwich. Spread soft cheese, add fillings, then press the top slice down together.
- Roll and cut play dough. A rolling pin plus cookie cutters gives knife practice with zero food risk.
- Set the table. Carries plates from a low shelf, counts chairs, wipes the surface when finished.
Load the dishwasher as a closing routine rather than a reward. Kids who help put it away learn that cooking includes the cleanup, which is the part most adults would quietly skip.
What Should You Cook First With a Four Year Old?
Your first real recipe should combine three or four skills, take under fifteen minutes of child participation, and have no step you cannot finish yourself while they do theirs. That rules out anything with a rising dough, a blender or a long ingredient list.
No-bake treats come first because there is no heat and nothing to ruin. Rolled-and-cut cookies come next, since rolling and pressing shapes are strong fine motor work and the dough can tolerate enthusiasm. Yogurt or fruit parfaits work well because layering is easy to repeat.
A simple cold breakfast bowl is a good third project. Oats, milk and fruit mixed by hand teaches measuring and pouring, and you can handle any sticking to the bowl.
Save scrambled eggs, toasted sandwiches and anything on the stove for later, and heat them yourself. It is not a failure to cook together; it is just a different division of labor.
How Do You Set Up a Child-Friendly Kitchen?
Give your child a spot that is genuinely theirs: a low counter section, a sturdy step stool placed so both feet are flat, or a small table pulled next to you at meal prep time. A step stool that rocks is worse than no stool at all, so check it before every use.
Equipment should be sized for small hands. A unbreakable bowl prevents most kitchen injuries simply by not breaking. Add a nylon knife with a blunt tip, a small whisk, measuring cups and spoons in both standard and half sizes, and a cloth for wiping spills that sits within reach.
Clear a defined workspace. Everything your child uses goes in one place, and everything dangerous goes high: sharp knives, glass jars, the appliance cords, matches, and anything you would not want knocked off the counter mid-stir.
Keep allergens and raw meat away from the child’s station. Wash hands with soap for at least twenty seconds before and after any food work, and use a separate cutting board so a cucumber for snacks never touches a chicken board.
Decide the cleanup rule in advance. A five minute tidy at the end of every session keeps resentment low and teaches responsibility far better than an hour-long clean the next day.
What Are the USDA Food Safety Rules for Children Helping to Cook?
USDA guidance for anyone helping in a kitchen comes down to four words: clean, separate, cook and chill. These apply to adults and children equally, with the difference that a four year old needs an adult doing the measuring and the heating.
Clean. Wash hands with soap and water for at least 20 seconds. Rinse produce under running water, and clean counters and utensils before and after food prep.
Separate. Keep raw poultry, meat and seafood away from ready-to-eat food. Use separate boards and wash hands and surfaces between tasks. A separate spoon for tasting batter that has touched raw egg is non-negotiable.
Cook. Check doneness with a food thermometer, not by color or clear juices. Poultry reaches 165°F, ground meat reaches 160°F, and whole cuts of meat and fish reach 145°F with a three minute rest.
Chill. Keep the refrigerator at 40°F or below. Refrigerate perishables within two hours, and use refrigerated leftovers within three to four days, reheating them to 165°F.
For a four year old, add a layer on top: no standing at the stove alone, no reaching into the oven, no handling raw meat, and no eating raw batter or dough that contains uncooked egg or flour.
If you have questions about your own child and allergies or immune health, your pediatrician is the right person to ask. General cooking guidance should never replace individual medical advice.
What Is a Four-Week First Cooking Skills Plan?
Four weeks is enough to see whether a skill stuck. Keep each week to one new task and repeat the previous week’s task as warm-up practice.
Week one: washing and organizing
Wash produce and dry it carefully on a towel, then place each item in its own bowl. It sounds trivial, but drying and sorting demand a controlled grip.
Week two: scooping, pouring and measuring
Pour cold milk into a cup with both hands on the pitcher, then fill a measuring spoon and level it off with a finger.
Week three: tearing, mashing and stirring
Tear lettuce, mash a banana with a fork, and stir a bowl of oatmeal or yogurt. Three motor patterns in one short session.
Week four: one recipe, together
Make a no-bake treat or rolled cookie dough. Your child does the measuring, pouring and pressing while you handle anything sharp or that goes near heat. Review the month, pick the task they enjoyed, and repeat only that one next.
How Do You Know Your Child Is Ready for the Next Step?
Readiness shows up in behavior rather than birthdays. Most children are ready for a new task when four things are true at once.
- They stay with the task for ten minutes without wandering off.
- They hold a tool without dropping it or waving it around.
- They follow a one-step direction such as “put the spoon in the bowl” without a reminder.
- They clean up without being asked twice.
When all four are happening, add one new step. Move up only while an adult remains close, and step back only when you are certain the risk is handled.
What Common Mistakes Should Parents Avoid?
Starting with a complicated recipe. A twelve ingredient bake loses a four year old in the first five minutes. Fix: cut it back to three or four steps until the simpler ones feel routine.
Introducing several new skills at once. Washing, pouring and stirring in one session guarantees someone gets overwhelmed. Fix: one new skill per week.
Handing over an adult knife early. Excitement plus a sharp edge is how fingers get cut. Fix: a blunt nylon knife on soft food, seated, hand over hand.
Correcting a pinch of flour. Fix: accept small messes, or change the recipe. A wet sponge cloth on the floor handles nearly everything.
Talking down or rescuing. Stepping in the moment they struggle teaches that cooking is your job, not theirs. Fix: wait five seconds, then offer one small hint.
Insisting they eat what they made. A child who helped cook and then refuses it is normal, and pressure makes the next session harder. Fix: they helped cook, the family decides what gets served, and everyone eats something.
Frequently Asked Questions
Is a four year old old enough to help cook?
Yes, as long as an adult stays within arm’s reach. At four, a child can wash produce, tear greens, stir a cold mixture, mash soft fruit, pour pre-measured ingredients and fill measuring cups. Heat, sharp knives and raw meat remain adult jobs. Ten to fifteen minute sessions, one new skill at a time, give the most progress with the least frustration.
Can a four-year-old safely use a knife?
A blunt nylon knife on soft foods like banana or cooked carrot is a reasonable place to start, seated at a stable work surface with an adult beside them. Begin with hand over hand guidance, then let them take over while you stay close. A sharp adult knife, cutting on a high counter, and any knife used while walking or talking are not appropriate at this age.
What is the easiest first recipe for a four year old?
No-bake treats are the easiest, because there is no heat and nothing to ruin. Rolled-and-cut cookies come next, since rolling dough and pressing cookie cutters are strong fine motor practice. A yogurt and fruit parfait is another good starter, since layering is easy to repeat. Keep each recipe to three or four child-involved steps and under fifteen minutes.
Should a four-year-old take a kids cooking class?
A class is a nice supplement, but it is not a requirement and it does not replace practice at home. At four, the skills are simple enough to teach yourself in a real kitchen with a real meal. If you do enroll, choose a class with a small ratio, a parent-in-the-kitchen option, and no pressure to taste unfamiliar foods.
How much cooking independence is appropriate at age four?
Independence at four means owning the whole task with an adult nearby, not working alone. Your child can take charge of washing produce, pouring pre-measured ingredients and setting the table from start to finish while you supervise within arm’s reach. Anything involving heat, sharp tools, appliances or raw meat stays your job for now.
Conclusion
First cooking skills for a four year old start small and get repeated: wash, dry, sort, pour, stir, mash, then one simple recipe with you beside them. Everything sharp, hot or breakable stays with the adult, and every session ends before attention runs out.
So skip the plan and begin tonight. Ask your child to wash some vegetables under the tap, dry each one carefully on a towel, and put it in a separate bowl. Five minutes, one job, and a real kitchen to come back to tomorrow.