To clean toys without harsh chemicals, start with the toy’s care instructions, clear away loose dirt, then use the mildest thing that works — usually warm water with a drop of dish soap. Match the method to the material, and let every toy dry fully before it goes back in the toy bin.
The whole routine takes about 20 minutes for a weekly bin clean. The part parents skip is drying, and drying is what does most of the germ-killing work.
Table of Contents
- What You Need
- How to Clean Toys Without Harsh Chemicals: Step-by-Step
- How to Clean Toys by Material: Check the Care Label First
- Remove Loose Dirt and Grime First
- Wash Plastic and Silicone Toys
- Clean Wooden Toys Safely
- Freshen Fabric and Plush Toys
- Wipe Painted Metal and Activity Toys
- Clean Battery-Powered and Electronic Toys
- Rinse, Dry, and Reassemble
- Common Mistakes
- Soaking every material the same way
- Mixing cleaning products
- Using bleach on ordinary grime
- Scrubbing painted finishes
- Using hot water on plastics and fabrics
- Returning damp toys to the bin
- Trusting “natural” on a label
- Frequently Asked Questions
- Can I use baking soda to clean toys without harsh chemicals?
- Is vinegar safe for cleaning children’s toys?
- What is the safest way to disinfect toys?
- Which toys should never be soaked or washed?
- How should I clean a toy after battery leakage?
- How often should toys be cleaned?
- Conclusion
What You Need
You do not need a shelf of specialty cleaners for this job. Almost everything comes out of a kitchen cupboard and a bathroom cabinet.
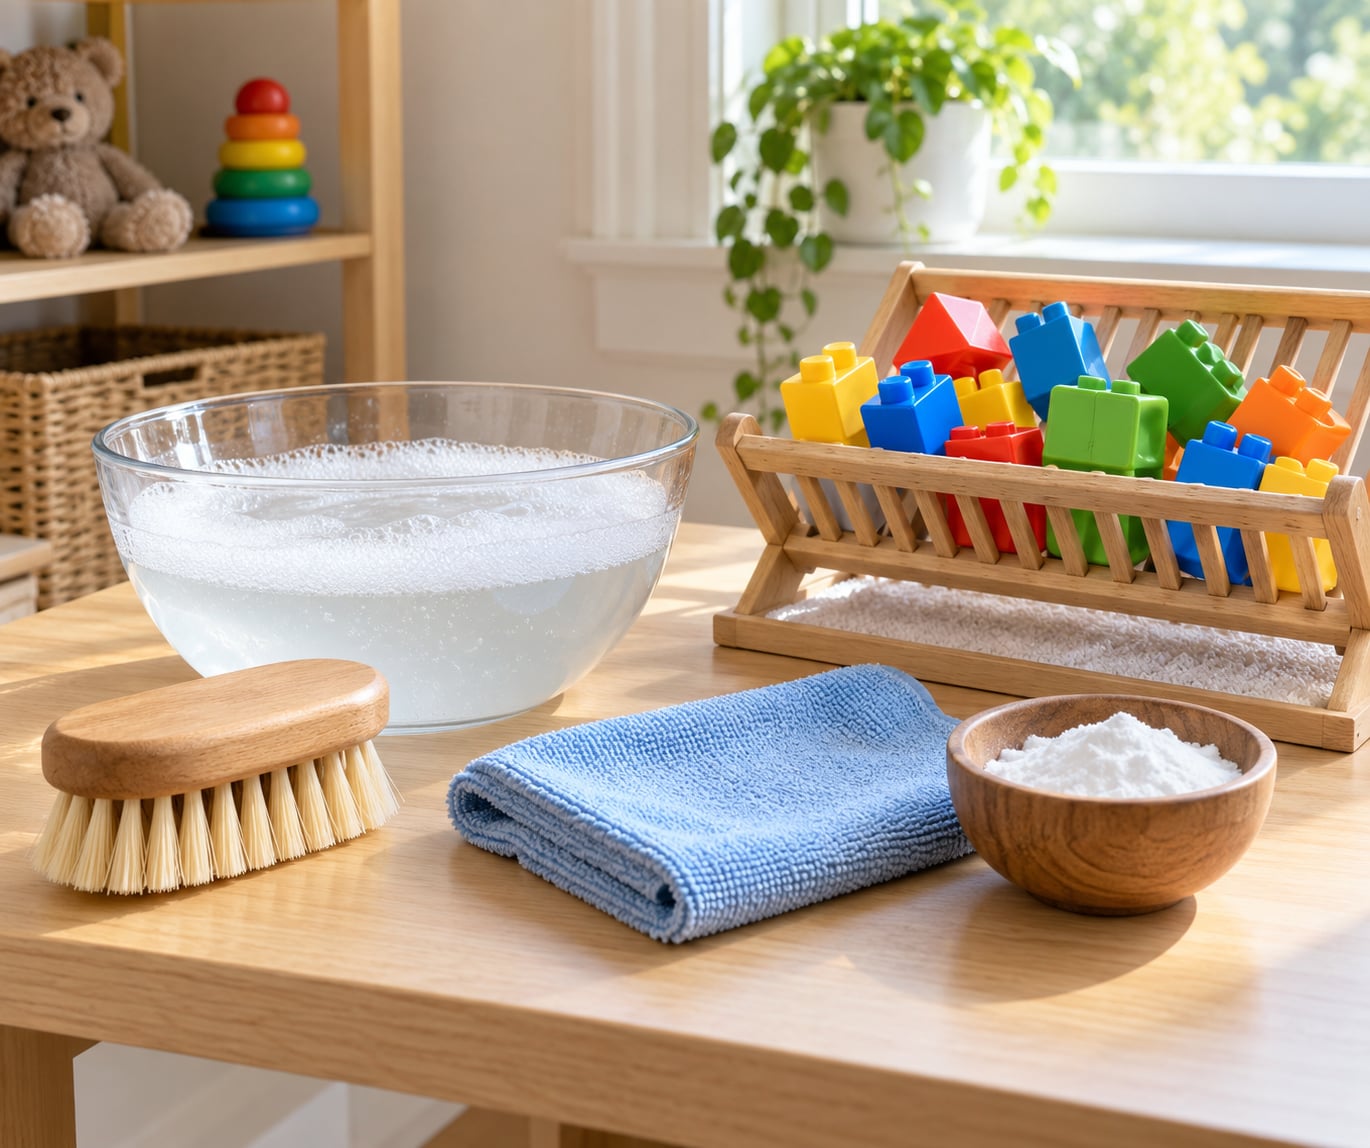
- Warm water and mild dish soap — the base cleaner for hard plastic and silicone. Fragrance-free varieties are the safer pick for toys that get chewed.
- Baking soda — useful as a paste for sticky residue and odors on rubber and plastic, and as a mild scrub for fabric.
- A soft-bristled brush — an old toothbrush works well for grooves, buttons, and speaker grilles where grime hides.
- Microfiber or plain cotton cloths — for wiping and drying. Microfiber leaves very little lint behind.
- White vinegar — optional, and only where the manufacturer’s instructions allow it. Never on wood, painted finishes, marble, or anything electronic.
- A basin or sink, and a drying rack or towel — for separating toys so they are not stacked while damp.
- A laundry bag and mild laundry detergent — for machine-washable plush.
- A soft toothbrush and a lint-free cloth — for battery compartments and switch plates.
Two things worth having nearby: a spray bottle of clean water for rinsing, and a dry towel you can press into crevices to pull water out of places air won’t reach. A hair dryer on cool is also more useful than people expect for hollow toys.
How to Clean Toys Without Harsh Chemicals: Step-by-Step
Work in this order every time, and adjust the cleaning step to the material. Most mistakes happen because a method that is perfect for hard plastic gets used on wood, plush, or a sound box.
How to Clean Toys by Material: Check the Care Label First
Manufacturer instructions always beat general advice. A toy that says “surface clean only” cannot go near water, no matter how grubby it looks.
Look for a label on the toy, its tag, or the maker’s website. Then identify the surfaces you are dealing with, because each one behaves differently:
- Hard plastic and silicone — tolerates warm water and soap well; scratches with abrasive pads.
- Wood — sealed wood can be wiped damp but never soaked or immersed.
- Fabric and plush — only some are machine washable; check for a care symbol and for a sound box or insert.
- Painted metal and activity toys — paint is the fragile part; test an inconspicuous spot first.
- Electronics — surface cleaning only, with batteries out.
If there are no instructions at all, choose the gentlest method the material allows. That is usually a damp cloth and time, not a stronger product.
Remove Loose Dirt and Grime First
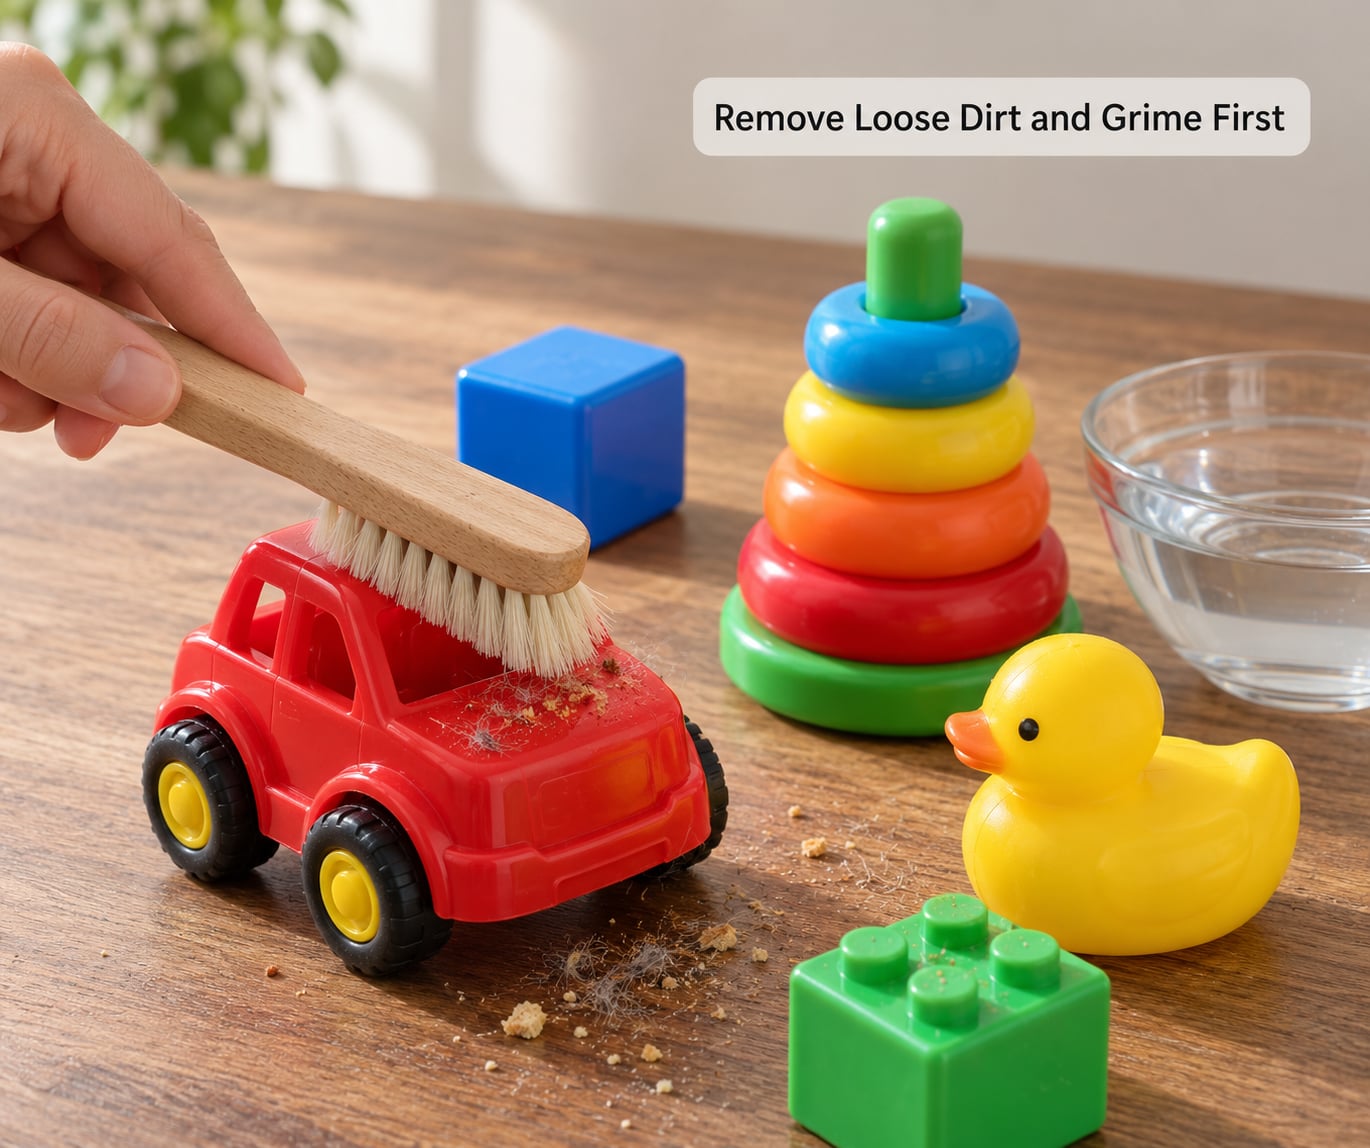
Dry or barely damp cleaning before any soaking prevents grit from scratching surfaces or grinding deeper while the toy sits in water.
Pick crumbs off the floor of the toy bin and out of grooves. Pull hair and fur off brushes, wheels, and gears by hand — a clump of hair wrapped around a wheel is what makes a car stop rolling. Empty any compartment that opens, and remove a loose cover if the maker allows it.
Knock plush against a hard surface or outside to shed loose dust, then vacuum the pile lightly with a brush attachment. Skip the beater bar; it snags fibers.
Wash Plastic and Silicone Toys
This is the group where warm water and a small amount of mild dish soap do nearly all the work.
- Fill a basin with warm water and add a small squeeze of dish soap, roughly a teaspoon per two cups.
- Drop the toy in and let it soak for a few minutes. Three to five minutes is enough for ordinary grime.
- Work a soft brush over grooves, seams, and the underside, where soap solution reaches better than a cloth.
- Rinse under running water until the suds are gone and nothing feels slippery.
- Dry on a rack or towel, spaced apart, not stacked.
You know it is done when it feels clean with no film, no smell, and no squeak — a silicone toy that squeaks under your thumb still has residue in it. Rinse again rather than leaving it.
For sticky syrup or mystery stickiness, make a paste of baking soda and a little water, spread it on, leave it 10 minutes, then scrub and rinse. Skip baking soda on printed or glued-on decals, where its mild abrasive can lift edges.
Clean Wooden Toys Safely
Wood swells when it drinks and cracks when it dries unevenly. That is why no wooden toy belongs in a basin.
Wipe sealed wood with a cloth that is barely damp — wring it out until it almost feels dry. Follow the grain, and dry the piece immediately with a second dry cloth. Keep it out of direct heat while it finishes.
Never soak, never run under a tap, and never put wooden blocks in the dishwasher. If the maker allows it, a food-grade mineral oil rubbed on after cleaning keeps the wood from drying out; re-oiling is usually needed only a few times a year.
Two signals mean replace rather than clean: a musty odor that returns after wiping, or black or fuzzy spotting that does not wipe off. That is mold in the grain, and it will not come out of a sealed finish.
Freshen Fabric and Plush Toys
Start by checking whether the toy has a sound box, lights, a weighted bean bag, or a glued-on nose. Those toys should not go in a washer, even in a bag, because agitation and spin damage the parts inside.
For machine-washable plush:
- Put the toy in a pillowcase or zippered laundry bag so filling does not tangle or tear the seams.
- Use cool water and a small amount of mild, fragrance-free detergent. Skip fabric softener and bleach entirely.
- Run a short, gentle cycle and an extra rinse.
- Tumble dry low if the care tag allows, then finish air drying with the toy alone in the dryer drum to fluff the filling.
- Make sure it is completely dry inside before it goes back on the shelf.
For plush that cannot be washed, work on the surface. Brush the pile with a soft brush, then dab with a cloth dampened with water and a drop of mild detergent. Use a toothbrush to separate matted fibers. Keep the cloth barely damp so the filling never saturates; a soaked toy takes days to dry and can grow odor inside.
For a marked plush toy that gets slept with every night, steam is a good option — a garment steamer held a few inches away, or a steam cleaner on its fabric setting. Vacuum right after while the fibers are loose and dry in a sunny, ventilated spot.
Wipe Painted Metal and Activity Toys
Activity tables, ride-on cars, and metal toys are mostly plastic and paint, so the damage comes from scrubbing rather than from soap.
Test first: rub the damp cloth once on an underside or a back corner. If color transfers or the finish dulls, stop and use the dry method or just a barely damp cloth. Then clean with mild dish soap on a damp cloth and wipe with a second cloth dampened with plain water.
No abrasive pads, no magic eraser, no scrubbing with a brush loaded with baking soda on a painted surface. These take the paint off in patches, which is worse to look at than the grime was.
Removable pieces — trays, cups, seat pads — can usually be washed separately in cool soapy water. Wash those parts more often than the frame, since the frame never gets rinsed as thoroughly.
Clean Battery-Powered and Electronic Toys
Electronics are surface-clean only, and the only safe liquid is barely damp on a cloth that never touches an opening.
- Turn the toy off, then remove the batteries if the compartment opens without tools.
- Remove loose debris with a dry, soft brush, then vacuum the speaker grille gently.
- Wipe the shell with a cloth barely damp with water, adding a drop of mild soap only for sticky patches.
- Keep moisture away from speaker holes, switches, seams, and the charging port.
- For sticky residue on hard surfaces, a tiny amount of isopropyl alcohol on a cloth works well — but only on plastic parts, never near a display or a soft-touch coating, and never while the toy is powered.
- Dry the toy fully with a dry cloth and let it sit upright for several hours before replacing the batteries.
Inspect the battery compartment with a flashlight each time you clean. White, green, or crusty residue means leakage: take the batteries out and stop using that compartment until it has been professionally assessed. Corrosion that has eaten into the contacts will not recover at home.
If a toy cannot be opened without tools, or the maker’s instructions say the surface is not cleanable, do not open it. Wipe and brush the exterior only, or set the toy aside.
Rinse, Dry, and Reassemble
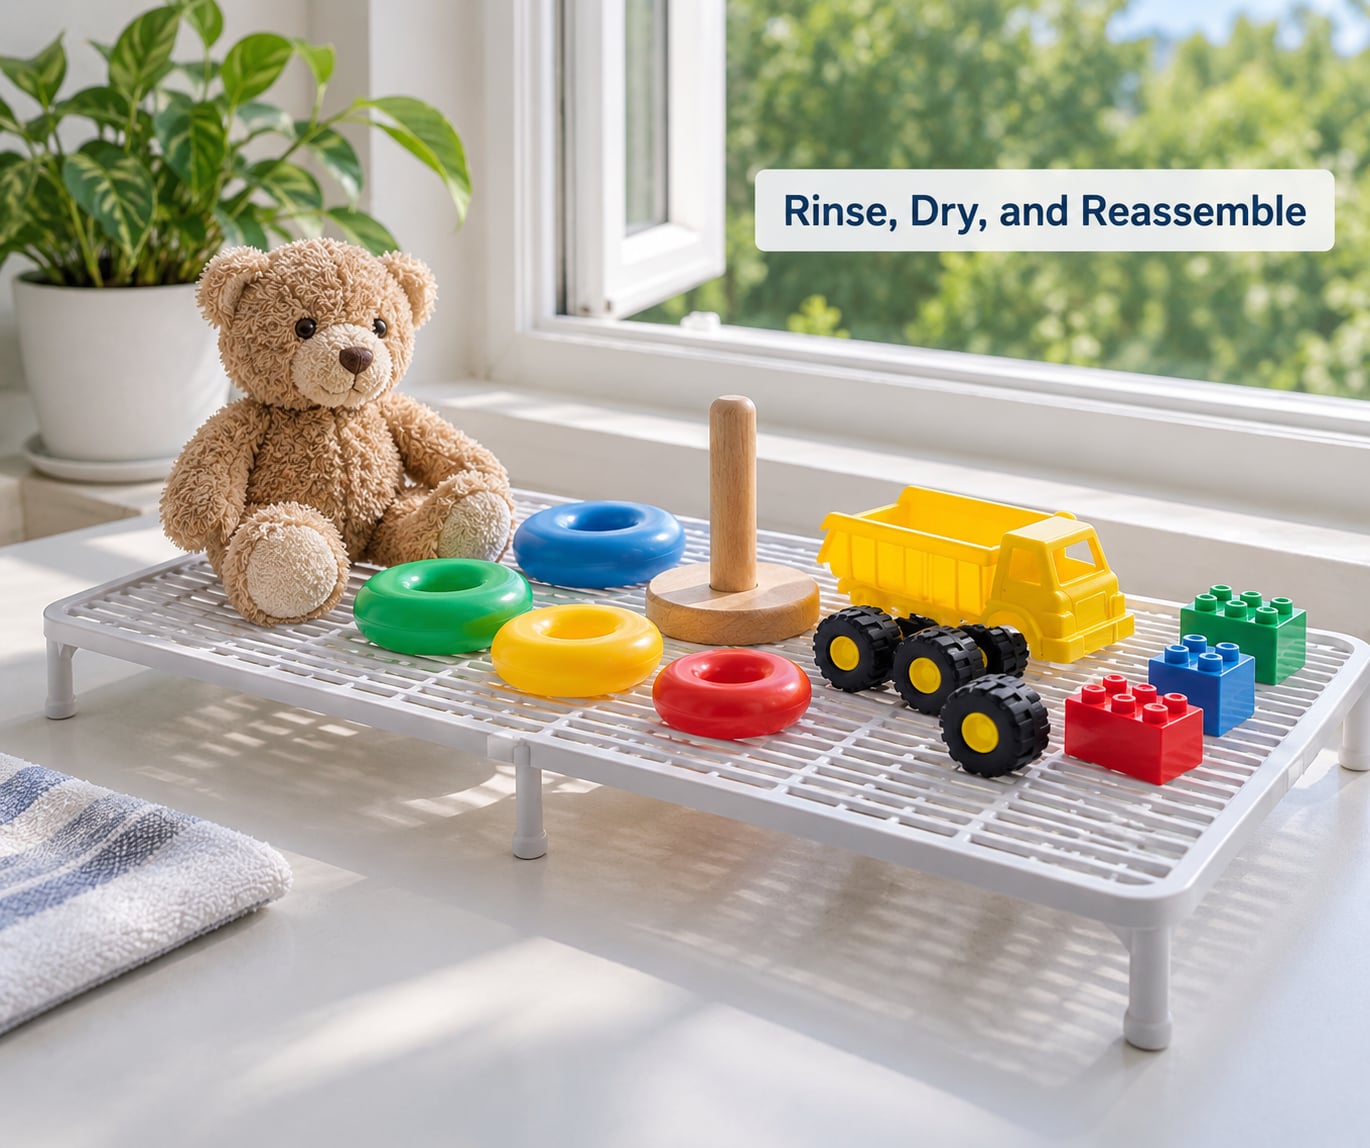
Every soap you use needs a rinse, and every rinse needs a full dry. Do both before a toy goes back in storage.
- Rinse fully. Wipe with a clean damp cloth or run water through everything that allows it. A film of soap is the thing parents worry most about, because children put their mouths on exactly that surface.
- Air dry completely. Spread toys on a rack or towel with space between them. Do not put damp toys back in a closed bin.
- Check crevices. Hollow bath toys and toy cars trap water inside. Press a dry towel into the openings, then use a hair dryer on cool with the nozzle inside.
- Test the toy. Color, sound, movement, and battery function should be unchanged. If a print is fading or a squeak has gone patchy, that toy needs a different method next time.
- Store loosely. A ventilated basket beats a sealed plastic tote for toys that are still slightly damp.
A workable weekly routine: plastic and silicone toys go through the sink on a Sunday, plush goes in the laundry, electronics and wooden toys get a quick once-over. Bath toys get extra attention after every use, because they are wet and enclosed by design.
Common Mistakes
Most of these come from applying one method to every toy. Each has a simple fix.
Soaking every material the same way
Wood splits, painted finishes cloud, and electronics die. Pick the method from the material list above, not from habit. Ten minutes of careful wiping beats an hour of soaking and drying for anything that is not sealed plastic or silicone.
Mixing cleaning products
This is the one to take seriously. Never combine vinegar with hydrogen peroxide, never combine bleach with vinegar, and never combine bleach with ammonia or with any other cleaner. Some of these combinations release gases that irritate lungs and eyes, and the reaction can leave a corrosive residue on the toy afterward. Use one product at a time, and rinse the surface in between.
Using bleach on ordinary grime
Bleach is a disinfectant, not a cleaner, and it works on grime by bleaching it. It also corrodes metal parts, degrades rubber and silicone over time, and leaves a residue you then need to rinse hard. For sticky food and mystery film, a baking soda paste or warm soapy water is the right tool.
Scrubbing painted finishes
Any abrasive — magic eraser, scouring pad, stiff brush with baking soda — takes paint in patches. Use a soft cloth and a light touch, and test the finish first.
Using hot water on plastics and fabrics
Hot water can warp plastic, set protein stains like milk in fabric, and shrink plush. Warm water plus detergent is enough for both, and the dryer heat is what does the germ-killing afterwards.
Returning damp toys to the bin
A closed bin holds the moisture in, and that is how odor and mold start. Dry each toy fully, spread out, and store loosely. Hollow bath toys deserve a specific habit: drain the water, plug nothing closed, and leave them on a rack after every bath.
Trusting “natural” on a label
Fragrance is one of the most common irritants in cleaning products, and it is often added purely for scent. If a child mouths toys, choose fragrance-free and unscented products, and look for a stated registration number from the EPA if the product claims to disinfect. A cleaning product that claims to disinfect should say so on the label and list how long the surface must stay wet.
One last habit worth keeping: cleaning less often but more thoroughly beats scrubbing the same bin every other day. Once a week for hard toys, after every use for bath toys, and immediately after any illness in the house.
Frequently Asked Questions
Can I use baking soda to clean toys without harsh chemicals?
Yes, and it is one of the gentlest options available. Mix baking soda with a little water into a thick paste, spread it over sticky spots, leave it for about 10 minutes, then wipe or scrub with a soft cloth and rinse. It works well on rubber, plastic, and fabric because of its mild abrasive action. Skip it on printed decals, glued-on parts, and wood with a waxed finish, where it can leave a whitish film.
Is vinegar safe for cleaning children’s toys?
Diluted white vinegar is generally fine for hard surfaces, and many parents use one part vinegar to one part water. It smells sharp, cuts grease and residue, and rinses away completely. Two limits are worth knowing: vinegar is not registered as a disinfectant, so it should not be relied on when someone is genuinely sick, and it can dull wood, painted finishes, and marble. Always follow the toy’s care instructions first.
What is the safest way to disinfect toys?
After the toy is clean, use a product whose label actually claims to disinfect and carries an EPA registration number, then keep the surface visibly wet for the full contact time stated on the label before wiping it off. A product that only says antibacterial or kills 99.9% of germs without that contact time is not doing what the bottle implies. Do not combine two disinfectants, and rinse toys a child mouths with water afterward.
Which toys should never be soaked or washed?
Anything with a sound box, batteries, lights, or glued-on parts should never be soaked or put in the washer, because water gets inside and destroys the electronics. Wooden toys should never be immersed, because they swell and crack. Painted metal and activity toys should not be soaked where paint can lift. Antique or unlabelled toys are best wiped only, since you cannot tell what finish they carry.
How should I clean a toy after battery leakage?
Remove the batteries outdoors, wearing gloves, and put them straight in a sealed bag for recycling. Do not touch leaking batteries with bare hands. Take the residue out of the compartment with a cotton swab dampened with a little water, then dry it fully. Corrosion that has reached the contacts or eaten into the plastic cannot be cleaned at home, and the compartment should be checked before that toy is used again.
How often should toys be cleaned?
Hard plastic and silicone toys need cleaning about once a week, or whenever they are sticky or visibly grimy. Plush that a child sleeps with should go in the laundry every one to two weeks. Bath toys need attention after every single use, because trapped moisture is what turns them smelly and moldy. Wooden toys need a monthly wipe-down, and toys shared after any illness in the home should be cleaned straight away.
Conclusion
The safest way to clean toys without harsh chemicals is a short, boring routine: check the care instructions, clear away loose dirt, use the mildest cleaner the material allows, rinse it off properly, and let the toy dry completely before a child picks it up.
Start with the toys that go in mouths and the ones that get wet most often. Handle the ones with batteries or glued parts with a cloth and nothing more. Updated for 2026.