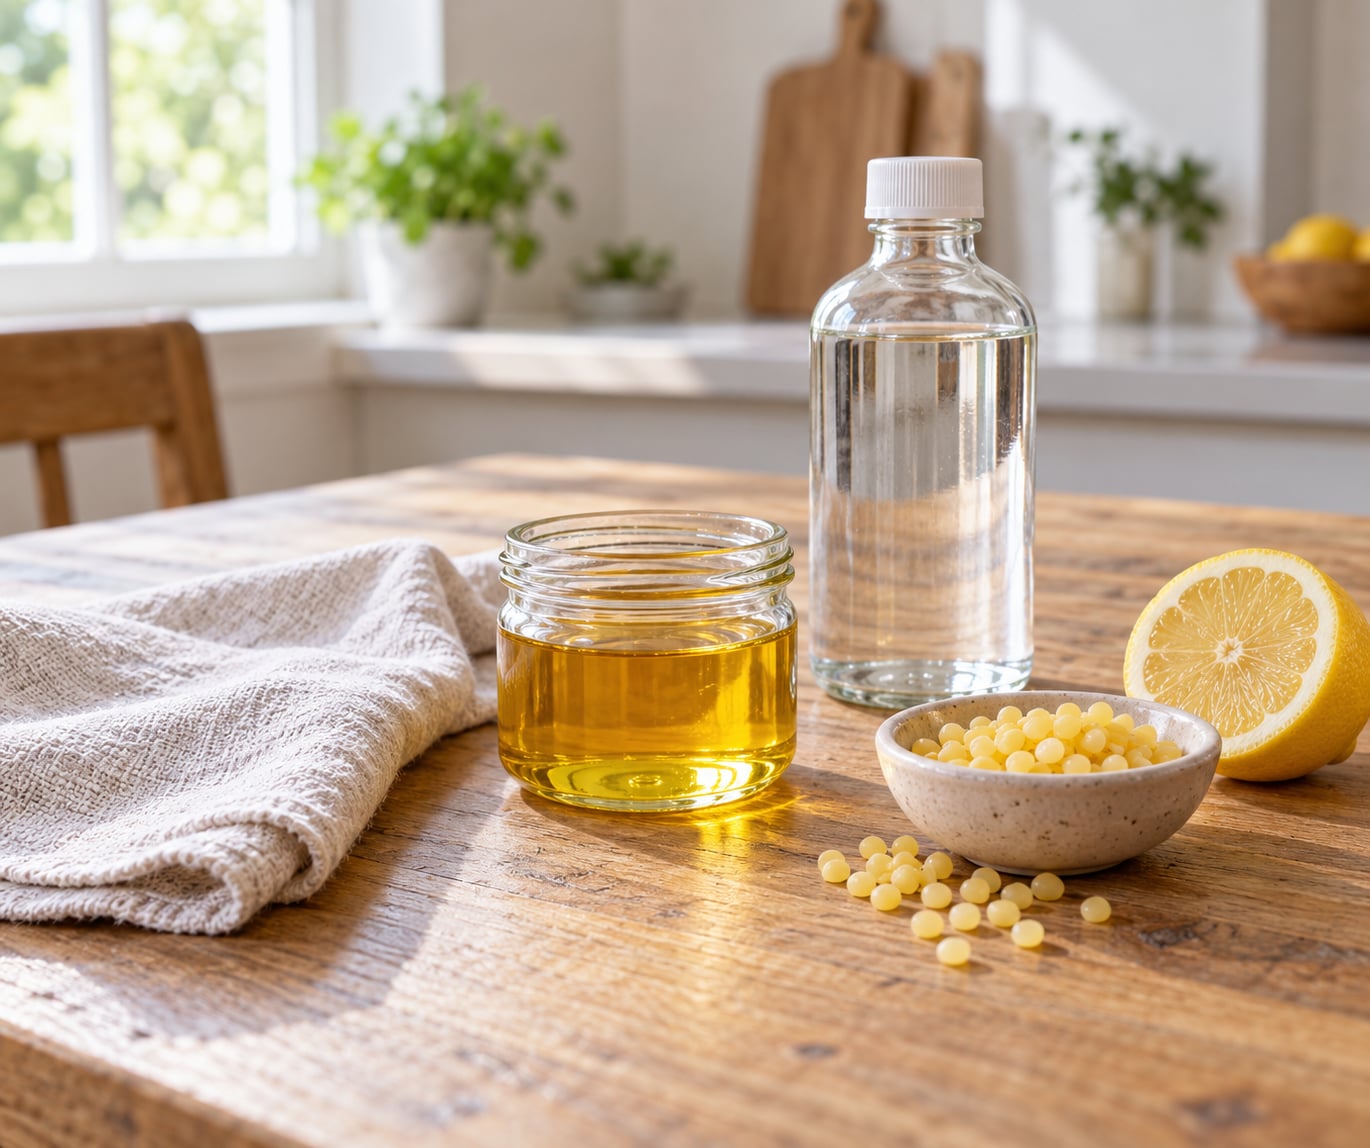
The fastest way to make homemade wood polish is to shake together olive oil and white vinegar, add a few drops of lemon essential oil, and rub it onto the wood with a soft cloth. A batch takes about two minutes and lasts months in a jar, so you can treat a whole dining table before your coffee goes cold.
The idea is simple. Oil soaks into dry, thirsty grain and brings back a little depth of color, while the vinegar loosens old grime. Neither one is a sealant, which is the part most people misread. This is care, not varnish.
Table of Contents
- What You Need
- Step-by-Step
- Step 1: Choose the Right Recipe for the Finish
- Step 2: Mix the Homemade Polish
- Step 3: Test It on a Hidden Area
- Step 4: Clean and Prepare the Wood
- Step 5: Apply a Thin Coat
- Step 6: Buff and Inspect the Result
- Step 7: Store the Polish Safely
- Common Mistakes
- Frequently Asked Questions
- Is homemade wood polish safe for children and pets?
- How often should I polish wood furniture?
- Can you use homemade wood polish on painted furniture?
- How do I get homemade wood polish off a surface?
- Why did my wood get sticky after I polished it?
- How long does a batch of homemade wood polish last?
- Conclusion
What You Need
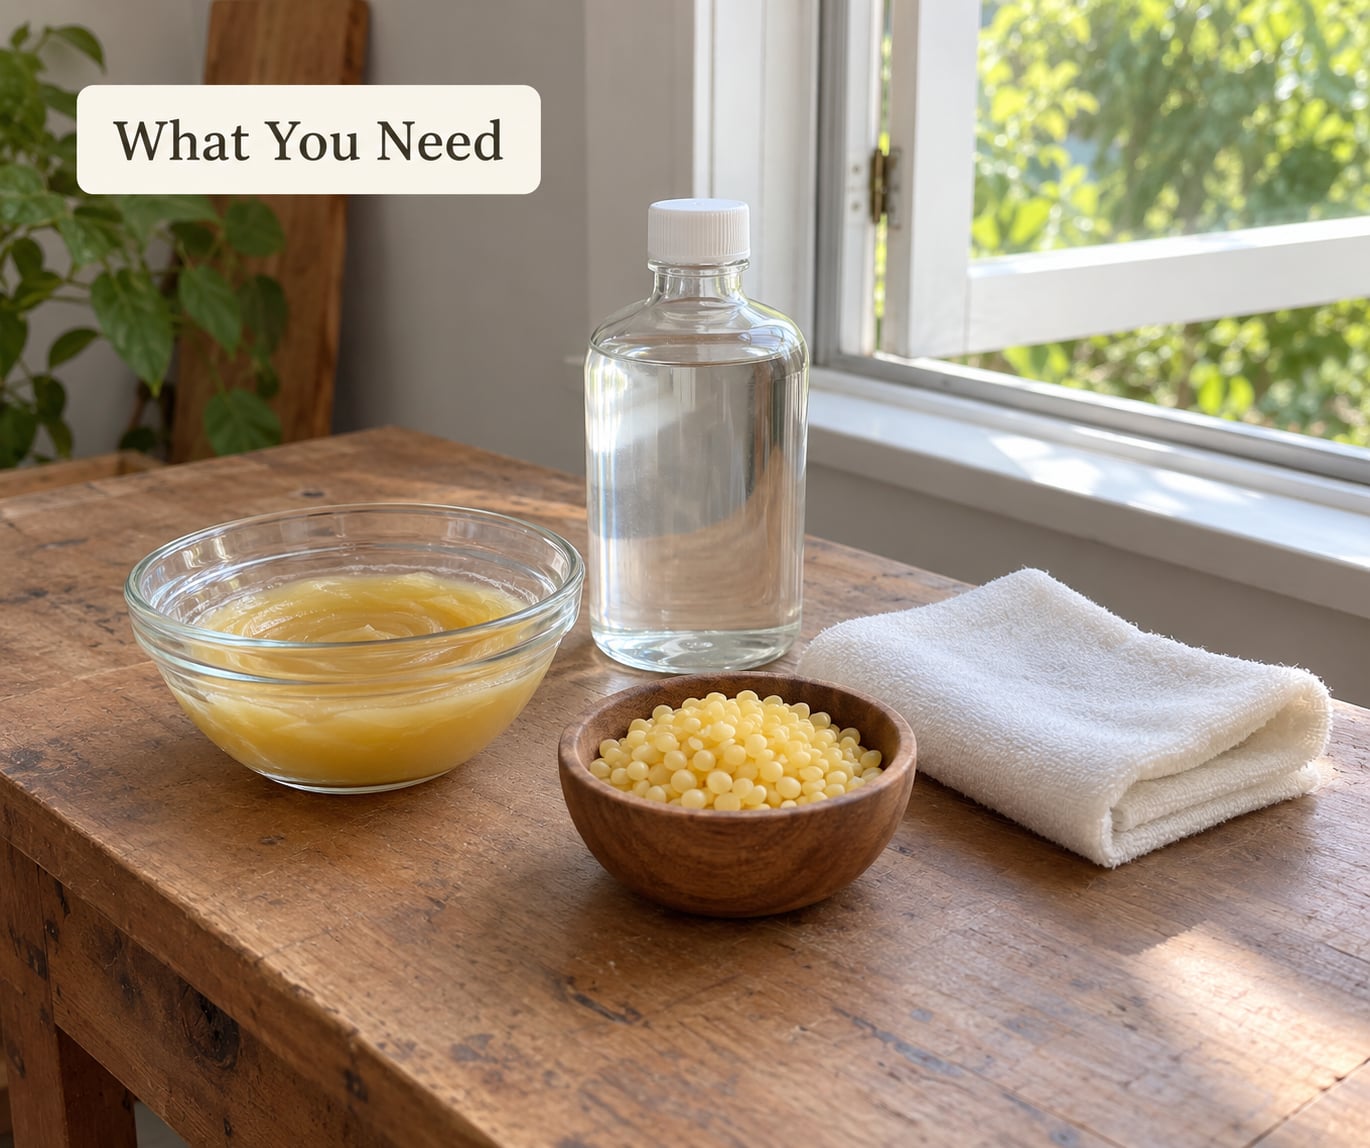
For the everyday oil polish, you need very little, and most households already have it in the kitchen.
- 1/2 cup olive oil (or jojoba oil for a lighter, less odor-prone finish)
- 1/4 cup white vinegar
- 10 drops lemon essential oil, or the juice of half a lemon
- A small glass jar or a spray bottle with a trigger
- Two soft lint-free cloths: one to apply with, one clean and dry for buffing
Use food-grade mineral oil if you are polishing a cutting board, a wooden spoon, or a play kitchen. Mineral oil is tasteless, odorless, and will not go rancid the way olive oil can.
For a beeswax version you will add 1 part beeswax pellets to 3 or 4 parts oil, which is the ratio woodworkers use most often. Warm the wax gently in a warm-water bath, never directly on a burner.
Keep this polish off painted, lacquered, and shellac-finished surfaces, and off laminate counters and laminate flooring. Skip raw unfinished wood too, since an oil polish is not a sealer and the stain will stay open. If you are unsure what the finish is, the underside or a hidden leg will tell you: shellac flakes in pale flakes, lacquer looks like a thin plastic skin, varnish has a slight amber tint.
Step-by-Step
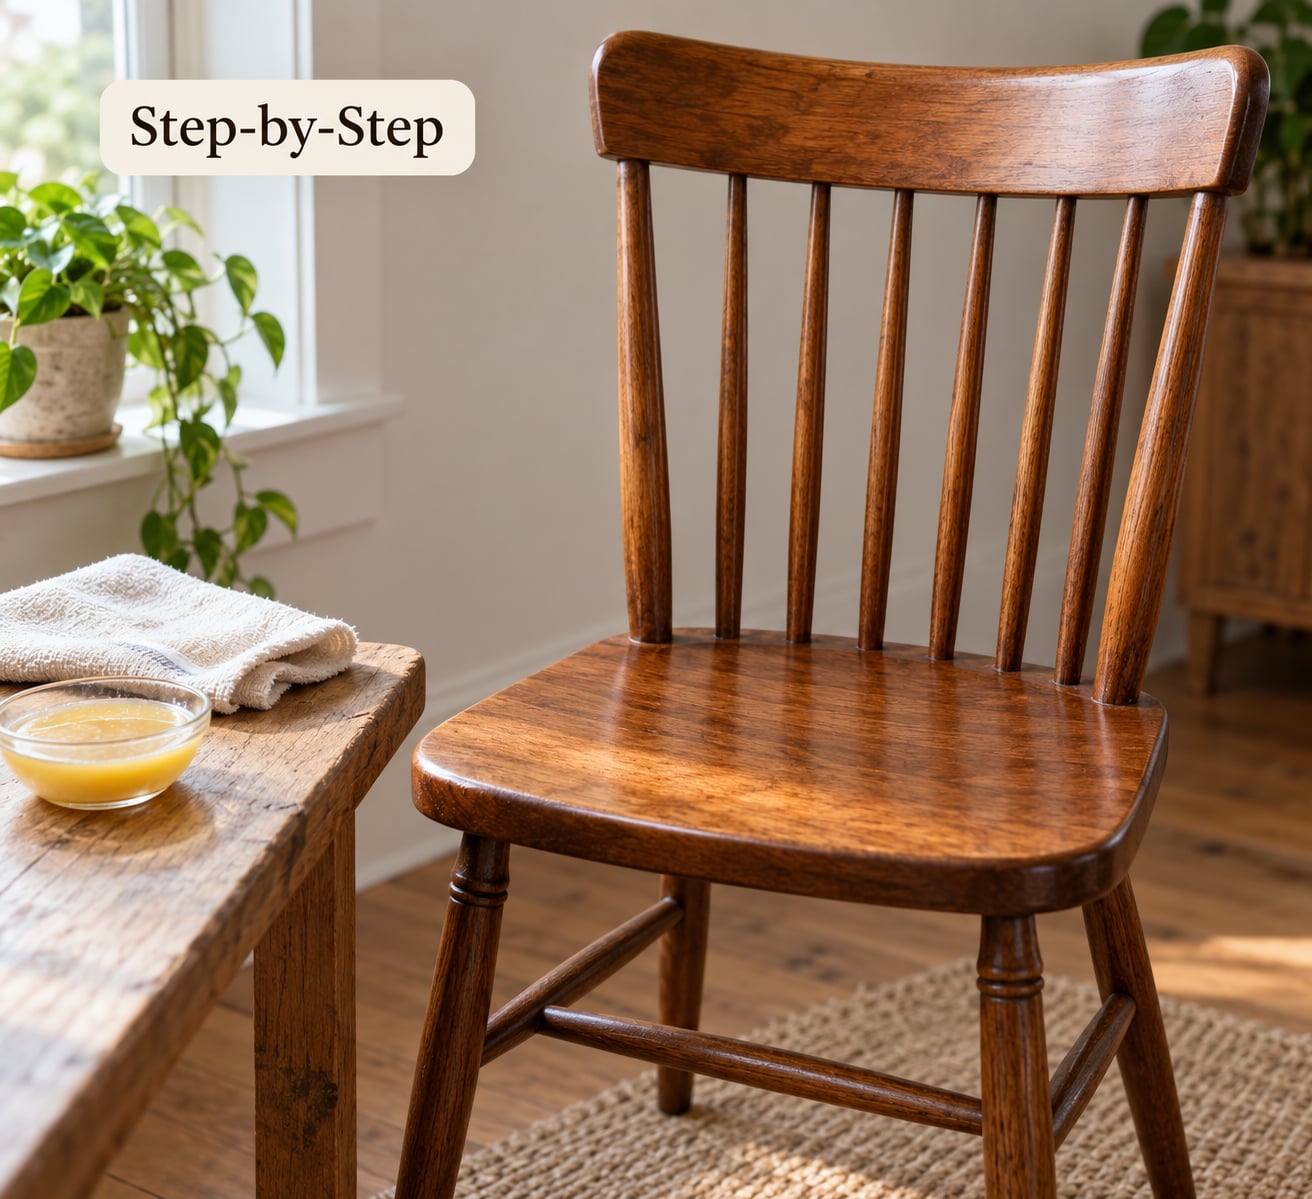
Work in this order and the whole process takes about twenty minutes per piece of furniture, most of it waiting.
Step 1: Choose the Right Recipe for the Finish
Natural sealed wood takes the oil-and-vinegar polish well. Dark walnut and mahogany deepen nicely, while light oak and pine come back brighter. A wax blend earns its extra steps on pieces that get heavy daily use, like a banister or a kitchen table that takes elbow grease.
Skip polish entirely on anything already coated in shellac, lacquer, or factory lacquer, and on pieces that were just refinished. Freshly finished wood needs to cure for weeks before any oil goes near it.
Step 2: Mix the Homemade Polish
Pour the vinegar into your jar first, then add the olive oil slowly while you shake. It will look like it will not combine. That is normal. Shake for a full thirty seconds and most of it comes together into a cloudy emulsion.
If you are using beeswax, melt the pellets first. Set a heatproof bowl in a pan of warm water, add the wax, and stir until liquid. Never heat wax directly over a flame, and never heat raw linseed oil at all, because drying linseed oil can self-ignite at temperatures a kitchen reaches.
Pour the warm wax into the oil and stir until the mixture is clear and uniform. Pour it into a jar and let it cool until solid, then scrape the surface to loosen it before each use.
Step 3: Test It on a Hidden Area
Put a small dab on the underside of a back leg, the inside of a drawer, or any spot nobody sees. Wait fifteen minutes and look at it. You want an even, slightly deeper color with no tackiness and no dark blotches.
If the patch looks cloudy, greasy, or the finish feels sticky, wipe it with a barely damp cloth right away and skip that recipe for this piece.
Step 4: Clean and Prepare the Wood
Polish goes on clean wood, not dusty wood. Wipe the surface first with a dry or barely damp cloth and let it dry fully. Never soak a cloth and wring it over the piece, and stay away from ammonia or bleach-based cleaners, which can cloud a finish permanently.
For heavy kitchen build-up, the linseed option is the strongest. Stir together 1/2 cup boiled linseed oil, 1/4 cup turpentine or mineral spirits, and 2 tablespoons white vinegar. Work in a well-ventilated room, and keep the turpentine version away from kids and pets until the smell has fully cleared.
Step 5: Apply a Thin Coat
Put the polish on the cloth, never on the wood directly. A spray bottle helps here, but only to mist the cloth in your hand. Spraying the furniture soaks it and leaves marks you cannot buff out.
Work along the direction of the grain in long strokes until the surface looks evenly damp and no more. It should look like a faint sheen, not a wet patch. Leave it five minutes to absorb.
Step 6: Buff and Inspect the Result
Take the second, clean dry cloth and buff with the grain until the wood feels smooth to a dry fingertip. The classic mistake is buffing too soon, so if the cloth smears instead of gliding, wait a few more minutes and use a fresh section of cloth.
A second coat is worth it only on bare or worn wood, and only after the first coat has fully soaked in overnight. On sealed furniture, one thin coat is plenty.
Step 7: Store the Polish Safely
Label the jar with the recipe and the date. Oils separate over time, so shake the jar hard for ten seconds before every use. Stored away from heat and light, an oil-and-vinegar batch stays usable for several months, and a beeswax blend keeps longer, often a year or more.
Spread every oily rag flat outdoors on concrete to dry in the sun, then throw it away. Oil-soaked cloths hold enough heat to self-ignite, and a pile of them in a bin has started fires in real homes. Do not put them in the washing machine, and follow your local guidance for oil waste if the local disposal service says so.
Common Mistakes
The most reported complaint about homemade wood polish is a greasy, smudged surface that traps dust for days. It almost always comes from too much oil, not from a bad recipe.
- Too much oil: use the 2:1 oil-to-vinegar ratio and count the drops. If the wood stays tacky after buffing, wipe it with a cloth barely dampened with warm water, then dry it immediately and buff again.
- Wrong oil for the job: olive oil smells food-like and can oxidize over time. Mineral oil or jojoba is calmer for pale wood and for anything a child or pet mouths.
- Applying over dirt: dust turns into a gritty smear under the cloth. Clean first, dry fully, then polish.
- Skipping the hidden test: one small dab under a drawer prevents a whole piece from turning blotchy.
- Melting wax over direct heat: wax smokes and can scorch. Use a warm-water bath and stir constantly.
- Buffing immediately: give the oil five minutes. Buffing early drags the oil around and causes streaks.
- Rags piled up wet: they can self-heat. Flatten them outdoors on concrete, let the sun do the work, then bin them.
For a sticky surface that will not budge, a second cleaning with a few drops of dish soap in warm water, wiped on and then dried with a clean cloth, usually resets it. Beyond that, a light sanding with 220-grit paper and a fresh thin coat of wax will do what polish alone cannot.
Two small habits keep furniture in better shape than any polish. Dust weekly with a dry microfiber cloth, and wipe spills within minutes rather than letting them sit overnight. A polish every six to eight weeks is plenty for a table in normal use, and far less for a formal cabinet.
Frequently Asked Questions
Is homemade wood polish safe for children and pets?
The oil-and-vinegar version is generally fine once it has fully dried, because both ingredients are ordinary food items. Skip essential oils around pets, and skip turpentine entirely in rooms a child or animal uses. Beeswax blends are the safest option for wooden toys and play kitchens. Let any polish dry completely before the surface gets touched or licked.
How often should I polish wood furniture?
For a dining table or chair, every six to eight weeks is a sensible rhythm, and that matches what most woodworkers recommend. Cabinets and formal sideboards need far less, often twice a year. Weekly dry dusting does more for your furniture than a heavy polish, because grit is what scratches a finish.
Can you use homemade wood polish on painted furniture?
Not safely. Oil and vinegar are absorbed by the paint, never wiped off it, so the finish can stay permanently greasy and attract dust. The same goes for lacquer, shellac, and laminate surfaces. On painted wood, stick to warm water with a few drops of dish soap and a soft cloth, nothing more.
How do I get homemade wood polish off a surface?
Wipe it with a cloth dampened with warm water and a drop of dish soap, working along the grain, then dry the wood at once with a clean dry cloth. For an old stubborn film, repeat and leave it overnight with a little of that soapy cloth on the surface. If the finish still feels oily after two tries, a light pass with 220-grit paper followed by a fresh wax coat restores it.
Why did my wood get sticky after I polished it?
Too much oil, almost certainly. The wood cannot absorb everything, and the excess sits on the surface gathering dust. Clean it with a warm soapy cloth, dry it properly, then buff. Next time halve the oil and use a 2:1 ratio of oil to vinegar, counting every drop of essential oil too.
How long does a batch of homemade wood polish last?
A glass jar of olive oil and vinegar keeps several months if you shake it before use, since the two parts separate over time. A beeswax and oil blend lasts longer, often a year or more. A water-only addition shortens the life, so make small batches and remake rather than storing a large jug for years.
Conclusion
Start small: mix a quarter-cup-sized batch of olive oil, white vinegar, and a few drops of lemon, dab it under a drawer or on a hidden leg, and give it fifteen minutes. If the patch looks even, a thin coat over the whole piece followed by a five-minute wait and a proper buff will bring back a surprising amount of depth, especially on dry walnut and oak.
The recipe only matters as much as the finish underneath it, so identify that first and treat anything antique or valuable conservatively, with a product meant for the surface rather than a kitchen mixture. And keep those oily rags flat on concrete in the sun until they are bone dry.