A tissue paper suncatcher is layered coloured tissue paper on a clear backing, hung in a window so sunlight shines through and throws colour across the room. To make one, cut tissue into small pieces, layer it over contact paper, wax paper or a recycled plastic lid, let it dry, then punch a hole and hang it. Most of the work takes 30 minutes, plus drying time.
Here is the short version of how to make a tissue paper suncatcher if you want to start right now:
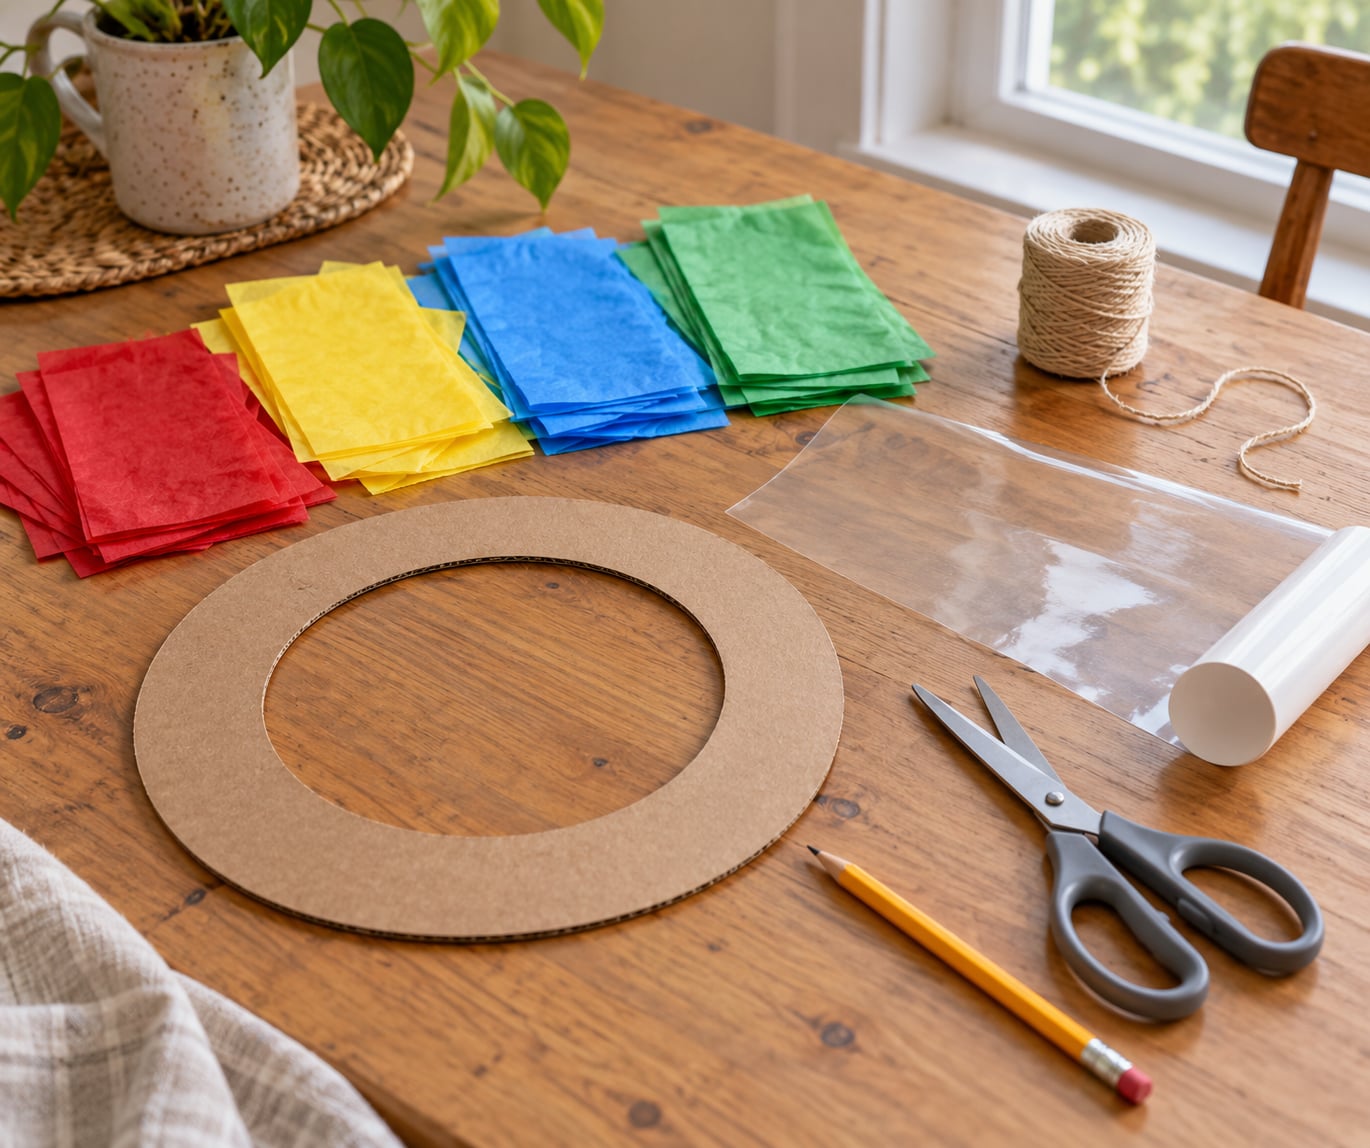
- Coloured tissue paper, 8 to 12 sheets
- Clear contact paper, wax paper or a plastic lid
- Cardboard or cardstock for a frame
- White school glue or Mod Podge
- Scissors and a foam brush
- Paper plate or plastic lid to work on
- String, yarn or ribbon, plus a hole punch
Table of Contents
- What You Need to Make a Tissue Paper Suncatcher
- Step-by-Step: How to Make a Tissue Paper Suncatcher
- Choose and Cut the Tissue Paper
- Layer the Tissue Paper
- Attach the Tissue Paper to the Backing
- Add the Hanging Details
- Display Your Suncatcher
- Common Mistakes and How to Fix Them
- Frequently Asked Questions
- What is the best adhesive to use for a tissue paper suncatcher?
- Can toddlers make a tissue paper suncatcher?
- Can I make a tissue paper suncatcher without contact paper?
- How do I hang a tissue paper suncatcher without damaging the window?
- Will sunlight fade the tissue paper?
- Can I use wax paper instead of clear contact paper?
- Conclusion
What You Need to Make a Tissue Paper Suncatcher
The material list is short because every method uses the same four things: a tissue paper supply, a clear backing, something stiff around the edge, and a way to hang it. What changes is the backing, and that is where the three main methods differ.
Backing options. Contact paper is a self-adhesive clear vinyl sheet, and you peel the tissue straight onto it with no glue. Wax paper works the same way but is cloudier, so colours look softer. A recycled plastic lid from a yoghurt pot or cream tub needs glue, and costs nothing.
Frame options. Cardboard or cardstock cut into a shape gives the crispest edge, and a paper plate ring is the fastest. Wire is the traditional choice, and it bends to any outline you want.
Adhesives. Mod Podge is a water-based decoupage glue and sealer that dries clear and slightly shiny. Diluted white school glue works nearly as well and costs a fraction. Skip hot glue guns, rubber cement and spray adhesive, all of which bleed through tissue or warp it.
Age and difficulty. This is a four-and-up project, and most of the layering can be done by a preschooler with an adult nearby. Scissors with points suit ages six and up, and blunt-tip scissors work for younger children. Any bead embellishments are a choking risk under three.
One more thing worth knowing: tissue paper tears easily and cheap brands bleed dye, so handle sheets gently and work on a plastic plate or silicone mat rather than newspaper. That one habit prevents most of the mess people complain about.
Step-by-Step: How to Make a Tissue Paper Suncatcher
Choose and Cut the Tissue Paper
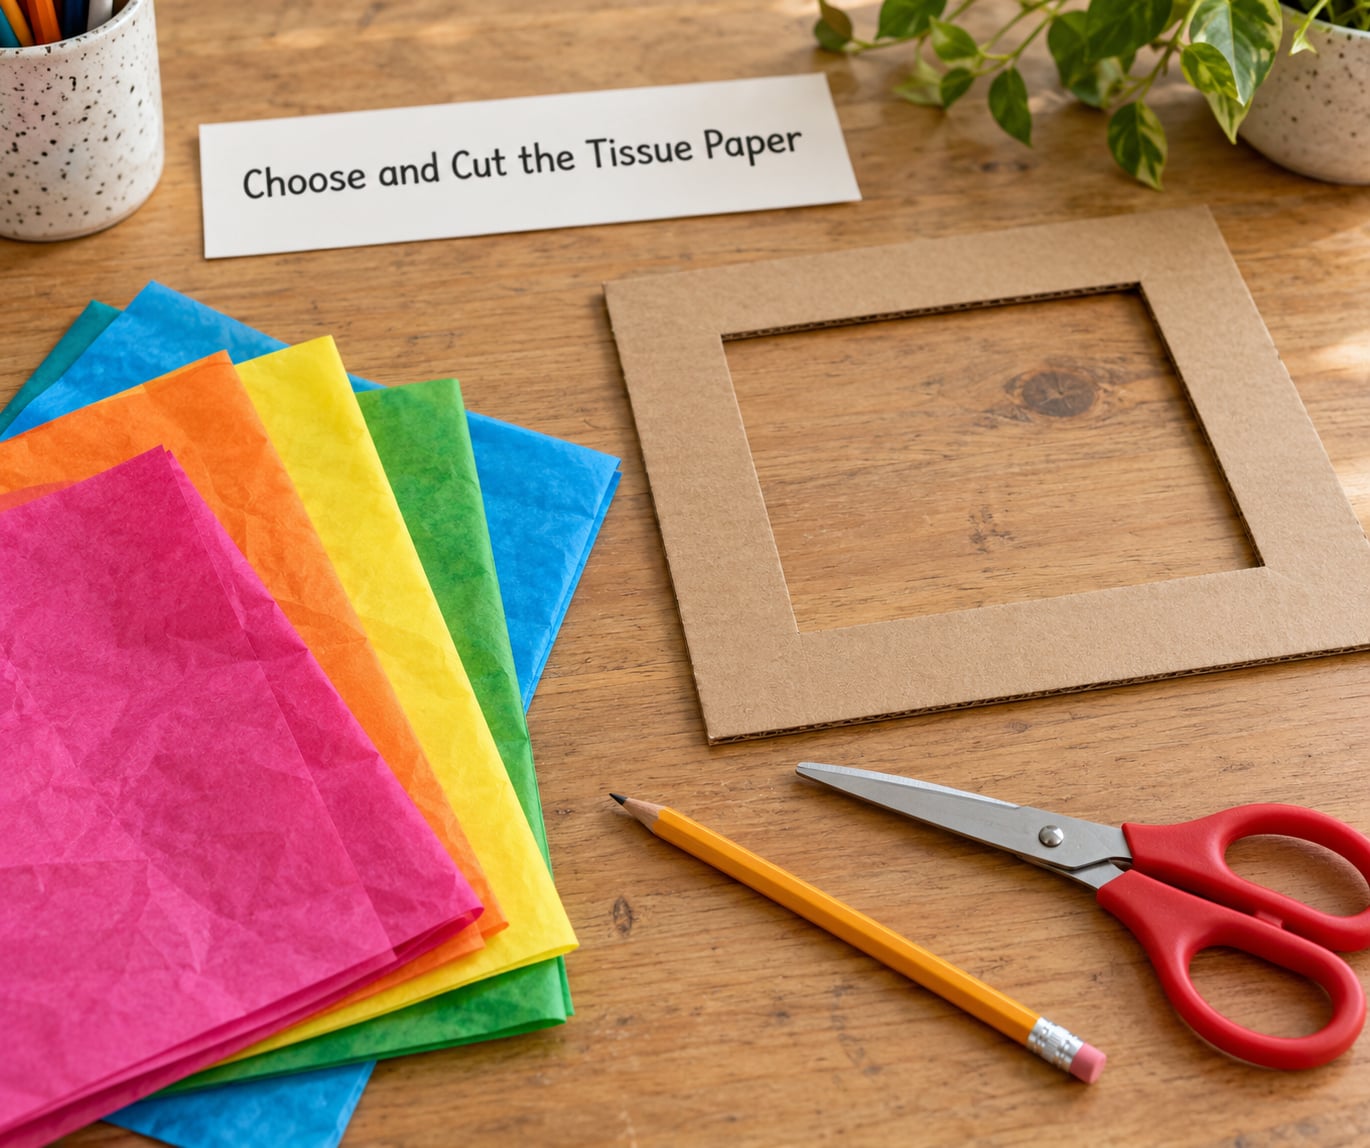
Start with the shape rather than the paper. Cut a cardboard or cardstock frame roughly 8 inches across, or trace a paper plate and cut the middle out to leave a ring. Whatever you choose, make the hole or frame slightly smaller than the finished piece so it gets trimmed away later.
Cut the tissue into squares of about 2 inches. Cutting them slightly oversized is fine, since the edges get trimmed back. Work from a neat stack rather than pulling sheets off one at a time, which is where most tearing starts.
Layer the Tissue Paper
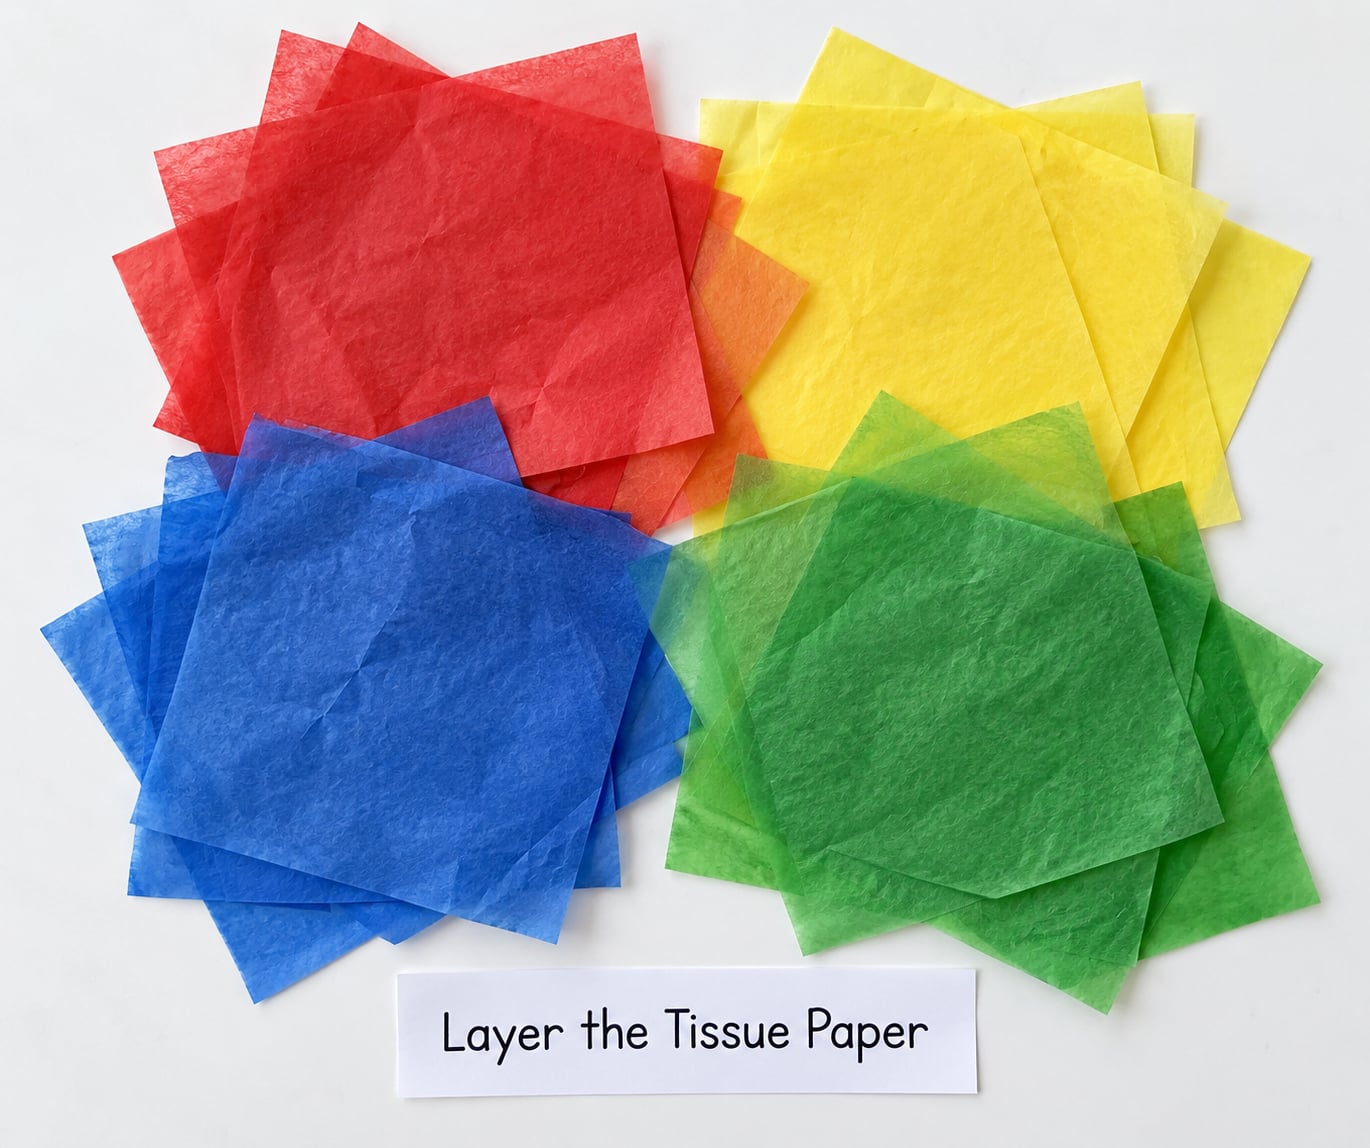
Build the design by overlapping squares rather than butting them edge to edge. Each overlap mixes two colours optically, which is the whole point of the craft: red over yellow makes orange, blue over yellow makes green.
Use more colours than feels sensible. Three look tidy, five look joyful, and a second layer of the same colour lightens a patch without needing a lighter sheet. Torn pieces work as well as cut ones, and give the mosaic effect that neat squares do not.
Attach the Tissue Paper to the Backing
With contact paper, peel back about two inches of the liner, lay the tissue down, press it flat with the palm of your hand, then peel a little more. Working in short sections beats pulling off the whole sheet at once, because the backing curls and grabs.
With glue, brush a thin coat onto the back of each tissue square and lower it onto wax paper or the plastic lid. Use a foam brush rather than bristles, which catch and tear thin paper. Push out air from the centre outwards, and never scrub.
Let each piece set for a minute before the next goes on. Once the panel is covered, trim the overhang with scissors and leave it flat to dry overnight.
Add the Hanging Details
Hang it once the panel is dry to the touch all the way through. Punch two or three holes about an inch in from the edge, spaced evenly, so the suncatcher hangs level rather than tipping forward.
Thread yarn, ribbon or fishing line through the holes and tie the ends on the back. For a glue-seal panel that feels fragile at the holes, slide a small strip of tape inside first. If you would rather not punch after the fact, make the holes in the backing before layering.
Display Your Suncatcher
Hang it where light passes straight through. A window that gets morning or late afternoon sun shows colour best, because overcast light leaves the panel looking flat. A suction cup hook on the glass or a clear tape tab holds it without touching the frame.
Direct sunlight makes the colours glow hard, so re-tying the string a little higher or lower is usually all it takes to get the panel square to the window.
Common Mistakes and How to Fix Them
Wrinkled tissue paper. Most wrinkles come from pressing too hard or laying the sheet down in one go. Press with a flat palm from the centre outwards and let each section set before moving on.
Torn squares. Tissue is stronger doubled up than single, and foam brushes are kinder than bristles. Glue one side at a time rather than soaking the whole sheet, and cut on a flat surface rather than holding the paper in the air.
Bleeding colours. Cheap tissue releases dye as soon as it gets wet. Test a scrap first, work on a silicone mat or plate you do not mind staining, and keep sheets from wicking water against each other.
Muddy colour. Too many layers of too many shades average out to brown. Leave gaps where a single colour shows, and change the colour every two or three pieces instead of blending everything.
A hanger that pulls out. That is a dried-glue joint failing, not a bad hole. Reinforce the back with tape, use two holes rather than one, and wait a full day before hanging any weight on it.
Curling as it dries. Weight the panel under a stack of books while it dries, or tape the edges down to the table. Flat and undisturbed always beats propped up on its edge.
Two habits make most of this disappear: work on a plate, and seal both faces with a thin coat of Mod Podge once the layers are down. The sealer stops the paper lifting, lets a little more light through, and makes a panel that survives being outside.
Frequently Asked Questions
What is the best adhesive to use for a tissue paper suncatcher?
For most families, diluted white PVA school glue is the best adhesive: mix roughly one part glue with one or two parts water and brush it on thinly. Mod Podge dries faster, stays clear and seals the whole panel in one coat. Whichever you pick, work on a plastic plate and let each layer set before adding the next.
Can toddlers make a tissue paper suncatcher?
Yes, with an adult close by. A toddler can tear tissue into pieces and press them onto sticky contact paper, with no glue and no scissors, which is the easiest version of this project. Keep beads and small glued-on shapes away from children under three, since anything small enough to swallow is a choking risk.
Can I make a tissue paper suncatcher without contact paper?
Yes. Skip the contact paper and brush diluted white glue onto the tissue paper itself, then lay the pieces on a wax paper sheet or a recycled plastic lid. The glue-seal method needs no sticky vinyl at all, dries overnight and makes a slightly softer, more translucent panel. Packing tape also works as a substitute backer.
How do I hang a tissue paper suncatcher without damaging the window?
Use a suction cup hook on the glass, or tie fishing line to a small piece of clear tape on the pane. Both come away cleanly and leave no residue or scratches. Avoid masking tape on hot glass, because the adhesive can bake on and leave a mark that takes ages to shift.
Will sunlight fade the tissue paper?
Light will fade tissue over months, and the strongest afternoon sun does it fastest. Colours that start deep look washed out first, and the paper turns brittle as the fibres break down. Rotate the piece away from the hottest window if you want it to last, or seal both faces with a water-based varnish for a longer-lasting result.
Can I use wax paper instead of clear contact paper?
You can. Wax paper works as the backer in the glue-seal method: brush diluted glue on the tissue paper, lay it onto wax paper, and let it dry overnight. It is slightly cloudy rather than fully clear, so the colours look softer, and the finished panel is more fragile in rain. Keep it indoors or varnish it.
Conclusion
Start by cutting a frame and a stack of tissue squares in whatever colours your child likes, then layer them until the shape is full. Peel or glue them onto the backing, trim the edges once it is dry, punch two holes and hang it where sunlight comes straight through.
Give it a few minutes of mess-free work and then leave the window to the light. Children who make one tend to make three.