Easy recipes kids can make alone are meals built from assembly rather than heat: yogurt parfaits, no-bake oat bites, fruit bark, overnight oats and toast, each with short measurements, no sharp knife work, and ten minutes or less of standing time. The ten below are written for a child working by themselves, and each one names the age it suits and the kind of supervision, if any, it still needs.
My oldest started with a yogurt parfait at seven and worked up to the mini sheet-pan pizza over about a year. The thing that mattered more than the recipe was knowing in advance which steps still need an adult within arm’s reach, so I have written that into every section instead of leaving it to a general safety paragraph at the end. As of 2026, these are the ones we still make on repeat.
Table of Contents
- easy recipes kids can make alone at a Glance
- Five things to set up before they start
- 1. Yogurt Parfait with Berries and Granola
- Layering tips for easy recipes kids can make alone
- 2. No-Bake Energy Bites
- 3. Microwave Mug Muffin
- 4. Mini Sheet-Pan Pizza
- 5. Fruit Yogurt Bark
- 6. Peanut Butter Banana Toast
- 7. Overnight Oats in a Jar
- 8. Vegetable Quesadilla
- 9. Homemade Fruit Ice Cups
- 10. Mini Vegetable Muffins
- Frequently Asked Questions
- What age can children make these recipes alone?
- Which of these recipes require adult supervision?
- How can I make easy recipes kids can make alone safer?
- What can I use instead of common allergens such as peanuts or dairy?
- How should homemade snacks be stored to keep them fresh?
- Which recipe is best for a child who is just learning to cook?
- Where to Start
easy recipes kids can make alone at a Glance
| Recipe | Active time | Heat needed | Best age | Supervision | Key ingredients |
|---|---|---|---|---|---|
| Yogurt Parfait with Berries and Granola | 5 minutes | None | Ages 5 and up | None | Yogurt, berries, granola |
| No-Bake Energy Bites | 10 minutes | None | Ages 6 and up | None | Rolled oats, nut or seed butter, honey |
| Microwave Mug Muffin | 3 minutes | Microwave | Ages 8 and up | Adult handles the microwave | Flour, milk, egg, blueberries |
| Mini Sheet-Pan Pizza | 15 minutes | Toaster oven | Ages 9 and up | Adult at the door | English muffins, sauce, low-moisture cheese |
| Fruit Yogurt Bark | 5 minutes plus freezing | None | Ages 5 and up | None | Thick yogurt, berries, parchment |
| Peanut Butter Banana Toast | 5 minutes | Toaster only | Ages 5 and up | None if bread is pre-toasted | Bread, peanut butter, banana |
| Overnight Oats in a Jar | 5 minutes | None | Ages 6 and up | None | Rolled oats, milk, yogurt, chia |
| Vegetable Quesadilla | 10 minutes | Stovetop | Ages 8 and up | Adult in the room | Tortilla, pre-cooked vegetables, cheese |
| Homemade Fruit Ice Cups | 10 minutes plus freezing | None (blender) | Ages 7 and up | Adult starts the blender | Fruit, yogurt, honey, silicone molds |
| Mini Vegetable Muffins | 20 minutes | Oven | Ages 9 and up | Adult removes the tin | Flour, egg, milk, grated carrot, cheese |
Five things to set up before they start
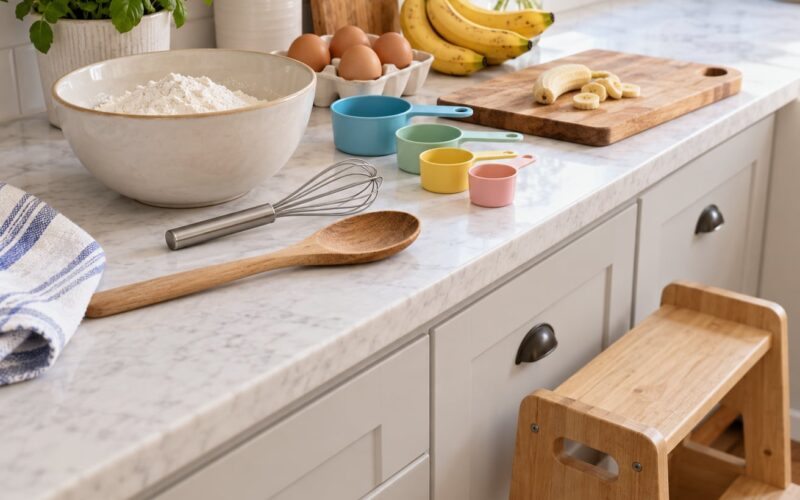
- Everything measured and laid out first. A child who has to stop mid-recipe to find the sugar is a child who wanders off.
- A stable step stool for the counter, not a chair dragged across the floor.
- A kid-size nylon or serrated knife for anything soft, with the child’s fingertips curled under on the guiding hand.
- A damp cloth within reach, because sticky hands get handled before they get washed.
- A rule that hot appliances, hot pans, boiling water and a plugged-in blender are adult jobs, no exceptions.
1. Yogurt Parfait with Berries and Granola
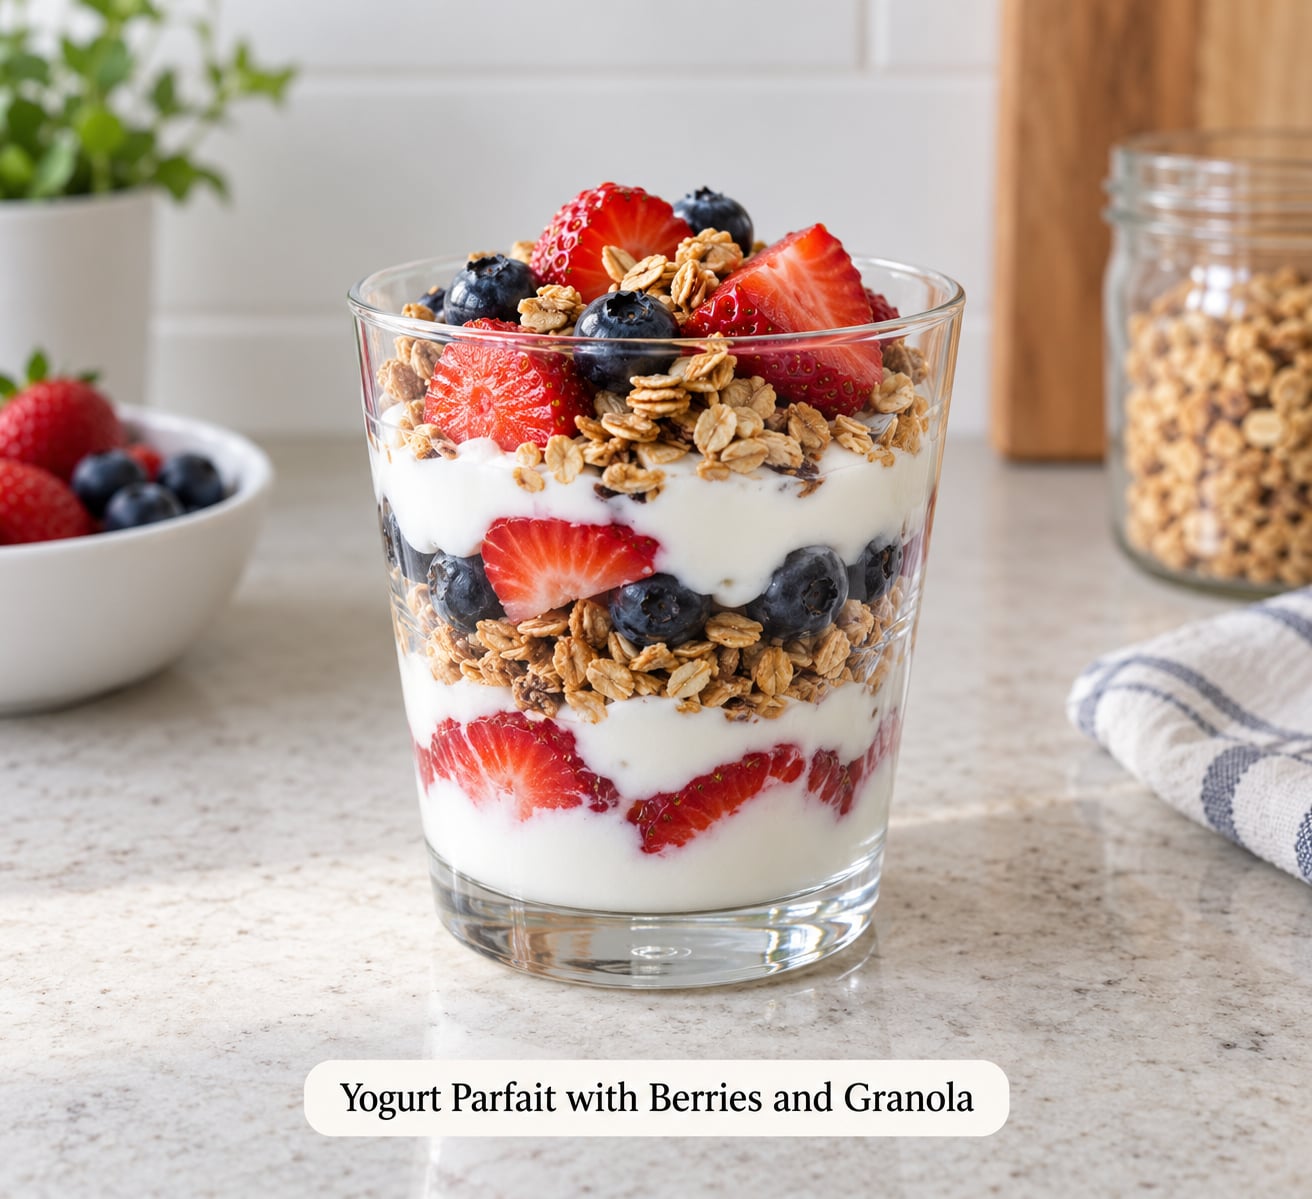
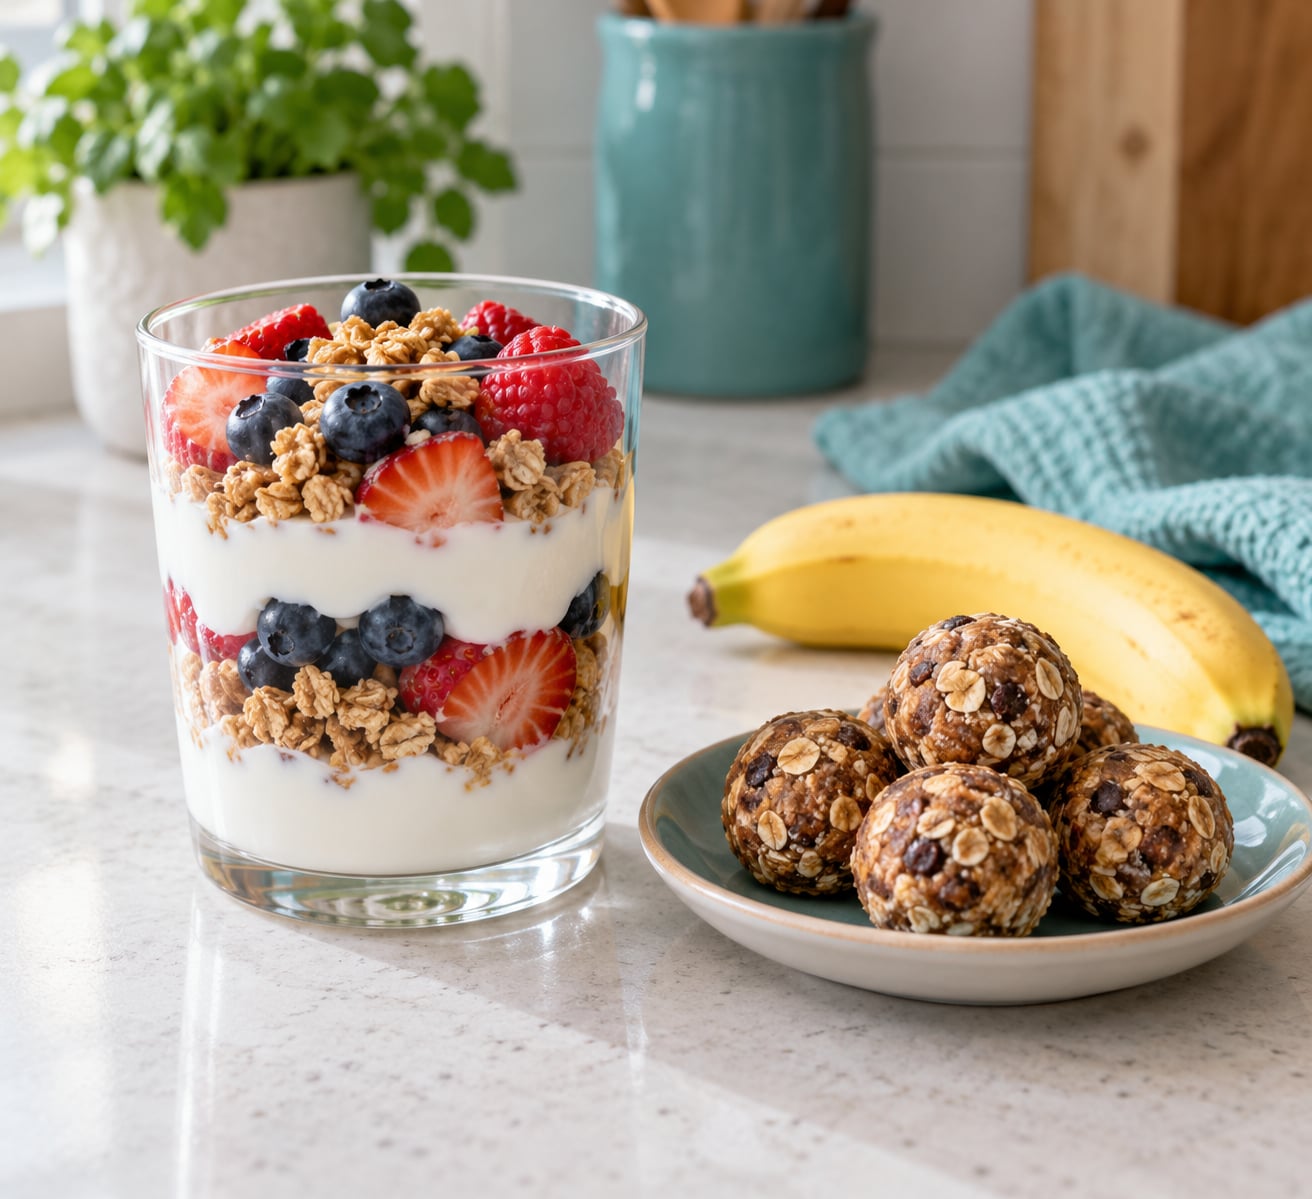
This is the one to start with, because there is no heat, no knife skill required and almost nothing to go wrong. A clear cup turns it into a small science project, which is most of why it lasts longer than most first recipes.
Layering tips for easy recipes kids can make alone
Spoon yogurt in first rather than pouring it. Pouring fast is what makes the layers blur and the cup end up looking like a bowl of milk with fruit in it.
- 1 cup plain yogurt, or 3/4 cup plain yogurt plus 1/4 cup milk if the full-fat version feels heavy
- 1/2 cup berries, or one banana sliced into coins
- 2 tablespoons granola
- Optional: a teaspoon of honey, only for children over one year old
- Put two or three spoonfuls of yogurt in the bottom of the cup.
- Add a layer of fruit, pressed down gently with the back of the spoon.
- Sprinkle granola over the top, filling about a third of the space.
- Repeat yogurt, fruit, granola until the cup is nearly full.
- Eat with a spoon from the top down.
Success looks like clear stripes through the side of the glass. Under age five, skip loose granola and use a crushed one, and let an adult do the banana slicing. For dairy-free, coconut yogurt works and does not split the same way as a thick Greek yogurt.
2. No-Bake Energy Bites
Rolled oats, a nut or seed butter and honey or maple syrup, mixed and rolled. They look like sweets, they last four days in the fridge, and a child can make the whole batch without turning on anything.
- 1 cup rolled oats
- 1/2 cup peanut butter, sunflower seed butter or tahini
- 1/3 cup honey or maple syrup
- Optional mix-ins: 1/3 cup chocolate chips, raisins, shredded coconut or 2 tablespoons ground flaxseed
- Stir the oats and mix-ins together in a bowl first.
- Add the nut or seed butter and the honey, then stir until everything is coated. It looks dry at first, then comes together.
- If the dough crumbles, add a teaspoon of honey. If it clings to your hands, add a tablespoon of oats.
- Rest the dough 5 minutes so the oats drink up the liquid.
- Roll into golf-ball sized balls, about two per child.
No knife is needed at all. Chill the balls 15 minutes before they set aside, and store them in a covered container in the fridge for up to four days. For a child in a nut-free classroom, sunflower seed butter works, though it is still a seed and belongs on the school allergy list.
3. Microwave Mug Muffin
A small muffin in a wide mug, made from a six-ingredient batter. The child does the measuring and the stirring, and an adult handles the door, the timer and the hot mug. That split is the whole point, because it is the first recipe most kids ask for twice.
- 2 tablespoons flour, 1 tablespoon sugar, a pinch of baking powder
- 2 tablespoons milk, 1 teaspoon oil, a splash of vanilla
- 2 tablespoons blueberries or chocolate chips
- Whisk the flour, sugar and baking powder in the widest mug you have. Wide matters, because the batter rises upward before it cooks.
- Add the milk, oil and vanilla and stir until just smooth.
- Drop in the blueberries and stir once, gently, or they bleed through the batter.
- Microwave on full power for 50 to 60 seconds, stopping at 60. A small mug needs closer to 40.
- Wait two minutes before touching it. The top should spring back lightly and a skewer should come out clean.
Check the mug is marked microwave safe and has no metallic trim, and never crack a whole egg into a mug, since the shell can explode. If the batter runs off the spoon in a ribbon, it is thin enough; if it sits in a blob, add another tablespoon of milk.
4. Mini Sheet-Pan Pizza
English muffins split and topped on one tray, baked in a toaster oven. The topping assembly is fine motor work and the child can do every bit of it, while the hot tray still needs an adult’s hands and oven mitts.
- 4 English muffins, or 2 slices of naan or thin bread
- 1/2 cup pizza sauce or jarred pasta sauce
- 1 cup low-moisture shredded cheese, pre-shredded is fine
- Optional toppings: sliced olives, bell pepper, pineapple, cooked sausage or mushrooms, all ready to go
- Split the English muffins and place them cut side up on a small sheet pan.
- Toast them in the toaster oven for 2 minutes so the base is not soggy later.
- Spoon on the sauce, leaving a small bare rim at the edge.
- Add the cheese, then the toppings. Less is more, because wet vegetables release water and soak the base.
- Bake at 425°F (220°C) for 5 to 6 minutes, until the cheese is fully melted and just beginning to brown at the edges.
An adult pulls the tray out, sets it on a cooling rack and checks the middle one is not lava. Anything you put on that pizza should already be cooked, and if you reheat a portion later, take it to 165°F (74°C). Shredding the cheese and slicing the toppings beforehand is what turns this from a supervised recipe into a solo one.
5. Fruit Yogurt Bark
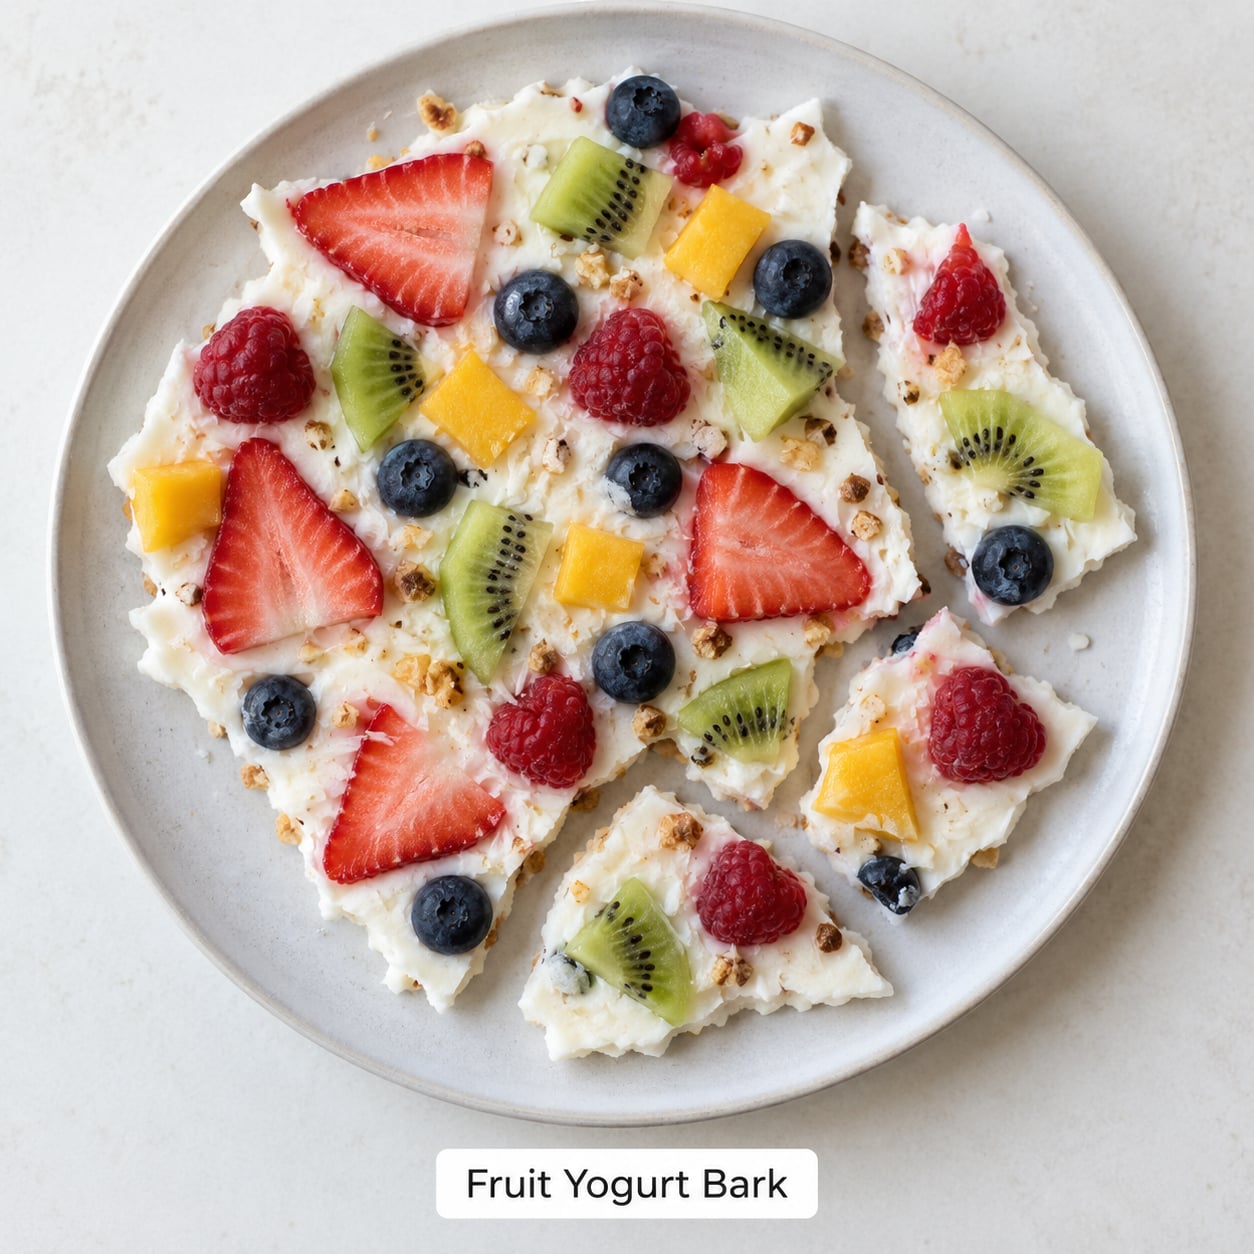
Yogurt spread thin on a lined tray, scattered with fruit, frozen, then snapped into shards. A child can do every step except taking the tray out of the freezer, and the snapping is genuinely satisfying.
- 8 ounces thick full-fat yogurt
- 1/2 cup fruit chopped into small pieces, or 1/4 cup mini fruit pieces
- Optional: shredded coconut, chopped nuts, a thin drizzle of honey
- A baking sheet and a sheet of parchment
- Lay the parchment on the tray so no edge hangs over.
- Spread the yogurt about a third of an inch thick, right out to the corners. Thin sets solid; thick puddles stay slushy in the middle.
- Scatter the fruit over the surface, leaving a bare inch at the top edge so it can be lifted.
- Freeze for 3 to 4 hours, until firm all the way through.
- Snap into shards with your hands and keep them on a flat plate in the freezer.
Use small fruit pieces rather than large slices, since a hard frozen piece is a choking risk for younger children. It keeps in the freezer for about two weeks, sealed, and softens in the fridge for 20 minutes if a child prefers it that way. Coconut yogurt is the dairy-free swap, though the result sets a little softer.
6. Peanut Butter Banana Toast
Two minutes of work and the ingredients are already in most kitchens. For a child who is allowed to use a toaster safely, it is a legitimate meal rather than a snack, and for everyone else it is the fastest of the ten.
- 2 slices of bread
- Butter or margarine, 1 tablespoon
- 2 tablespoons peanut butter, thinned if it is stiff
- 1 banana, or 1/2 of a pre-sliced banana
- Toast the bread, or start with plain bread if an adult handles the toaster.
- Spread the butter to the edges using the back of the knife, pushing rather than sawing.
- Spread the peanut butter in a thin layer on top.
- Lay banana coins down in rows, or cut the toast into small shapes with a cookie cutter.
- Fold in half and eat, or pack in halves for a lunchbox.
- 1/2 cup rolled oats, not steel-cut and not instant
- 1/2 cup milk
- 1/3 cup yogurt, for a thicker set
- 1 teaspoon chia seeds, optional
- A pinch of cinnamon, plus honey, raisins or sliced fruit to taste
- Put the oats, chia and cinnamon into a jar with a lid.
- Pour in the milk and yogurt and stir well, making sure no dry oats are hiding at the bottom.
- Screw the lid on and shake the jar for ten seconds.
- Refrigerate 6 to 8 hours, or overnight.
- Stir in the mix-ins in the morning and loosen with a splash of milk if it set too firm.
- 1 large flour tortilla per child
- 1/3 cup pre-cooked vegetables, shredded or chopped small: spinach, zucchini, roasted red pepper, corn
- 1/3 cup shredded cheese
- Optional: rinsed black beans, leftover chicken, sliced olives
- Squeeze the vegetables dry in your hands, or drain them. Wet vegetables turn the tortilla into a soggy triangle.
- Spread the cheese over one half of the tortilla, leaving a bare inch at the edge.
- Add the vegetables on top of the cheese, then fold the empty half over.
- Press gently with your fingertips so the filling stays put.
- Cook in a dry pan over medium-low for 2 to 3 minutes a side, until the cheese has melted and the outside is golden.
- 1 1/2 cups fruit, roughly chopped, or pre-chopped from the freezer
- 1/2 cup yogurt or milk
- 1 teaspoon honey, for children over one year old
- A splash of orange or apple juice
- Put the liquids in the blender first, then the softer fruit on top, then the rest. Liquids on the bottom prevents the blades from jamming.
- Secure the lid and check the small measuring cap is in place, not just resting there.
- Blend until smooth, scraping the sides once with a spoon.
- Pour into small silicone molds or an ice cube tray. Fill to about three-quarters.
- Freeze 4 to 6 hours, then pull the sticks out under a little warm water.
- 1 cup grated carrot or zucchini, squeezed dry in a clean towel
- 1 1/4 cups flour, 1 teaspoon baking powder, 1/2 teaspoon baking soda, a pinch of salt
- 1 egg, 1/2 cup milk, 1/3 cup neutral oil
- 1/2 cup shredded cheese, plus a spoonful on top
- Whisk the flour, baking powder, baking soda and salt in a bowl.
- Whisk the egg, milk and oil in a second bowl until combined.
- Pour the wet into the dry and stir about ten times, until just combined. Lumps are fine; overmixing makes them tough.
- Fold in the squeezed vegetable and the cheese.
- Fill the cups about two-thirds full and bake at 400°F (205°C) for 15 to 18 minutes, until a skewer comes out clean.
Teaching the spreading motion early is what prevents the knife tip from ending up somewhere it should not. For a nut allergy, use sunflower seed butter or pumpkin seed butter, and check the bread label because sesame and milk are both common in loaves. Never give whole or thick nut butter to a child under five.
7. Overnight Oats in a Jar
Oats, milk and yogurt mixed in a jar and left in the fridge overnight, ready to eat at the speed of breakfast. The child builds it before bed, which also means they are awake doing it rather than you being awake doing it.
Rolled oats are already cooked, so nothing raw goes into the fridge. It keeps four days, and a thinner swirl of yogurt at the top makes it look like a parfait. Oat milk, soy milk or a certified gluten-free oat do the same job, and peanut butter stirred through in the morning adds staying power.
8. Vegetable Quesadilla
A tortilla, some pre-cooked vegetables, cheese, and a dry pan. The child assembles and folds; the adult owns the pan. It takes under ten minutes, which is usually the difference between a recipe that gets made and one that does not.
The melted-cheese cue is the only one that matters: fully soft and no longer visible as shreds, with a flexible tortilla. A little oil in the pan is optional. An adult should be in the room for step five and take the pan off the heat, since a hot pan carried to a table is the most common way an unsupervised kitchen session goes wrong.
9. Homemade Fruit Ice Cups
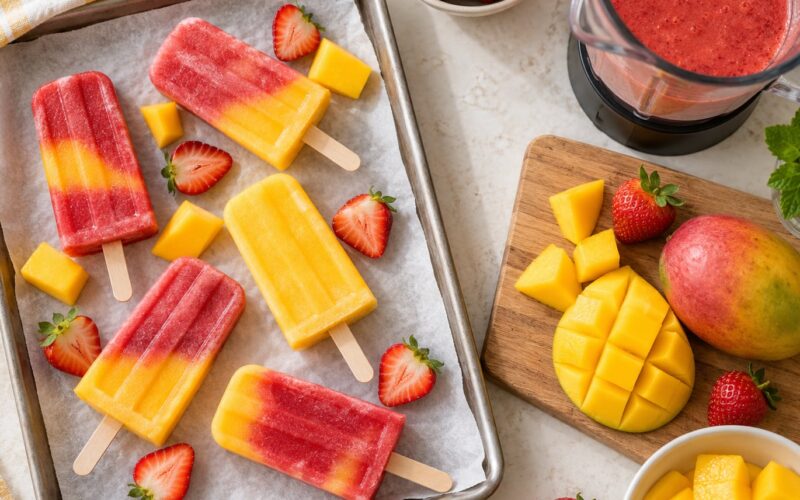
Fruit blended with yogurt and frozen in small molds. It takes ten minutes of work and hours of waiting, so it suits a weekend morning, a playdate or a hot afternoon when the house needs a project rather than a TV show.
An adult starts and stops the blender, and the whole thing stays plugged in well out of reach afterwards. Freezing a stick in a small rigid mold makes it hard to eat, so serve from a cup or use a mold with a handle. A frozen fruit stick is a choking hazard for children under four.
10. Mini Vegetable Muffins
Small-batch muffins with finely grated carrot or zucchini mixed straight into the batter. This is the longest recipe here, and it is the one most likely to win a reluctant eater over, because the carrot disappears completely.
Measure the oil before the vegetable, set the muffin tin on a folded towel so it cannot walk off the counter, and let the child grate at the lowest part of the counter rather than the edge. An adult opens the oven door and removes the tin, which cools on a rack for five minutes before it comes out of the pan.
Frequently Asked Questions
What age can children make these recipes alone?
It depends more on the task than the number. Many seven and eight year olds handle the parfait, energy bites and overnight oats unaided with nothing hot involved, while the sheet-pan pizza and mini muffins really suit nine and up. Use a readiness check instead of an age: can your child follow a short written method, measure accurately, and handle a spreading knife without chasing the blade? Most children are ready roughly a year after they first cook the same dish beside you.
Which of these recipes require adult supervision?
Four of the ten have heat in them. The microwave mug muffin, the sheet-pan pizza and the mini muffins need an adult to handle the appliance, and the quesadilla needs an adult in the room for the pan. The fruit ice cups need an adult to start the blender. The parfait, energy bites, yogurt bark, peanut butter banana toast and overnight oats are genuinely no-heat, which makes them the safest choices for a first solo attempt.
How can I make easy recipes kids can make alone safer?
Set everything out before the child starts, so there is no reason to cross a hot kitchen mid-recipe. Use a stable step stool, hand over a nylon or serrated knife rather than a chef’s knife, and drill the rule that hot pans, boiling water, ovens and plugged-in appliances are adult jobs. Keep a damp cloth nearby for sticky hands, and start with sessions under ten minutes. Both the American Academy of Pediatrics and standard food-safety guidance treat adult presence near heat as the single most important factor.
What can I use instead of common allergens such as peanuts or dairy?
For peanuts, use sunflower seed butter, pumpkin seed butter or tahini in the energy bites and on toast, and always read the bread label for milk and sesame. For dairy, swap in coconut yogurt in the parfait and the bark, oat or soy milk in the oats and the mug muffin, and a dairy-free cheese in the quesadilla. Keep in mind that seed and sesame are also common allergens, so a swap moves the problem rather than removing it for a child with a diagnosed allergy.
How should homemade snacks be stored to keep them fresh?
Energy bites keep four days in a covered container in the fridge, and rolling them in parchment stops them sticking together. The yogurt bark keeps about two weeks in the freezer in an airtight container. Overnight oats hold four days refrigerated, always on a spoon so nothing goes back into the jar. A quesadilla or a piece of sheet-pan pizza needs a fridge dish with a lid, and reheated portions should reach 165°F (74°C) before being served.
Which recipe is best for a child who is just learning to cook?
Start with the peanut butter banana toast, then the yogurt parfait. Both teach measuring and spreading, take under five minutes, and end in something the child actually wants to eat. A recipe that fails in the first ten minutes is a fast way to lose a beginner’s interest. Once the spreading and the measuring are boring rather than hard, add the overnight oats, which introduce a plan that pays off the next morning.
Where to Start
Pick the recipe that matches what your child already does comfortably, not the one you wish they did. If spreading and measuring are still new, the toast or the parfait is the first solo session. If those are second nature, the overnight oats and the energy bites add a real step without adding heat.
Stay in the house for the first few attempts, doing the parts you have said you will do: the microwave, the oven, the pan, the blender. A child who gets a hot pan to the table safely three times in a row will stop asking whether they can. Easy recipes kids can make alone get easier in the way that matters, which is by repetition rather than by permission.