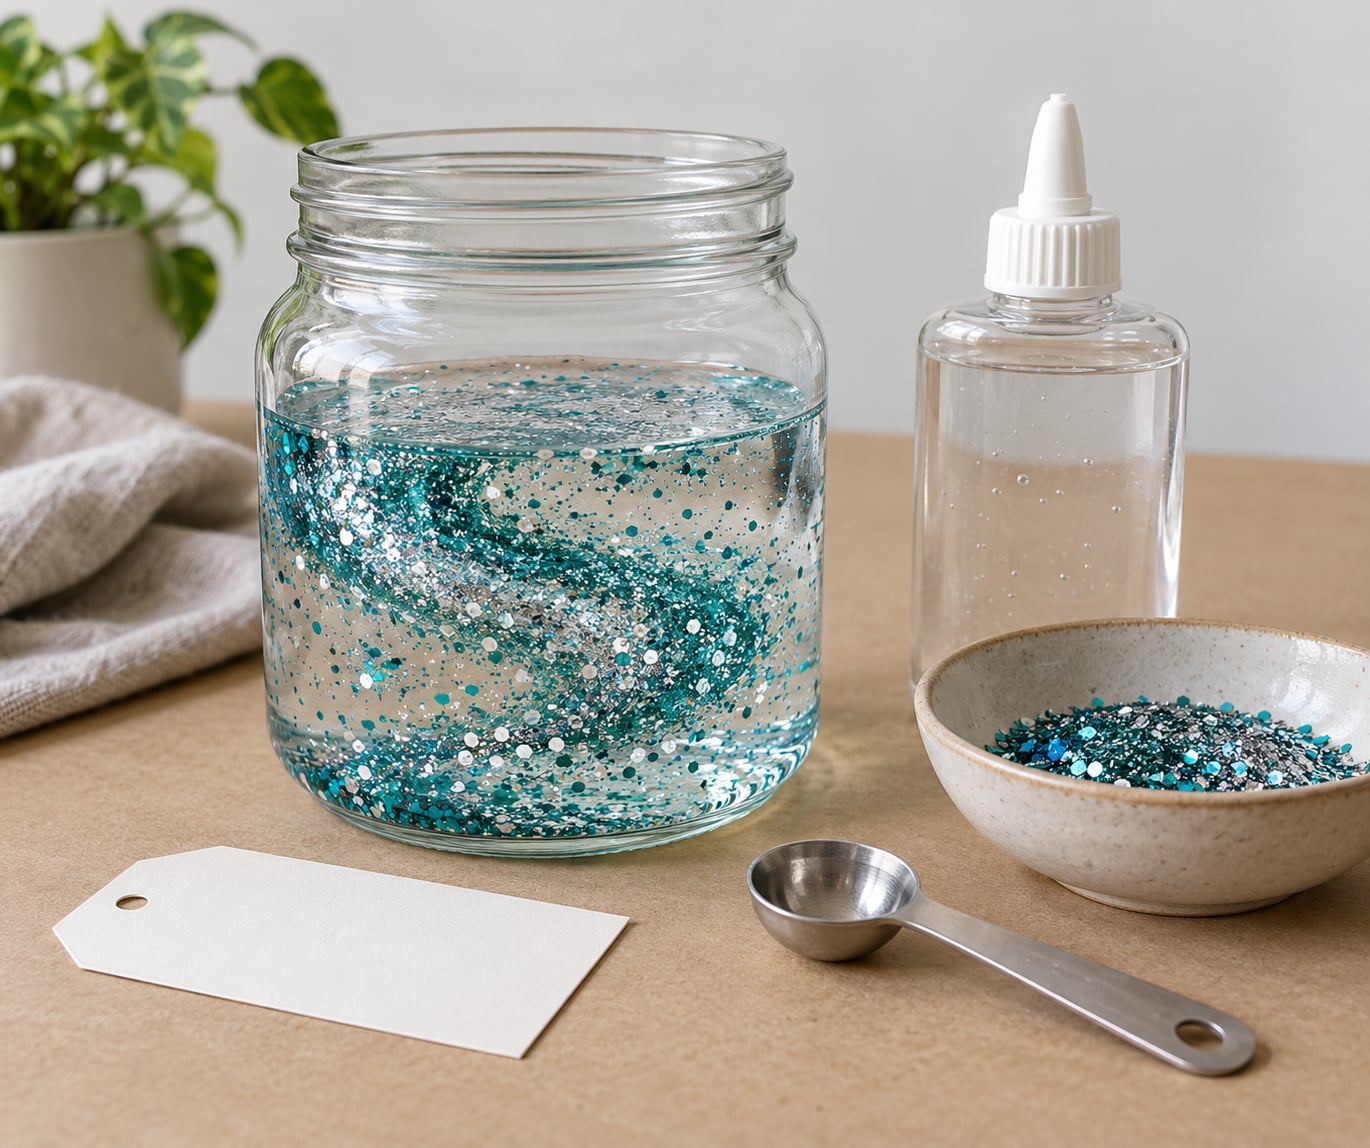
A calm down jar is a clear, sealed container filled with water, a slow-moving liquid like clear school glue, and glitter. Shake it and the view disappears; set it down and the sparkles drift slowly back to the bottom over a few minutes. That is the whole idea behind how to make a calm down jar at home, and the active part takes about ten minutes.
The motion is the point. A scrambled, buzzing mind looks a lot like a jar of shaken glitter, and watching it clear gives a child (or an adult) something concrete to sit with while feelings come down. Teachers, school counselors and occupational therapists keep jars in calm corners and coping-skills toolboxes for exactly that reason.
Here is the version I would hand a family: one container, one base liquid, one shake. Making it together counts as quiet time, so put your child in charge of the glitter colour and the add-ins.
Table of Contents
- What You Need
- Optional add-ins
- Low-cost substitutions
- Step-by-Step
- Step 1: Choose a Clear Jar and Safe Lid
- Step 2: Add the Base and Decorative Pieces
- Step 3: Complete the How to Make a Calm Down Jar Project
- Step 4: Add a Simple Label and Usage Card
- Step 5: Test the Jar and Adjust the Fill
- Step 6: Introduce the Jar Without Pressure
- Common Mistakes
- Frequently Asked Questions
- What materials are safe for a calm down jar?
- Can toddlers use a calm down jar?
- How long does a calm down jar last?
- How can I personalize a calm down jar for a child?
- How should I store and clean a calm down jar?
- Conclusion
What You Need
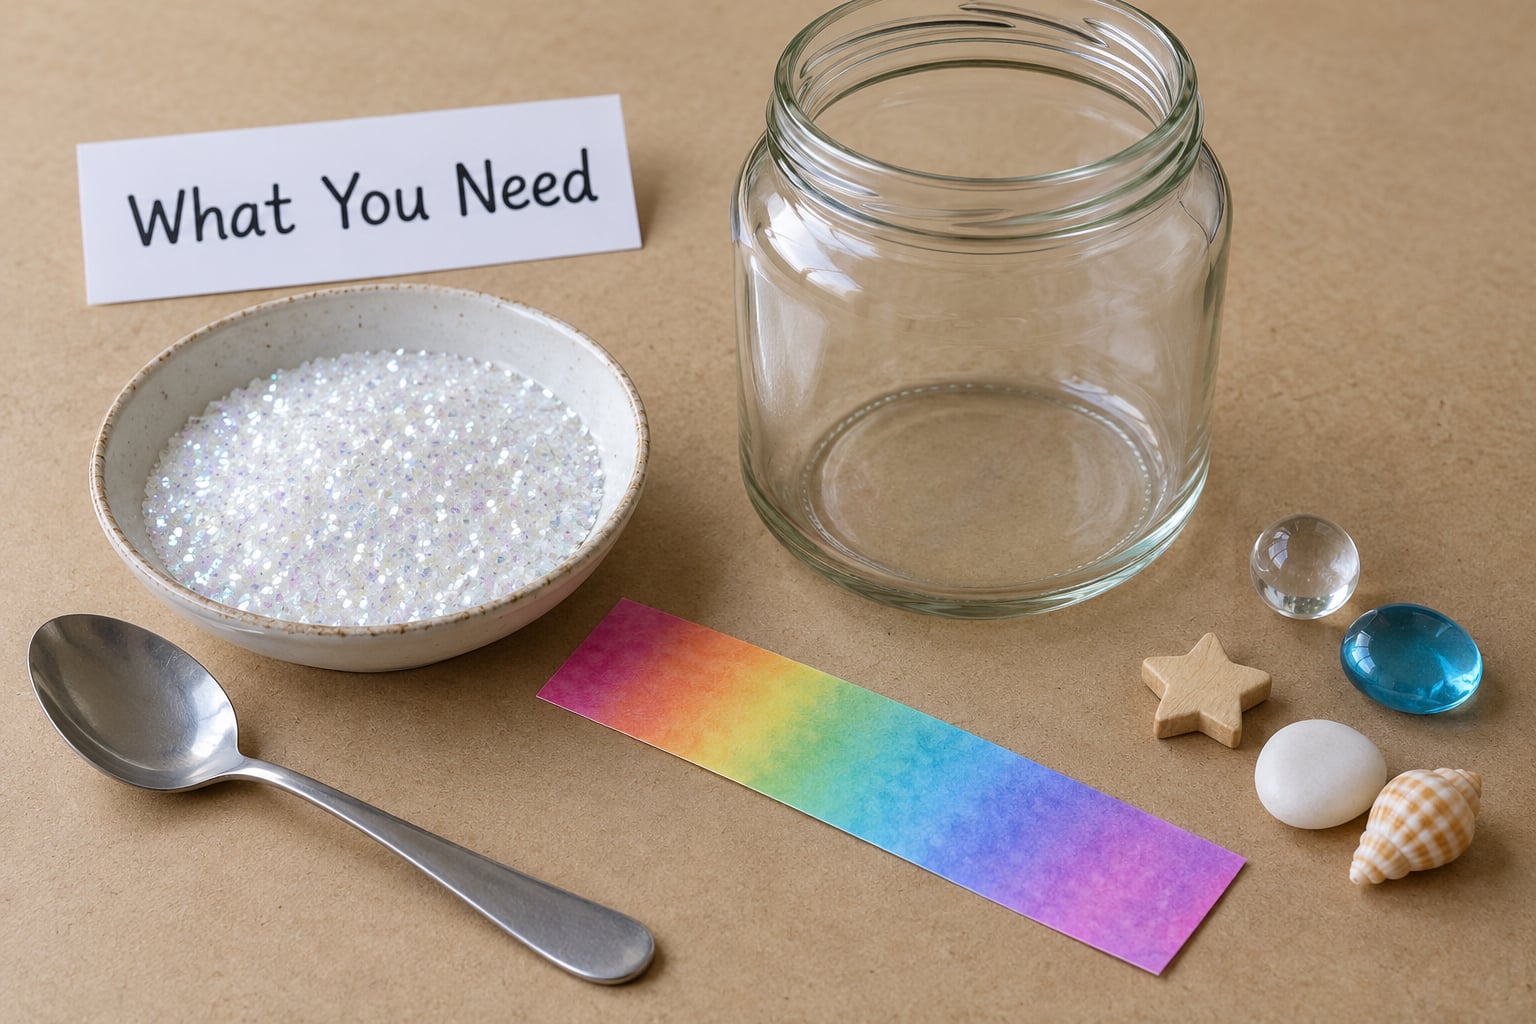
Core supplies, kept to a short list so the first jar is quick:
- Clear plastic bottle or jar with a lid that shuts tight (a tall screw-top water bottle or a small mason jar both work)
- Warm water
- Bottle of clear school glue, not white glue
- Fine glitter, roughly a tablespoon to start
- Super glue or a hot glue gun to seal the lid
- A mixing bowl and a spoon or whisk
- Liquid watercolor or food coloring, optional
- Paper towels and a tray for spills
That is the whole shopping list for a how to make a calm down jar project, and every one of those items is ordinary. I have built these from a dollar-store bottle, a bowl of white glitter and whatever glue was already on the craft shelf.
Optional add-ins
Add these only after the basic jar works, because a crowded jar is the most common reason a first attempt disappoints:
- Glow-in-the-dark glitter for a night-light version
- Large plastic letter beads, so a child can spell their name
- Small smooth building bricks, which sit on the bottom and reappear as the water clears
- A squeeze bottle of thin soap, added by the child, for a foam-and-swirl version
Low-cost substitutions
Warm tap water works as well as boiling water, and a clean plastic spice jar from the pantry is a perfectly good vessel. If you only have chunky glitter, use it, though it falls faster than fine glitter. Missing clear school glue, a spoonful of corn syrup in warm water gives a slower, glossier fall with no glue at all.
Before anything goes in the jar, have an adult check every item over. Skip anything with a sharp edge or a loose fragment, and keep small parts away from children under three, who can still choke on beads and bricks sized for a preschooler. Choose plastic over glass for a toddler or a shaky-handed four-year-old.
Step-by-Step
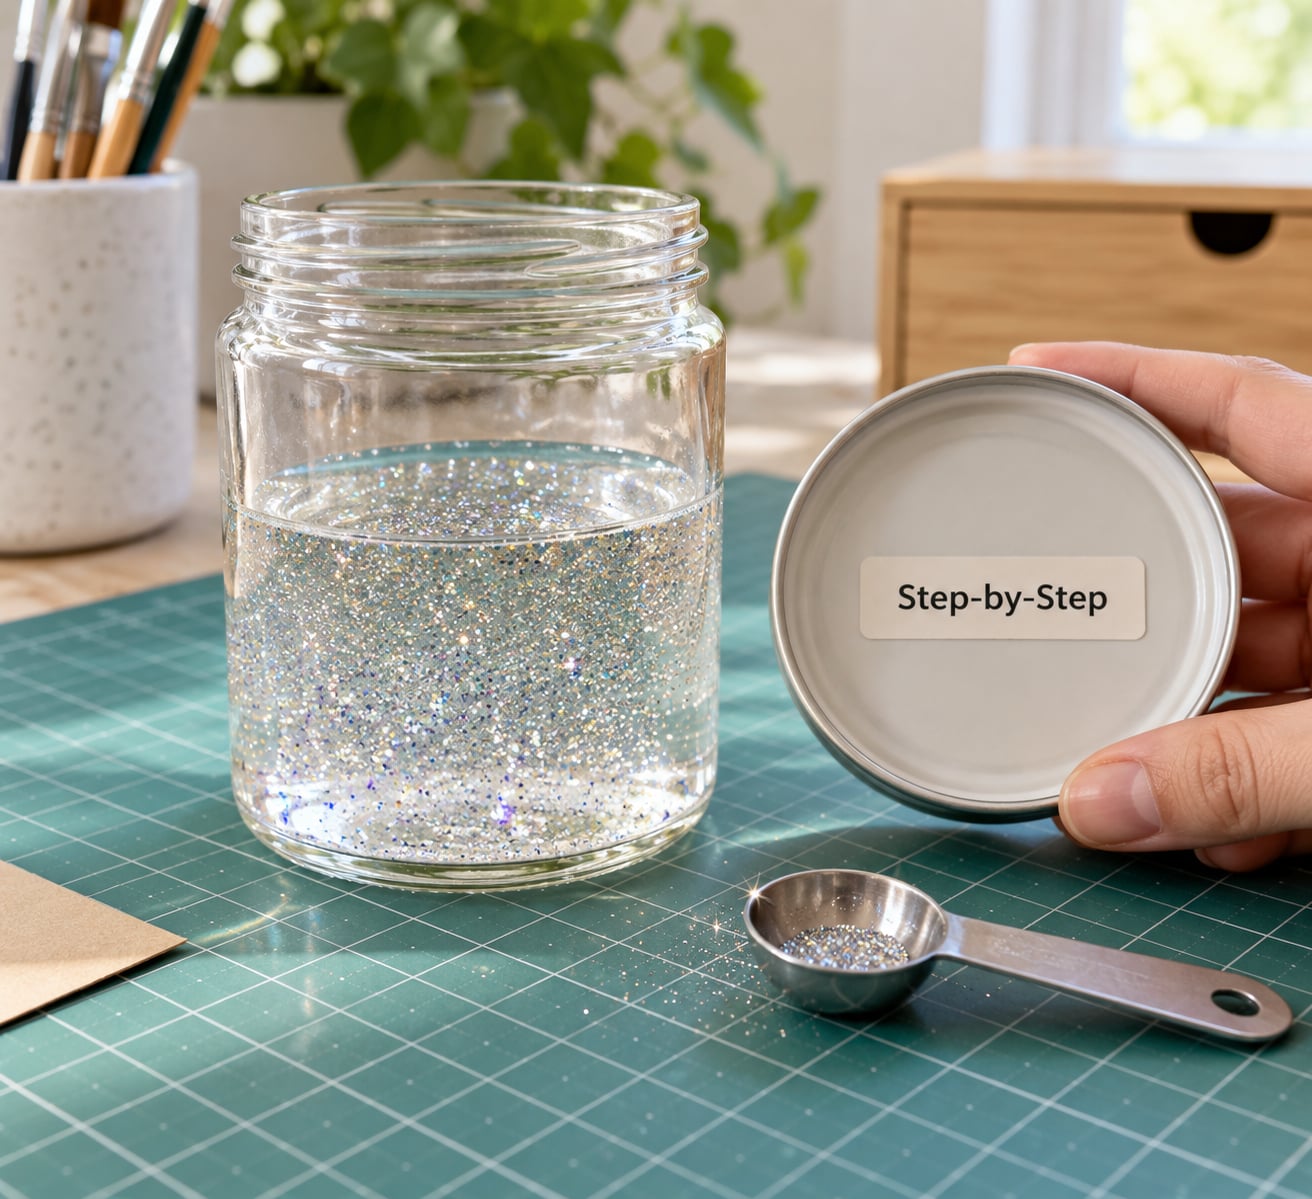
Six steps, and the jar is finished. Work on a tray with a damp cloth under the bowl, since the first shake is always the messiest one.
Step 1: Choose a Clear Jar and Safe Lid
Pick a container that leaves plenty of empty space above the fill, roughly a quarter of its height. That headspace is what gives the glitter room to swirl rather than smear against a full lid, and it is the single detail most people skip.
Turn the container over and look for cracks, chips or a cloudy wall that will hide the glitter. Check the lid on bare threads, not just on the jar; a lid that needs a channel-lock wrench will not survive a child.
Success looks like a jar that is mostly clear, at least half empty before you start, and closes without forcing. For a three-year-old, a plastic bottle with a screw cap beats anything made of glass.
Step 2: Add the Base and Decorative Pieces
Pour warm water into the jar until it sits about three-quarters full, then add clear school glue until the level reaches roughly within an inch of the top. That is close to a one-in-five ratio of glue to water, and it is the easiest way to make a calm down jar with a slow, visible fall.
Add a tablespoon of fine glitter first. More looks tempting and turns the jar into a glitter storm that settles in seconds, so start light and add a pinch more only if the fall looks too quick.
Drop in the decorative pieces now, while the jar is still open. Keep the total loose material under a quarter of the jar, or nothing will move freely. Skip breakable figurines for under-threes, and skip anything smaller than the cap of a water bottle.
Success looks like a jar you can see straight through, with the glitter hanging in the liquid rather than sitting in a layer on the bottom.
Step 3: Complete the How to Make a Calm Down Jar Project
Top up with a little more warm water to leave an inch of clear space, screw the lid on, and tighten it firmly with your hand. Shake the closed jar for about ten seconds, hard, then set it down and watch.
Here is the honest part: the first jar often needs a second adjustment. Milky water means too much glue, so add warm water a spoonful at a time and test again. Glitter sticking to the top instead of falling usually means fine glitter and a slightly thin mix, so add a small squeeze of glue. A clumpy, separated mixture warms best in a saucepan over low heat for five to ten minutes, stirred, then cooled to room temperature before it goes back in the jar.
Different bases settle at very different speeds, which is the detail most people check before they build a second jar:
| Base liquid | Rough ratio | Time to settle | Notes |
|---|---|---|---|
| Clear school glue | 1 part glue to 4 parts water | 3 to 4 minutes | Best first choice, wide and forgiving |
| Corn syrup | 1 part syrup to 2 parts water | About 4 to 5 minutes | Glossy and slow, no glue needed |
| Glycerin | 1 part glycerin to 2 parts water | About 2 to 3 minutes | Very smooth, hard to find locally |
| Liquid hand soap | Equal parts soap and water | About 1 minute | Fast and bubbly, easiest of all |
| Baby or vegetable oil | All oil, no water | Very slow | Glide-friendly, sweeps glitter to the side |
| Glitter glue | 1 part glitter glue to 4 parts water | Over an hour | Most likely to fail, save it for last |
Success looks like a jar that goes opaque when shaken, then clears from the top down, with the sparkles reaching the bottom in about three to four minutes.
Step 4: Add a Simple Label and Usage Card
Write the child’s name and the word calm on a strip of paper, then stick it along the bottom of the jar so it never hides the view. On the lid or a card propped beside it, one concrete instruction works better than a paragraph: shake slowly, watch the pieces settle, five quiet breaths.
Parents who use this with a child on the spectrum pair the jar with a clear signal, since the label tells the child when the jar is available and the card tells them what to do with it.
Success looks like a child who can say what the jar is for without being reminded.
Step 5: Test the Jar and Adjust the Fill
Now test it properly. Turn the jar upside down over the sink and check the seal, then shake and time the settle on your phone. If the fall takes under a minute, stir in another spoonful of base. If the jar is heavy for a small child, remove some of the water.
Listen to it too. A jar that slides across a table when shaken is more annoying than calming, so set it on a tray or a non-slip mat, or wrap a wide rubber band around the base. Finally, watch the child hold it. A good test is a two-handed grip with the lid facing up, not a shake over furniture.
Success looks like a jar that stays put, seals tight, and settles in the window you hoped for.
Step 6: Introduce the Jar Without Pressure
Introduce it while everyone is already calm, not during a meltdown. Shake it yourself once, hand it over, and say one line about the sparkles; then stop talking.
Offer the jar as part of a routine, such as after the tidy-up song or at the start of rest time, and let the child walk away at any point. If they abandon it after a minute, that is not a failure. The jar is a focus or transition tool, not a cure for anxiety, and it never replaces a conversation or a caring adult when a child is truly distressed.
Success looks like a child who reaches for it on their own, or ignores it entirely and comes back later.
Common Mistakes
Almost every failed jar comes down to one of these, and each has a quick fix.
- Filling it too full. Leave a quarter of the jar empty. Without headspace the glitter just smears along the top instead of drifting down.
- A lid that leaks. Wipe the threads dry, retighten with a cloth for grip, and test it upside down over the sink. For a child who might pry it open, run a thin ring of super glue around the inside of the cap and let it cure fully.
- Materials that clog or stain. Skip starches, powdered drink mix and anything that leaves a film. If the water has gone cloudy, you used too much glue, and the only fix is more warm water and time.
- Unsafe additions. No glass beads, no sharp shards, no small parts for under-threes. An adult should handle the sealing glue rather than a child.
- A jar that is too heavy. Take out a quarter of the water. A heavy jar teaches a child to throw it.
- Making it a reward or a consequence. A calm down jar that only appears as a punishment stops working. Keep it available in the calm corner, not in the time-out chair.
- Bad storage. Keep it upright in a tray, away from carpet and sunlight, with the lid sealed. Sugar-based mixes can ferment if air gets in, so a jar that is left unsealed or kept in heat should be discarded.
A few things that make life easier once the jar is built. For cleanup, shaking over a tray saves most of the glitter, and a damp cloth then lifts the strays off the worktop without spreading them further. For portability, a plastic bottle travels better than a mason jar, and a silicone sleeve or a sock over the base stops it sliding in a car cup holder.
Make it personal and the child uses it more: let them choose the glitter colour, glue a small figurine to the underside of the lid for a snow-globe reveal, or fill a second jar with two colours and let them watch them mix. Adults use the same jars, often as a breathing timer, and making one per person in the house quietly turns a child’s tool into a shared one.
Supervise the first few uses yourself. Once a child has shaken it the right way twice in a row, put the jar in the calm corner within sight and let them fetch it.
Frequently Asked Questions
What materials are safe for a calm down jar?
Water, clear school glue, corn syrup, glycerin, liquid hand soap or oil make safe bases, and fine glitter or large plastic beads are the usual fillings. Skip anything sharp, breakable or small enough to swallow, and keep small parts away from children under three. Have an adult do the sealing, and choose a plastic container instead of glass for a toddler.
Can toddlers use a calm down jar?
Yes, with a few adjustments. Use a plastic bottle with a screw cap rather than a mason jar, add only large pieces that cannot be swallowed, and seal the lid so it cannot be pried off. Keep it within sight, supervise the first few uses, and skip a jar entirely if your child shakes things hard or mouths objects.
How long does a calm down jar last?
A well-made jar lasts for months, but the settle time gets slower as the glitter and any glitter glue settle permanently at the bottom, so expect around a year before you remake it. Watch for cloudiness, an odd smell or fizzing, especially with corn syrup or glycerin, and drain and discard any jar that has fermented or gone cloudy.
How can I personalize a calm down jar for a child?
Let the child pick the glitter colour and the add-ins, since choosing the fill is part of the calming. You can use large letter beads, small building bricks, glow-in-the-dark glitter for a night version, or two colours that mix as the jar settles. A figurine glued to the underside of the lid creates a snow-globe reveal, and a simple label with the child’s name makes it theirs.
How should I store and clean a calm down jar?
Keep the jar upright in a tray, away from carpet, sunlight and heat, so a leak does no damage. For cleaning, take the lid off over the sink, empty the liquid into the trash rather than the drain, and rinse the jar and lid with warm soapy water. A damp cloth picks up stray glitter, and a soft brush gets into the threads of the cap.
Conclusion
A calm down jar is four materials and one shake: a clear container, warm water, a slow-moving base such as clear school glue, and fine glitter. The magic is the slow drift back to the bottom, which gives a child something calm to watch without anyone standing over them.
Start today by choosing one safe clear jar, adding a simple one-in-five glue base with a tablespoon of glitter, and testing the settle time together before it goes anywhere near a routine.