How to store homemade playdough is mostly about cutting off the air. Cool the dough completely, press out the air pockets, seal it in an airtight container or a zip-top bag with the air squeezed out, label it with the date, and set it in a cool, dry place away from sunlight and heat. That method keeps a flour- or cornstarch-based batch usable for several days at room temperature, longer in the fridge, and months in the freezer.
A homemade batch costs pennies to make, so throwing one out after three days because the lid did not seal properly feels silly. It also happens constantly. Parents on Reddit and Mumsnet describe the same two failures again and again: dough that turns rock hard within days because air circulated around it, and dough that grows grey or black spots even in a sealed container.
This guide covers the four methods that actually work, how to check a stored batch before a play session, and the short list of things that mean bin it, no revival tricks needed.
One note before you start. Homemade playdough is for play, not for eating. Store it out of reach of children when it is not being used, and toss any dough that has been mouthed by a child who is unwell or is under three.
Table of Contents
- What You Need
- Step-by-Step: How to Store Homemade Playdough
- 1. Let the dough cool completely
- 2. Press the air out and portion it
- 3. Cover and seal
- 4. Label with the date and the recipe
- 5. Choose the storage location
- 6. Check it before the play session
- How to Store It at Room Temperature
- How to Refrigerate Homemade Playdough
- How to Freeze Playdough for Longer Storage
- How to Check Stored Playdough Before Play
- How to Thaw and Revive Playdough
- Common Mistakes
- Frequently Asked Questions
- How long can homemade playdough stay in the refrigerator?
- Can you freeze homemade playdough, and how long does it last?
- What should I do if stored playdough dries out?
- Why does playdough form condensation inside the container?
- Should I keep playdough that children have already handled?
- Conclusion
What You Need
The right storage method depends on your recipe. A cooked flour-and-salt dough behaves differently from a cornstarch dough and from a no-cook version, so no single shelf life applies to every batch. The container, the clock and the label are what you control.
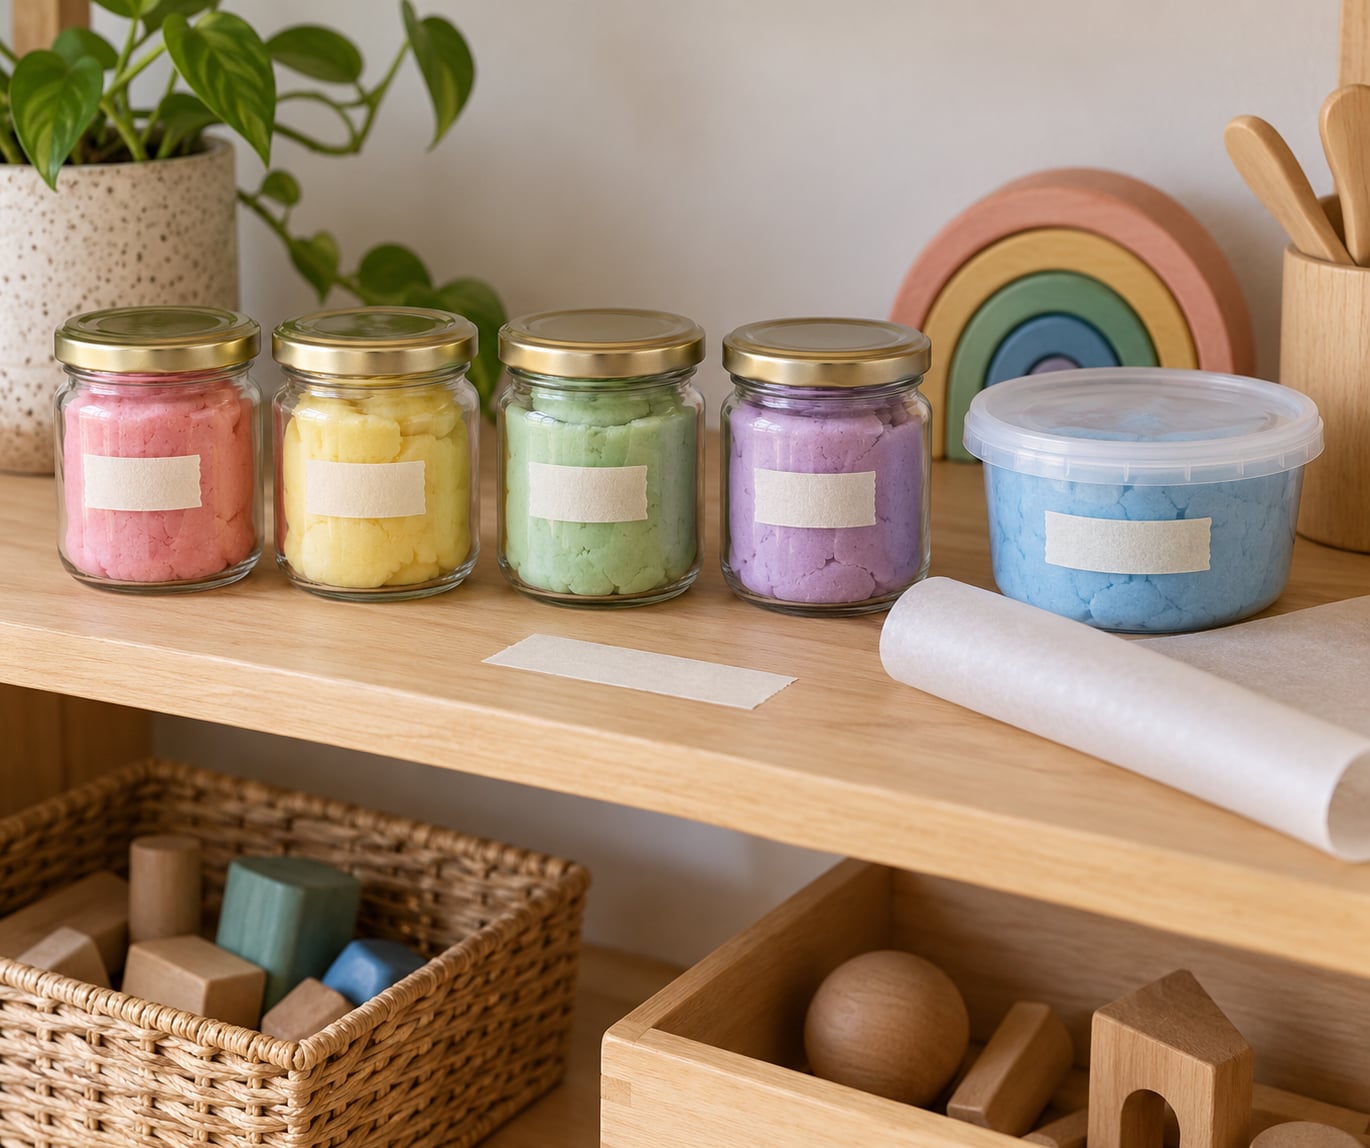
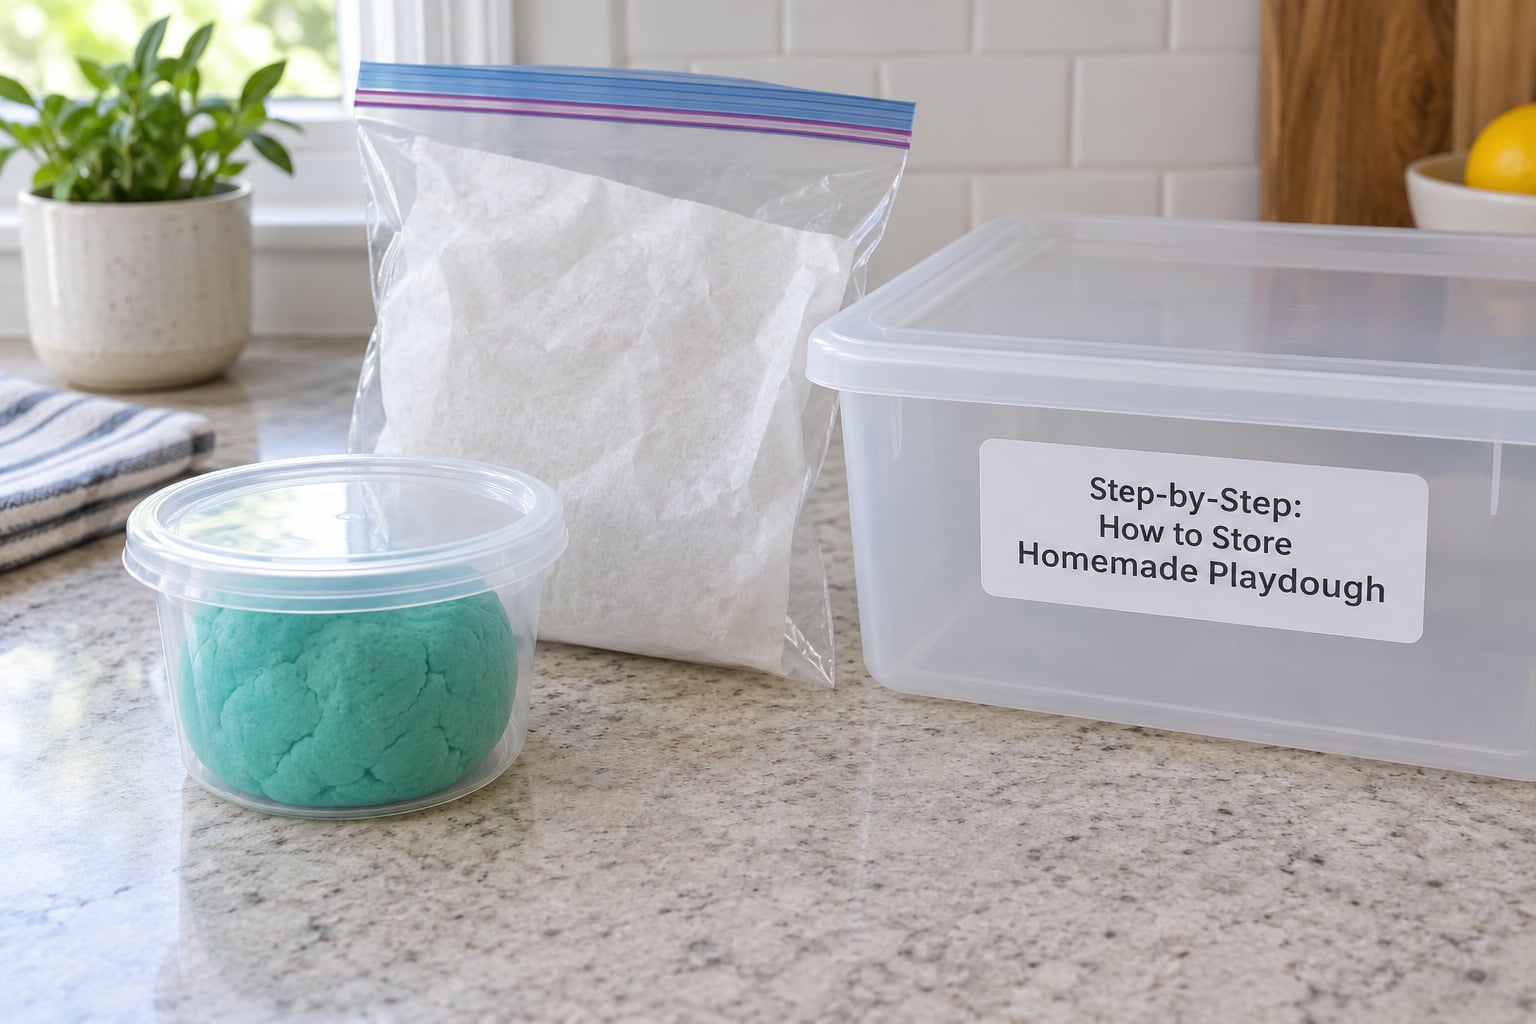
- Airtight food-safe containers. Glass jars with screw lids, BPA-free plastic tubs with gasket lids, or zip-top freezer bags. Skip snap lids, which push air out once and then let it back in.
- Parchment or wax paper. For lining lids, wrapping small portions, and separating colours.
- A label or masking tape and a pen. Write the date and the recipe name on every portion.
- A clean spoon or scoop. Dig out dough without dropping water or juice from hands into the batch.
- Fridge and freezer space, if you plan to use them. Optional, not required.
If you want dough that keeps longer, the single biggest recipe-side lever is cream of tartar, the acid that many long-lasting recipes rely on. Salt content matters too. Users on parenting forums consistently report that higher-salt dough resists moulding better than a sweeter, oilier batch.
Step-by-Step: How to Store Homemade Playdough
Six steps, in order. Skipping the first one is the mistake that causes the most mould.
1. Let the dough cool completely
Warm dough steaming into a sealed container creates condensation, and that trapped moisture on a flour-based surface is exactly what mould feeds on. Give it 30 to 60 minutes on a counter until it feels room temperature all the way through, not just on the surface. Commenters on recipe threads describe this as the fix that stopped their dough moulding in closed containers.
2. Press the air out and portion it
Flatten the dough into a disc about the size of your container and press down firmly with the back of a spoon. The wider the surface, the less trapped air sits against it. For a big batch, divide it into small balls or palm-sized portions before storing so you only unseal what the kids will use that week.
3. Cover and seal
Press parchment or wax paper directly onto the dough surface to stop oil from sitting on it, then close the lid firmly. In a zip-top bag, squeeze the air out of the top before sealing it flat. That step is the whole difference between a bag that works and a bag that produces a brick by Friday.
4. Label with the date and the recipe
A strip of masking tape and a pen takes ten seconds. Without a date you end up guessing, and with flour on your hands nobody wants to touch an unlabelled pot of dough to sniff it.
5. Choose the storage location
For room temperature, pick a cool, dry cupboard or a low shelf away from direct sunlight, radiators, ovens and the washing machine. Humid rooms shorten storage life noticeably, which is why the same batch can last months in a dry climate and a few weeks somewhere damp.
6. Check it before the play session
Open the container away from the child’s face, look and smell first, then knead a small piece between your fingers. Thirty seconds of checking is far better than handing a toddler a batch that has gone off.
How to Store It at Room Temperature
For short-term use, room temperature is fine for most families. Cool the dough fully, press out the air, seal it airtight, and keep it somewhere cool and dark, away from sunlight, heat, dust and pets. Open the container briefly, take out only what you need, and reseal immediately.
Treat roughly 1 to 3 days as cautious guidance for common flour- or cornstarch-based recipes in a container that truly seals. Salt-heavy doughs hold better than oily or heavily sugar-based ones. In a humid climate, shorten that window further.
If anything about the batch seems wrong, discard it rather than hoping kneading will fix it. Sour or off smells, fuzzy grey or black spots, and a slimy surface are not storage problems. They are spoilage.
How to Refrigerate Homemade Playdough
Refrigeration is optional, and it is worth being clear about that because the advice online contradicts itself. Many well-made homemade batches keep perfectly at room temperature, and chilling can change the texture of some doughs.
When you do refrigerate, cool the batch completely first, then portion it into small airtight containers so you do not repeatedly warm and cool one big mass. Label each one with the date and recipe, and place the containers on a main refrigerator shelf rather than in the door, where the temperature swings every time it opens.
Many common homemade recipes hold roughly 1 to 2 weeks refrigerated. The recipe ingredients and how the dough has been handled set the real limit. Parents on Mumsnet report a tied bag in the fridge holding for a couple of weeks, with airtight boxes lasting longer.
How to Freeze Playdough for Longer Storage
Freezing is the answer when you want dough to sit untouched for months. The whole idea is to make the portions small, because you will thaw one at a time and refreezing repeatedly ruins the texture.
- Roll the dough into small balls or press it flat into a thick disc so more of it thaws quickly.
- Wrap each portion in parchment paper to limit freezer burn.
- Bag the wrapped portions in a freezer bag, press out the air and seal it flat.
- Label the bag with the date, the recipe and the number of portions.
- Store it in the coldest part of the freezer, away from items with strong smells.
- Thaw one portion at a time in the refrigerator overnight.
Use thawed dough promptly. If it has been frozen twice, expect a grainier, drier result and expect to add a tiny amount of water while kneading.
How to Check Stored Playdough Before Play
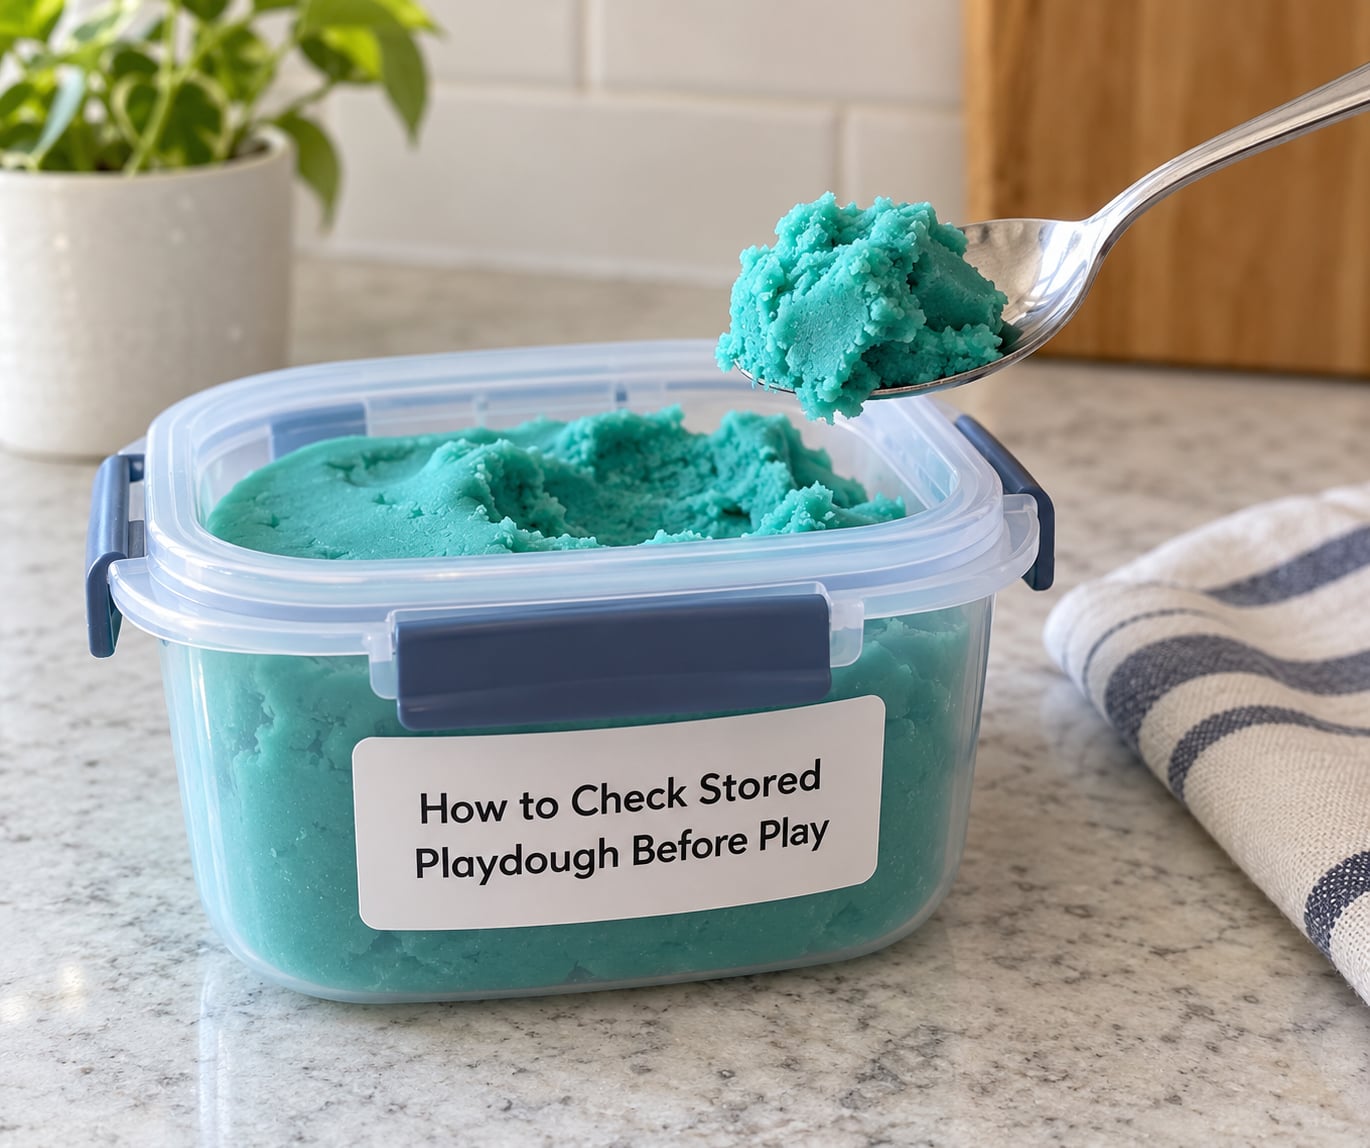
Checking takes a moment and covers five things: colour, smell, texture, mould and time. If it has been stored longer than your recipe’s expected window, weigh that more heavily than the other checks.
- Colour: the colour should match the last time you used it. Faint greying, black specks or a dull white film are warnings.
- Smell: fresh dough smells faintly of flour, salt or the essential oil you used. Anything sour, musty or rotten means binning.
- Texture: a slightly lumpy or stiff dough can often be kneaded back to usable. A slimy or watery dough cannot.
- Mould: fuzzy spots, especially grey, green or black, mean the whole portion goes. Do not scrape the surface and keep the middle.
- Time: if the batch is past its expected window, discard it rather than passing it on.
Adding more flour to thicken a questionable batch hides the problem instead of solving it. It also changes the texture in a way kids notice straight away.
How to Thaw and Revive Playdough
Thaw frozen dough in the refrigerator rather than on the counter. Let it sit sealed for several hours or overnight, then take it out and knead it. Dough that needs a little warming can rest at room temperature for 10 to 20 minutes, still sealed.
If it feels dry, add water one drop at a time and knead between each drop. Getting this wrong turns the batch sticky in seconds, so patience beats the water bottle. A barely damp paper towel pressed against the dough and wrapped for 20 minutes is the gentler route.
Heavily contaminated, mouldy, oily or oddly coloured dough should be discarded rather than restored. Reviving works on dryness, not on spoilage.
Common Mistakes
Almost every storage complaint traces back to one of these.
- Sealing warm dough. Condensation forms and mould follows. Cool it completely first.
- Lids that only look airtight. A snap lid is not a seal. Use a gasket lid, a screw-top jar or a zip-top bag.
- Thin uncovered wrap. Film cling alone loses moisture quickly. Use it over a rigid container, pressed onto the dough.
- Damp utensils. One wet spoon introduces water and bacteria to the whole batch. Use a dry scoop every time.
- Sharing containers between colours. Food colouring bleeds. Store colours separately, or layer them with parchment between.
- Parking the bin near heat. A shelf above a radiator or in direct sun dries dough from the outside in.
- Freezing one big batch. You then thaw and refreeze the same mass over and over. Portion it.
- Assuming every recipe lasts the same. A salted no-cook dough and a cornstarch dough have very different shelf lives.
Three habits fix most of the above. Make smaller batches so nothing sits for weeks. Date every container so you use the oldest first. Write the recipe name on the lid, because texture problems are much easier to solve when you know what went into the batch.
Frequently Asked Questions
How long can homemade playdough stay in the refrigerator?
Most flour- or cornstarch-based homemade batches keep roughly 1 to 2 weeks in the refrigerator when portioned into small airtight containers. Cool the dough fully before sealing, store it on a main shelf rather than in the door, and label it with the date. Salt-heavy recipes hold longer. Discard anything with a sour smell, slimy texture, or grey or black spots, and shorten the window if the dough has been handled a lot.
Can you freeze homemade playdough, and how long does it last?
Yes. Freeze it in small balls or thick discs wrapped in parchment, then bagged with the air pressed out and labelled. Frozen homemade playdough usually keeps several months, though texture softens slightly after thawing. Thaw one portion at a time in the refrigerator overnight and use it promptly. Avoid thawing and refreezing the same portion, which leaves the dough grainy and dry.
What should I do if stored playdough dries out?
Knead it first, since stiff dough often softens on its own. If it is genuinely dry, add water one drop at a time, kneading between drops, or press a barely damp paper towel against it and wrap for 20 minutes. Avoid pouring water in, which turns dough sticky fast, and skip adding flour, which changes the texture. If the batch smells off or has fuzzy spots, discard it instead.
Why does playdough form condensation inside the container?
Condensation appears when warm dough is sealed while it is still giving off steam, or when a container moves from the fridge to a warm room while closed. The trapped water sits on the surface and encourages mould on flour-based dough. Cool the batch fully before sealing, avoid moving chilled containers around unopened, and let any moisture wipe away before the dough goes back in.
Should I keep playdough that children have already handled?
You can keep dough that has been played with if it stays clean, but it will not store as long as a fresh batch. Drop anything with dirt, hair, sticky fingers or food debris into the bin, and always discard dough a sick child has mouthed or handled. For children under three, be conservative and throw out any batch that has had mouth contact. Store finished batches out of reach when not in use.
Conclusion
Start with the first action: let a fresh batch cool completely, divide it into airtight portions, and label each one with the date and the recipe name. From there, match the location to how often your family wants it, keeping small batches in a cool, dry cupboard, mid-size batches in the refrigerator, and larger portions in the freezer.
Whichever method you use, inspect the dough before every play session. Look, smell and knead first, and if anything seems off, discard it rather than handing it to a small child.