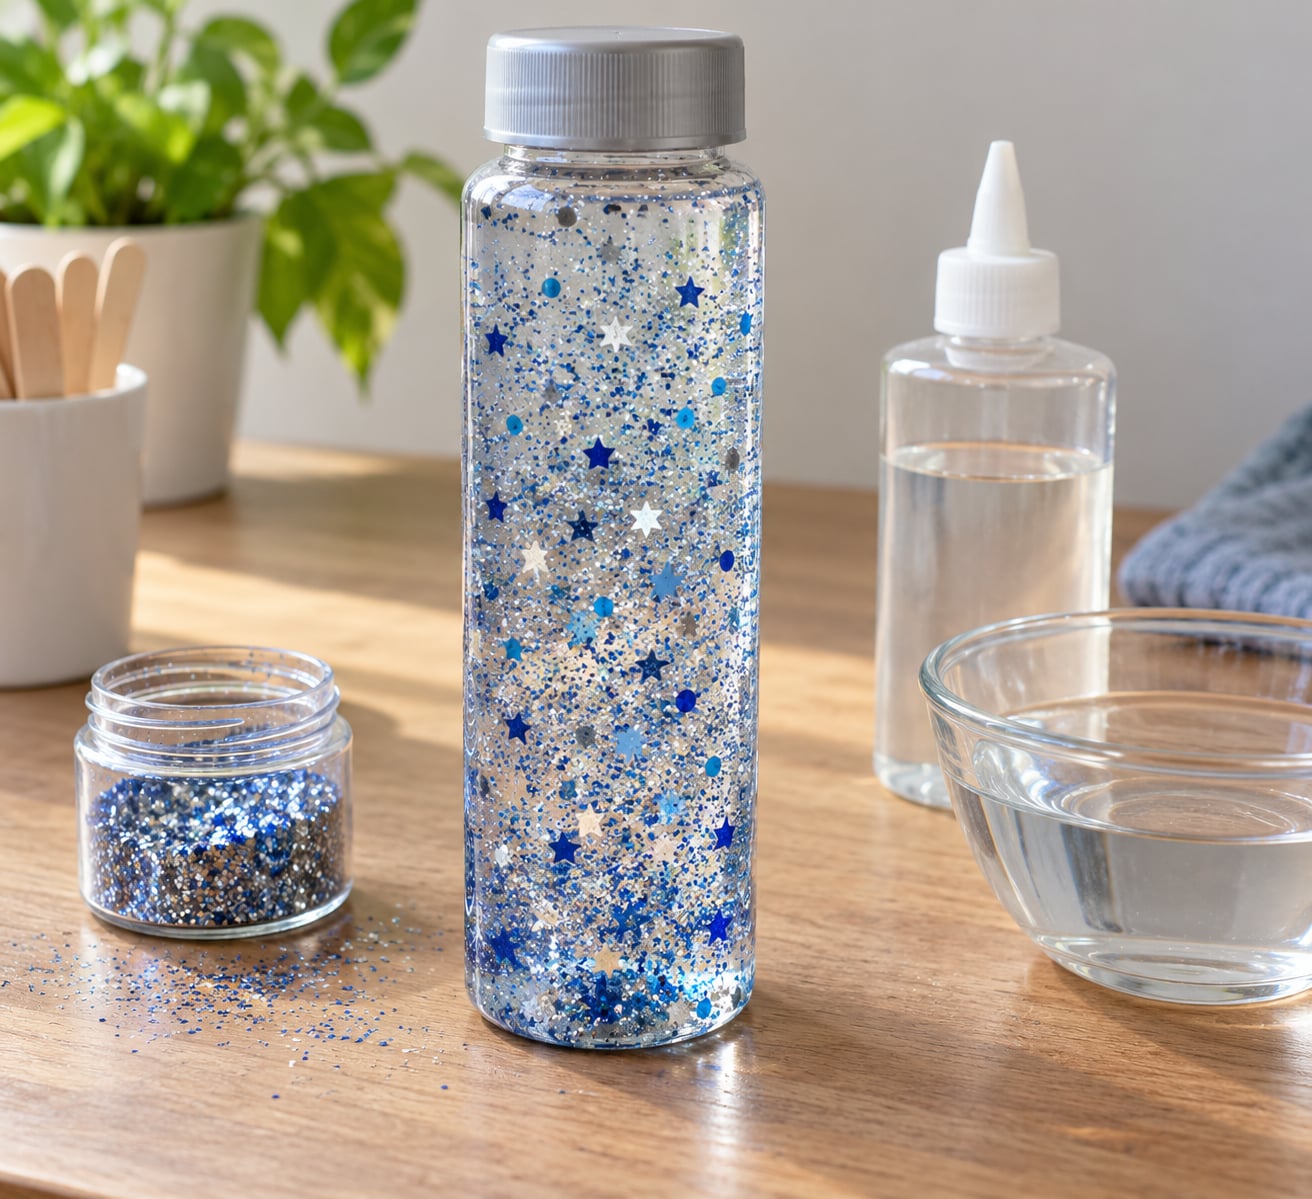
A glitter sensory bottle is a sealed clear bottle filled with slow-moving liquid and glitter, so a child can shake it and watch the color swirl, drift, and settle. To make one, you warm water, stir in clear school glue for thickness, add fine glitter, and seal the lid. The whole build takes about fifteen minutes and stays clean for weeks.
The nice part is how forgiving the recipe is. Too much water and the glitter drops in seconds; too much glue and it barely moves at all. A few small adjustments fix either problem, and you can make a batch of four or five from the same jar of glue.
Table of Contents
- What You Need
- Step-by-Step: How to Make a Glitter Sensory Bottle
- Step 1: Prepare the Bottle and Choose the Fill
- Step 2: Add Glitter and Color
- Step 3: Layer the Liquid and Sensory Elements
- Step 4: Seal and Shake the Bottle
- Step 5: Check the Flow of Your Glitter Sensory Bottle
- Step 6: Use, Clean, and Store the Sensory Bottle
- Common Mistakes and Easy Fixes
- Frequently Asked Questions
- What liquid should I use in a glitter sensory bottle?
- Can I make a glitter sensory bottle without glue?
- How much glitter should I put in a sensory bottle?
- What can I use instead of glitter?
- How do I stop a sensory bottle from leaking?
- How should I clean and store a glitter sensory bottle?
- Conclusion
What You Need
Gather everything before you start, because the fun part is fast once the bottle is open.
- A clear plastic bottle or jar with a screw-on lid that fits tightly. Roughly 12 to 16 ounces works well. Tall shapes show the fall better than squat ones.
- Clear PVA school glue, the Elmer’s clear or washable kind. White glue leaves a cloudy cast and hides the glitter.
- Warm water, enough to fill the bottle three-quarters of the way.
- Fine polyester glitter. Fine or medium is right. Skip water-based craft glitter, which dissolves and turns the liquid into colored sludge.
- Gel food coloring, optional, for a themed color.
- Small add-ins, optional: plastic confetti, sequins, flat-backed gems, or foam shapes.
- Super glue and clear tape, or a strip of duct tape, for sealing.
You can skip the add-ins entirely, and plenty of bottles stay interesting with glitter alone. Recycled water bottles work well, though peel off any shrink wrap or paper label first since those leave a film on the plastic.
Safety before you pour anything. Use plastic rather than glass for toddlers. Skip add-ins smaller than a large bead if the child is under three, since anything that small is a choking risk. Warm water and super glue are adult jobs, done before the child joins in, and the sealed bottle should stay out of reach of babies who might work the lid loose.
Step-by-Step: How to Make a Glitter Sensory Bottle
Step 1: Prepare the Bottle and Choose the Fill
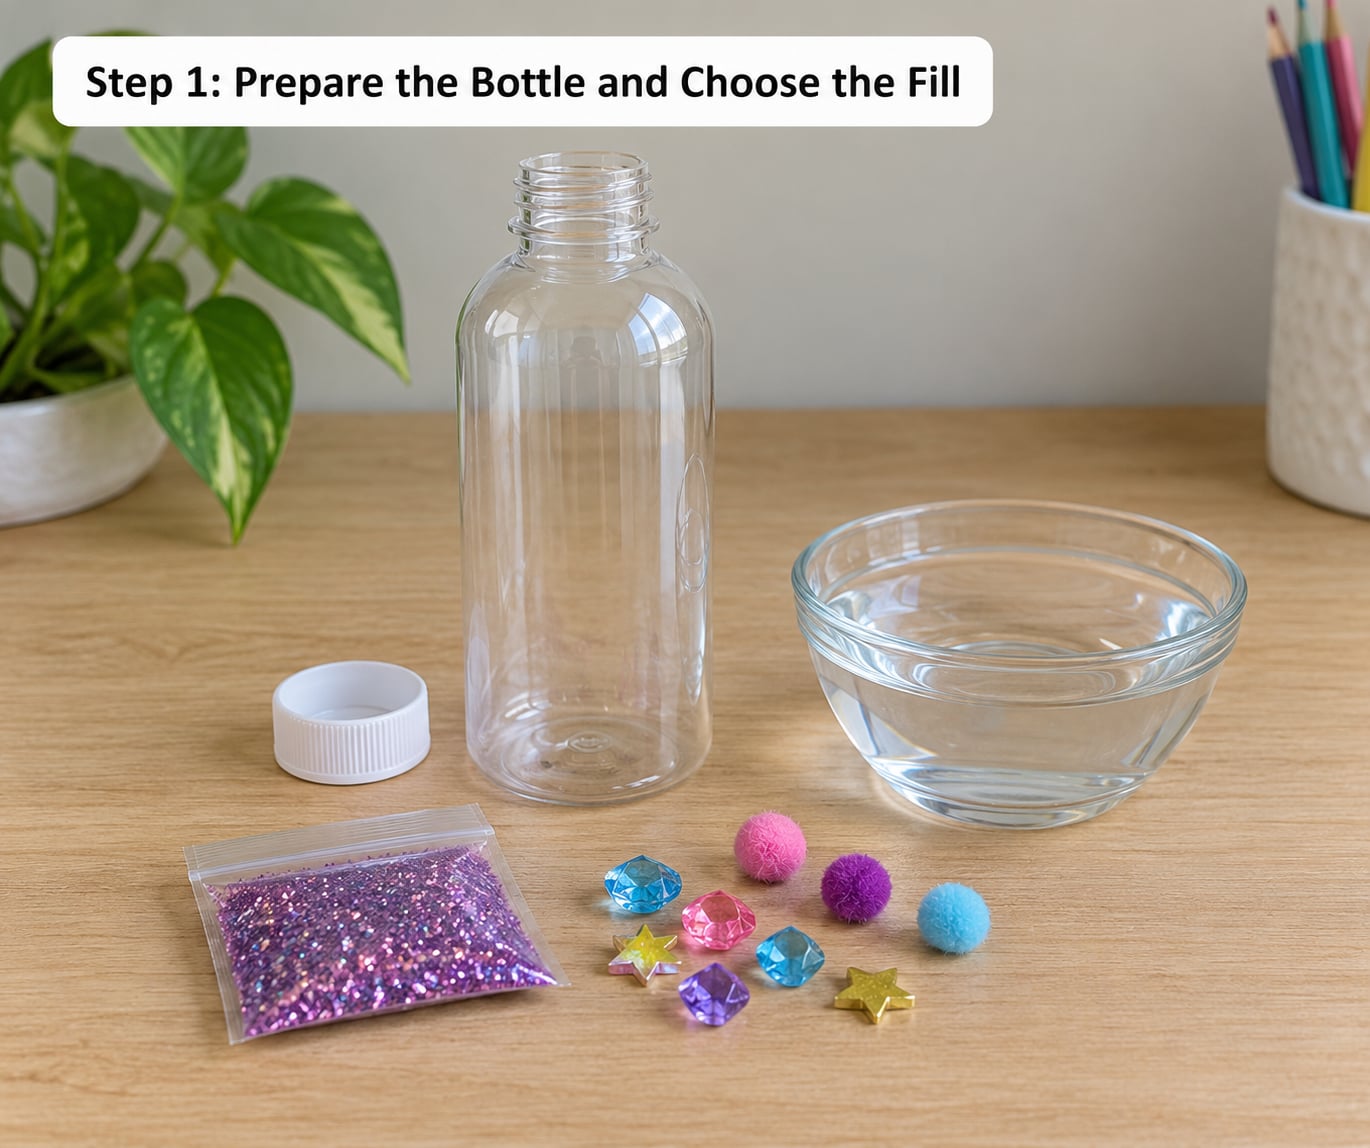
Wash the bottle with dish soap, rinse it, and dry it completely. Water hiding in the bottom will make the glitter clump against the base later.
Fill it about three-quarters full with water that’s comfortably warm, not hot. Warm water mixes with glue faster and fewer lumps form. You will see a clear line where the water stops and the empty air space begins, and that gap is what the glitter has to travel through.
A transparent container is not optional here. The whole effect depends on seeing through the liquid, so any bottle with a printed label or tinted plastic works less well than a clear one.
Step 2: Add Glitter and Color
Pour in two to three tablespoons of fine glitter for a 12-ounce bottle. Add a little extra if you want a dense, high-contrast swirl, and less if you want to watch individual pieces drift. Add two or three drops of gel food coloring at this stage and swirl the bottle to mix it.
Stay restrained with the coloring. Liquid dye turns the water dark fast and you lose sight of the glitter, and gel coloring is stronger, so two drops is usually plenty.
Step 3: Layer the Liquid and Sensory Elements
Now the important part: stir in the clear glue slowly. Squeeze a thin stream into the water while you stir with a spoon or a popsicle stick, then keep stirring until the mixture looks evenly milky and slightly thickened. Let it sit for a few minutes and stir again, because the glue settles in patches.
The glue is what suspends the glitter. Without it the glitter sinks in a few seconds, and with it the fall stretches out to a minute or more. Use roughly a quarter bottle of glue for a one-minute fall, about a third for two minutes, and half a bottle or more for a very slow, thick swirl.
Drop in your add-ins now, a small handful at most. Anything flat and plastic works best: confetti, sequins, or flat gems. Leave the top quarter of the bottle empty so the contents have room to move when shaken.
Step 4: Seal and Shake the Bottle
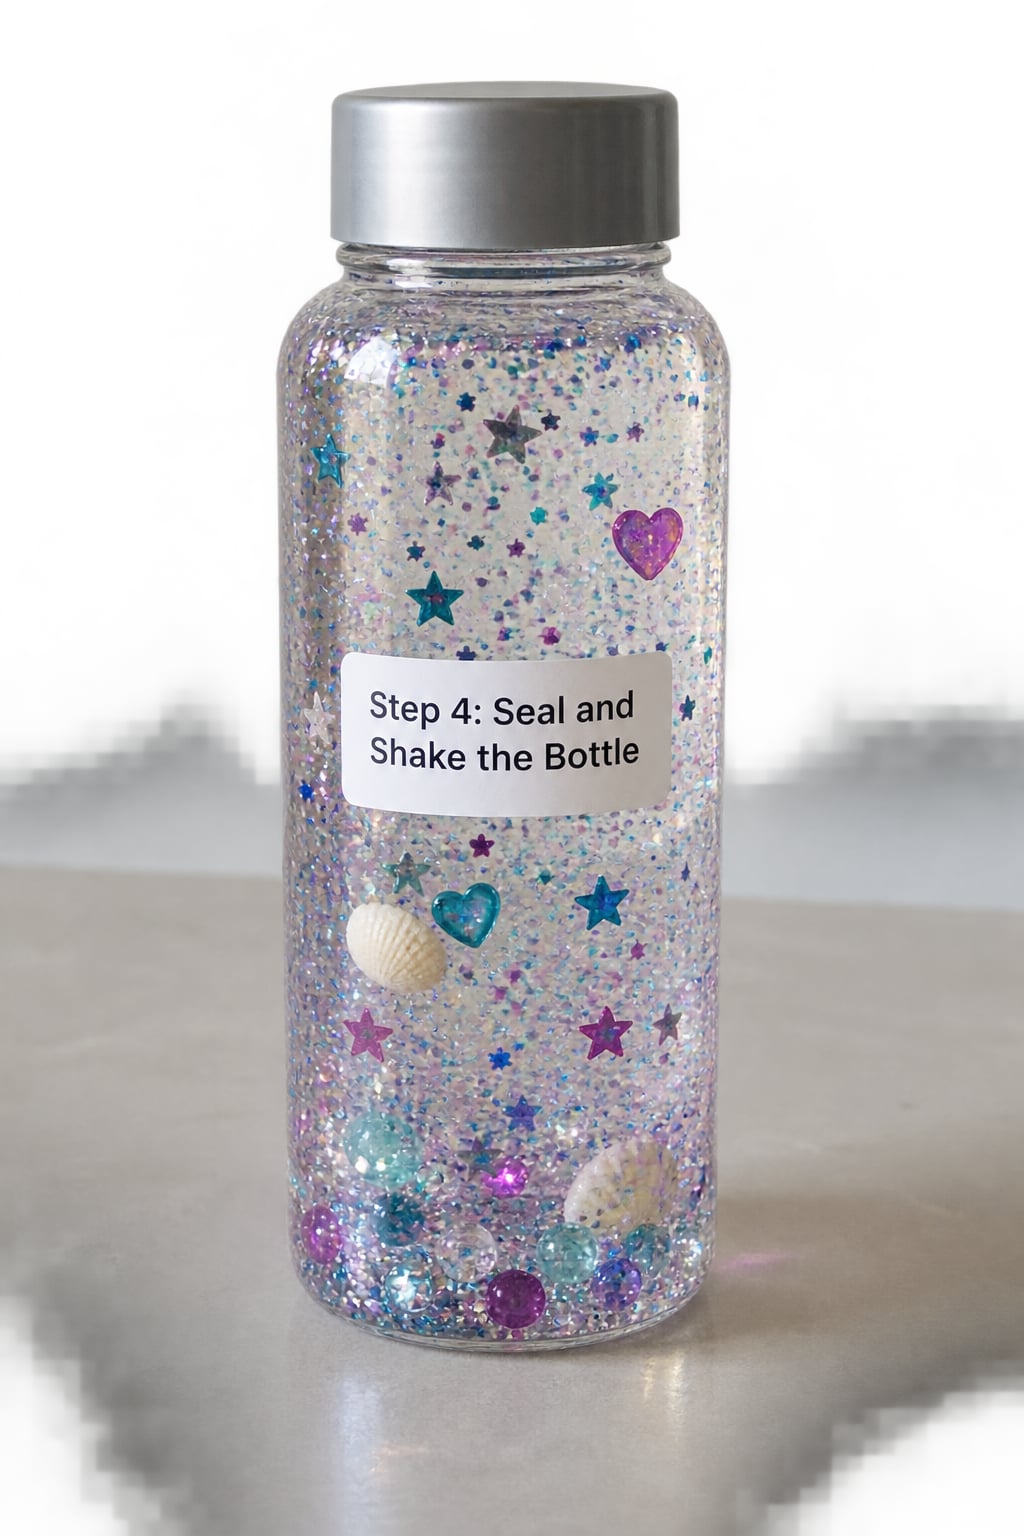
Dry the rim and threads of the bottle before you close it, then put the lid on and turn it until it stops. Squeeze a thin ring of super glue around the seam where the lid meets the bottle, or wrap a strip of duct tape around the joint. Wipe the excess before it cures.
Let the seal dry fully, then turn the bottle over and shake hard. The glitter and add-ins should suspend in a full swirl and drift down over 30 to 60 seconds. If you want a slow fall, add more glue in small pours and shake again; if the mixture runs like plain water, add a glug more glue and shake.
If a leak appears, dry the seam, add another bead of glue, and give it more time. A cap that keeps unscrewing in a toddler’s hands needs a full ring of glue, not a spot.
Step 5: Check the Flow of Your Glitter Sensory Bottle
Set the bottle upright and watch it settle without touching it. You are looking for a visible descent rather than an instant drop. If the glitter hits the bottom in under five seconds, stir in another two tablespoons of clear glue. If it barely moves at all, add a splash of warm water to loosen it.
Add-ins usually pool at the bottom on day one and separate after the bottle has stood for a few days, so that is normal. A thick, slow swirl is the sign that the viscosity is right, and you can fine-tune it in a couple of rounds rather than trying to get it perfect on the first pour.
Step 6: Use, Clean, and Store the Sensory Bottle
Hand it over with a simple prompt: shake it, then find something to count while the glitter falls. That turn from watching to counting is what keeps it going past the first minute, and counting or sorting the pieces works well for preschool and early elementary ages.
Best results come when the bottle lives in a calm-down corner and the child reaches for it while still calm, rather than after a meltdown has started. Practising the routine when nothing is wrong is what makes it available when something is.
For cleaning, empty the contents over a sink, rinse with warm water and dish soap, and leave the bottle open on a towel to dry. Keep the lid off during storage so a trapped lid doesn’t grow a smell, and store the bottle upright so any residue settles instead of drying on the side.
Common Mistakes and Easy Fixes
The glitter settles in seconds. The liquid is too thin. Stir in clear glue a tablespoon at a time, mixing fully each round, and shake to test. Water alone settles in about ten seconds, and one part glue to two parts water gets you closer to a minute.
The liquid is cloudy or milky. You have either too much glue or too much color. You cannot un-mix glue, so the fix is starting over with less glue. For color, two drops of gel coloring will tint the water without hiding the glitter.
The glitter clumps into blobs. Usually water was still trapped in the bottle, or the mixture has been sitting for weeks. Add a splash of warm water, close the lid, and shake hard. Swapping fresh glitter for old stock helps when the glitter itself has settled into a solid mass in its packet.
The bottle leaks or the lid comes loose. Wipe the rim dry before closing, then add a full ring of super glue or a wrap of duct tape and let it cure overnight. Educators running these for a whole class often seal the lid with tape for that reason: it fails more predictably than glue and does not get fingers stuck.
Add-ins all sink and clump in a pile. Heavier items drop straight to the base. Use flat, light shapes such as confetti and sequins, add fewer of them, or give them a couple of days to settle apart before judging the result.
Nothing moves much at all. That is the opposite problem, and it is an easy fix. Stir in warm water a little at a time until the fall takes roughly 30 seconds.
Frequently Asked Questions
What liquid should I use in a glitter sensory bottle?
Warm water with clear PVA school glue is the standard base. The glue thickens the water so glitter hangs in the liquid and falls slowly instead of dropping straight to the bottom. Glycerin, corn syrup, hair gel, and baby oil all work as alternatives, and each gives a slower, thicker fall than water alone.
Can I make a glitter sensory bottle without glue?
Yes, and it takes longer to settle, which some children like better. Use warm water thickened with a few tablespoons of glycerin, corn syrup, or clear hair gel, or fill the bottle with baby oil and shake in the glitter. Oil-based versions never dry out, but they need a secure lid because they leak like water.
How much glitter should I put in a sensory bottle?
Two to three tablespoons of fine glitter works well in a 12-ounce bottle. Add more for a dense, high-contrast swirl, and less if you want to watch individual pieces drift through the liquid. Always use fine or medium polyester glitter, since water-based craft glitter dissolves and turns the contents cloudy.
What can I use instead of glitter?
Plastic confetti, sequins, flat-backed craft gems, small foam shapes, and even a few flat buttons all move nicely in a thick liquid base. Add a modest handful so the pieces can separate rather than press into a clump. Anything tiny or sharp is a poor choice for a bottle a toddler will handle.
How do I stop a sensory bottle from leaking?
Dry the rim and threads before closing the lid, then seal the seam with a full ring of super glue or a strip of duct tape and let it cure overnight. Oiled bases leak more readily than glued ones, so those bottles need a taped lid. Test the seal over the sink before handing it to a child.
How should I clean and store a glitter sensory bottle?
Empty it into the sink, rinse with warm water and dish soap, and air-dry with the lid off. Store it upright so any residue settles at the bottom rather than drying along the sides. If the bottle will sit unused for more than a few weeks, empty it out, since add-ins left in liquid can break down.
Conclusion
Start with a clean clear bottle, add two to three tablespoons of fine glitter, fill it three-quarters full with warm water, and stir in clear glue until the fall takes about thirty seconds. Seal the lid with a full ring of glue or tape, let it dry, then set the bottle upright and watch it settle. From there, the add-ins and colors are just variations on a recipe that already works.