Learning how to make a leaf collage with kids takes about 30 minutes of active time and costs almost nothing, because the main material falls out of trees for free. Kids arrange leaves on paper, glue them down, and decorate the result, and you end up with a finished piece they actually want to hang on the fridge.
The trick is doing it in the right order. Sort and press the leaves first, arrange the whole design before any glue comes out, and work from the bottom of the paper upward. Skip those three habits and you get a pile of curled, sliding leaves and a frustrated kid.
This method works for preschool through early elementary ages, needs no special art skills, and cleans up with a damp cloth. I’ve done it three autumns running with my own kids and with a group of six preschoolers, and the version below is the one that worked every time.
Table of Contents
- What You Need
- How to Make a Leaf Collage With Kids Step by Step
- How to Make a Leaf Collage With Kids: Collect and Prepare the Leaves
- Sketch a Simple Background
- Arrange the Leaves Before Gluing
- Glue the Leaves in Place
- Add Color and Details
- Let the Collage Dry and Display It
- Common Mistakes
- Frequently Asked Questions
- Can children use real leaves for a collage, or are artificial leaves better?
- How old should a child be to make a leaf collage?
- How do you preserve fresh leaves before making a collage?
- What glue works best for leaves on paper?
- How can I make the leaf collage easier for a preschooler?
- Are there safety or allergy concerns with a leaf collage project?
- Conclusion: Start with a Large Leaf Shape
What You Need
You can build a leaf collage with supplies you almost certainly already own. The only things worth buying are heavier paper and a decent glue stick.
- Leaves — fresh fallen ones, or dried and pressed from a previous season. Aim for 20 to 40 leaves in a mix of sizes and colors.
- Heavy paper — cardstock, a reused cereal box flattened, or 110 gsm drawing paper. Thin printer paper buckles the moment wet glue hits it.
- Child-safe glue — a glue stick is cleanest. White school glue or craft glue works too, with more cleanup.
- Markers, crayons, or colored pencils — for the title, veins, and any details.
- Child-safe scissors — only if you’re cutting tissue paper or trimming a background shape.
- A pencil with an eraser — for the optional background sketch.
- A protective work surface — a sheet of wax paper, a plastic tablecloth, or a sheet of newspaper under everything.
- Optional: tissue paper, a sheet of clear contact paper, yarn or raffia, and a bit of white tempera or acrylic paint for leaf printing.
Cardstock matters more than anything else on that list. If you only swap one supply, swap the paper.
Two supplies get skipped by most people and quietly improve the finished piece. A sheet of wax paper under the project means glue drips land on something you can peel off later. And a handful of dried lavender or eucalyptus sprigs adds a texture that maple leaves alone can’t give you.
How to Make a Leaf Collage With Kids Step by Step
Budget 25 to 35 minutes of active work, plus whatever drying time your glue needs. The whole process breaks into six steps: collect and prepare, sketch, arrange, glue, decorate, and display.
How to Make a Leaf Collage With Kids: Collect and Prepare the Leaves
Walk the block or your nearest park and pick up what lies on the ground. Skip anything on a road, anything near a dog path, and anything you can’t identify — that last one matters more with small children than most guides admit.
Maple leaves give you the strongest colors and the most interesting shapes. Oaks bring long, narrow silhouettes that fill gaps well. Ferns and other understory plants are an underrated option because their fine fronds add texture no single leaf can provide.
Carry your haul home in a manila folder, not a plastic bag. A bag folds and crushes the leaves, and you end up with a pile of creased scraps instead of usable material.
At the table, brush off dirt and twigs with a dry paintbrush. Then flatten the leaves: lay them between two sheets of paper towel, add a heavy book on top, and wait 3 to 7 days. Flat leaves lie flat, take glue evenly, and don’t curl at the edges.
Set aside any leaf that crumbles, snaps, or has a rough, hairy surface. Those are fine for older kids to handle, but a toddler shouldn’t put a brittle specimen near their mouth, and rough leaves irritate skin.
If you can’t wait a week, press the leaves under dinner plates for a few hours on a warm day. They’re not quite as flat but they’ll work.
Sketch a Simple Background
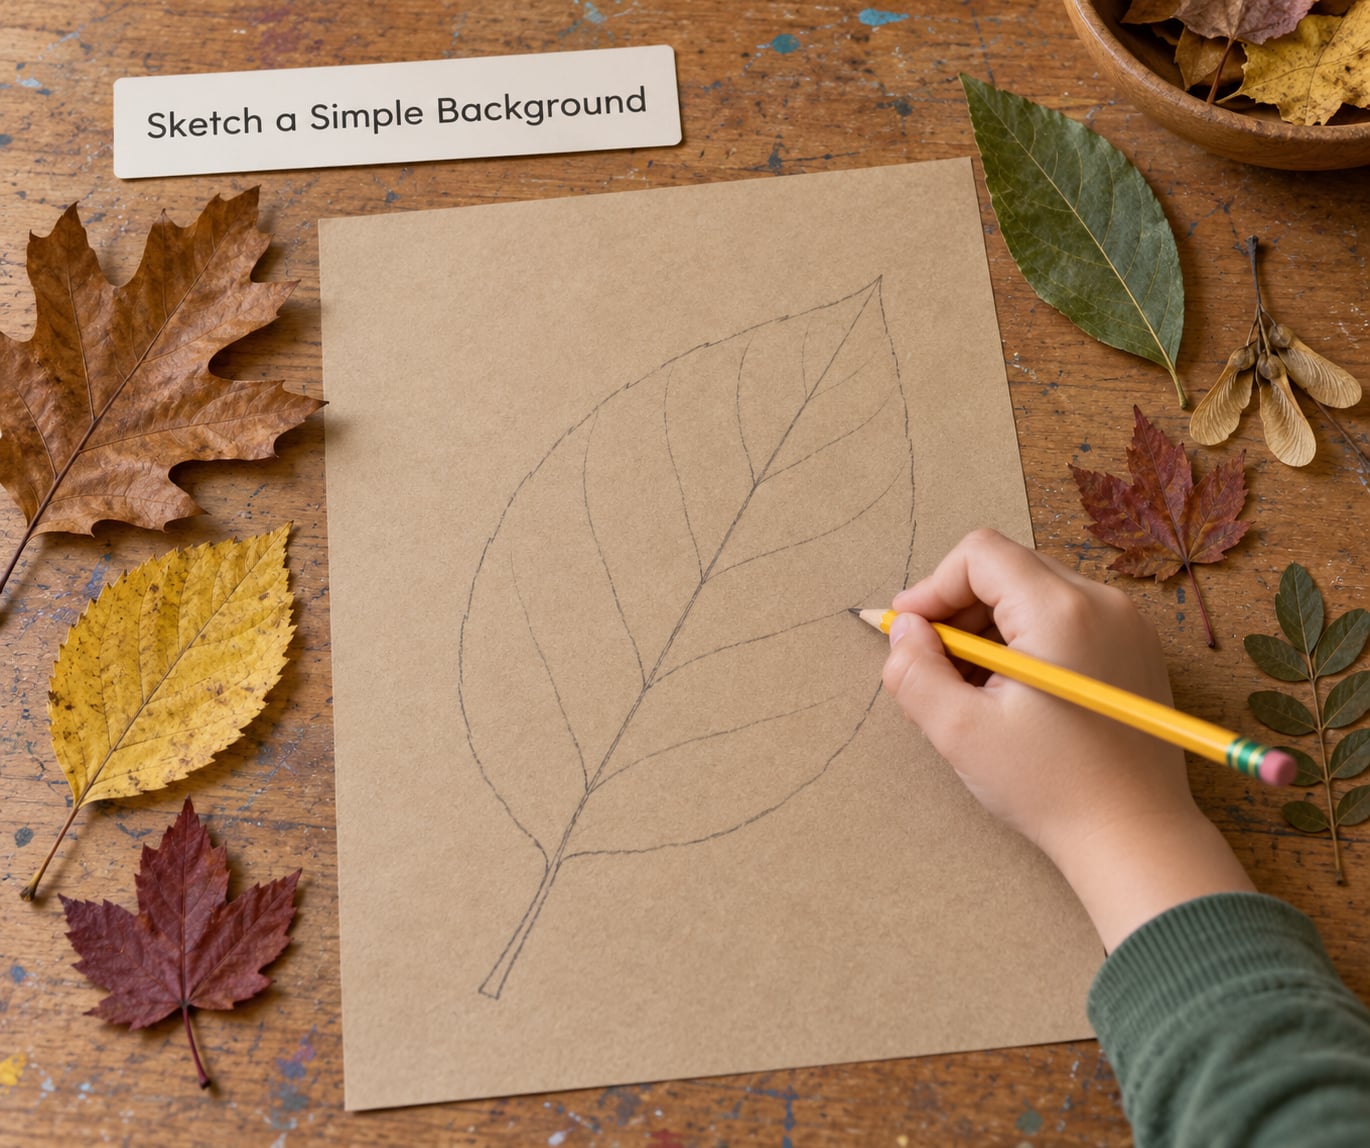
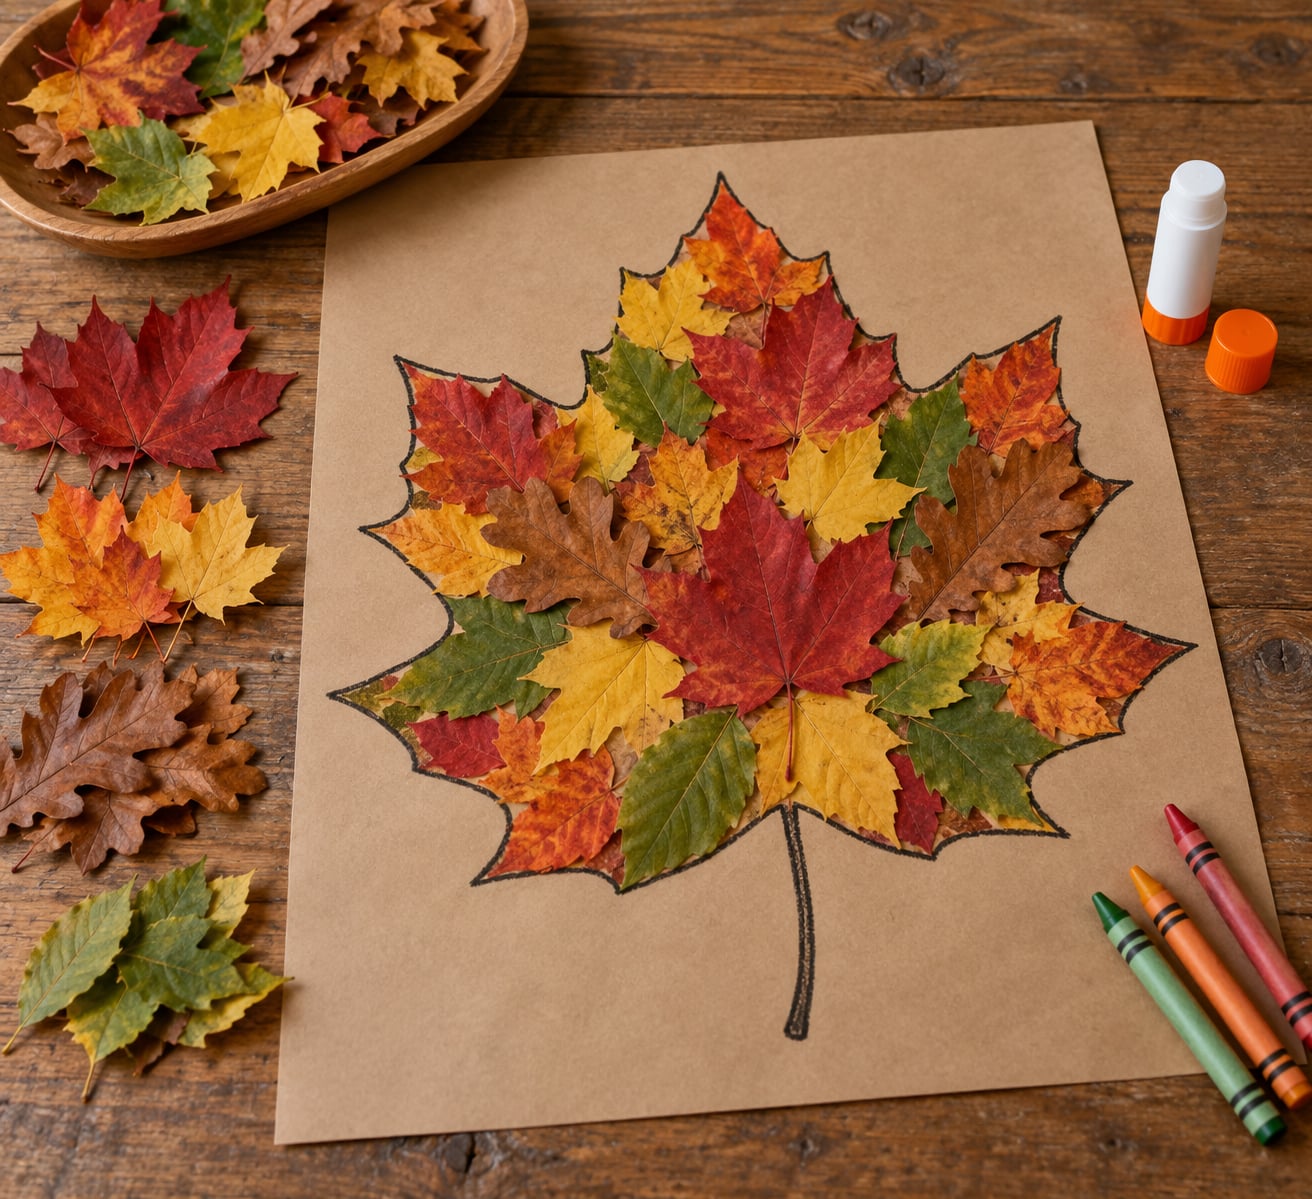
Younger children do better with visible boundaries. Have them draw one big shape with a pencil — a tree trunk with branches, a large oval leaf, a pumpkin, or a curved stem — so they know where the design stops.
Older kids can leave the paper blank and work freeform. Some of the best collages are just a loose sweep of leaves across the page with no outline at all.
Fill the shape with a wash of orange, brown, or deep green if you want the leaves to pop. Let it dry fully before gluing anything on, because a damp painted area lifts the first leaf you press into it.
Arrange the Leaves Before Gluing
Move everything into place first, then glue. This one habit separates a collage that looks put together from one that looks accidental.
Vary size and direction. Put a big maple leaf next to two small ones, then rotate the next group so nothing lines up in a tidy row. Overlap only where you want depth, and leave real gaps — a collage with breathing room reads as a design, while a solid mat of leaves reads as a mess.
Group colors instead of scattering them. Three orange leaves together, then three yellow, then a few brown accents looks intentional. Alternating every color looks like a patchwork quilt nobody planned.
Here’s the balance check: once your child is happy, lift one leaf out. If the layout suddenly looks empty or lopsided, put that leaf back. If removing it changes nothing, it’s doing nothing and you can set it aside for filling gaps later.
Glue the Leaves in Place
Start at the bottom of the paper and work upward, so your hand never rests on finished pieces. A thin coat of glue on the back of each leaf, or on the spot directly on the paper, is all you need.
Press each leaf down gently with two fingers and hold it for two or three seconds. Press hard enough to bond, not hard enough to crush — the curl you see most often comes from a leaf being shoved down rather than pressed.
| Adhesive | Mess level | Durability | Best for |
|---|---|---|---|
| Glue stick | Very low | Medium | Preschoolers and any project where cleanup time matters |
| White school glue | Low to medium | Medium to high | Everyday collages on paper |
| Double-sided tape | None | High | Curved or bumpy leaves that need to hold a shape |
| Clear contact paper | None | Highest, and it seals color in | Collages meant to last years, or a no-glue version |
| Craft glue or decoupage medium | Medium | Highest | Older kids sealing a finished piece |
Contact paper deserves its own mention because it makes a genuinely glue-free collage. Peel the backing, lay leaves onto the sticky side, and press. Nothing spills, nothing dries, and a five-year-old can finish it alone.
Add Color and Details
Details work best when they support the leaves rather than compete with them. A few good options:
- Trace the veins — run a fine marker along the center line and branching veins after the glue dries. It picks out structure that’s invisible when leaves overlap.
- Color the background gaps — fill empty paper with small dots, short dashes, or a wash so no white shows through.
- Add a title — a name and the date in the bottom corner turns a craft into a keepsake.
- Tissue paper — torn pieces fill odd corners and add softness against crisp leaf edges.
- Drawn creatures — a ladybug, a caterpillar, or a squirrel in black marker turns a nature study into a scene.
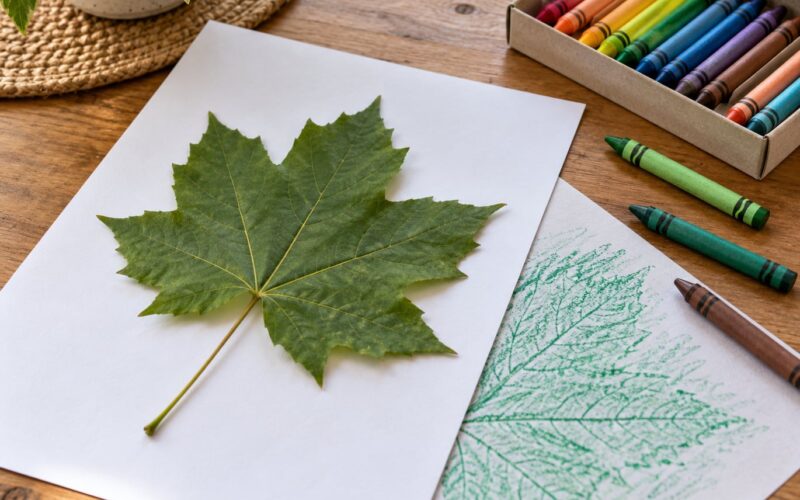
- Paint for a second print — dab tempera or acrylic on the back of a leaf and press it onto fresh paper for a leaf print. Running two prints side by side is the cheapest way to make one collage look designed.
For younger children, keep it to the title and maybe two markers. Too many choices at the decorate stage is where projects stall.
Let the Collage Dry and Display It
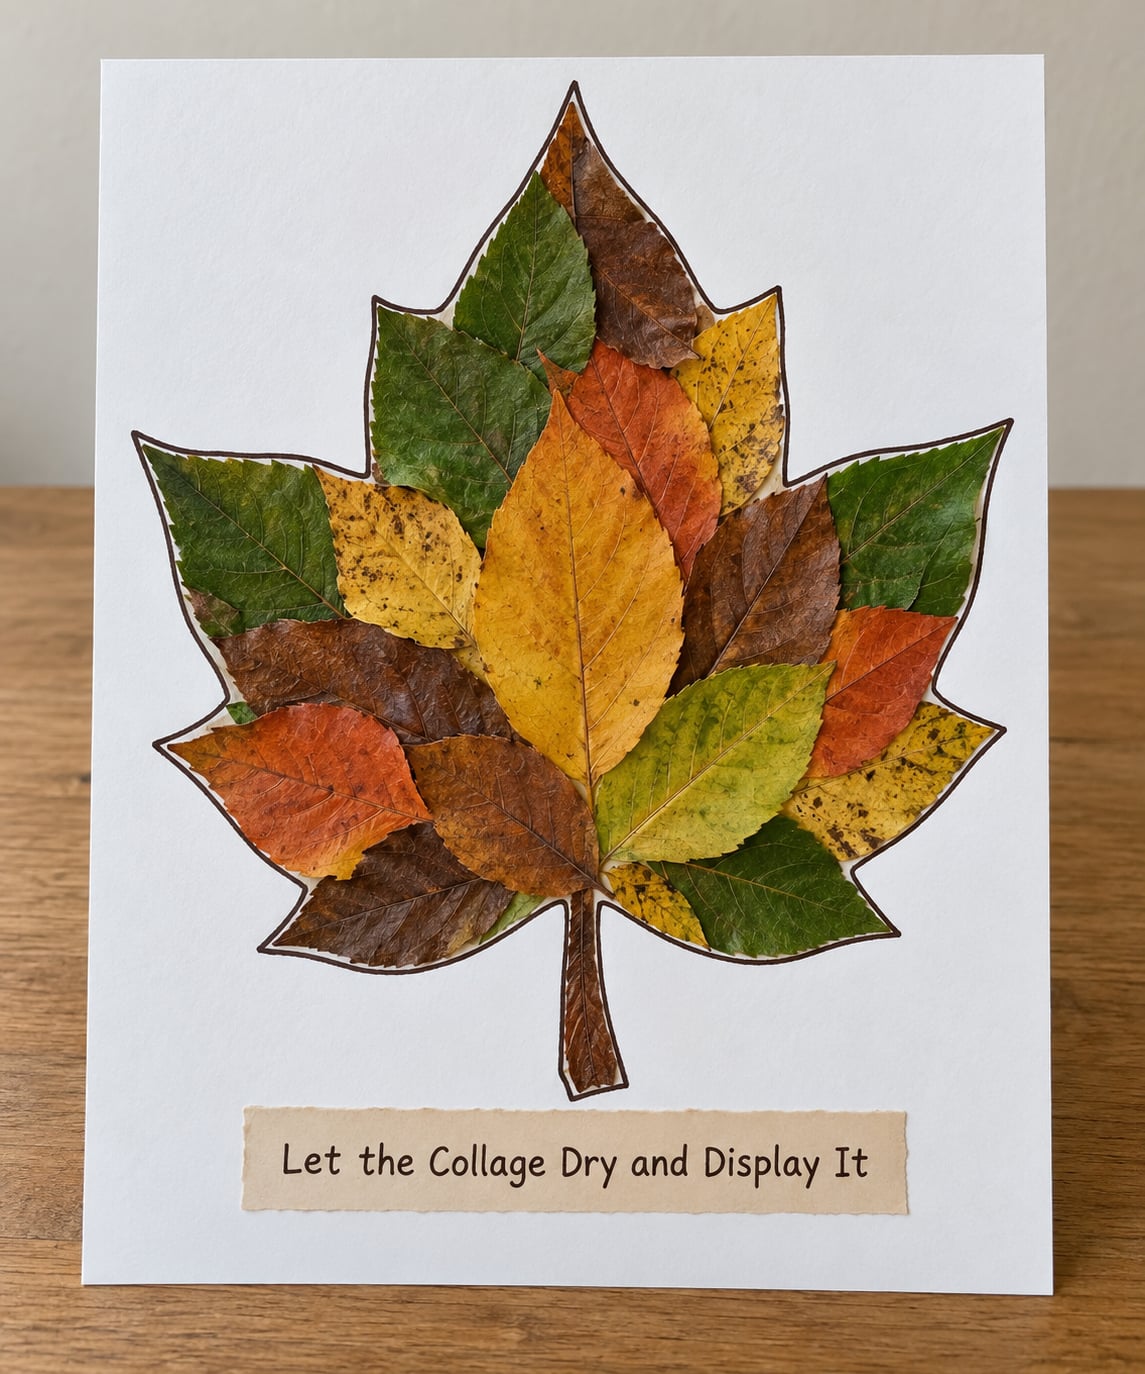
Lay the finished work somewhere flat and leave it alone until the glue sets. A glue stick needs a few minutes; wet school glue can take 30 minutes or more. Moving the paper early is what causes lifted corners.
Once it’s dry, run a finger along every edge. Any leaf that lifts gets a dab of glue underneath and ten more minutes of flat time.
Add the title now if you didn’t already, then display it. Tape it to the fridge, lean it on a windowsill, or pin it to a nature-study board. Lamination is tempting but don’t — the trapped moisture and heat discolor leaves over time, and a collage should stay a collage.
If you want it to last years, seal the whole surface with clear contact paper, cut around the outside edge, and trim the corners. Store it flat between two sheets of card.
Common Mistakes
Leaves curl up after gluing. Almost always too much glue. Use a thin coat and press with fingers instead of pushing down. If glue has already soaked in, lay a small piece of wax paper on top and press again after it soaks through — the leaf flattens as it dries.
Leaves crumble or snap as a child handles them. They were never dry enough. Give them another day or two under a book, and keep brittle specimens out of the toddler supply pile.
Everything slides around. The glue went on the paper in one thick blob instead of a thin film. Blot, spread, and let it tack up for 30 seconds before you set the leaf down.
The design looks crowded. Pull off a third of the leaves. White space is what makes the shapes read, and the removed leaves are exactly what you need for filling gaps in a border.
A child abandons it at minute ten. Stop the project and come back to it later rather than pushing through. Better: set out buttons, seeds, shells, and fabric scraps at the same time as the leaves, so there’s always one more thing to place. Running the activity in stages with nothing new to add is what kills attention, not boredom.
Nothing sticks to the paper. Wipe the back of each leaf with a barely damp cloth first. Dust and surface wax are the usual culprit.
Two more habits worth building in. Sort leaves into piles by shape or color before anyone starts placing them — it gives a restless child a job and cuts down on random grabbing. And supervise scissors and any sharp leaf edges directly, since dried leaves can split into pointed shards.
Frequently Asked Questions
Can children use real leaves for a collage, or are artificial leaves better?
Real leaves win on color, texture, and the sensory part of the activity. Artificial leaves last longer and stay uniform, which makes them useful for a classroom repeating the same craft each year. The practical answer is real leaves for the artwork and artificial ones for a quiet display piece or for a child who mouths objects.
How old should a child be to make a leaf collage?
Ages 3 and up can do the whole project with a glue stick, since arranging and pressing leaves needs more precision than most adults expect from a preschooler. Toddlers around 18 months should stick to tearing paper and sticking large pieces onto contact paper with no cutting and no sharp dried edges. From about age 7 kids can handle scissors, vein tracing, and leaf printing independently.
How do you preserve fresh leaves before making a collage?
Lay leaves between two sheets of paper towel or plain paper, add a heavy book on top, and wait 3 to 7 days until they are completely flat and dry. For a faster route, place them between two dish towels and press them with the weight of a heavy pot for a few hours. Freezing also works for soft, fresh leaves but makes them brittle once thawed, so press them after thawing.
What glue works best for leaves on paper?
A glue stick is the best everyday choice: it grips dried leaves quickly, needs no cleanup time, and it is easy for small hands to manage. White school glue holds better on thicker leaves and paper. Double-sided tape and clear contact paper are the best mess-free and most durable options, since both seal the leaf surface and slow fading. Avoid hot glue entirely with children.
How can I make the leaf collage easier for a preschooler?
Skip the sketch, give the child one shape to fill, and hand them three sizes of leaves instead of a whole pile. Use contact paper instead of glue so there is nothing to spill or wait for. Offer larger leaves, since small fiddly pieces are what cause frustration, and let the child place the leaves while you press them down. Keep the decorating stage to one marker.
Are there safety or allergy concerns with a leaf collage project?
Check that nobody in the family has a ragweed or pollen allergy before starting, since dried plant material can carry irritant pollen. Wash hands afterward, and skip anything collected from a roadside, a lawn treated with chemicals, or near animal waste. Discard moldy or spotted leaves, avoid leaves with rough hairs for babies, and supervise the use of scissors and any leaf that has split into sharp pieces.
Conclusion: Start with a Large Leaf Shape
To make a leaf collage with kids, do three things in this order and the rest is easy. Draw one large outline so everyone knows where the design ends. Let your child move every leaf into place before the glue comes out. Then work from the bottom of the paper up, pressing gently instead of pushing hard.
Save the smallest leaves for last, because they fill the gaps the big ones leave behind. Thirty minutes, a handful of supplies, and one very proud kid at the fridge.