A homemade jump rope is a length of soft cord with a handle on each end, and you can build one in about twenty minutes. Cut roughly 9 to 10 feet of nylon clothesline or paracord, add two 5-inch handle tubes, then knot or stop each end so it cannot pull back through. That stopper is the part people leave out, and it is the reason a DIY rope falls apart mid-jump.
If you have been searching for how to make a homemade jump rope for kids, the rope itself is the easy half. Getting the length right and locking the cord inside the handle is the half that decides whether your child gives up in two minutes or keeps jumping for weeks.
This is a forgiving project. Tape holds things together, mistakes untape, and the whole thing uses supplies most homes already have. Updated for 2026, the steps below are written for an adult working with a child, roughly five years old and up.
Table of Contents
- What You Need
- Step-by-Step: How to Make a Homemade Jump Rope
- 1. Choose and Measure the Rope Material
- 2. Form the Main Rope
- 3. Add the Handles
- 4. Adjust and Test the Length
- Common Mistakes
- Frequently Asked Questions
- What materials can I use to make a homemade jump rope?
- How long should a homemade jump rope be for a child?
- Is a yarn jump rope safe and durable enough for children?
- Can children use a homemade jump rope indoors?
- How do I fix a homemade jump rope if the handles come apart?
- What is the easiest homemade jump rope for young children?
- Conclusion
What You Need
Every jump rope has four parts: the cord, two handles, a stopper at each end, and the correct length for the person jumping. Gather these in one place before you cut anything, and measure the jumper first.
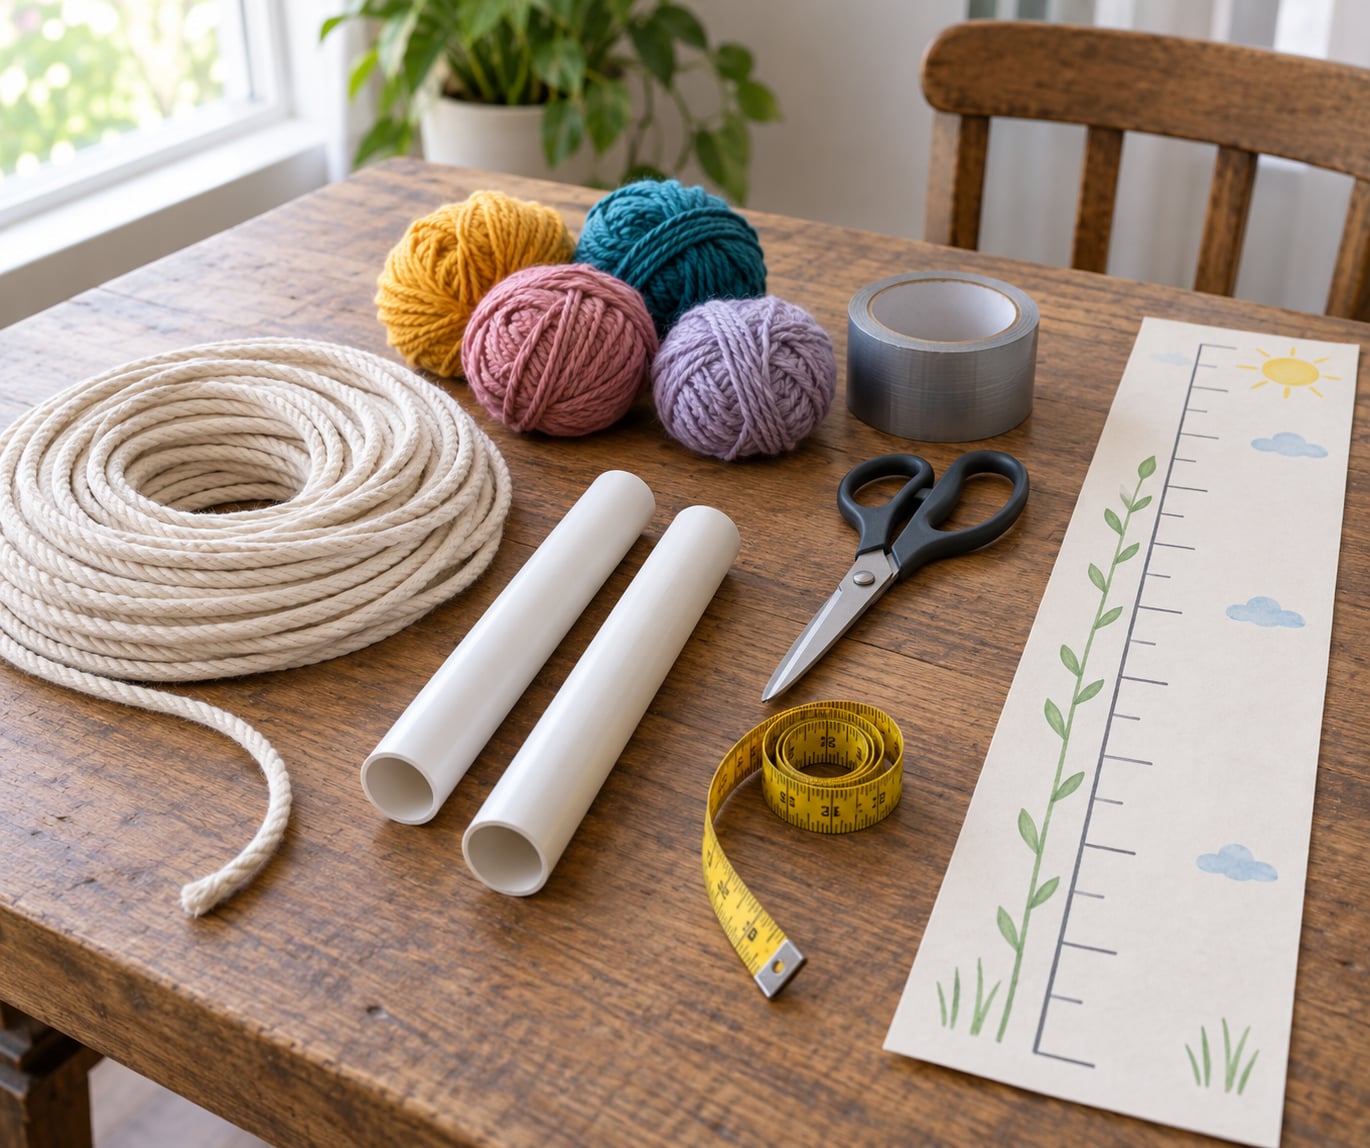
- Cord: 9 to 10 feet of quarter-inch braided clothesline, nylon or cotton, for an adult or older child. Plan on 6 to 8 feet for a young child.
- Handles: two 5-inch sections of half-inch PVC pipe, or two 4-inch lengths of wooden dowel rod, or cardboard tubes from paper towels wrapped tight in tape.
- Stoppers: two washers, four to six pony beads, duct tape, a hot glue gun, or simply a knot tied twice in the cord.
- Tools: a tape measure, a marker, scissors or a saw for PVC, duct tape, and sandpaper. Keep the utility knife and lighter for adult hands only, and do the cutting away from your child.
- Height measurement: a flat wall and a pencil mark at the top of the jumper’s head.
Height is the one measurement that changes the whole build. Have the child stand against the wall with shoes on, mark the top of the head, and measure down. Write the number on the cord with a marker so you cut once.
You can swap the cord for other things you have at home. Three strands of paracord twisted together make a thicker rope that turns slower and lasts longer, which is usually what you want when a kid is still learning to time a jump. Three strips cut from an old t-shirt and tied end to end are the softest option and the cheapest, and that braid version tends to be the one that survives the youngest jumpers, though it is not built for hard jumping. Strips cut from plastic bags spring nicely and cost nothing, but they get slick with age and can split. Curtain cord and old shoelaces work for a single afternoon of play and nothing more.
Step-by-Step: How to Make a Homemade Jump Rope
1. Choose and Measure the Rope Material
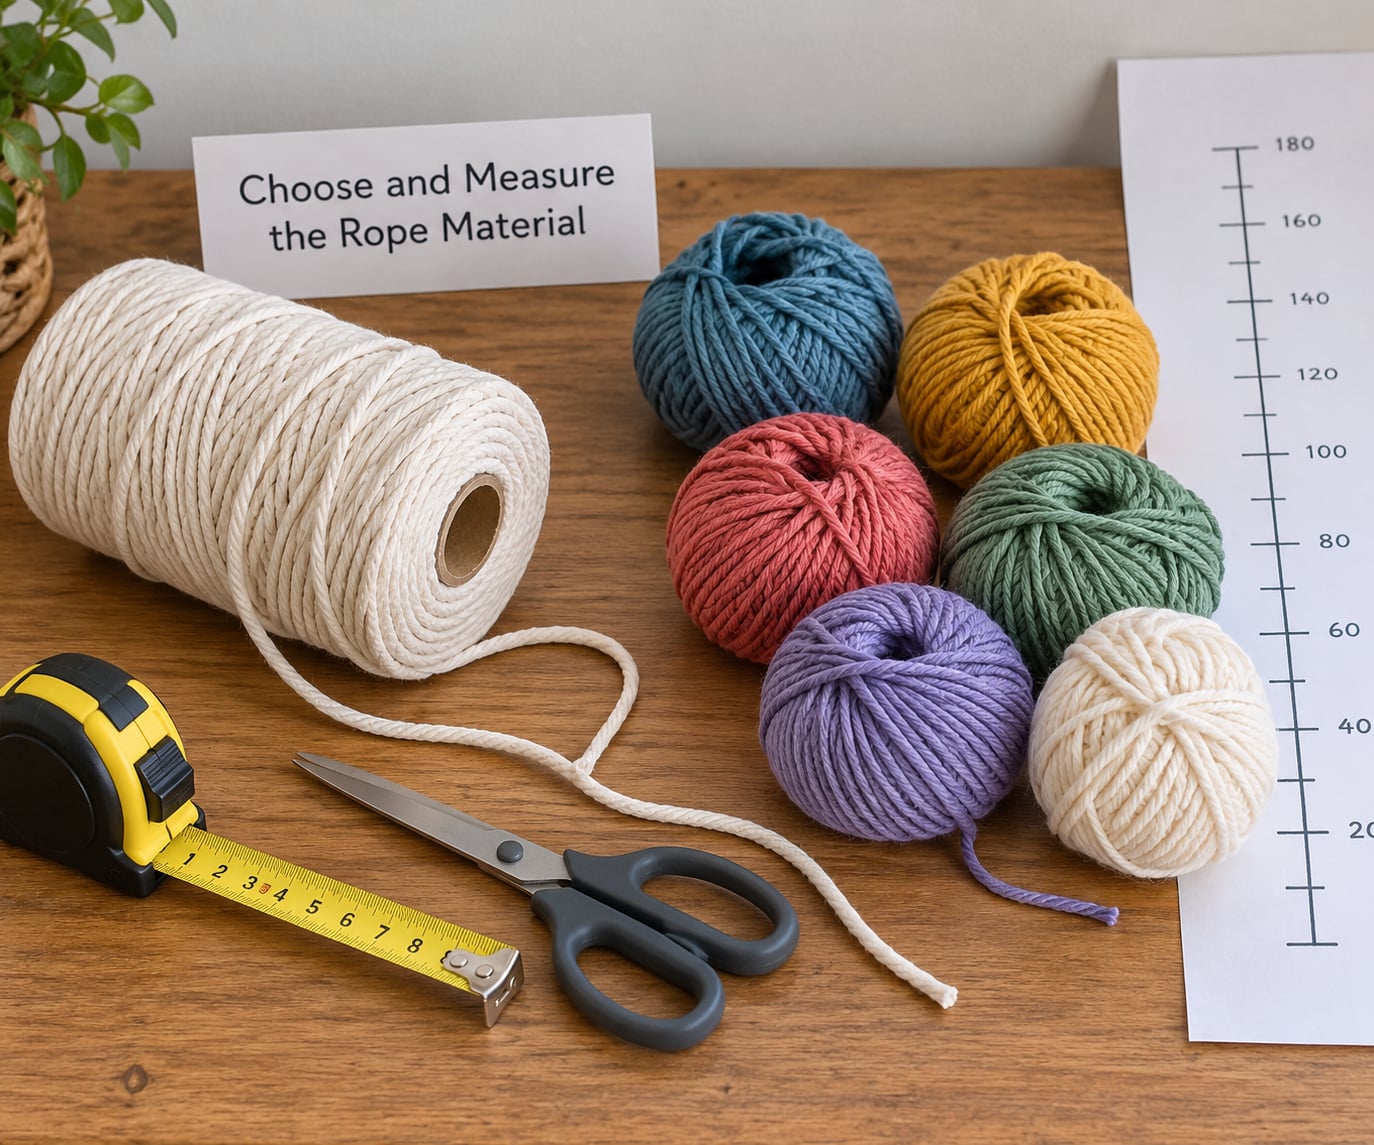
Cut the cord to the height measurement plus 8 to 10 inches. That extra length covers the two handles, the knots and the stopper, and it gives you room to shorten later instead of recutting.
To check the length before you commit, step on the middle of the cut cord and pull both ends up. The handles should sit at your armpits when the rope is stretched across your back. Lower on the chest means the rope is too short and your knees will take every landing.
If you are working with paracord, cut four strands at your measured length rather than one. You twist three of them together and keep the fourth as the core, then trim the core flush. Cotton clothesline and braided nylon need no twisting at all.
2. Form the Main Rope
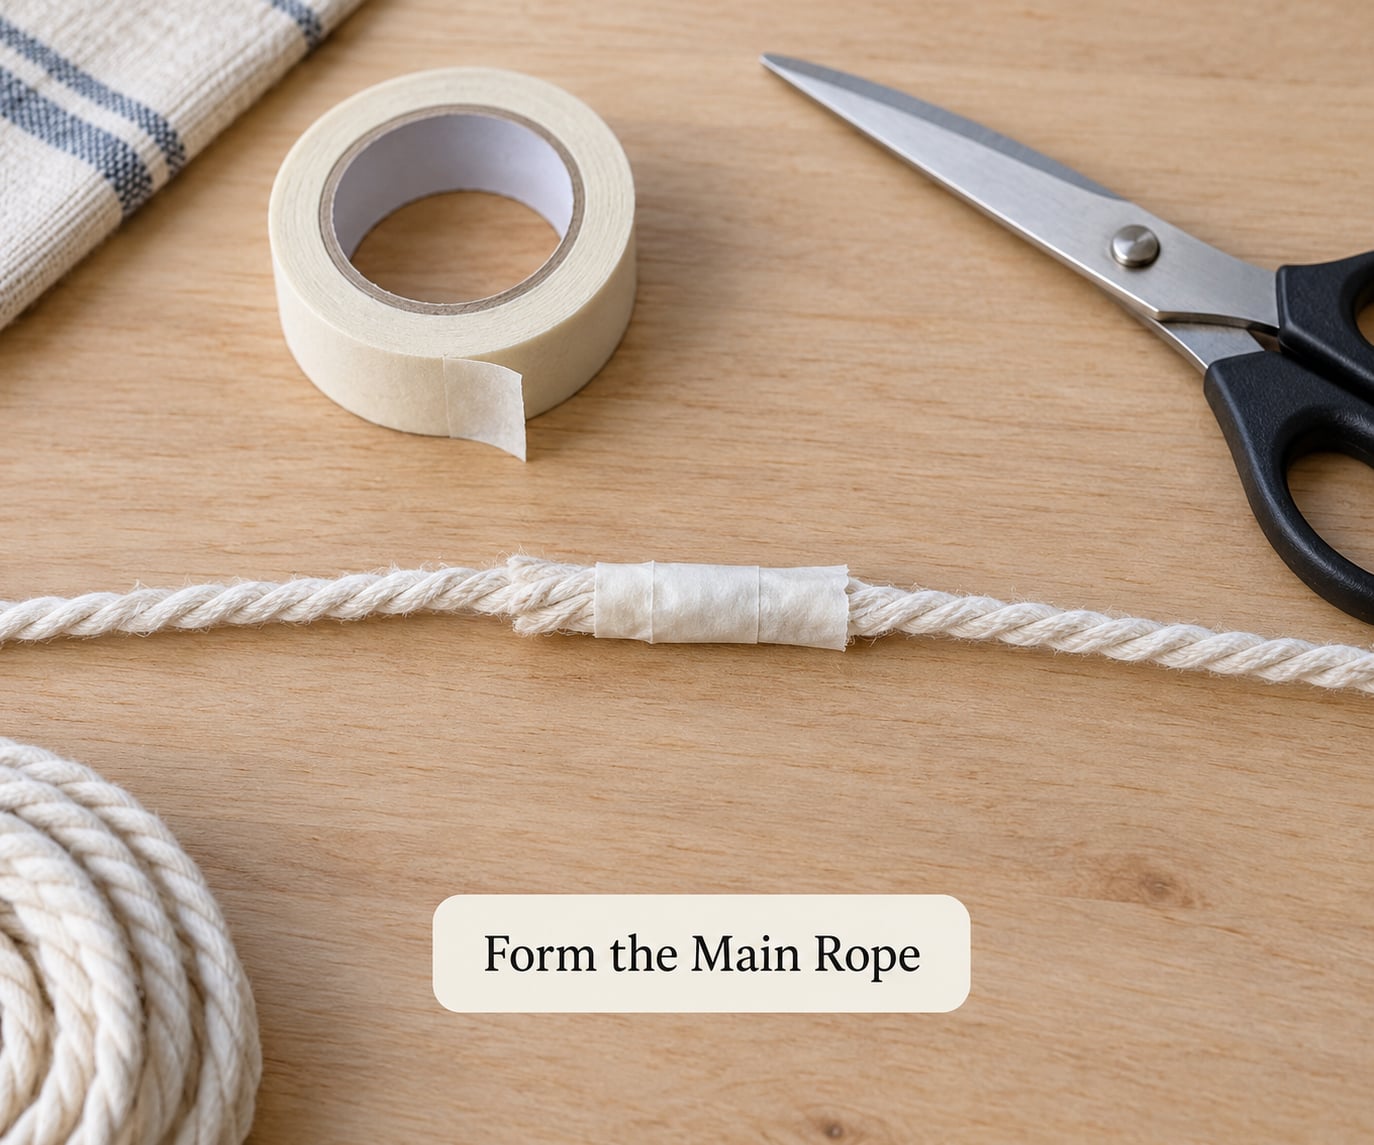
Overlap the two ends by 2 to 3 inches and wrap the joint tightly in duct tape. Squeeze the tape flat, then singe the very tip of the cord with a lighter so the fibers stop loosening. The joint should be smooth and barely thicker than the rest of the rope.
Keep every knot and taped joint well away from the middle third, because that section hits the ground on every jump. A lump there sends a jolt up the cord and is the most common reason a finished rope snags a kid’s feet.
For the t-shirt version, cut three strips from the body of the shirt, loop them through each other at the top, and tie a big overhand knot. Make that first knot one of the handles by wrapping a wide ribbon or tape through it.
3. Add the Handles
Cut two handle sections and sand the cut ends smooth, since a rough edge is what blisters a small palm. Feed the cord about 8 to 10 inches through one handle.
Now the stopper. Slide a washer or a pony bead onto the cord and push it down until it sits against the handle opening, then tie two tight knots right behind it. If you have a glue gun, fill the handle around the cord instead and let it cool before testing. Both hold far better than a single knot, and a missing stopper is the exact reason a rope slips loose from the handle after a few jumps.
Wrap the inside of each handle with tape or add a ribbed knot along the length so small hands have something to grip. Do this before you feed the second end. Once both handles are on, mark each handle position with a pen, then measure the distance from the cord ends to each mark so the rope turns evenly.
4. Adjust and Test the Length
Test the finished rope the same way you tested the cut cord: stand on the middle and pull the handles to the armpits. Handles at the ribs is the right length for most adults and older kids.
Too short means retying both ends and letting out another inch each, which keeps the rope balanced. Too long is easier: pull a length back through each handle and retie the stopper knot. For a child who is still growing, tie a loose loop knot near each handle instead. The rope slides through it and tightens under tension, so you can move the handles outward next month and it becomes a longer rope.
Pull both handles hard against your hips to check the joints, then lay the rope on a flat floor and look for kinks or places where it dips. A rope that lies in a soft curve will not rotate cleanly, so straighten it out or shorten it.
Practice somewhere with clear floor space and no furniture corners in the arc of the rope. Outdoors, stay away from low branches. Indoors, check that there is ceiling clearance for an adult, and keep it away from breakables.
Common Mistakes
- The rope slips out of the handle. There is no stopper. Add a washer, a pony bead or a glue plug behind the handle and knot on top of it.
- It is too short. The jumper cannot get full arm clearance and trips constantly. Untie both ends and let out the same amount on each side.
- It is too long. The rope hits the ground or the feet and slows every turn. Pull cord back through each handle and retighten.
- The rope turns lopsided. The handles sit at different distances from the middle. Measure both with a ruler before locking the knots.
- A knot or tape lump sits in the middle. Move the joint close to a handle where the rope barely moves, and cover it flat.
- The ends fray and stop holding. Singe or wrap the tips with tape, then add a second knot on top of the first.
- The handles slip out of small hands. Add tape wraps, ribbon or a few beads as a texture ring. Smooth PVC is the usual culprit.
- The rope is too light to time. Beginners trip because nothing tells them the rope is coming. A twisted multi-strand cord or thicker clothesline adds the feedback that makes timing obvious.
- A beaded rope breaks quickly. Pony bead ropes look great and fail at the beads. Use the largest beads you can, supervise the play, and keep beaded ropes away from children under three.
Frequently Asked Questions
What materials can I use to make a homemade jump rope?
Cotton clothesline or braided nylon rope works best for a first build, cut to the jumper’s height plus 8 to 10 inches. Handles can be half-inch PVC pipe, wooden dowel rod, or cardboard tubes wrapped in tape. Three twisted paracord strands, strips of an old t-shirt, or cut plastic bags all work too, though they suit different ages.
How long should a homemade jump rope be for a child?
Measure the child against a wall and cut about 10 inches more than that height to cover the handles and knots. To test the finished length, stand on the middle of the rope and pull the handles up until they reach your armpits. For a loose general fit, most adults fall between 8 and 10 feet of rope.
Is a yarn jump rope safe and durable enough for children?
Yarn and t-shirt braid ropes are soft and gentle on small hands, which makes them a good choice for young children, but they stretch and fray with heavy jumping. Skip loose beads around children under three, since small beads are a choking risk, and inspect the braid for loose loops before every session.
Can children use a homemade jump rope indoors?
Yes, as long as the space is clear. Sweep the floor, move chairs and tables out of the swing arc, and check that an adult has room to swing the rope without hitting a light fixture. Carpet is fine and quieter than tile. Keep children off a rope near glass, lamps or doorways.
How do I fix a homemade jump rope if the handles come apart?
Most failures happen where the cord meets the handle. Slide a washer or pony bead up to the handle opening, tie two tight knots behind it, and pull hard on the rope to set them. If the handle itself split, wrap it in three layers of duct tape and use the same stopper method. Replace any frayed cord at the joint first.
What is the easiest homemade jump rope for young children?
Braided strips from an old t-shirt are the easiest. Cut three long strips, tie them together at the top and bottom, and the end knots double as handles. The rope is soft, costs nothing and is light enough for a small child to turn. For a sturdier version, add two short dowel handles wrapped in tape.
Conclusion
Start with the measurement, not the cord. Mark the child’s height, cut the clothesline about 10 inches longer, and every later decision gets easier.
Then check two things before anyone jumps: that the handles reach the armpits when you stand on the middle, and that each end is stopped with a washer, bead or glue plug you have pulled on hard. Those two checks are the difference between a rope that lasts a summer and one that ends up in the drawer.
Hand it over in a clear area, let the first few jumps be wobbly, and adjust the length as your child grows. The braid version can be remade in a few minutes with whatever is in the laundry basket.