Children can start real kitchen tasks at age 2, usually with washing produce and tearing herbs, and most kids can cook a simple meal on their own somewhere around age 10 to 12. The ages are only a rough map though. A child who can pour and stir steadily at 4 may move faster than a 6-year-old who is still working on fine motor control, so readiness matters more than the birthday. How to teach kids to cook by age is really about matching one task to the child in front of you. Start with the stage that matches where they are, watch for signs they are ready to move up, and step back whenever they are not.
Most of the work in teaching kids to cook is deciding what they should not touch yet. A 5-year-old can measure flour and mash bananas, and they will reach for a hot pan the second you turn around. Every stage below includes what the child does and how close you need to be, because that is the part most advice leaves vague.
Table of Contents
- What You Need
- Step-by-Step: How to Teach Kids to Cook by Age
- How to Teach Kids to Cook by Age at 2 to 3 Years Old
- How to Teach Kids to Cook by Age at 4 to 5 Years Old
- How to Teach Kids to Cook by Age at 6 to 7 Years Old
- How to Teach Kids to Cook by Age at 8 to 9 Years Old
- How to Teach Kids to Cook by Age at 10 to 12 Years Old
- How to Teach Older Children Basic Kitchen Independence
- How to Keep Practice Safe and Enjoyable
- Food Safety Basics for Children Learning to Cook
- Common Mistakes
- Frequently Asked Questions
- What age should kids learn to use a knife?
- At what age can a child cook for themselves?
- How long should a cooking practice session be?
- How do I teach kids to cook without pressuring them to eat it?
- Should my child help with raw meat?
- Start With One Simple Kitchen Task
What You Need
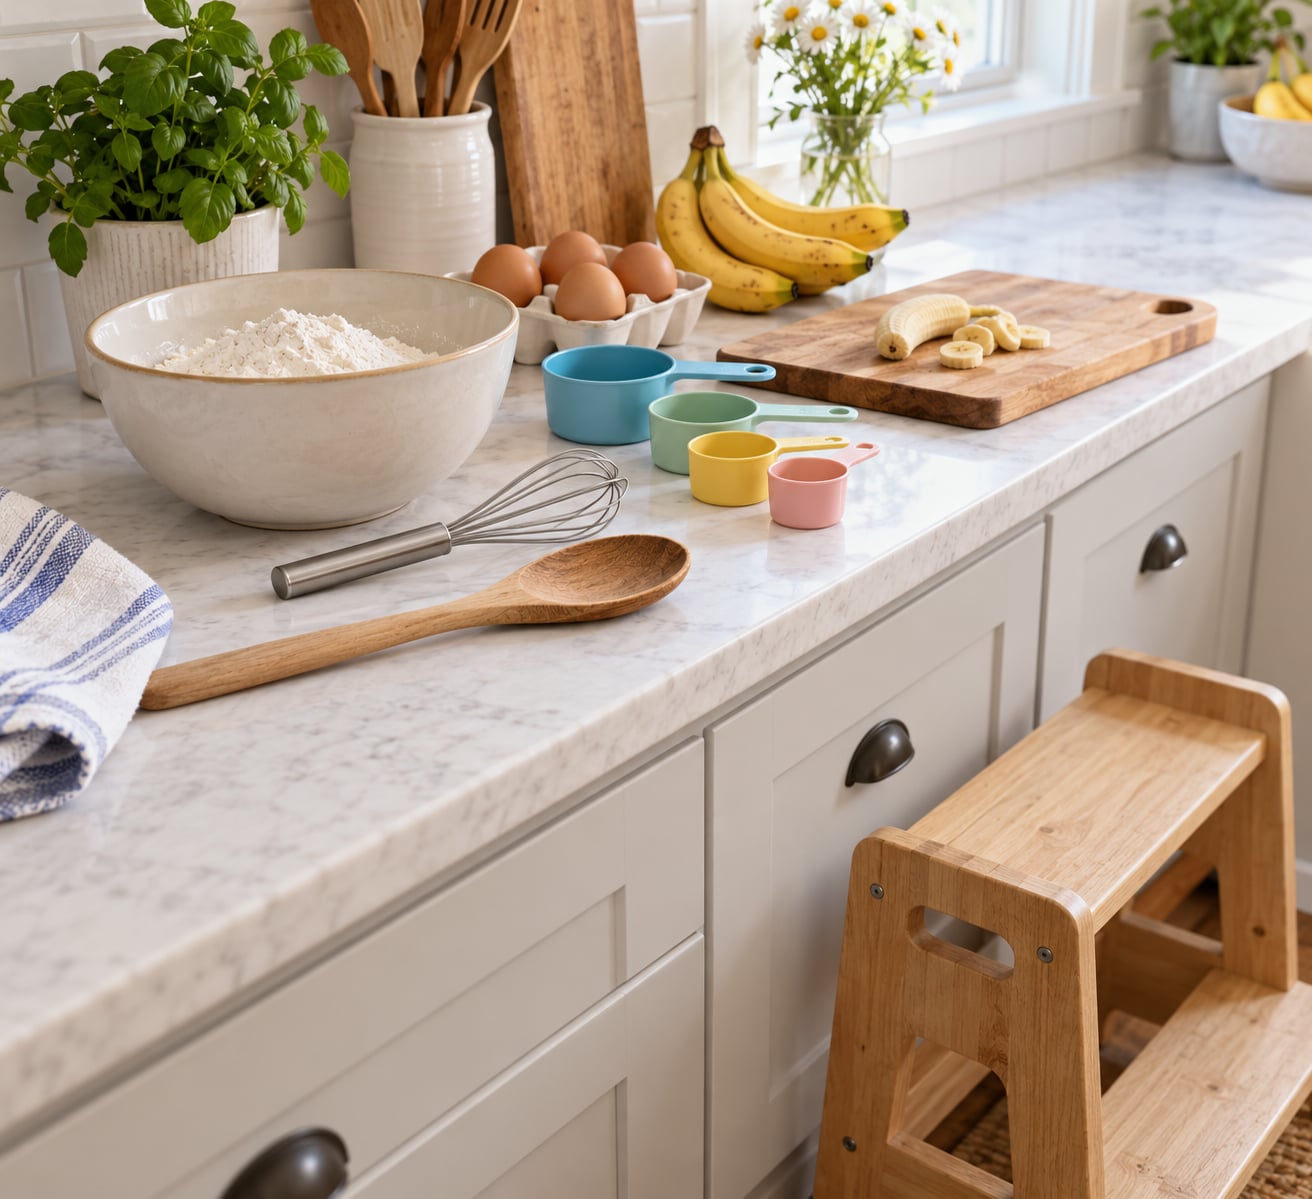
You do not need a special kids kitchen. You need a low, safe working spot and a few tools sized for small hands.
- A stable step stool so the child’s feet are flat on a rung and their hips are roughly level with the counter. A stool with a back and a non-slip base beats a stack of books every time.
- A clear work surface with everything within reach. Move the laptop, the mail and the small appliances off the counter before the session starts, not after.
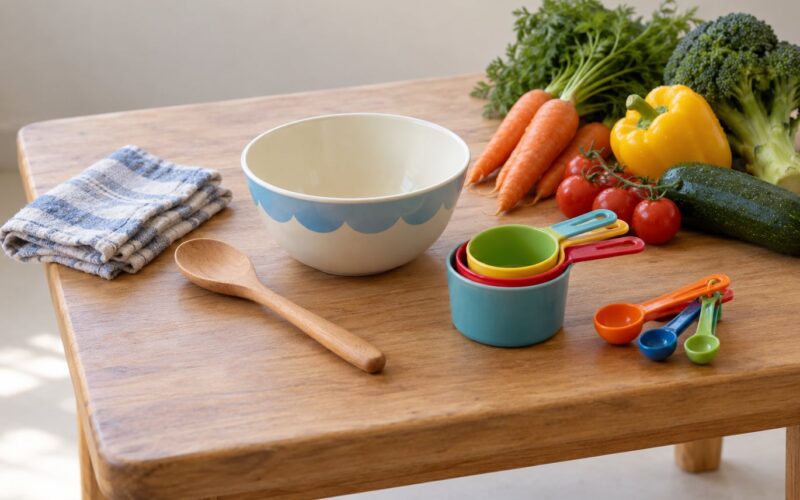
- Child-sized tools: a plastic or nylon knife for early cutting work, a small whisk, a wooden spoon with a thick handle, and measuring cups and spoons you can actually read.
- A heavy bowl and a cutting board with a handle for anything involving slicing or grating.
- An apron or an old shirt that can get sticky, and a damp towel for quick hands and face cleanups.
- A trash bowl and a broom within the child’s reach so spills become their job rather than a lecture.
On the food side, start with what is already in the pantry. Oatmeal, rice, pasta, canned tuna, eggs, bananas, apples, carrots, cucumbers, cheese, yogurt and bread dough cover nearly every first lesson, and most of it costs very little.
Before the first session, walk the space yourself. Where do you usually reach over the child? Where would a hot pan land if it slipped? Which drawer has the sharp tools, and can it be locked or moved for the duration?
Step-by-Step: How to Teach Kids to Cook by Age
Cooking ability builds in a predictable order. Children start with sensory exploration and one-handed tasks, move to two-handed precision skills like cracking and measuring, then add heat and knife skills with an adult close by, and finally cook multi-step meals on their own. Each stage rests on the fine motor control and attention span that came before it.
The ladder below follows that order. Read the band that matches your child and check that they can do most of the tasks in it consistently before moving on.
How to Teach Kids to Cook by Age at 2 to 3 Years Old
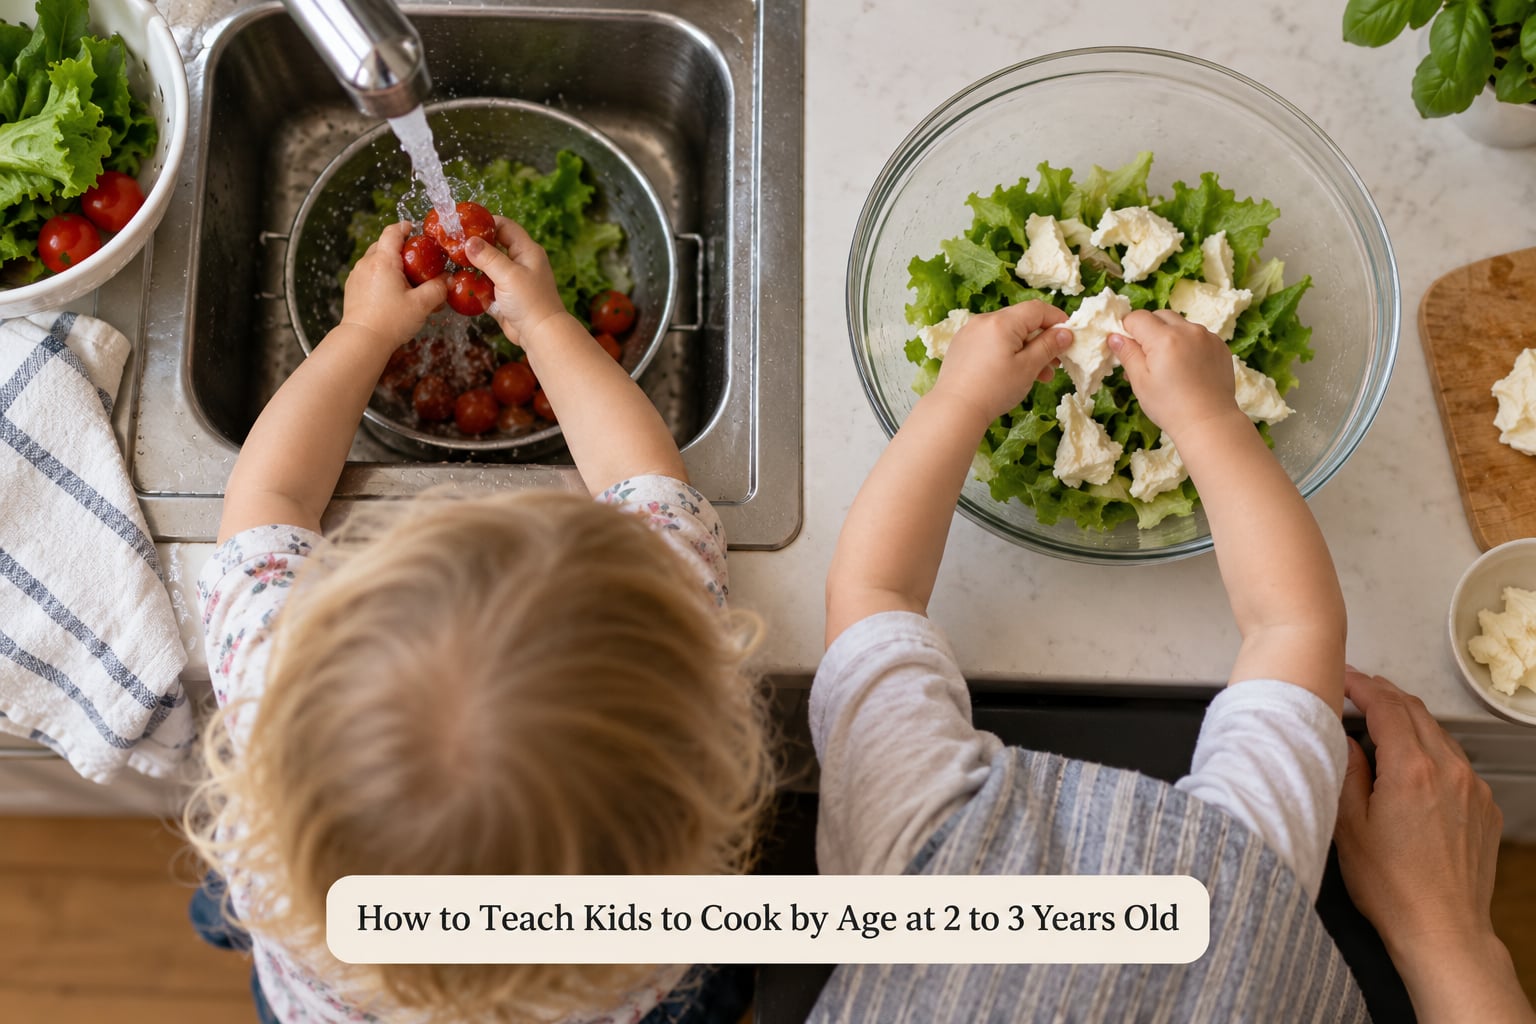
At this age cooking is mostly sensory play. Your child is learning that food comes in textures, colors and smells, and that they are allowed to touch it.
- Wash produce at the sink, with you standing between them and the tap controls.
- Tear lettuce, kale or herbs into a big bowl instead of cutting them.
- Stir cold mixtures like yogurt and fruit, or dip and stir a whisk in a cup.
- Sprinkle toppings on yogurt or a pizza crust you prepared.
- Squish dough balls with both hands and put them on a tray.
- Wipe the table and carry the trash to the bin.
Supervision means an adult within arm’s reach the entire session. Cut everything into choking-safe shapes, skip whole grapes, nuts, hard raw carrot and popcorn, and keep portions small enough that the child finishes or scraps them.
No heat, no knives and no food safety jobs at this stage. That includes the microwave, the dishwasher and any appliance with a moving part.
How to Teach Kids to Cook by Age at 4 to 5 Years Old
Preschoolers can handle real technique now, as long as the tasks are short and the recipe has four steps or fewer. Two-handed skills land around this stage because grip strength and hand control finally catch up with attention span.
- Measure dry ingredients into a cup and level the top with a finger.
- Pour liquid slowly between two cups, first with both hands on the container, then one.
- Mash bananas or soft cooked beans with a fork.
- Peel soft produce such as bananas, oranges and carrots with a Y peeler.
- Mix pancake or muffin batter with a wooden spoon.
- Roll play dough or cookie dough with a small rolling pin.
- Make cold no-cook recipes: yogurt parfaits, trail mix, fruit salsa, overnight oats.
Offer two choices instead of an open question. Would you like to stir this bowl or pour the milk in? Narrow choices keep them moving.
Repeat the same recipe two or three times. Repetition is boring to adults and reassuring to children, and it is how the fine motor skills actually stick.
Keep sessions to about 15 or 20 minutes, ending while they are still enjoying it. Supervision drops to within arm’s reach whenever anything sharp or warm is on the counter, and an adult can be in the next room for cold tasks the child has done several times.
How to Teach Kids to Cook by Age at 6 to 7 Years Old
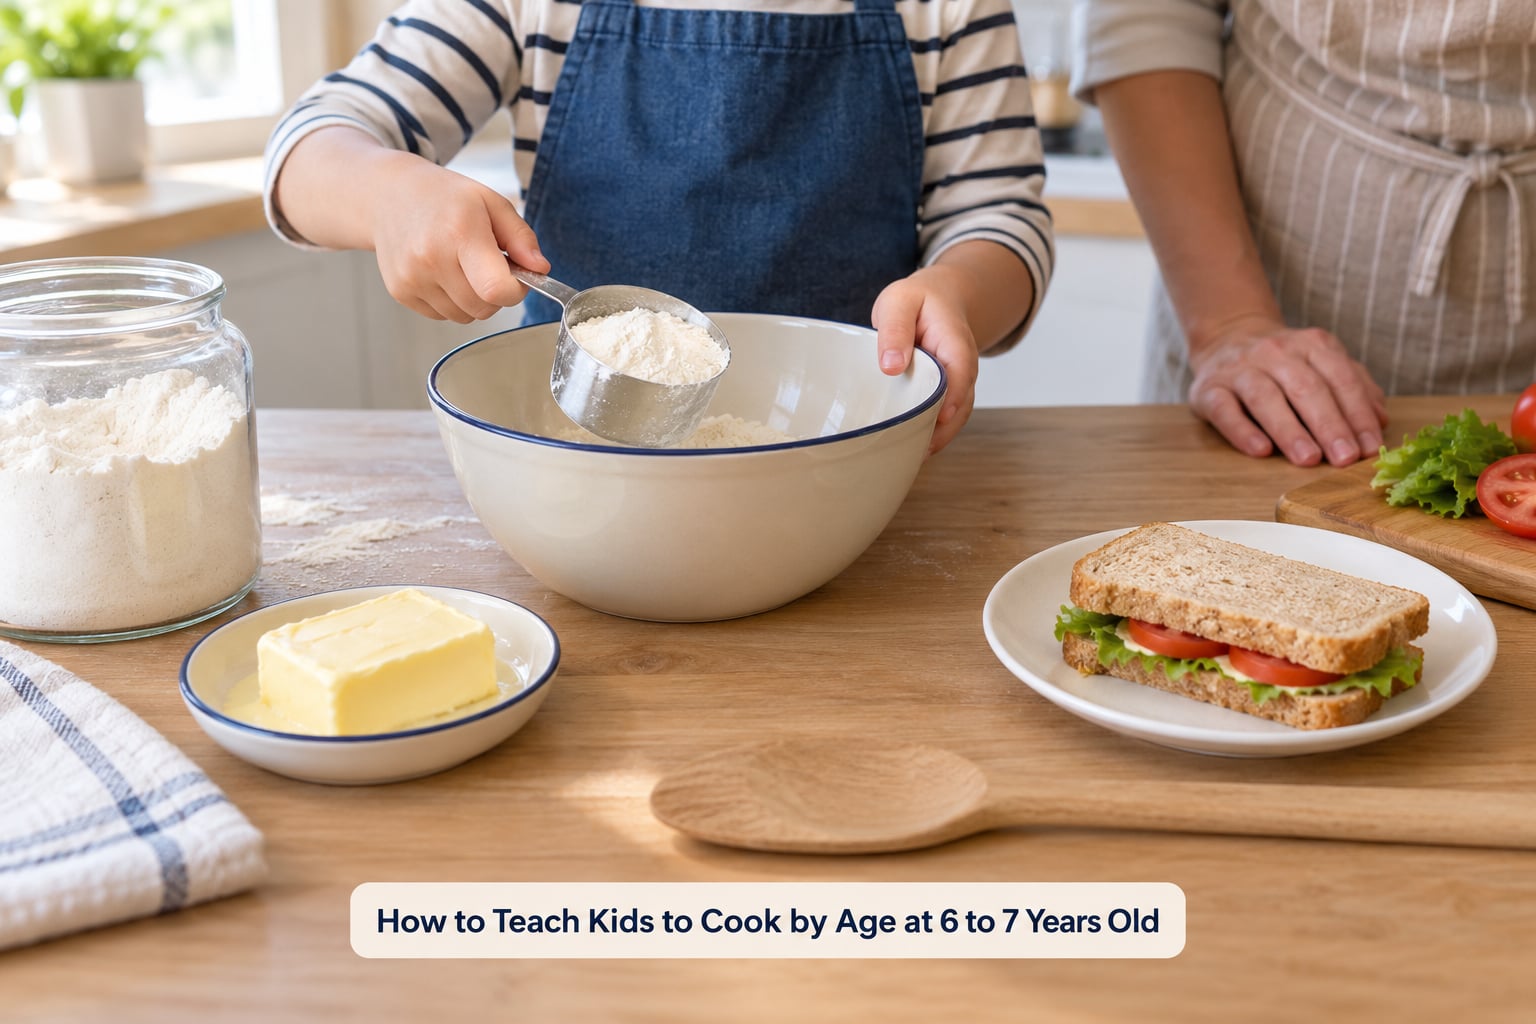
Early elementary kids can read a short recipe and follow it in order, which changes everything. They are also usually strong enough to handle a blunt knife properly and to stand steadily on a step stool at the stove.
- Read a simple five-ingredient recipe together, pointing at each line as you go.
- Crack eggs with your finger pressing against the shell, one hand cupped over the other.
- Use a child-safe knife for soft foods such as bananas, strawberries, cucumber and cheese.
- Stir at the stove from a safe position, with you beside them and the burner on low.
- Assemble sandwiches, wraps, salads and breakfast cereal parfaits independently.
- Grease a baking pan with a paper towel or a butter knife.
- Set the table and sort the laundry-sized dish pile into the dishwasher rack.
Some hazards still require an adult right there rather than nearby. The adult handles the oven entirely, including preheating it, testing pan temperature and pulling anything hot out. Raw meat stays off the child’s task list at this age, and knives with points are still out of reach.
How to Teach Kids to Cook by Age at 8 to 9 Years Old
This is the band where kids start finishing a recipe without narrating every step. They can usually handle heat tasks with an adult in the room rather than at the elbow.
- Sequence ingredients themselves, checking off each item on the recipe as they go.
- Follow a simple recipe start to finish, including measuring, mixing and cleaning up.
- Reheat food in the microwave and learn why the container matters for microwave safety.
- Cook low-risk foods such as pasta, rice, eggs or toast on the back burner with supervision.
- Use oven mitts correctly, holding with two hands and keeping fingers clear of the hot surface.
- Grate cheese, zest citrus and chop soft vegetables with a blunt knife.
- Make one item completely on their own, such as a salad or a sandwich, while you do something else in the kitchen.
Handwashing stops being optional at this stage. Teach it as a step in the recipe itself: wash before handling food, wash after cutting raw produce, wash after touching the trash or the pet bowl, and wash after every bathroom trip during a cooking session.
Storage is a skill too. Show them what goes in the refrigerator and what does not, and get them used to putting leftovers in a labeled container rather than leaving pans to soak.
How to Teach Kids to Cook by Age at 10 to 12 Years Old
Around age 10, a lot of families start to relax, and that is usually the right call. Preteens can handle a full recipe with real math in it, and they can begin planning instead of just following.
- Read a full recipe independently, including ingredient lists and cook times.
- Plan portions, scaling a recipe up or down for the number of people eating.
- Use an instant-read thermometer to check that meat has reached a safe internal temperature.
- Prepare a sheet-pan meal of vegetables and protein with a simple seasoning step.
- Solve a missing-ingredient problem on their own, substituting something sensible and telling you what they changed.
- Handle a cool oven safely and learn to stay clear of the door when it opens.
- Cook a full meal for one or two family members on a set evening of the week.
Supervision around sharp tools, oven doors, steam and hot pans stays in place. A 10-year-old cooking alone in the kitchen for an hour is a different proposition from a 10-year-old cooking within sight and hearing of an adult, and most families use the second version as the step up.
How to Teach Older Children Basic Kitchen Independence
Teenagers can run a whole meal from list to leftovers, and the work shifts from technique to judgment. Start handing over the parts that are not about heat.
- Build a grocery list from a week of planned meals and check items off in the store.
- Compare prices and watch for the cost of wasted food, which hits harder with a teenager.
- Time the meal so it is ready when the family eats, working backwards from the oven or the pot.
- Plan leftovers on purpose and store them properly the same night.
- Cook a complete meal, then explain what they would change next time.
Independence grows through consistent practice, not through a birthday. A teenager who has cooked forty meals has internalized the risks in a way that a permission slip cannot, and one who has cooked two has not. Keep an adult close for knives, the oven and hot oil until the teenager shows they remember the rules when nobody is reminding them.
How to Keep Practice Safe and Enjoyable
The teaching method that works is simple: demonstrate once, let the child repeat the task, and offer limited choices.
- Demonstrate once. Show the whole task at normal speed without talking through every detail.
- Let them repeat it. Hand over the tool and step back. Resist the urge to correct mid-motion.
- Offer two choices. Spoons or whisk, this topping or that topping, morning or afternoon.
- Give one instruction at a time. “Now stir” lands better than a six-step sentence a six-year-old has to hold in working memory.
- Praise the effort and the specific. “You measured that level” beats “good job,” and both beat praise of how the food looks.
- Slowly remove your help. When a task becomes easy, stop standing next to them and move to the next room.
A repeatable weekly routine helps more than talent. One cooked dinner a week, two new recipes a month, and each new recipe made twice before you introduce another. That cadence came up again and again in parent discussions I read while researching this, and it is the one that survives a busy month.
For low-cost practice, keep a short rotation: breakfast for dinner one night, build-your-own pizza or tacos another, a no-cook tray of yogurt, fruit and nuts on a hot day, and one batch of cookies or bread for the freezer. Every one of those teaches a real skill.
Food Safety Basics for Children Learning to Cook
Teach these alongside the first recipe rather than as a lecture later. Children learn safety as part of a task they already enjoy.
- Handwashing with soap and warm water for about 20 seconds before handling food and after raw produce, trash, animals and the bathroom.
- Cross-contamination: keep raw meat in a separate bowl from ready-to-eat food, and use a separate cutting board if you have one.
- Raw produce: rinse under running water, no soap, no bleach.
- Storage: refrigerate leftovers within two hours, and put chilled food back within two hours of taking it out.
- Cooling: do not put a huge steaming hot pan straight into the refrigerator. Divide it into shallow containers so it cools faster and stays out of the danger zone.
The USDA minimum internal temperatures are worth memorizing, because children rarely feel the difference between 140 and 160 degrees. Poultry reaches 165°F (74°C), ground meat reaches 160°F (71°C), and whole cuts of meat and fish reach 145°F (63°C). Eggs cooked until the yolk and white are firm sit at 160°F (71°C).
Hold off on children handling raw meat until they are old enough to do it safely and consistently, which for most homes is around age 10 and always under adult guidance. Until then, they can watch you handle it, wash their hands afterward, and take on the cold parts of the meal.
Common Mistakes
Rushing through the lesson. Speed is usually impatience, not teaching. A 15-minute session that ends well beats a rushed 40 minutes that ends in tears.
Giving instructions that are too complex. “Measure the flour, put it in the bowl, then get the milk and pour half of it in” is three instructions wearing one coat. Say one, wait, say the next.
Doing it for them. This is the most common problem parents report. Finishing the recipe yourself because it is faster teaches your child nothing and quietly tells them they cannot do it. Set the task up, then stand back even when it takes twice as long.
Using age as the only measure. Age bands are averages. A 4-year-old who can already crack an egg needs different tasks than a 6-year-old still struggling to hold a whisk, and both are normal.
Ignoring spills. Teach the cleanup rule before the first session: spill goes on the floor, you get the broom. It costs 30 seconds and keeps mess from becoming the reason you stop.
Starting with an ambitious recipe. No birthday cake for a first session. Save complex baking for ages 10 and up and let the early years be salads, snacks and simple mixes.
Praising perfection. If every session has to end in something edible and beautiful, kids quit fast. Celebrate mixing, measuring and cleaning up, and let the occasional flat pancake or lumpy salsa happen.
Two smaller habits help more than they sound. Keep the sessions the same length and the same day, so cooking becomes routine rather than an event. And put a damp towel, not a full mop, within reach, because at age 5 a spill is a ten-second problem and a floor that needs scrubbing ends the lesson.
Frequently Asked Questions
What age should kids learn to use a knife?
Most children can begin knife practice around age 5 or 6 with a blunt or nylon child knife and soft foods like bananas, strawberries and cheese. An adult stays within arm’s reach, standing on the side that keeps the blade pointing away. Move up to a sharp knife only when the child uses the blunt one without prompting and follows the claw grip consistently.
At what age can a child cook for themselves?
Most kids can cook a simple meal on their own around age 10 to 12, and earlier for cold meals like sandwiches, cereal and salads. Independent cooking means no heat, no knives and no raw meat, with an adult in the house. Heat and knife work usually needs an adult in the kitchen rather than just in the building.
How long should a cooking practice session be?
Match the session to your child’s attention span. Ages 2 to 3 need about 10 to 15 minutes, ages 4 to 7 manage 20 to 30, and older kids can hold 45 minutes if they are choosing the recipe. End while they are still enjoying it. Short and repeatable beats long and exhausting.
How do I teach kids to cook without pressuring them to eat it?
Separate cooking from eating. Let them make the dish, let them season it, and do not require a taste of what they built. Describing food neutrally as sweet, salty, crunchy or soft is more useful than labeling it good or bad. Repeated exposure without pressure is what changes preferences, and it takes far more meals than most parents expect.
Should my child help with raw meat?
Hold off until they are old enough to handle it safely and consistently, usually around age 10, and always with adult guidance. Until then they can watch you prep it, wash their hands thoroughly afterward, and take on the cold parts of the meal such as chopping vegetables, measuring seasoning or stirring a finished dish.
Start With One Simple Kitchen Task
If you do one thing this week, pick a single task your child already half-knows and let them own it end to end.
- Choose the task by what they can do now, not by what you wish they could do. Washing produce, tearing herbs, mixing yogurt or measuring flour are all real kitchen work.
- Prepare the space before they arrive. Step stool out, counter clear, tools within reach, towel on the hook.
- Demonstrate the task once at normal speed.
- Supervise at the level their age requires and step back for everything lower.
- Let them repeat it several times across a week or two before adding anything new.
That is how to teach kids to cook by age in practice: a task matched to the child, a clear space, one demonstration, the right amount of supervision, and enough repetition that the skill becomes theirs. Add the next skill when the current one stops needing your help.