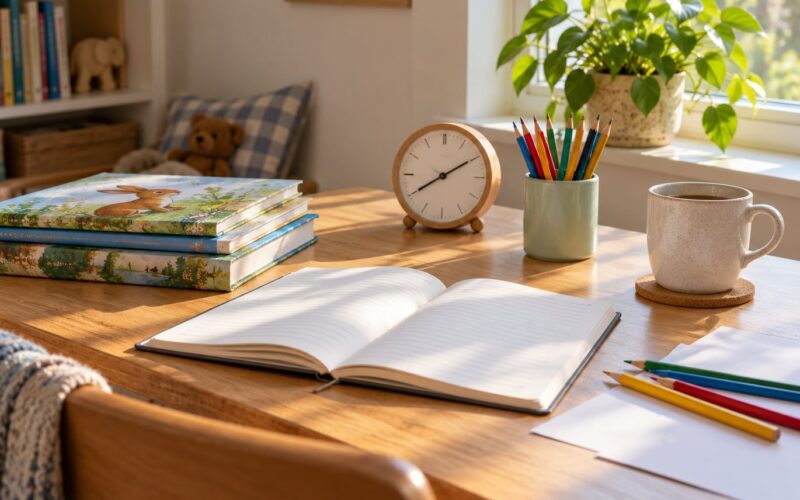
You do not need a spare bedroom to homeschool. Most families in small spaces learn at a kitchen or dining table, in one corner of the living room, or at a small table that folds away when the school day ends, and the setup works because it has one fixed surface, one reachable storage spot, and a short reset routine at the end of the day.
That is the whole trick. How to set up a homeschool space in a small home is not really a decorating question. It is a question of deciding what your family actually does during the day, then giving each activity a small, permanent home so nothing has to be rebuilt every morning.
This guide walks through the same six steps we would use in a two-bedroom apartment, a tiny house, or an open concept home with no walls to hide anything behind: pick the location, divide it into zones, choose furniture that disappears, store supplies vertically and within child reach, build one supply kit, and set up a reset routine. The whole thing takes an afternoon.
Table of Contents
- What You Need
- Start with what you already own
- The short list of what a small homeschool space actually needs
- What to skip
- Supply list by age band
- Step-by-Step: How to Set Up a Homeschool Space in a Small Home
- 1. Choose the Best Small-Home Location
- 2. Create Flexible Learning Zones
- 3. Choose Compact, Child-Friendly Furniture
- 4. Use Vertical and Hidden Storage
- 5. Set Up Supplies for Different Learning Styles
- 6. Make the Space Easy to Reset
- Common Mistakes
- Frequently Asked Questions
- How can I organize my homeschool area in a small space?
- Do I need a dedicated homeschool room?
- How much space do you need to homeschool?
- Where can I store homeschool supplies without a closet?
- Can I homeschool at the kitchen table?
- What are some good storage ideas for school supplies?
- Start With One Flexible Learning Corner
What You Need
Before buying anything, take a tape measure to the one or two spots you are considering and write down the usable footprint. A corner that looks like 6 feet by 6 feet in your head may only give up 4 feet by 4 feet once you subtract the door swing, the baseboard heater, and the walkway you still need to pass through.
Then list what will actually happen in the space. Most days in a small home are some mix of reading, handwriting or typing, worksheets, art, a science or math hands-on activity, and independent work while you handle the rest of the household. Write those five things down. Anything on that list is a zone you need to support. Anything not on it does not need floor space, which is usually most of what people buy first.
Start with what you already own
The biggest supply mistake is buying before inventorying. Pull everything school-related out of closets, drawers, and the back of the pantry closet, and spread it on the floor in categories: books, paper and writing, art, math and science manipulatives, curriculum and teacher guides, and odds and ends.
You will usually find two things. Either you have far less than you thought, which means the space is easier to furnish than it felt, or you have scattered duplicates of the same worksheet book in three rooms, which is a storage problem, not a buying problem.
The short list of what a small homeschool space actually needs
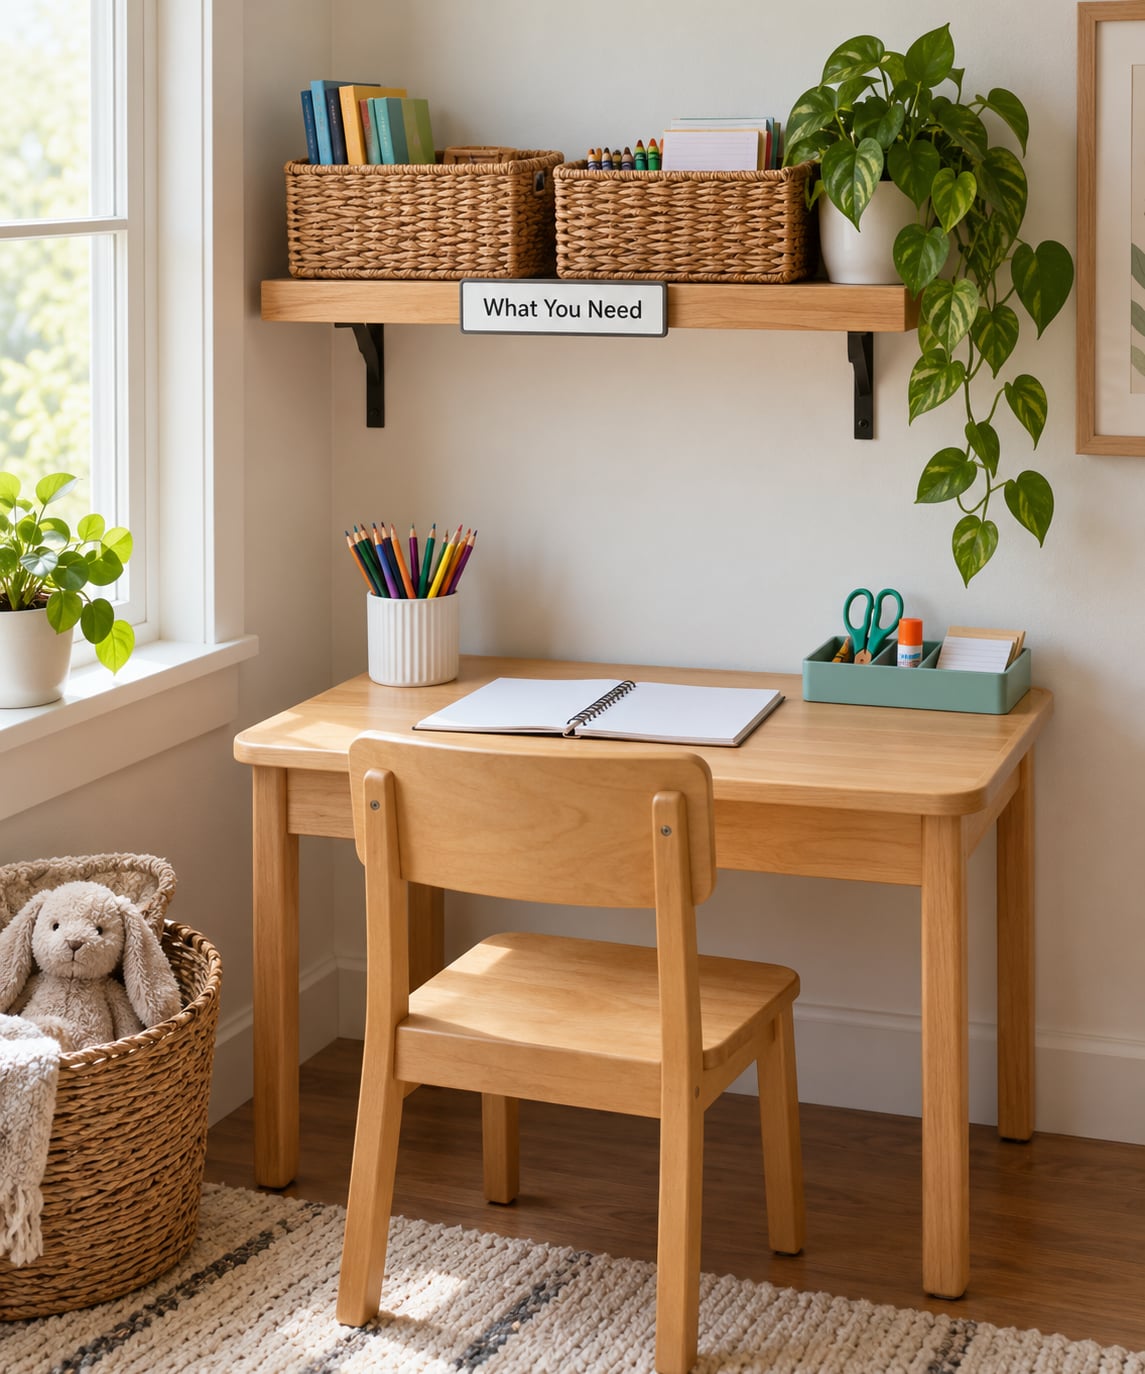
You can run a small homeschool space on a surprisingly short list. One flat surface, one chair per child, one container per child for work in progress, and somewhere to put the books.
- A surface: a table, a narrow desk, a folding table, or even a wide board across two storage cubes
- Seating: chairs that tuck fully under the table, or floor cushions for younger kids
- One open bin or caddy per child, holding that day’s work, pencils, eraser, scissors, glue stick, and a small whiteboard
- A book spot: a low book ledge, a single shelf, or a crate turned on its side
- Vertical storage: a wall shelf, a pegboard, an over-door rack, or a tension rod for hanging baskets
- A reference surface: a small dry erase board, a clipboard, or a laminated card with the date and the day’s task
- A container for consumables: paper, notebooks, and printables restocked once a month, not daily
Light and a seat near a window matter more than almost anything else on this list. A dark corner tires kids out faster than a cluttered one does.
What to skip
Skip the full-size bookshelf. A standard bookcase takes about a foot of depth and several feet of wall, and it is the single most common reason a small space feels crowded. Two wall shelves or a set of stackable crates hold the same books for less floor area.
Also skip a dedicated teacher desk for yourself. If you teach two or three children, a rolling cart lets you carry what you need to whichever table the work is happening at, then park it in a corner.
Supply list by age band
Quantities matter more than brands here, because overbuying is what fills a small home. Adjust for your own children.
| Age band | Daily kit per child | Stored elsewhere |
|---|---|---|
| Preschool to kindergarten | Crayons, chunky pencils, glue stick, safety scissors, 2 notebooks, a dry erase card, 1 picture book | Play dough, puzzles, unit blocks, sensory bins |
| Early elementary | Pencil case with 2 sharpened pencils, eraser, scissors, glue, 3 notebooks, clipboard, ruler | Math manipulatives, art supplies, decodable book set |
| Upper elementary and beyond | Writing utensils, notebook or paper folder, calculator, dictionary, headphones, task list | Reference books, science kits, project materials |
Printables, worksheets, and manipulatives do not belong in a daily kit. They get stored in one bin and brought out on the days they are used. If everything is on the table every morning, nothing has a place.
Step-by-Step: How to Set Up a Homeschool Space in a Small Home
1. Choose the Best Small-Home Location
The right spot is the one that is quiet enough, bright enough, and close enough to the supplies that nobody has to make a decision every morning.
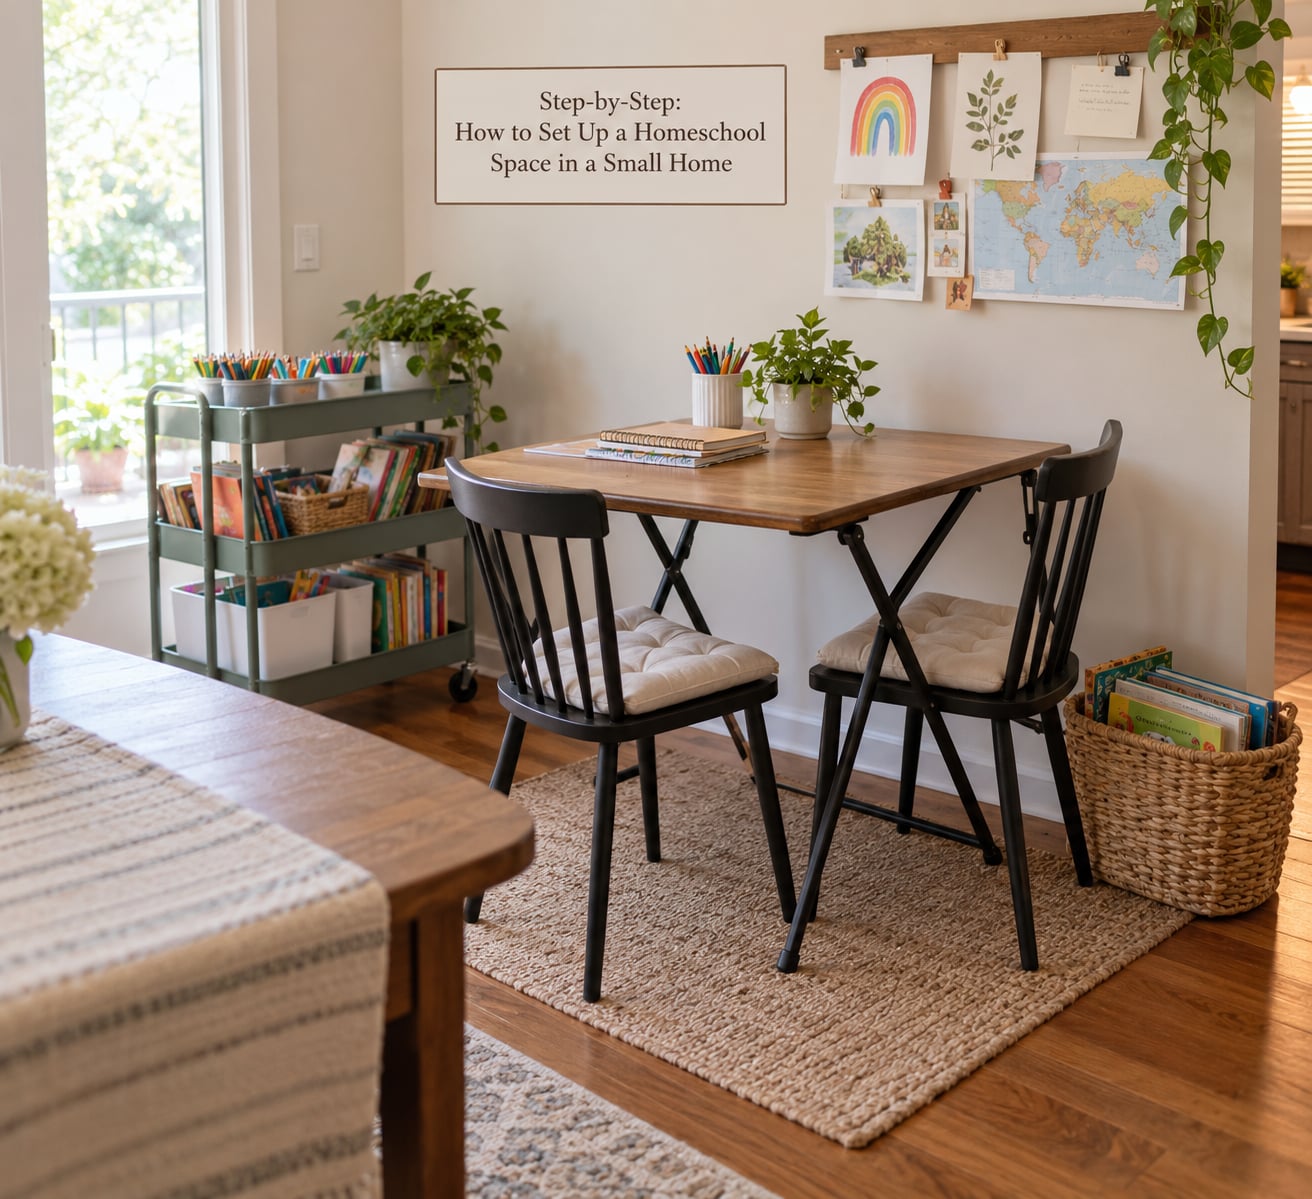
Corners beat corners. A corner of the living room with a table against two walls leaves you free on two sides and defines the area without a wall. A spot in the middle of a room reads as clutter even when it is organized.
A corner has to earn the light, though, so check three things before you commit: daylight, a spot away from the television, and access to an outlet if a laptop is part of the day. If a parent works from home, put the school surface at the opposite end of the room. A rug under the table absorbs more noise than most people expect, which matters in an open plan.
Watch noise and supervision together. The dining table has a real advantage and a real cost: it is close to the kitchen, which means the teacher is close to the kitchen, which means interruptions. Open concept homes make this harder because there is no door to close, so noise control has to come from timing rather than walls.
For a dedicated bedroom, the person teaching in the room gives up their own space entirely, and that is the reason a lot of small-space families start at the table and stay there.
A closet is an option people overlook. A hall linen closet or a deep utility closet can hold a shelf of curriculum and a basket, and a few of the families on homeschool forums describe turning a closet into a supply station while keeping the table clear.
For a bedroom that doubles as a playroom, the working pattern is a table against the wall that is down during school hours, plus a rug and a book basket that stay out. Nothing needs to be put away except the adult work materials.
How to tell it worked: you can describe the spot in one sentence and nobody in the family argues about it. If you have three plausible spots, pick the one closest to the supplies and commit for a month before reevaluating.
2. Create Flexible Learning Zones
One small area can hold three or four zones, as long as the zones are defined by what happens rather than by separate furniture. In a 4 foot by 2 foot footprint, which is roughly what some families in Facebook homeschool groups report having, three zones is realistic.
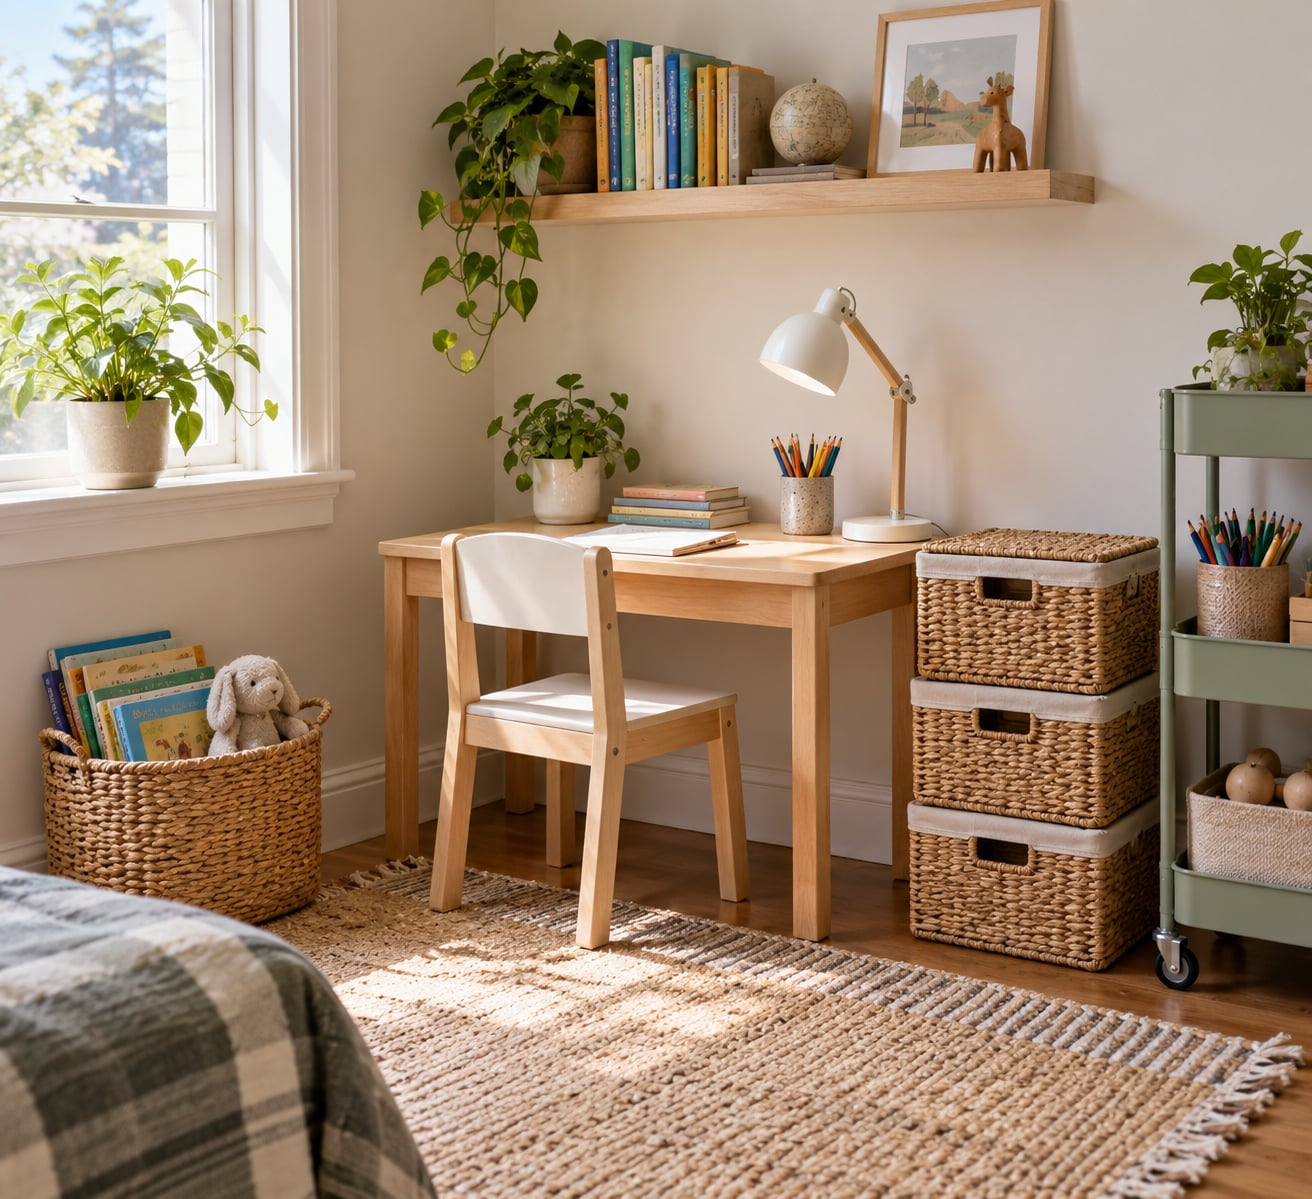
The first zone is the seated work zone: table, chair, daily caddy. The second is the floor zone, a rug or mat where a younger child does puzzles, blocks, or a science tray. The third is the wall zone: a display surface, a reference board, and the book ledge. That is enough.
Adding a fourth zone means splitting the space in a way you will regret. A craft corner with its own table looks good in a photo and means two tables to clear every evening.
For two or more children of different ages, split by side rather than by room. One child at the table, one on the floor, and the oldest working at a side surface or with headphones on a laptop. Family forum threads on multi-age setups keep landing on the same practical answer: a low table or tray on the floor for the youngest child buys the older kids an uninterrupted hour without a second desk.
Keep zones visually quiet. A single basket per zone, nothing more, is usually enough to make a 4 foot by 2 foot corner feel deliberate rather than crowded.
How to tell it worked: a child can point to a spot and say what happens there. If a zone has no clear activity attached to it, merge it.
3. Choose Compact, Child-Friendly Furniture
Furniture that folds, stacks, or hides is the whole answer to small-space homeschool. Everything else is a detail.
A folding table that collapses against the wall between 3 p.m. and the next morning is the single most useful piece in a small home. A narrow desk with a 36 inch top seats one child and leaves the rest of the wall free. Two lightweight desks pushed together make one long surface, and one of the most practical small-room setups I found uses exactly that: movable desks that become a table for group work and split apart for individual work.
Storage cubes are the underrated item. Two or three cubes with a board across the top make a surface that holds markers, scissors, and manipulatives underneath, and they stack when the school day is over.
A rolling cart is the answer for the teaching adult. Fill one tray with whatever you are using this week, and park it out of sight the rest of the time. It also solves the supervision problem in a small home, because everything you need is at the table instead of in another room.
Skip anything on casters that is not light enough for a child to move, and skip anything with a fixed footprint you cannot push aside. If a toddler can reach it, they will climb on it.
How to tell it worked: you can clear the surface in under two minutes and put everything back where a child can do it themselves.
4. Use Vertical and Hidden Storage
When floor space runs out, the wall and the back of the door are still unused. Vertical and hidden storage is repeatedly the most recommended fix in small-space homeschool discussions, and it is usually free.
Wall space. Two floating shelves or a single wall shelf above the table holds a year’s worth of readers. A pegboard hung on a wall can hold scissors, rulers, headphones, and a coiled jump rope. A picture rail with S-hooks works for hanging canvas caddies and busy bags.
Door space. An over-the-door rack or a set of hooks on the back of a door catches caddies, aprons, and lunch bags so they never end up on the table. In a one-bedroom home, the back of the main door is often the only surface nobody counts.
Doors and cabinets. Clear plastic drawers in a kitchen cabinet, sorted by subject, keep consumables off the table and out of sight. Label the front of each drawer with the subject, not the contents, so a child can grab one without reading.
Under and behind. Under-bed bins or a rolling cart parked at the foot of a bed hold seasonal and oversized materials. In a small home with no closet, a tall narrow shelving unit that is just 12 inches deep holds curriculum binders and reference books upright.
Hanging. A tension rod or a shower-curtain rod fitted between two walls supports hanging baskets and needs no drilling. This is the version that works in a rental, along with command-strip hooks on a smooth wall, painter’s tape grid marks for a daily schedule, and a wall-mounted book ledge held with removable strips.
Renter rules of thumb: no screws, no holes, nothing you cannot remove in ten minutes on moving day. If a wall is off limits, use the back of a door, the side of a bookcase, or a freestanding tension rod frame instead.
How to tell it worked: the table has room for the current task only, and the child can find the next task without asking you.
5. Set Up Supplies for Different Learning Styles
One bin per child, filled once, is the simplest system that scales. A cheap caddy, a canvas tote, or a shoebox with a label works. Fill it with the daily tools from the age band table above: pencils, eraser, scissors, glue, notebooks, ruler, and one whiteboard card.
Children who need movement get a floor tray rather than a bigger desk. A small tray with scissors, glue, paper, and blocks can live on the rug and does the same job a craft table would, in a fraction of the space.
Children who need quiet and less visual input get headphones and a defined spot away from the busiest part of the room. In an open concept home this is often a corner of the couch with a headphones timer, which sounds like a compromise and works better than an open table for a child who gets overwhelmed.
For reading, a low book ledge with face-out covers does more for a struggling reader than a shelf of spines, and it takes 6 inches of wall instead of a foot of floor.
Keep a separate, closed container for the supplies that get used weekly but not daily: art paper, math manipulatives, science kits, and a sewing or craft box. Keeping the weekly container out of the daily caddy stops a small space from disappearing under craft supplies.
For multiple children, color code instead of labeling. A red lid means one child, blue means another, and even a four-year-old can match a bin to a caddy without reading. Then keep one shared bin for things everybody uses.
How to tell it worked: a child can set up their own materials at the start of the day without being asked, and put them away at the end.
6. Make the Space Easy to Reset
A shared small space stops working the moment school stuff stays out after 3 p.m. The reset is the most important five minutes of the day, and it should be short enough that nobody argues about it.
The launch routine takes about five minutes. Child pulls the caddy from its hook, sets out the whiteboard card with the date and the first task, drops the book basket where it belongs, and starts. A parent does not set up the day. If the parent sets it up, the child never learns to.
The close routine takes the same five minutes. Everything back into caddies, consumables to the drawer, the whiteboard card wiped, the surface clear, and the rolling cart parked out of sight. Set a timer. Families who pick a fixed end time rather than waiting for the work to finish report far fewer end-of-day battles.
Once a week, do a deeper reset: restock the consumable drawer, check that nothing has migrated into the kitchen, and pull anything that has not been touched in three weeks. That last part is the one that stops the pile-up, because a homeschool space grows from leftovers, not from plans.
On the living room being usable: if the school corner is a corner, the living room is still a living room by 4 p.m. If the school is the dining table every day, decide in advance what the table looks like when school is over. Some families put a tablecloth or a tray of decor on it after close. Some accept that dinner happens on a blanket on the floor for a season. What does not work is deciding nothing and resenting it by week three.
How to tell it worked: the rest of the home is usable every evening without anyone doing a second cleanup, and the school corner still looks intentional the next morning.
Common Mistakes
Buying furniture before measuring. A bookcase picked out online is almost always deeper and taller than the wall you had in mind.
Fix: measure the footprint, the door swing, and the walkway first, then shop. Add a tip: take the tape measure to the store or list the exact dimensions you need before opening a shopping tab.
Overcrowding the area with zones. Four zones in a 4 foot by 2 foot corner leaves no clear surface and no breathing room, and the space looks cluttered even when every item has a home.
Fix: three zones maximum, and add a zone only when the current setup has been stable for a month. Add a tip: a single basket per zone is enough to make the boundary visible.
Storing supplies out of a child’s reach. A shelf above adult eye level is tidy, and it means asking for scissors every single morning.
Fix: put the daily tools at child height and everything else anywhere you like. Add a tip: hang the caddies on hooks at the child’s shoulder height so grabbing one is a no-step action.
Skipping lighting. A dim corner in an afternoon home is the reason a child says they cannot focus, and the reason you end up moving the whole setup back to the kitchen table.
Fix: put the surface where there is daylight, and add a clip-on or floor lamp if the darkest months get to you. Add a tip: position the table so the window is beside the child rather than in front, which cuts glare on paper and screens.
Planning for an uninterrupted day. Small homes have noise, siblings, and a parent who still has to run a household. A setup that assumes three quiet hours falls apart by day four.
Fix: build the schedule around the interruptions you actually have, and add a tip: use short blocks with a defined independent task for the noisy parts, rather than one long block you have to protect.
Leaving school stuff out permanently. This is the mistake that turns a workable corner into a room the family stops using.
Fix: run the five-minute close every day, no exceptions, and add a tip: if the close is skipped twice in a week, the setup is too complicated and something needs to leave, not a child needs to try harder.
Frequently Asked Questions
How can I organize my homeschool area in a small space?
Pick one fixed surface and keep it clear, then divide the space into three zones: seated work, a floor spot for younger kids, and a wall spot for books and display. Put one caddy per child on a hook with pencils, eraser, scissors, glue, and a notebook. Move everything else, including art supplies and manipulatives, to vertical storage such as wall shelves, pegboards, over-door racks, or labeled drawers. Finish with a five-minute close so the area is clear every evening.
Do I need a dedicated homeschool room?
No. A dedicated room is a nicety, not a requirement. Most families in small homes learn at the kitchen or dining table, and many who eventually converted a spare room still use the table most days. What your children need is consistency: the same surface, the same supply location, and the same start and finish time each day. A corner with good light, a table, and vertical storage does everything a dedicated room would do, minus the door.
How much space do you need to homeschool?
A working figure is about 20 square feet per child, so roughly 40 square feet for two children and 60 for three. A corner as small as 4 feet by 2 feet can hold one child, a book basket, and a wall shelf if everything else is stored vertically. One family blog documents doing this successfully in a 55 square foot room, which is a good reminder that the number matters far less than whether supplies have a home and the surface can be cleared at the end of the day.
Where can I store homeschool supplies without a closet?
Use the surfaces nobody counts: the wall above the table, the back of a door, and the inside of cabinets. Wall shelves, a pegboard, over-door racks, and a tension rod with hanging baskets all hold a lot without taking floor space. Clear plastic drawers sorted by subject keep paper and consumables contained, and under-bed bins or a rolling cart handle the bulky seasonal items. Label drawers by subject rather than contents so a child can pull one without reading.
Can I homeschool at the kitchen table?
Yes, and plenty of families never move anywhere else. The table is close to the kitchen, which is convenient for teaching, and it is furniture you already own. The trade-off is that the household loses that surface for the rest of the day, and the teacher is harder to protect from interruptions. Decide in advance what the table looks like after school, and if the open-plan kitchen makes the noise hard to manage, move the books and caddies to a corner and keep only the work at the table.
What are some good storage ideas for school supplies?
Start with one container per child, filled once with that day’s tools: pencils, eraser, scissors, glue, and a notebook. Add a book ledge with face-out covers instead of a full bookcase, which is shallower and helps early readers. Use labeled bins for weekly supplies and a single closed container for arts and science kits so they stay out of the daily rotation. Storage solutions that get recommended most often in small-space homeschool groups are busy bags, rolling carts, and upcycled crates.
Start With One Flexible Learning Corner
If you take one thing from this guide, start smaller than feels satisfying. Choose the one multipurpose area you already know will work, set up three zones in it, and use free storage first: a wall shelf you already own, a hook on the back of a door, a crate for books, and a labeled bin per child. Add furniture only after you have lived with the arrangement for a month and can name the specific thing that does not fit.
A homeschool space in a small home is a habit with a surface attached, not a room. Get the habit right and the space takes care of itself.