The easiest Halloween outfit you can make at home is a white sheet with two eye holes cut into it, worn over ordinary clothes. Everything more elaborate in this guide follows the same rule: start with a cardboard box, a sheet, a bin bag or an outfit already in the closet, then add detail with glue, tape, paint and a bit of imagination.
Learning how to make homemade Halloween costumes from things you have solves the panic of the night before, when the costume aisles are picked over and the budget is spent on something else. It also tends to fit better than anything off a shelf, because you build it around the person wearing it.
Most of the methods below need cutting, taping and painting, so no sewing machine is involved. A handful of them take under fifteen minutes from start to finish.
Table of Contents
- What You Need
- From the kitchen
- From the linen closet and bedrooms
- From the laundry and cleaning cupboard
- From the craft box
- Worth buying, if you have nothing at all
- Before you cut anything
- Step-by-Step
- How to Make Homemade Halloween Costumes from Things You Have
- 1. Cardboard box costumes
- 2. Sheet, curtain and pillowcase costumes
- 3. Bags, tablecloths and household hardware
- 4. Taped and pinned clothing
- 5. Nature and light
- Common Mistakes
- Too tight, or the wrong shape
- Joints that split on the first step
- Masks and hats that hurt
- Details that fall off
- Nobody can see you coming
- Frequently Asked Questions
- What materials are best for making Halloween costumes at home?
- How do you make a costume fit a child who is hard to measure?
- Can I make a Halloween costume without sewing?
- How can I make a cardboard costume comfortable and durable?
- What is a safe way to make a Halloween mask?
- How do I make leftover costume pieces work for next year?
- Conclusion
What You Need
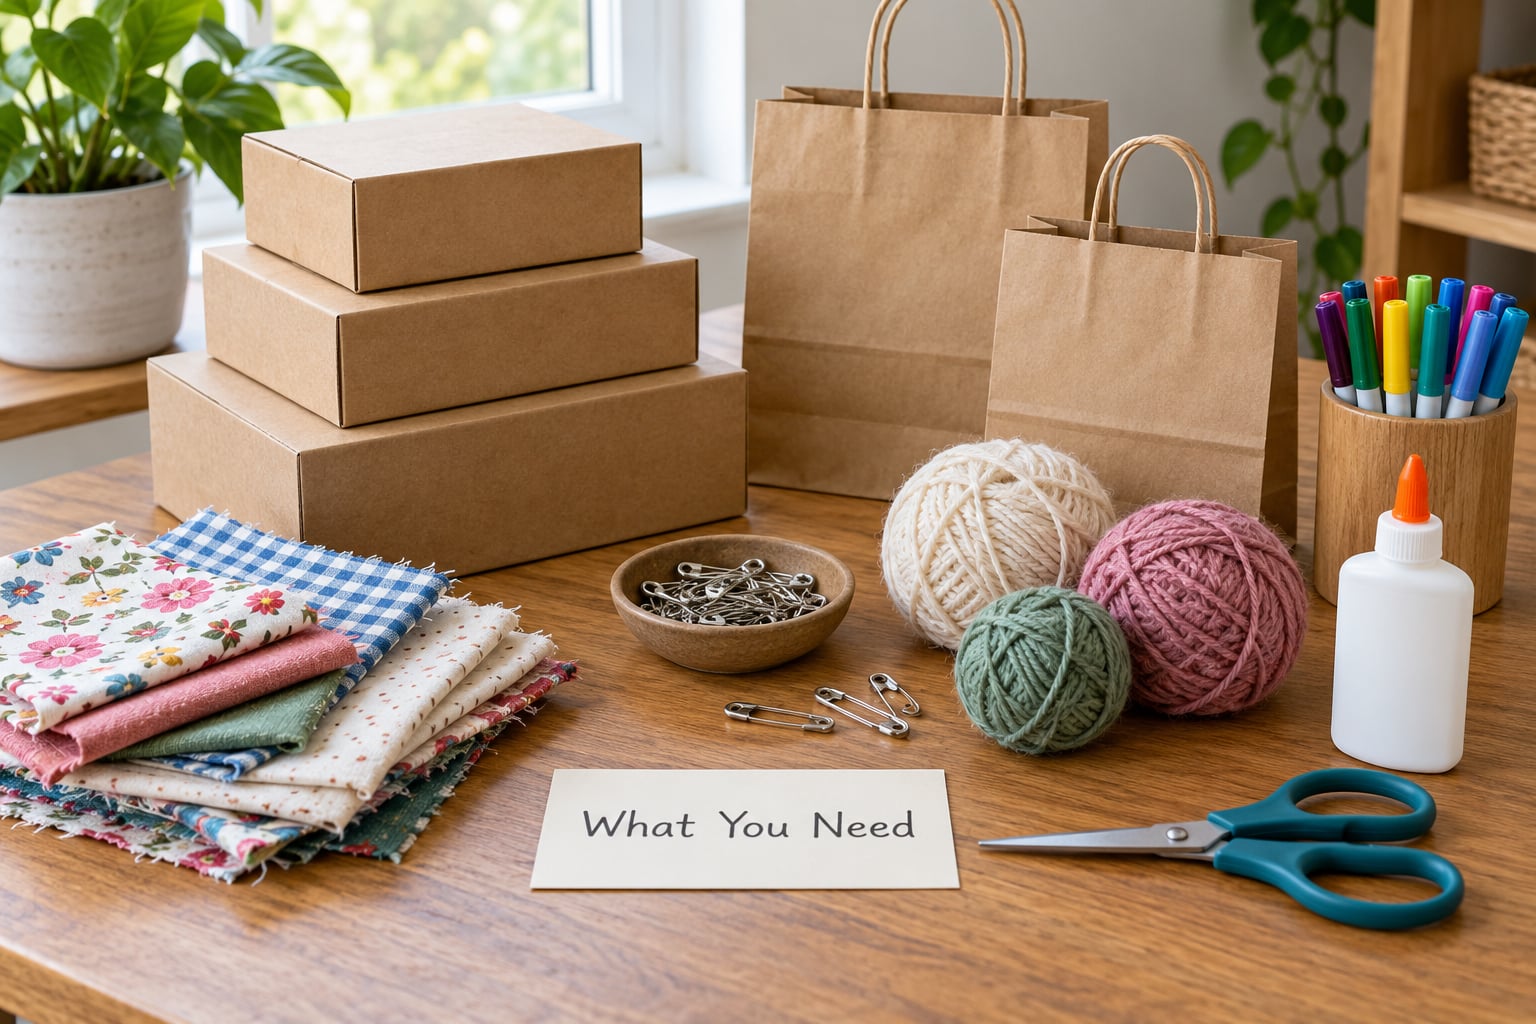
Start by walking through the house and pulling anything in the shape you want a costume out of. Most people find more usable material than they expect.
From the kitchen
Empty cereal boxes, flattened delivery boxes, aluminium foil, plastic cups, a colander, a flat baking sheet and bin bags. The cereal box is the underrated one: the printed side becomes instant texture, so you barely need to paint.
From the linen closet and bedrooms
A white bedsheet or flat sheet, an old towel, a pillowcase, a duvet cover, a laundry bag and any curtain panel you no longer want. Sheets are the fastest ghost in the house.
From the laundry and cleaning cupboard
A wire hanger, a mop head, an empty detergent bottle, rubber bands, safety pins, a laundry basket and a wire coat hanger or two. Pool noodles turn up in sporting goods and garden sheds.
From the craft box
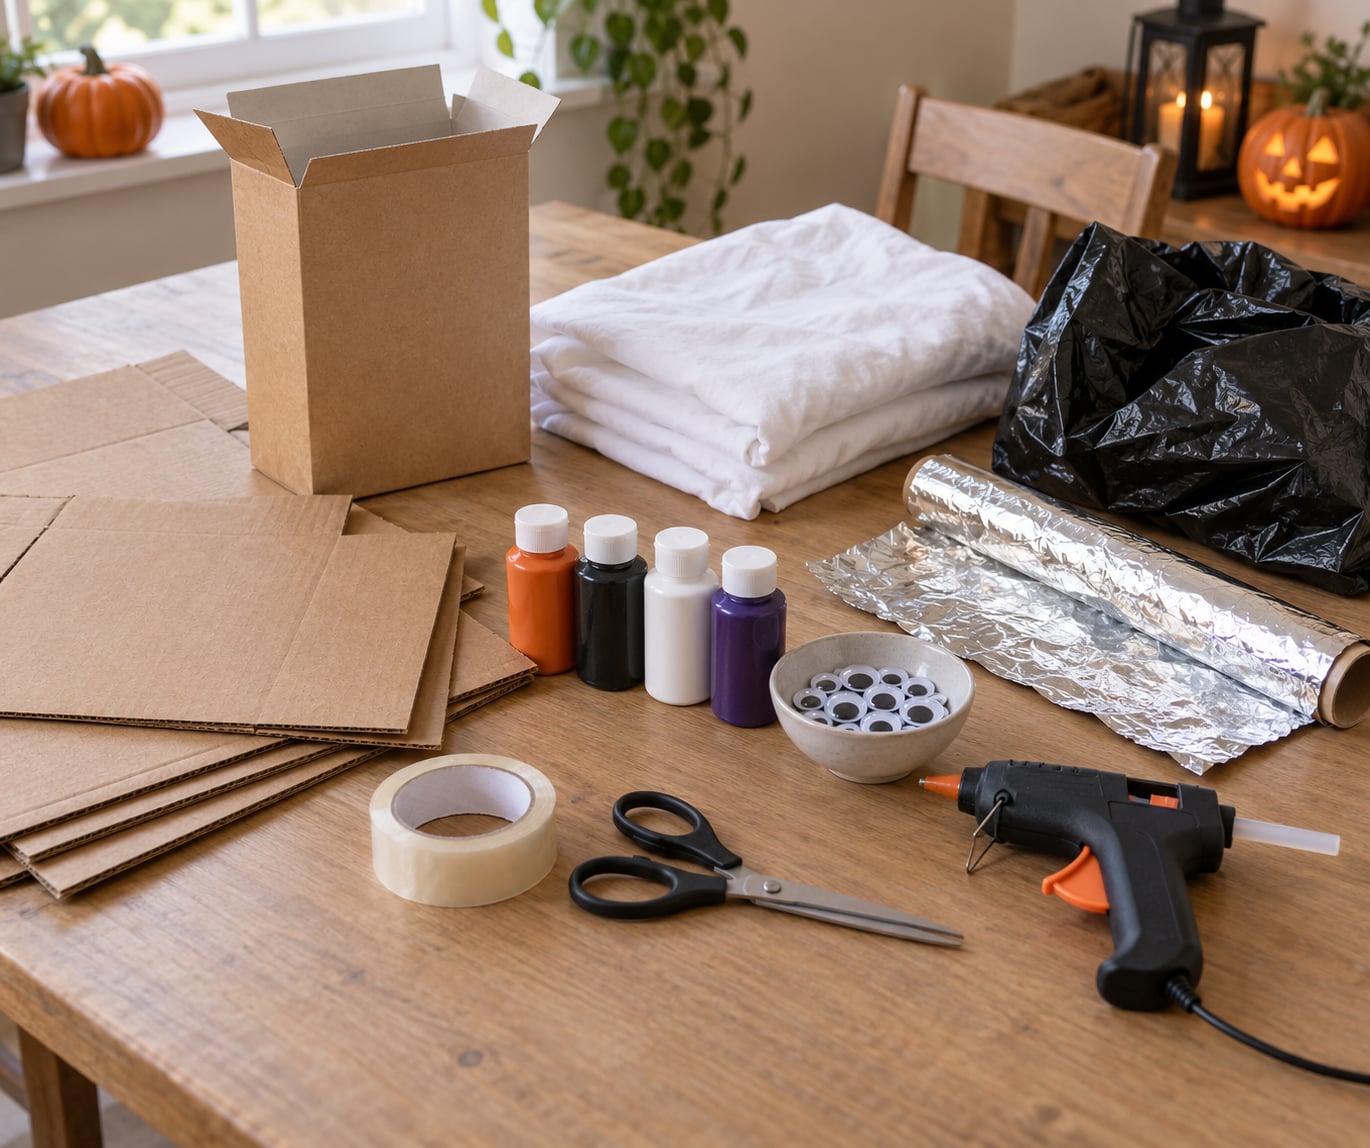
Safety scissors, a glue gun, packing tape, duct tape, masking tape, non-toxic craft paint, markers, googly eyes, pipe cleaners and a stapler you can keep away from skin.
Worth buying, if you have nothing at all
Three things genuinely earn their place: a glue gun, a bottle of non-toxic craft paint and a pack of glow sticks. You can skip the sewing machine, specialty foam, hot knife, wig and fabric entirely. Cardboard, tape and paint carry almost every idea here.
Before you cut anything
Work on a large flat surface, and have an adult handle the glue gun while kids help with painting. Blunt-tip scissors beat sharp ones. Skip staples, razors and box cutters anywhere near skin, and tape down every raw cardboard edge before the costume goes near a face.
Step-by-Step
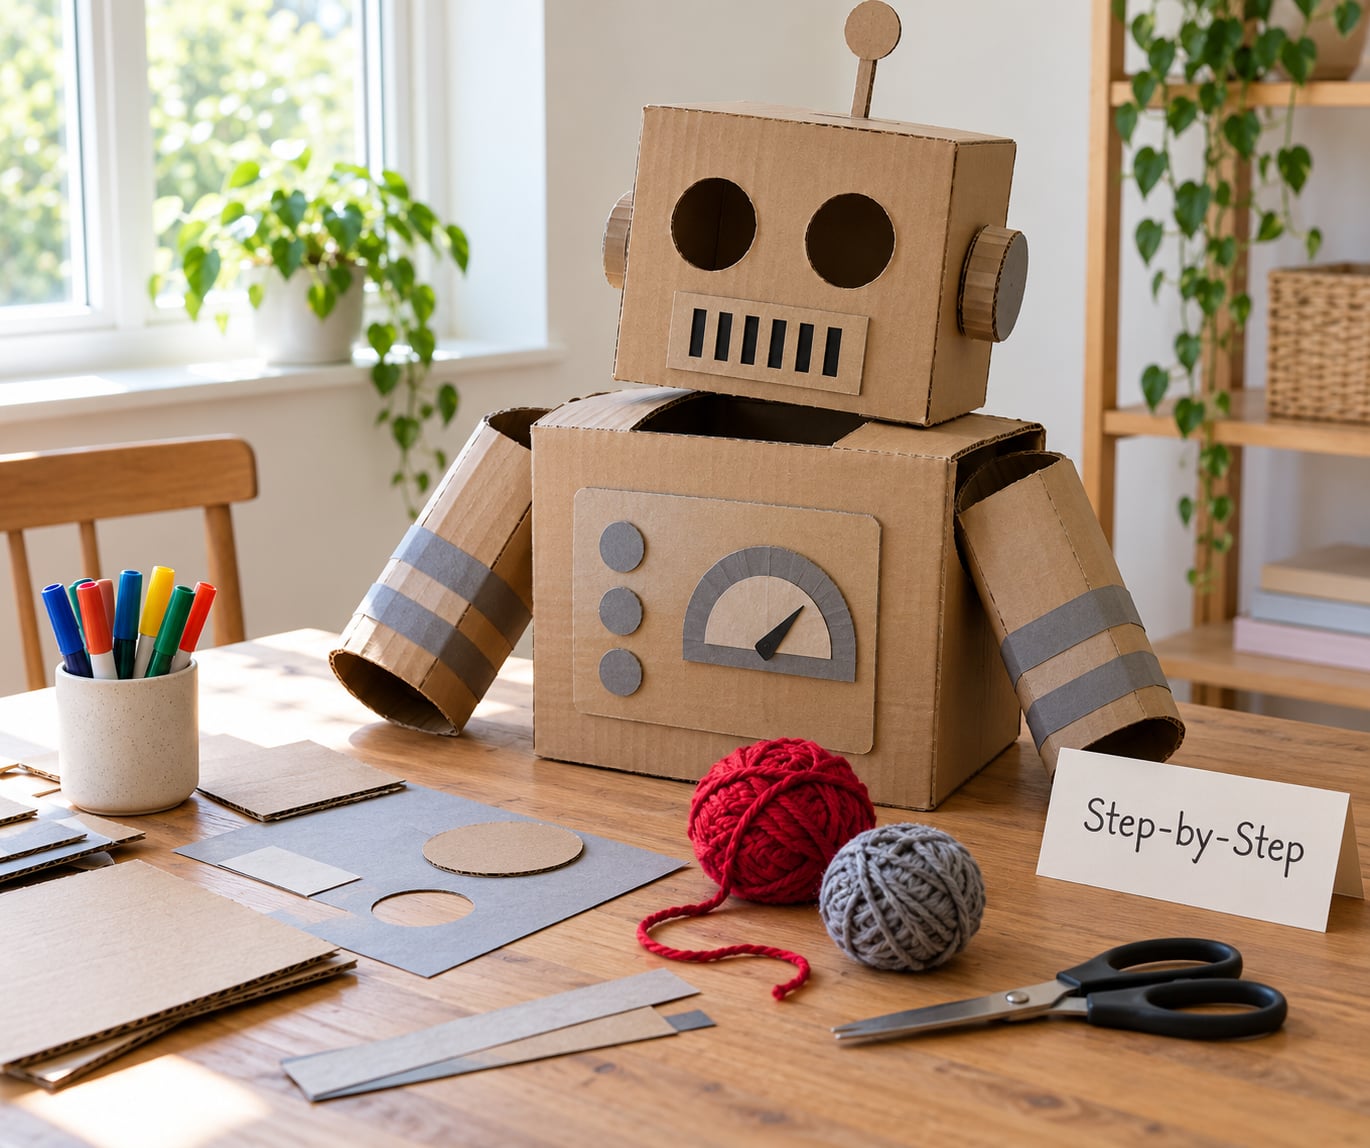
The same five stages work for almost every costume in this guide, whether it ends up as a robot or a scarecrow.
- Plan the character first. Pick one thing people will recognise from across a dark street. A robot, a ghost, an astronaut or a superhero reads instantly; a vague “creature” does not. Silhouette matters more than detail here.
- Build the base. Form your main shape from one material: a box with the top cut off, a sheet with eye holes, a bin bag with a head opening, or a normal outfit with additions. Get the base standing up before decorating anything.
- Add the details that sell the character. Foil panels, printed paper, cardboard tubes, buttons, painted stripes, wildflowers. Three strong details beat fifteen fiddly ones.
- Test the fit and the movement. Have the wearer walk, sit, bend and climb steps. Cardboard catches on doorframes and stair edges, and anything over the head needs a clear downward view.
- Finish for the dark. Tape every edge, add a glow stick or reflective strip, then check the costume again in a dim hallway or outside at dusk.
How to Make Homemade Halloween Costumes from Things You Have
Five construction methods cover almost everything. Pick the one that matches your material at home and adapt it.
1. Cardboard box costumes
A robot or a cereal box character. Cut a head hole in a large box, mark windows and a control panel, then cover the panels with aluminium foil and secure them with tape. Cereal boxes make smaller chest plates and shoulder pieces. A toilet paper roll taped to the end of a cardboard tube makes a convincing robot arm.
For an astronaut, tape a cereal box to the chest and a paper towel roll to the back as a life support pack, then paint everything grey with a few darker panel lines. The colour blocks are what make it read as a spaceship rather than a box.
2. Sheet, curtain and pillowcase costumes
The classic ghost takes about ten minutes: hold the sheet over the head, mark the face opening, cut it, and fringe the bottom edge into strips that unravel as you walk. A dark-coloured duvet cover with a torn hem works as a much scarier version for older kids.
An old curtain panel becomes a vampire cape with a hood, and a pillowcase becomes a gnome or a scarecrow tunic once you cut the head hole and tie the top with string.
3. Bags, tablecloths and household hardware
Lie a bin bag flat, cut a hole for the head and two for the arms, then cover it with leaves gathered from the lawn. That is a pile of leaves, done. The same bag in plain black with white painted eyes is a low-effort ghost for anyone who wants no face covering at all.
A plastic tablecloth cut into a triangle and taped at the shoulders gives you a vampire cape in two minutes. A mop head with a mop handle becomes spaghetti and meatballs. A colander worn as a hat over a striped shirt turns into a character that needs no mask and no makeup.
4. Taped and pinned clothing
Start from what the person already wears. A black T-shirt with eye holes cut for a ninja mask, safety pins along one shoulder, and a strip of duct tape for a belt. A hand towel tucked into the collar of a plain shirt makes a cape fast. Add a few printed logos taped to cardboard and a favourite character reads clearly with no sewing.
For attachments that need to survive a full night of walking, pin through a layer of fabric, add a dab of hot glue underneath, and tape the seam. Trimming fur or loose threads with scissors before the first outing stops most of the failures.
5. Nature and light
A branch trimmed like a wand, a crown of wildflowers wired to a headband, pinecones threaded onto cord for a necklace and leaves glued to a brown jumper make a forest creature from the garden. Nothing needs sewing and nothing needs a mask.
Break out a glow stick necklace or battery tea light under a clear tablecloth for the glow effect. Reflective tape on the shoulders or the back of the costume does more for safety than any amount of decoration.
Common Mistakes
Almost every homemade costume problem is one of five things, and all of them are fixable in the ten minutes before the door.
Too tight, or the wrong shape
Build with room to spare. Cardboard should sit over clothing, not against skin, and anything on the head needs at least a hand’s width above the eyes. Cut the head hole larger than you think and test sitting down before you tape it shut.
Joints that split on the first step
Single-layer cardboard tears at the crease. Double it with a second piece, then bridge the seam with tape running across it in both directions. Most costume failures happen at the waist, the shoulders and the knees, so reinforce those three spots first.
Masks and hats that hurt
Anything worn over the face collects heat and fogs up, which is exactly why so many people abandon a costume by the third house. Prefer no mask at all: paint a face onto a paper plate held at the shoulders, use a hat brim that sits above the eyes, or choose a character with no face covering.
Details that fall off
Glue dries on the surface, not the whole way through. Give heavy pieces a full night to set, use hot glue rather than school glue for weight, and tape anything that dangles. Carry a small roll of tape in your pocket for the whole evening.
Nobody can see you coming
A pale costume in the dark is a costume with a headlamp and nobody else. Put a glow stick necklace under the collar, add reflective tape to the back and shoulders, and give the wearer a flashlight. Keep the hem clear of the ground so nobody catches a foot.
Frequently Asked Questions
What materials are best for making Halloween costumes at home?
Corrugated cardboard is the strongest all-round material because it holds a shape and takes paint. Add aluminium foil for shine, duct tape for joints, a bedsheet for anything full-length and non-toxic craft paint for colour. Sheets, pillowcases and bin bags cover the no-sew options, and a glue gun plus safety pins handle nearly every attachment.
How do you make a costume fit a child who is hard to measure?
Build from the clothing the child will actually wear, not from a tape measure. Cut the body generously, leave the head hole an extra hand’s width above the eyes, and mark the hem with tape while it is on rather than cutting straight away. Test by sitting, bending and climbing stairs before anything is taped permanently.
Can I make a Halloween costume without sewing?
Yes, and most of the ideas here are built that way. Cardboard pieces, sheets, bin bags and pool noodles need only cutting and taping. For fabric additions, use safety pins, double-sided tape or hot glue to hold a seam, and finish the raw edges with tape so nothing frays before the night is over.
How can I make a cardboard costume comfortable and durable?
Double your cardboard wherever it bends at a joint, then bridge the seam with tape running across it in both directions. Cover every raw cut edge with tape, leave wide gaps at the shoulders, waist and knees, and line the inside of any head hole with a soft fabric strip. Give glue a full night to set before the first wear.
What is a safe way to make a Halloween mask?
Avoid anything that covers the nose and mouth, because children generate a lot of heat and fog behind a mask. A paper plate painted with a face and tied at the shoulders works well and leaves the face clear. If you do want a mask, cut two generous eye holes, round off the edges with tape, and test it in the house for ten minutes first.
How do I make leftover costume pieces work for next year?
Label the big items and store them flat in a plastic bin with a sheet of paper between the panels so cardboard keeps its shape. Keep foil trim, googly eyes, cord and leftover paint in a labelled bag, and write the costume name on the front of the box. The sheets and bags go back in the wardrobe and get reused within the year.
Conclusion
Gather three or four materials from around the house, choose one character people will recognise from across the street, and build the base before you decorate it. Test the finished costume for fit, movement and night visibility the evening before, and the rest is just taping details on.