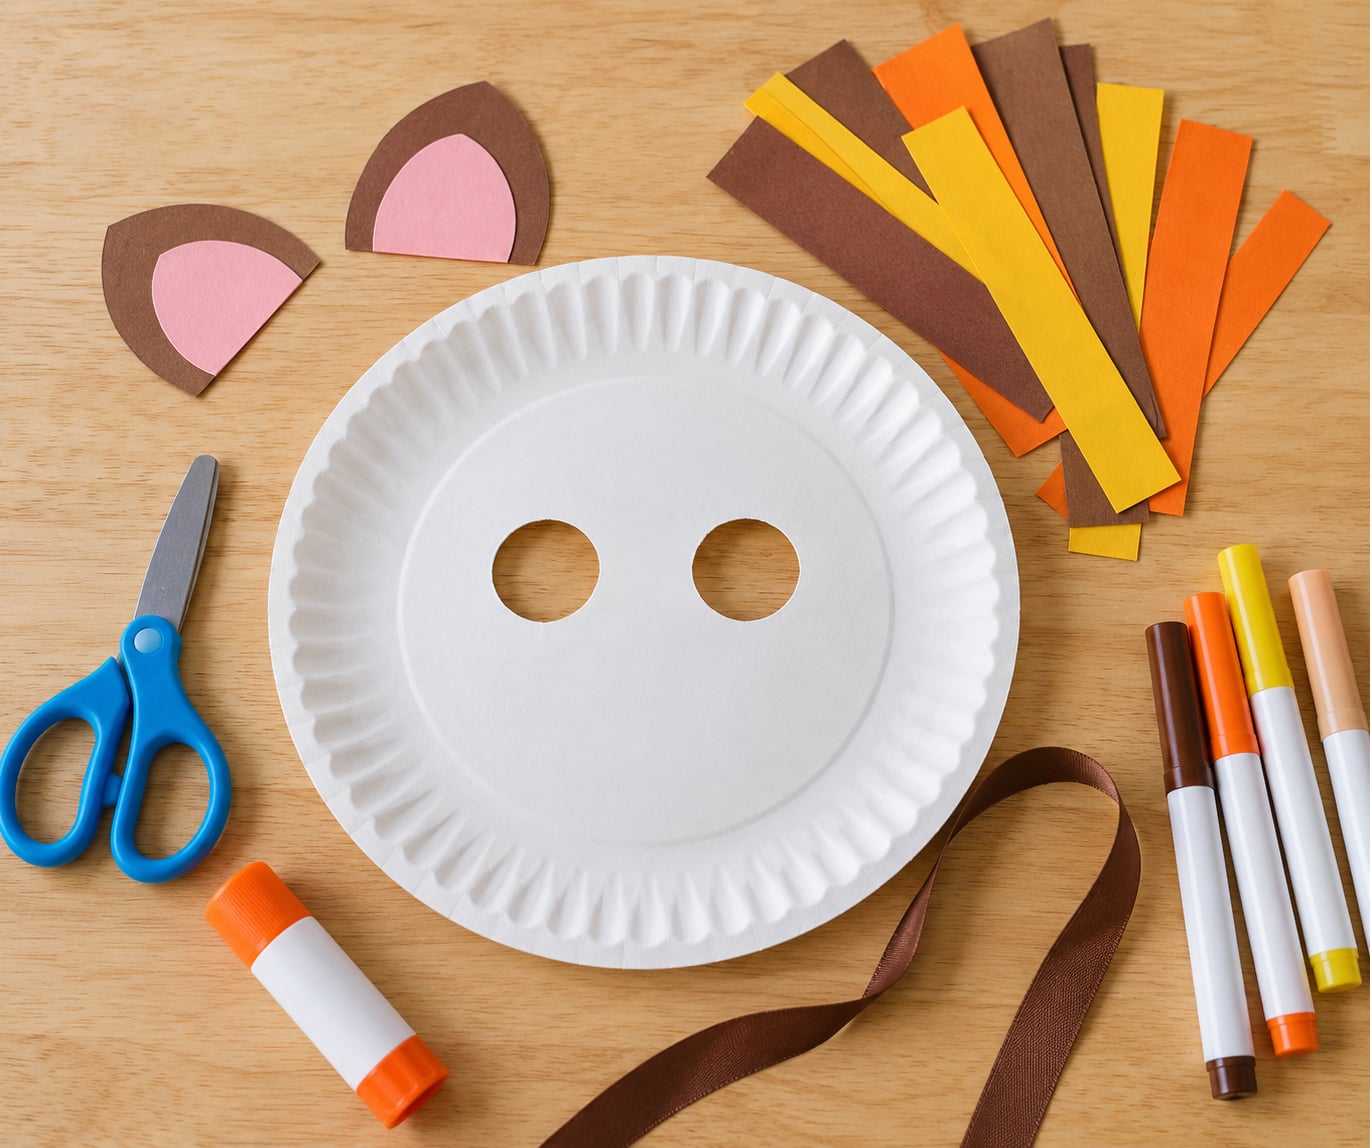
To make a mask from a paper plate, trace a shape on a plain paper plate, cut out two eye holes, decorate the plate with markers, paint, or glued paper, then punch a hole on each side and thread ribbon or elastic through them so it rests on the wearer’s nose. The whole thing takes about 20 minutes.
I have made these with my own kids on rainy afternoons and for Halloween costumes, and they are the craft I come back to most. One plate, one hole punch, and whatever is already in the craft drawer is genuinely enough.
An adult handles the cutting. Everything after that is safe and satisfying for a preschooler, and this guide covers the shared method plus the shape choices, strap options, and fixes for the problems that actually come up.
Table of Contents
- What You Need
- Step-by-Step
- Step 1: Choose the Mask Shape
- Step 2: Mark the Eye Openings
- Step 3: Cut the Mask
- Step 4: Add a Handle or Fastener
- Step 5: Decorate the Mask
- Common Mistakes
- Frequently Asked Questions
- What kind of paper plate is best for making a mask?
- How do I make sure the eye holes are the right size?
- Can I make a paper plate mask without cutting the edges?
- What can I use to hold a paper plate mask on my child’s face?
- How long should I let a painted paper plate mask dry?
- Can I reuse a paper plate mask after it is made?
- Conclusion
What You Need
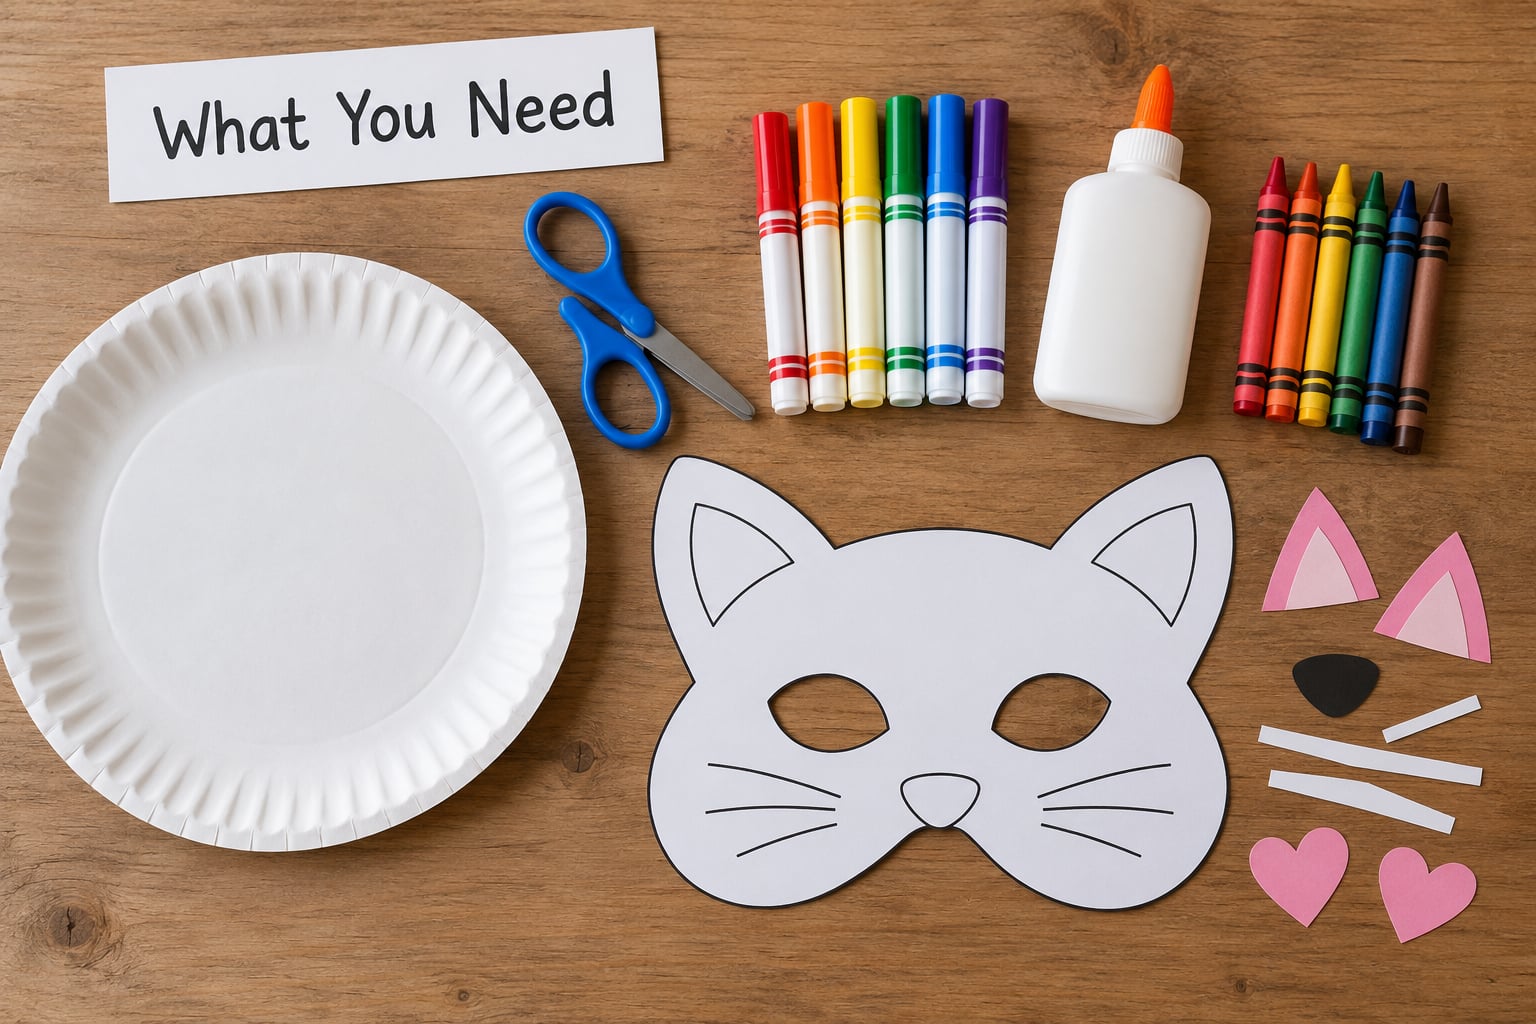
Gather everything on the table before the first cut. Half-made masks with a child waiting at the door turn into a scramble for glue and scissors halfway through.
- A plain, uncoated paper plate — a regular dinner plate around 10 inches fits most children; a dessert plate works for a toddler.
- Blunt-tip scissors, plus the sharper pair for an adult.
- A pencil for marking the eye holes before anything is cut.
- Washable markers or crayons for young children, or washable tempera paint for a full-coverage look.
- A glue stick or craft glue for attaching ears, manes, and other cut paper.
- Colored paper, construction paper, or recycled magazine scraps for collage features.
- A single hole punch or a thick nail for the strap holes.
- Ribbon, 1/4 inch elastic, yarn, or a pipe cleaner to hold the mask on.
- Optional extras: pom poms, glitter glue, googly eyes, a milk jug lid for tracing circles, a popsicle stick or a straw for a handle.
Most of that is a pantry item. A milk jug lid traces perfect eye circles, a cereal box or paper bag stiffens a floppy plate, and if you have no ribbon, a strip of fabric cut from an old necktie or a length of yarn works the same way.
Adhesive craft vinyl is the one supply people hunt down and never find on a shelf. A circle of colored paper or a cutout of felt does the same job.
Safety first: an adult cuts the eye holes with blunt-tip or sharp scissors held away from the direction of the body, kids under five stay within arm’s reach for the whole craft, and small glued parts stay on the plate rather than loose on the floor where a toddler could pick one up.
Step-by-Step
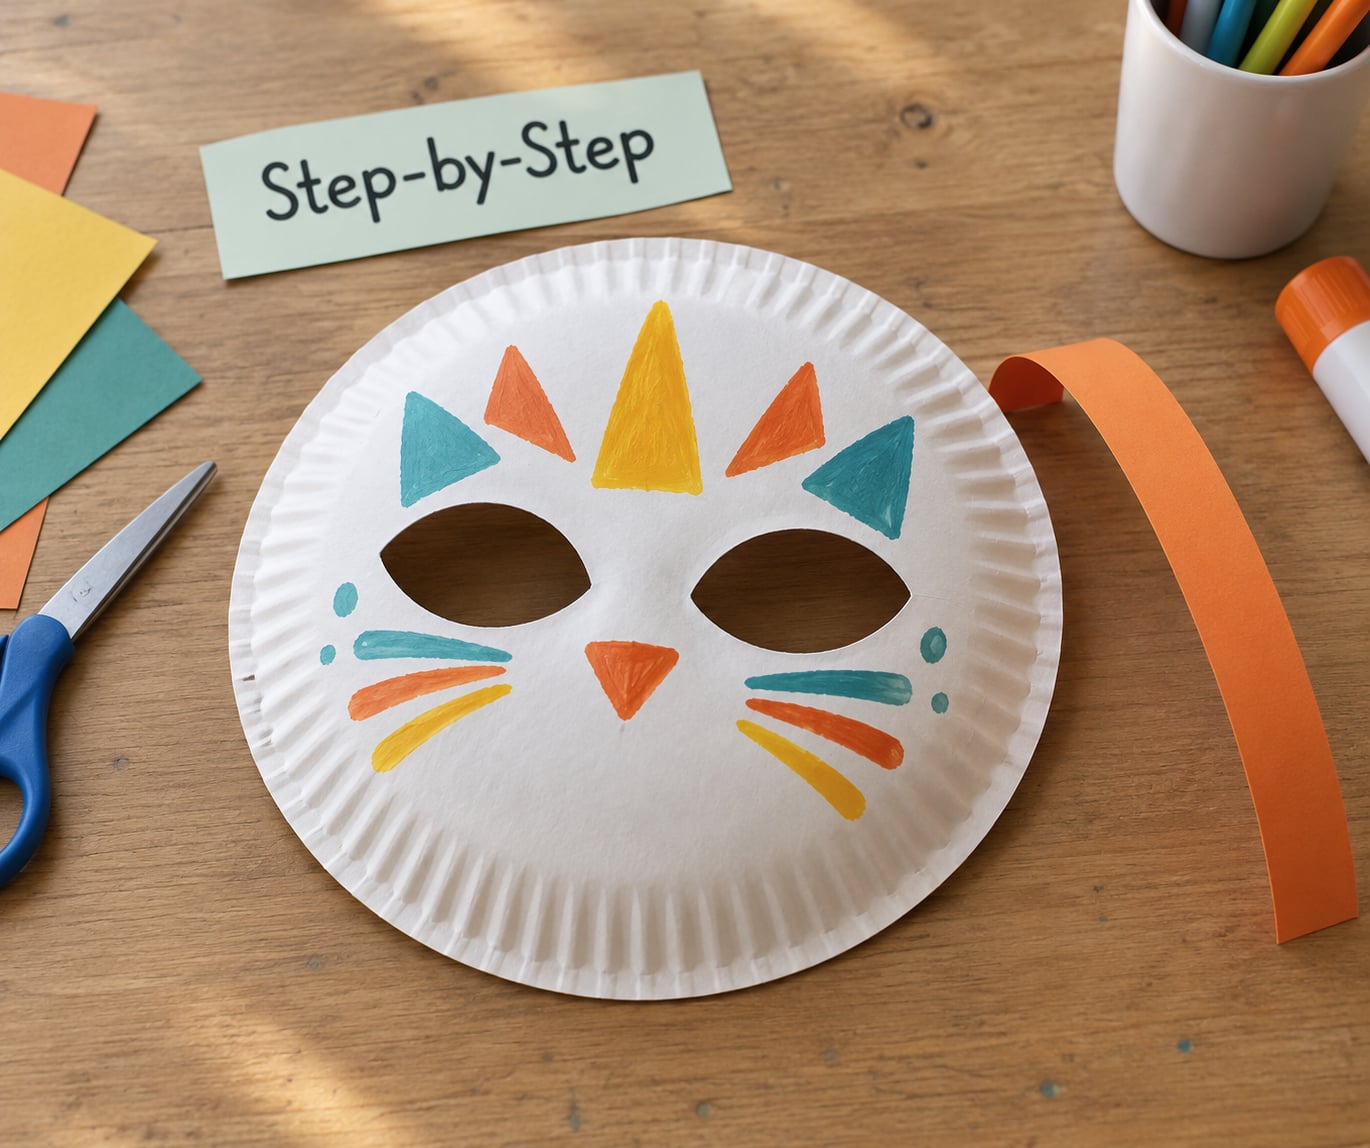
Step 1: Choose the Mask Shape
Decide the character before you touch the plate, because the shape decides what gets cut. A round plate with two pointed ears cut from the top edge becomes a cat, fox, or rabbit with no extra parts at all.
Other quick options: cut a shallow notch across the middle for a nose and add small round ears for a bear; keep the plate whole and glue a mane and horn pieces for a lion or unicorn; or leave the rim intact and paint a face for a superhero. Pencil the outline lightly before cutting so a mistake is still erasable.
Trace from a template if you drew one on regular paper first. It saves the frustration of freehand curves on the part of the plate that will not be covered by decoration.
Step 2: Mark the Eye Openings
Hold the plate flat against the child’s face and look straight on. Mark each eye with a pencil dot in the center of where the eye actually sits, then measure the gap between the dots before you ever pick up scissors.
As a rough guide, each hole needs to be about two finger widths wide and one finger width tall. Any smaller and the child spends the whole party squinting.
For a toddler or anyone who should not hold scissors, punch the two holes with a hole punch instead of cutting them. It is a cleaner edge and a safer one.
Step 3: Cut the Mask
Cut the shape first while the plate is still flat and undecorated. Cutting a painted plate smears the color and dulls the scissors at the same time.
For ears or a notch across the nose, snip a short starter cut into the rim, then work the blade slowly back and forth in small strokes rather than one hard squeeze. Paper plates buckle and split when you force them, and a slow cut is what keeps the rim intact.
Fold the plate in half and cut both eye holes in one pass when the marks line up, which is faster and keeps the pair identical. Open it out and check the spacing against the pencil dots.
Step 4: Add a Handle or Fastener
Punch one hole on each side of the plate, level with the temples or just below them, then choose how the mask gets held.
- Ribbon ties: thread a length of ribbon through each hole and tie it behind the head. Best for small children who cannot manage elastic, and it adjusts as they grow. Two tie points also stop the mask sliding.
- Elastic: thread 1/4 inch elastic through both holes and knot the ends together, with the knot tucked inside so it does not scratch. Measure around the head above the ears and leave a finger’s width of slack before you cut.
- Yarn or a pipe cleaner: twist it through the holes and tie. Cheap, forgiving on plate edges that have started to crack, and easy for a five-year-old to do alone.
A single hole at the bottom center with a popsicle stick or a straw turns the same plate into a handheld mask the child raises to their face, which suits a toddler who would rather carry it than wear it.
Step 5: Decorate the Mask
Decorate after the cutting and the holes are done. Markers and crayons go on straight from the package and dry in seconds, so they suit a child who wants the mask on within five minutes.
For paint, coat the front of the plate with a thin layer of white glue first and let it dry. Unprimed paper soaks the paint through, and the child ends up with color on their cheeks.
Build depth with glued paper: ears, a mane, a beak, stripes, a nose triangle. Cut these from the center disc you removed from the plate rather than throwing it away, and nothing goes in the bin.
Let wet paint dry flat on the table for at least a couple of hours before the mask is worn, and longer if you used glitter glue or anything thick.
Common Mistakes
The mask slides down the nose. Move both strap holes down a half inch and tighten the elastic, or switch to ribbon ties that you pull snug at the back. A strap attached at one point above the temples will always slip.
The eye holes are too small or sit too high. Go back to the pencil marks made with the plate on the face, and enlarge each hole by a few millimeters all around. Re-measure the gap between them and widen it to roughly two finger widths.
The plate cracked or buckled while cutting. Work in small snips from the rim inward, and glue a strip of paper or cardstock across the crack from the back. A crack on the rim is normal and a repair on the back is invisible once the mask is worn.
Paint bled through to the wearer’s face. Prime the front with a thin glue-and-water layer and let it dry fully before painting, or switch to colored paper collage and markers, which never bleed.
The design is hard to see through. Cut eye holes that are rounded rather than narrow slits, and avoid painting over the holes once they are cut. Paint the plate first if you plan to cover a lot of it.
Frequently Asked Questions
What kind of paper plate is best for making a mask?
Use a plain, uncoated paper plate in the regular dinner size, roughly 10 inches across. It fits most children’s faces without covering the whole head, and the uncoated surface takes marker, crayon, and glue well. A dessert plate works for toddlers, though it covers more of the face. Avoid plastic-lined or corrugated plates, which tear and refuse paint.
How do I make sure the eye holes are the right size?
Hold the plate against the child’s face and mark a dot where each eye sits, then measure the gap before cutting. Each hole should be about two finger widths wide and one finger width tall. For a quick check, the child should be able to look straight ahead and read comfortably without turning the mask. Punch holes for toddlers instead of cutting.
Can I make a paper plate mask without cutting the edges?
Yes, and it is the best version for under-fives. Skip every cut: punch two eye holes with a hole punch, or leave the face solid and add a popsicle stick or straw handle so the child holds it up. Glue on all features such as ears, eyes, and a nose. Nothing needs a blade, and the plate stays in one piece.
What can I use to hold a paper plate mask on my child’s face?
Ribbon ties suit most small children, since you can tighten them at the back and they do not stretch out. One-quarter inch elastic gives a closer fit on an older child; measure around the head above the ears and leave a finger’s width of slack. Yarn or a pipe cleaner is the forgiving option and works on a plate whose rim has started to crack.
How long should I let a painted paper plate mask dry?
Markers and crayons need no drying time at all, so the mask can be worn straight away. Thin tempera paint needs about two hours laid flat on a table. Anything with glitter glue or thick white glue on top wants overnight. If you are in a hurry, paint the day before and store the finished mask flat between two sheets of paper.
Can I reuse a paper plate mask after it is made?
Yes, and most children get more play out of it than the costume. The plate is strong enough for dress-up, pretend play, or a school play as long as the strap is not stretched. Store it flat in a paper bag or between two sheets of paper so it does not crease. Save the trimmed rim for a puppet or a bookmark.
Conclusion
Start by picking one design and laying the plate flat: pencil the outline, hold it against your child’s face to mark where the eyes actually sit, and cut those two holes generously. Let your child do the decorating while you punch and thread the strap, and the mask will be finished and worn before the paint is dry.