Homemade finger paint for toddlers takes about fifteen minutes and needs three pantry ingredients: cornstarch, water, and washable food coloring. You whisk them together, divide the base into cups, tint each one, and thin or thicken until it drags across paper instead of running off it. It costs almost nothing and smells like nothing at all, which matters more than the price when a two-year-old puts everything within reach.
One thing to say plainly before you start: a home mixture is art supply, not food. It is not lab-tested, not dermologically tested, and not certified non-toxic, so treat it as paint that stays on hands and paper. Keep it away from mouths and eyes, stay within arm’s reach the whole time, and skip it entirely if your child has a corn, dairy, or gluten sensitivity.
Table of Contents
- What You Need
- Step-by-Step: How to Make Homemade Finger Paint for Toddlers
- 1. Mix the Cornstarch and Water
- 2. Add the Color
- 3. Adjust the Paint Consistency
- 4. Test It Before Play
- 5. Set Up a Simple Art Station
- Creative Ideas for Your Finger Paint
- How to Store Homemade Finger Paint
- Common Mistakes and Easy Fixes
- Safety Tips for Little Hands
- Easy Cleanup for Homemade Finger Paint
- Frequently Asked Questions
- Is homemade finger paint safe for toddlers to put in their mouths?
- How much cornstarch and water should I use for a small batch?
- Why does my homemade finger paint look watery or keep separating?
- Can I make homemade finger paint without food coloring?
- How long can homemade finger paint be stored, and should it be refrigerated?
- Conclusion
What You Need
The base is a cold cornstarch slurry, which needs no stove and no cooking. Small batches go in cups; double it for a playgroup.
- 1/2 cup cornstarch — the thickener and the whole structure of the paint.
- 1 cup cool water — poured in gradually, with room to add more later.
- 1 to 2 teaspoons sugar — optional. It smooths the texture a little and makes the color sit better on paper.
- Pinch of salt — optional, mostly to help the color disperse evenly.
- Washable food coloring — several hues so you can split the base into four or five cups. Diluted liquid gel or liquid drops both work.
- Whisk, forks, or a small blender — a whisk gives the smoothest result.
- Four to six shallow bowls or cups — low-sided containers are easier for small hands to dip into.
- Thick paper — cardstock, butcher paper, or a paper tablecloth. Thin copy paper soaks through and tears.
- Spoons or chunky brushes — optional, for children who prefer tools to fingers.
- A rinse cup of water, a washable tablecloth or plastic sheet, and old shirts or smocks — set these out before the paint, not after.
If you skip food coloring entirely, the paint is off-white and the children still get the texture experience. If you want color without dye, see the section on natural dye sources below.
Step-by-Step: How to Make Homemade Finger Paint for Toddlers
1. Mix the Cornstarch and Water
Put the cornstarch in a bowl and pour in about half the water. Whisk until it is smooth, then add the rest of the water a little at a time. Keep whisking until no dry powder is visible at the bottom or along the sides.
The finished base should look like thin cream or a pourable glue. If you see lumps, whisk longer and let it sit for five minutes — the starch finishes hydrating and clears up on its own. If it still has lumps, blend it, or push the mixture through a fine sieve.
2. Add the Color
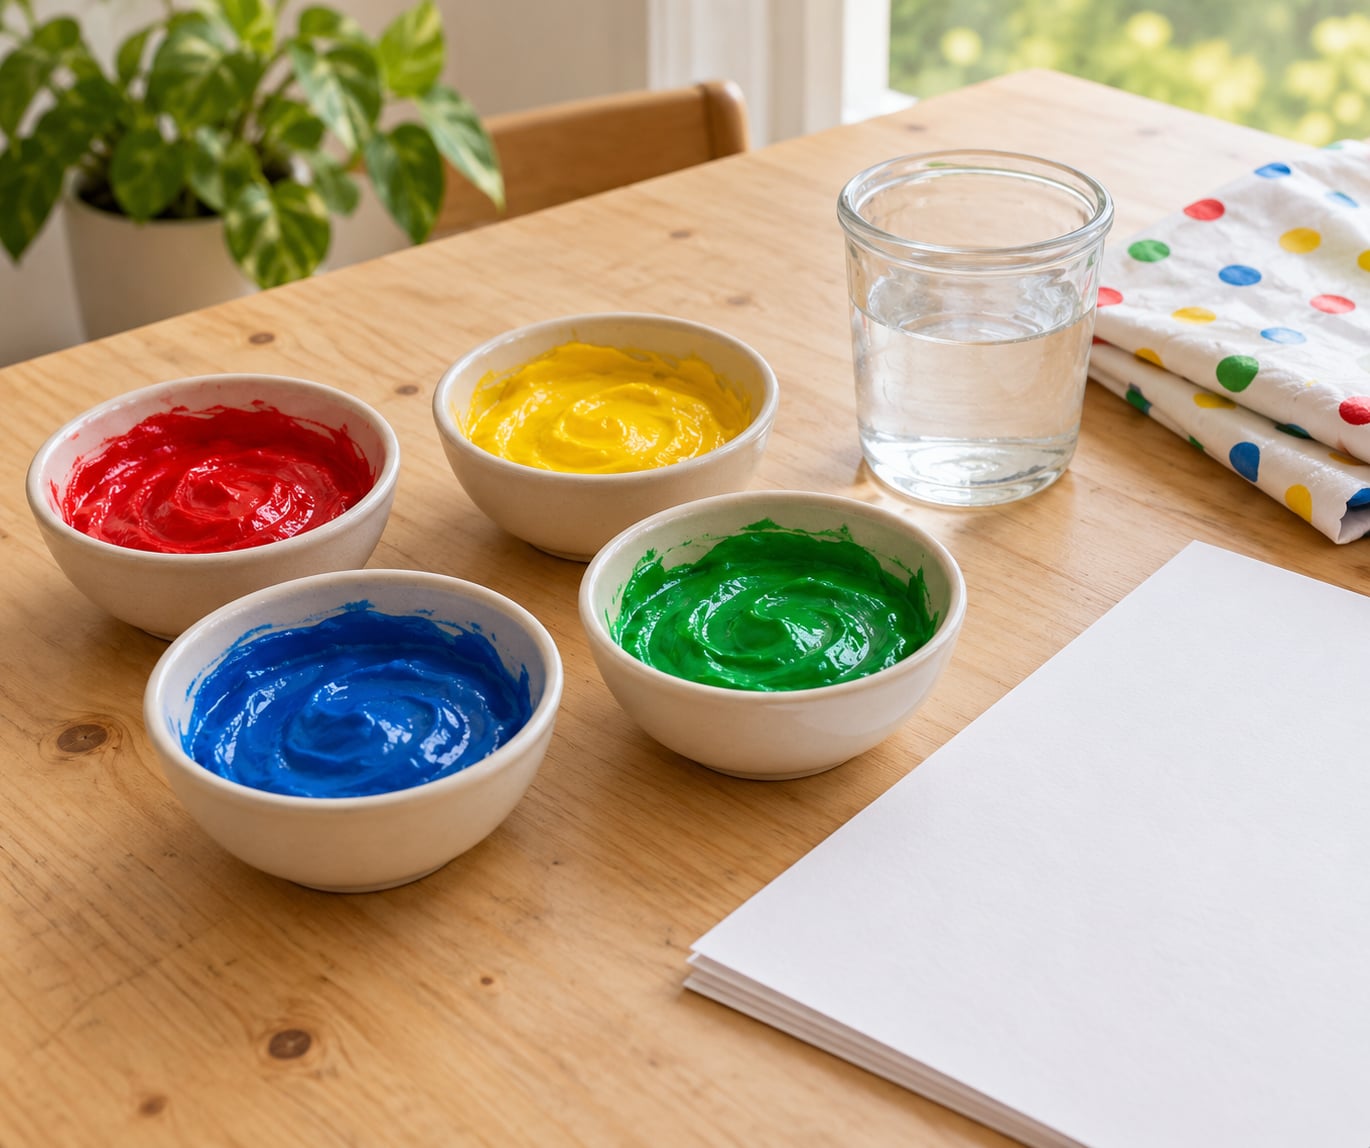
Scoop the base into separate bowls, one per color, then add two or three drops of washable coloring to each. Stir with a separate spoon so the colors stay distinct. Less color means a softer pastel; more means a bold mark that dries darker than it looks wet.
Keep one bowl plain white. Toddlers mix without meaning to, and the white bowl catches every accidental thumbprint before it turns the whole batch pink.
3. Adjust the Paint Consistency
Dip one finger into a bowl and drag it across the paper. A good batch leaves a clean line about two millimeters thick and holds its edge for a second or two.
Too thin and watery means it puddles and runs: add cornstarch one teaspoon at a time and whisk well. Too thick and cracking means it pulls at the paper and leaves chalky dust: add water a tablespoon at a time. Trust the finger test over any measurement, since humidity and cornstarch brands both change the result.
4. Test It Before Play
Make one test stroke on scrap paper and leave it to dry for a few minutes. Good paint dries smooth and stays flexible. Paint that dries crumbly needs more water. Paint that beads up and slides off was too thick at the start or too oily — an unwashed spoon or a greasy bowl will do it.
Rub a dried swatch with a damp cloth. If color comes away easily, expect light staining on skin and clothing, and dress your child accordingly. Wash your own hands at this stage too, so you know what you are dealing with.
5. Set Up a Simple Art Station
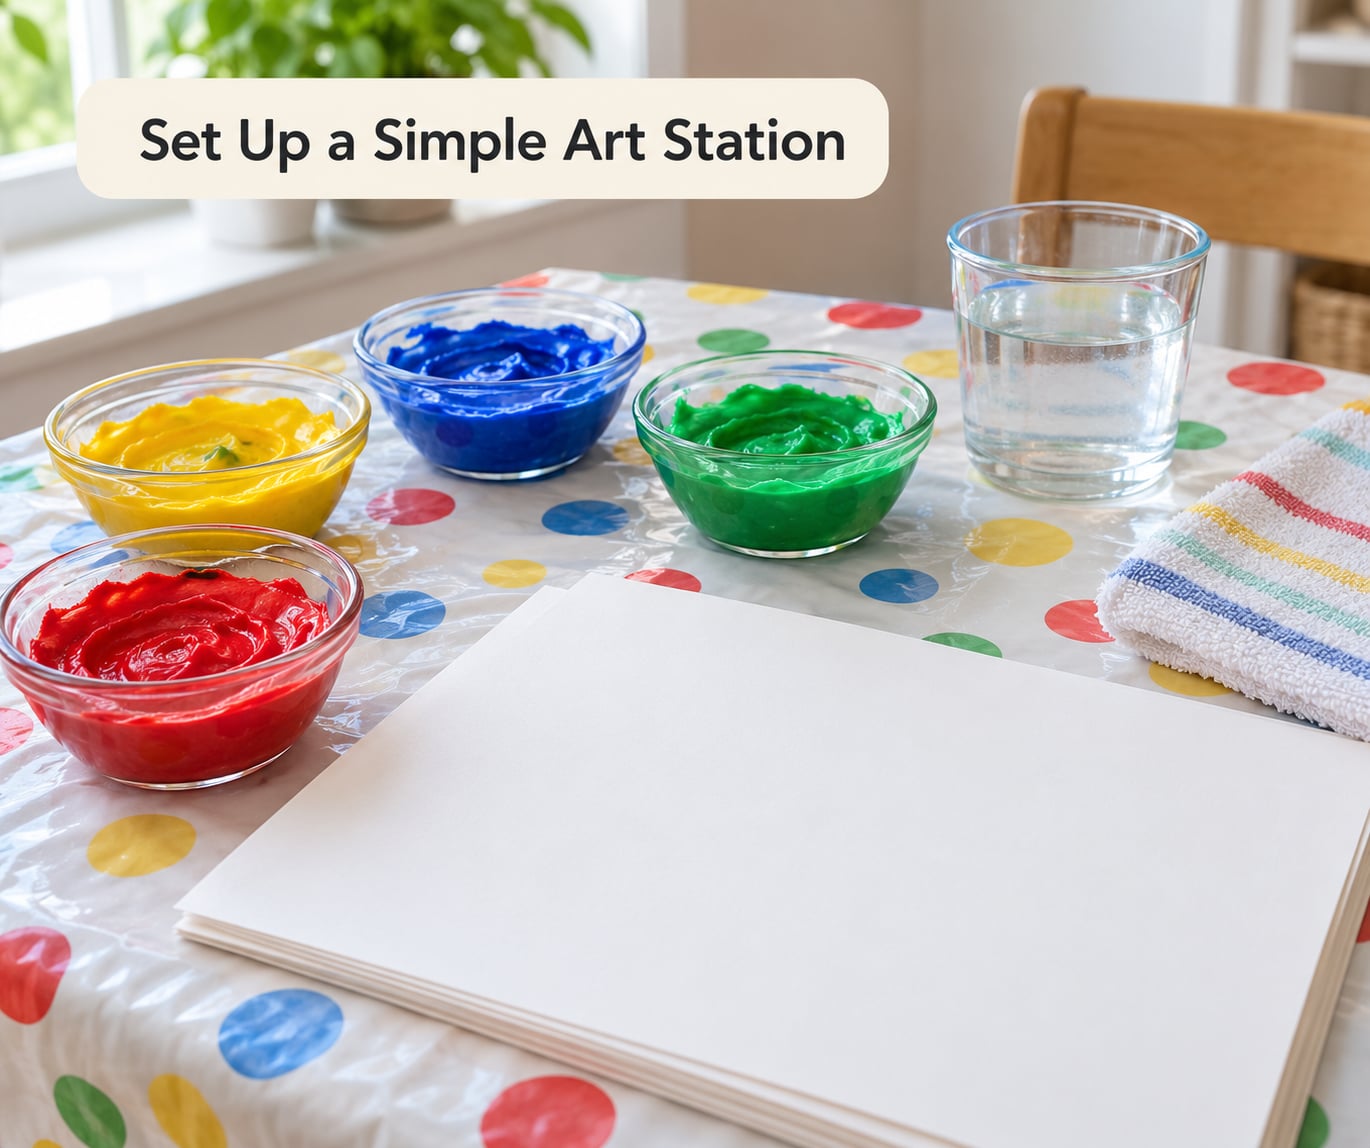
Cover the table and the floor beneath it. Lay out thick paper, set the bowls in a row within easy reach, and fill a second cup with plain water for rinsing fingers mid-session. Pull sleeves up or change clothes first — scrubbing dried paint out of a cuff takes far longer than preventing it.
Then stay close. This is sensory play, not independent play, and the mess is part of the activity rather than a problem to solve.
Creative Ideas for Your Finger Paint
One batch does more than handprints, and switching the surface changes what toddlers get out of it.
- Handprints on butcher paper — tape a long strip down and have your child press one hand at a time. Wallpaper the result afterward; the color usually holds through a normal cleaning.
- Giant shapes — for a two-year-old, a single circle across a whole sheet of paper is more satisfying than a small tree. Give one shape per piece of paper and let the child fill it.
- Color-mixing stations — set out three cups of primary colors and one of water. Pouring yellow into blue and watching green appear keeps most toddlers busy for twenty minutes on its own. This is where the developmental value sits: scooping, pouring and watching cause and effect.
- Seasonal marks — leaf shapes in autumn, bare branch lines in winter, dots and spirals in spring. Nature items with a flat edge make a better print than anything from a craft store.
- Sponge or rolled-paper daubing — for children who dislike the sticky texture, roll a sponge or a wad of paper towel through the paint and stamp instead.
- A tray instead of paper — shallow foil trays keep everything contained on the tray itself, which you can rinse in a sink.
A washable floor covering stops being optional the moment a toddler sits down to paint, and barefoot children make contact with every surface. Outdoors on a patio or a blanket you do not care about is the easiest version of all.
How to Store Homemade Finger Paint
Assume a refrigerated batch lasts two to four weeks, and treat the fourth week as the point to throw it out rather than sniff-test it. A starch mixture has no preservatives, so spoilage is a real possibility even when it looks fine.
Pour each color into its own airtight container with a lid, not a plate covered in plastic wrap. Label it with the date and the color name — helpful only if your toddler does not read it yet, but future you will. Mason jars and plastic condiment cups both work well, and the small cups portion it out into exactly what a session needs.
Expect the paint to separate in the fridge, since the starch settles and the water rises. Stir or shake it for ten seconds before handing it over; thickness may need adjusting after every trip out of the container.
Throw the batch out if it develops a sour or fizzy smell, fuzzy spots on the surface, or a film you cannot whisk back in. Rinse the container with hot water and soap rather than pouring a questionable batch down the drain, and keep lids loose while the paint is warm.
Common Mistakes and Easy Fixes
Almost every batch that goes wrong is a consistency or dispersion problem, and all of them are fixable in a minute.
- Watery, runs off the paper. Too much water went in at the start. Whisk in cornstarch one teaspoon at a time until the finger-drag test holds.
- Lumpy or grainy. The cornstarch went into the water too fast. Whisk longer, let it rest five minutes, or blend it and push it through a sieve.
- Runs like glue and will not spread. The batch was over-thickened after cooling. Add water a tablespoon at a time and re-test on scrap paper.
- Foamy after mixing. You whisked too aggressively or too long. Let it sit untouched for ten minutes and the bubbles settle on their own.
- Color looks dull on paper. Not enough dye, or the paper drank it up. Use three more drops next time and switch to thicker paper.
- Blotchy, uneven color. The dye was never fully dispersed. Stir each bowl for a full minute after adding the color.
- Stains hands for a day. Dye-heavy batches, especially blue and green. Use fewer drops, rinse hands during play, and pick the color up as soon as play ends.
- Dries chalky and cracks. Not enough water, or paper that is too thin. Thin the batch and move to cardstock or butcher paper.
Safety Tips for Little Hands
Close supervision is the whole safety plan. Stay in the room, within arm’s reach, for the whole session. Most paint-related calls a pediatrician gets are about hands and eyes, not skin.
- Keep it out of mouths. Homemade finger paint is not food. Do not describe it as edible or taste-safe, and do not use it during a snack or mealtime. For children who put everything in their mouth, use a labeled, age-appropriate finger paint made by a company that publishes its ingredients and testing.
- Watch the eyes. If color gets in an eye, rinse with clean lukewarm water for several minutes and check the child’s vision. Call a doctor if irritation continues or the child seems uncomfortable.
- Stop at the first sign of skin trouble. Rinse with water and stop the activity. Do not scrub irritated skin, since that makes it worse.
- Know the allergens in your kitchen. Cornstarch is a corn product, yogurt recipes add dairy, and flour is gluten. If your child reacts to any of these, choose a labeled product instead of improvising.
- Keep bowls out of reach when you are not painting. A covered container of dried paint on the same height as a cruising toddler is an invitation.
- Skip glitter, essential oils, and dish soap. Soap makes paint more washable and no longer appropriate around a mouthing child; glitter ends up everywhere and stays there.
Easy Cleanup for Homemade Finger Paint
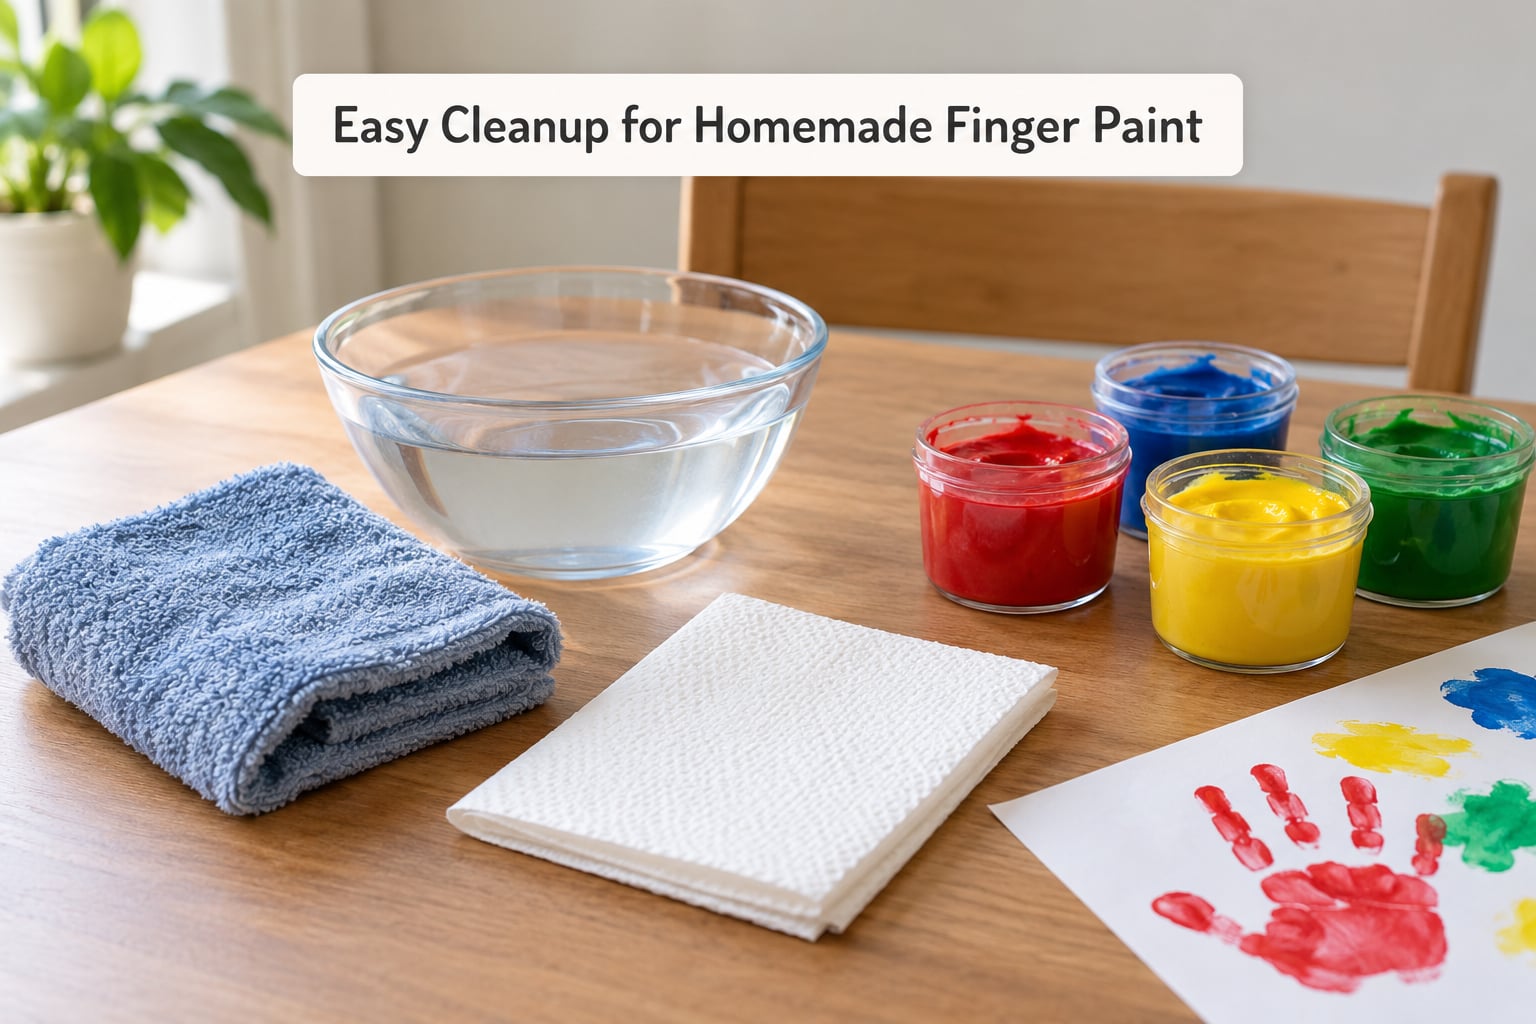
Most of the work is done before the paint is made. Once a session ends, deal with skin and surfaces in this order.
- Hands: rinse under cool water first, then wash with soap and warm water. Do not scrub at a stain — it fades on its own over a day or two, and scrubbing irritates skin faster.
- Faces and skin: a damp cloth for the face, soap and water for arms. Skip wipes, which smear the color and can leave dye on the wipe.
- Paper: let finished sheets dry flat before stacking, or they stick together and tear. Lift dried flakes off a table with a plastic card rather than a fingernail.
- Tables and counters: a wet cloth and a drop of dish soap, then a dry pass. On unfinished wood, wipe promptly because dye soaks in.
- Floors: for vinyl and tile, warm soapy water. For carpet, blot with a damp cloth and lift what you can — scrubbing drives pigment deeper.
- Utensils: wash bowls and spoons in the sink the same day. Containers left soaking for a week develop their own smell, which is hard to shift.
Have the rinse cup, a damp washcloth, and a folded paper towel within reach from the start. Most “cleanup problems” are really supplies stored out of arm’s reach.
Frequently Asked Questions
Is homemade finger paint safe for toddlers to put in their mouths?
Treat homemade finger paint as art material, never as food. Kitchen ingredients do not make a mixture edible, and no home recipe is tested or certified for ingestion, skin contact, or allergies. Keep bowls away during meals and snacks, and if your toddler mouths everything, use a labeled, age-appropriate finger paint whose manufacturer publishes its ingredients and safety testing. Rinse any paint that gets swallowed and call your pediatrician if your child seems unwell.
How much cornstarch and water should I use for a small batch?
Start with half a cup of cornstarch and one cup of cool water for roughly six small bowls of paint. Whisk the cornstarch into half the water first, then add the rest gradually until the mixture looks like thin cream with no dry pockets. Keep spare water nearby, because humidity and different brands of cornstarch change how much the base absorbs. Test one finger drag on scrap paper before you add color.
Why does my homemade finger paint look watery or keep separating?
Watery paint usually means too much liquid went in at the start. Whisk in cornstarch one teaspoon at a time until a finger drag holds a clean line for a second. Separation in the container is normal — starch settles while water rises — so stir or shake it for ten seconds before each use, then thin or thicken again with a teaspoon of cornstarch or a tablespoon of water as needed.
Can I make homemade finger paint without food coloring?
Yes, and you will simply get an off-white paint that still gives toddlers the texture and sensory experience. For color without dye, strain the juice of beets, blueberries, spinach, or carrots and stir a spoonful into each bowl, expecting pastel rather than vivid results. Turmeric, beetroot powder, and hibiscus powder also work, but turmeric leaves a strong yellow stain on skin and surfaces that is hard to remove.
How long can homemade finger paint be stored, and should it be refrigerated?
Keep it refrigerated in airtight containers and plan on two to four weeks, discarding anything past the fourth week. There are no preservatives in a homemade batch, so mold and off odors can develop even when the paint looks normal. Stir before each use, since it separates in the fridge, and re-check the consistency. Never store it at room temperature, and never sniff-test a batch you are unsure about.
Conclusion
Mix half a cup of cornstarch with a cup of water, tint it into shallow bowls, and drag one finger across scrap paper before anyone starts. If the line holds, lay out thick paper, cover the table, fill the rinse cup, and stay within arm’s reach for the whole messy part. Then put the leftovers in the fridge with a date on them and make the next batch only when the jars run dry.