Making papier mache paste takes two ingredients, one cup of all-purpose flour and two cups of water, and about five minutes of stirring. Warm the mixture for a minute or two and you get a glue that grips paper strips properly; stir it cold and it still works, just weaker. Half a teaspoon of salt is optional, and it buys a few extra days in the fridge.
I have mixed this paste more times than I can count with my own kids at the kitchen table, and the ratio is the entire trick. Too much water and your strips go soggy, the layers slide, and the model slumps before it dries. Get it right and the paste spreads across paper like thick paint and dries to a hard shell.
Small batches matter more than people expect. A single cup of flour covers a balloon pinata or a decent-sized papier mache volcano with paste to spare, and anything you mix beyond that often sits in the fridge until it smells sour and gets thrown out.
Table of Contents
- What You Need
- Step-by-Step: How to Make Papier Mache Paste
- Step 1: Mix the Flour and Water
- Step 2: Smooth and Adjust the Paste
- Step 3: Test and Use the Paste
- Common Mistakes
- Frequently Asked Questions
- What is the best recipe for papier mache paste?
- Can I make papier mache paste without flour?
- How do I make papier mache paste thicker?
- How long does homemade papier mache paste last?
- Is homemade papier mache paste safe for kids?
- Conclusion
What You Need
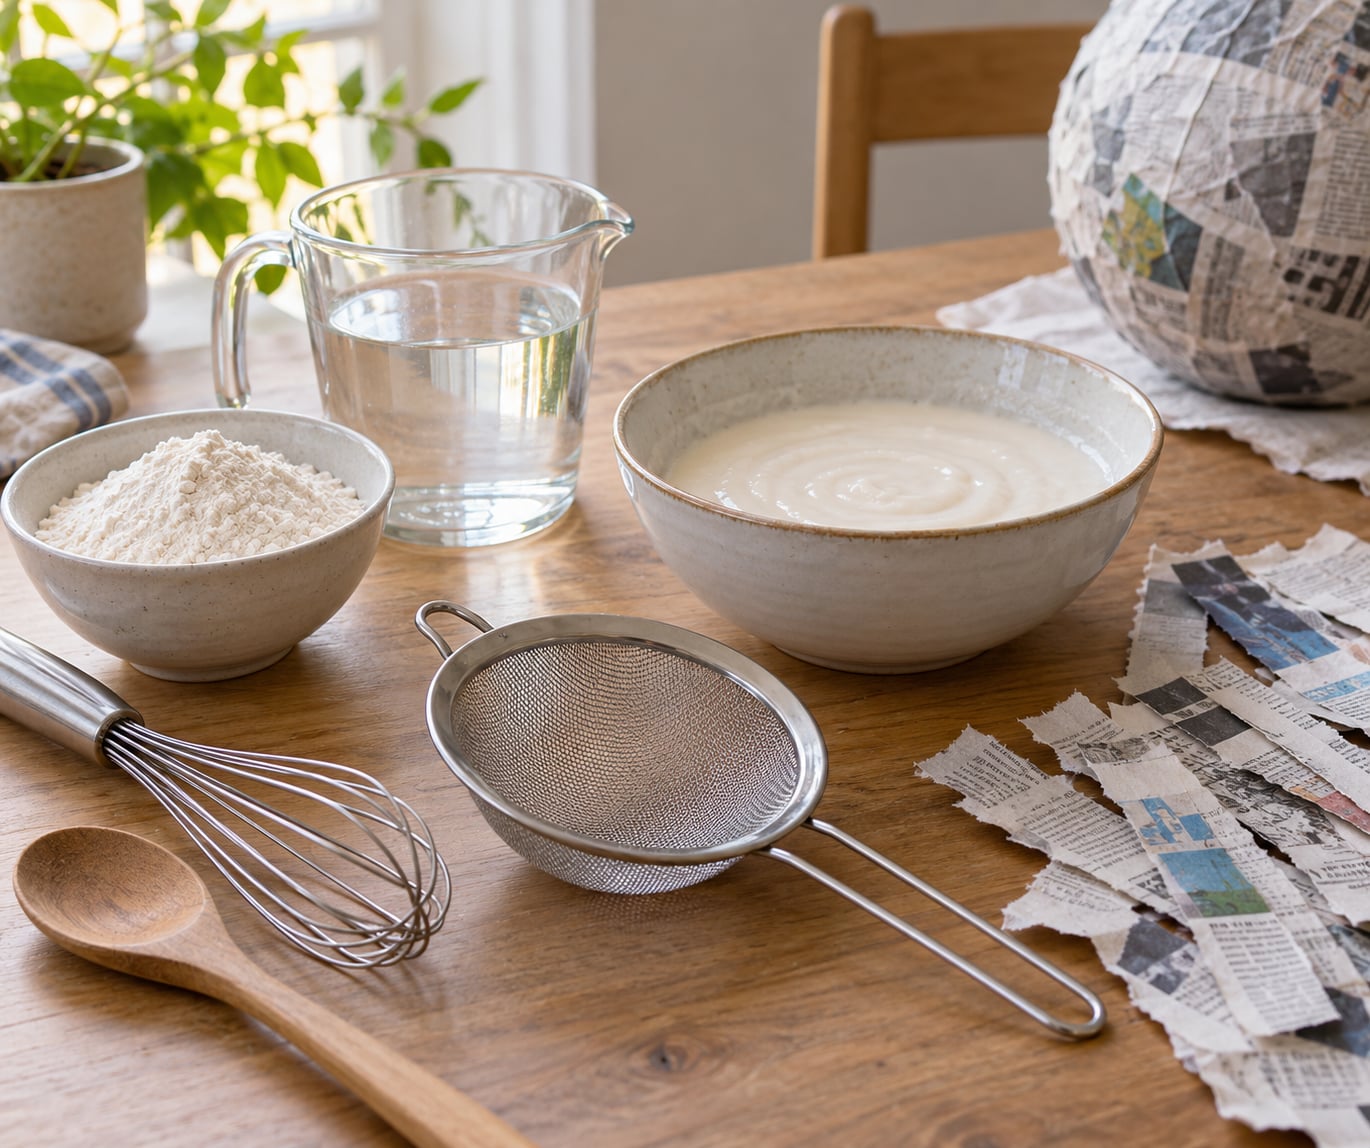
- 1 cup all-purpose white flour
- 2 cups water, plus a little extra for adjusting
- 1/2 teaspoon salt, optional, for a longer shelf life
- 2 tablespoons white PVA school glue, optional, for the strongest batch
- A large bowl with more headroom than you think you need
- A whisk or a sturdy fork, plus a spoon
- A fine sieve or a small strainer, useful if you skip the cooking step
- Newspaper or kraft paper strips, a wide bowl, and a flat brush for dipping
Plain flour gives the smoothest finish. Self-raising flour works, but the leavening leaves a slightly bubbly coating that you will sand down later, and wholemeal flour is too coarse for anything but a rough textured piece.
Flour paste is food-based and nontoxic, which is why it is the default for children’s projects. Two things to keep in mind: anyone with a wheat or gluten sensitivity should not handle wet flour paste, and the same goes for anyone with coeliac disease, so use a cornflour-based mix or diluted glue instead. Pets are the other case. Wet cooked flour paste is not something you want a dog licking out of a bowl, so clear the bowls into the sink and rinse them straight away.
Step-by-Step: How to Make Papier Mache Paste
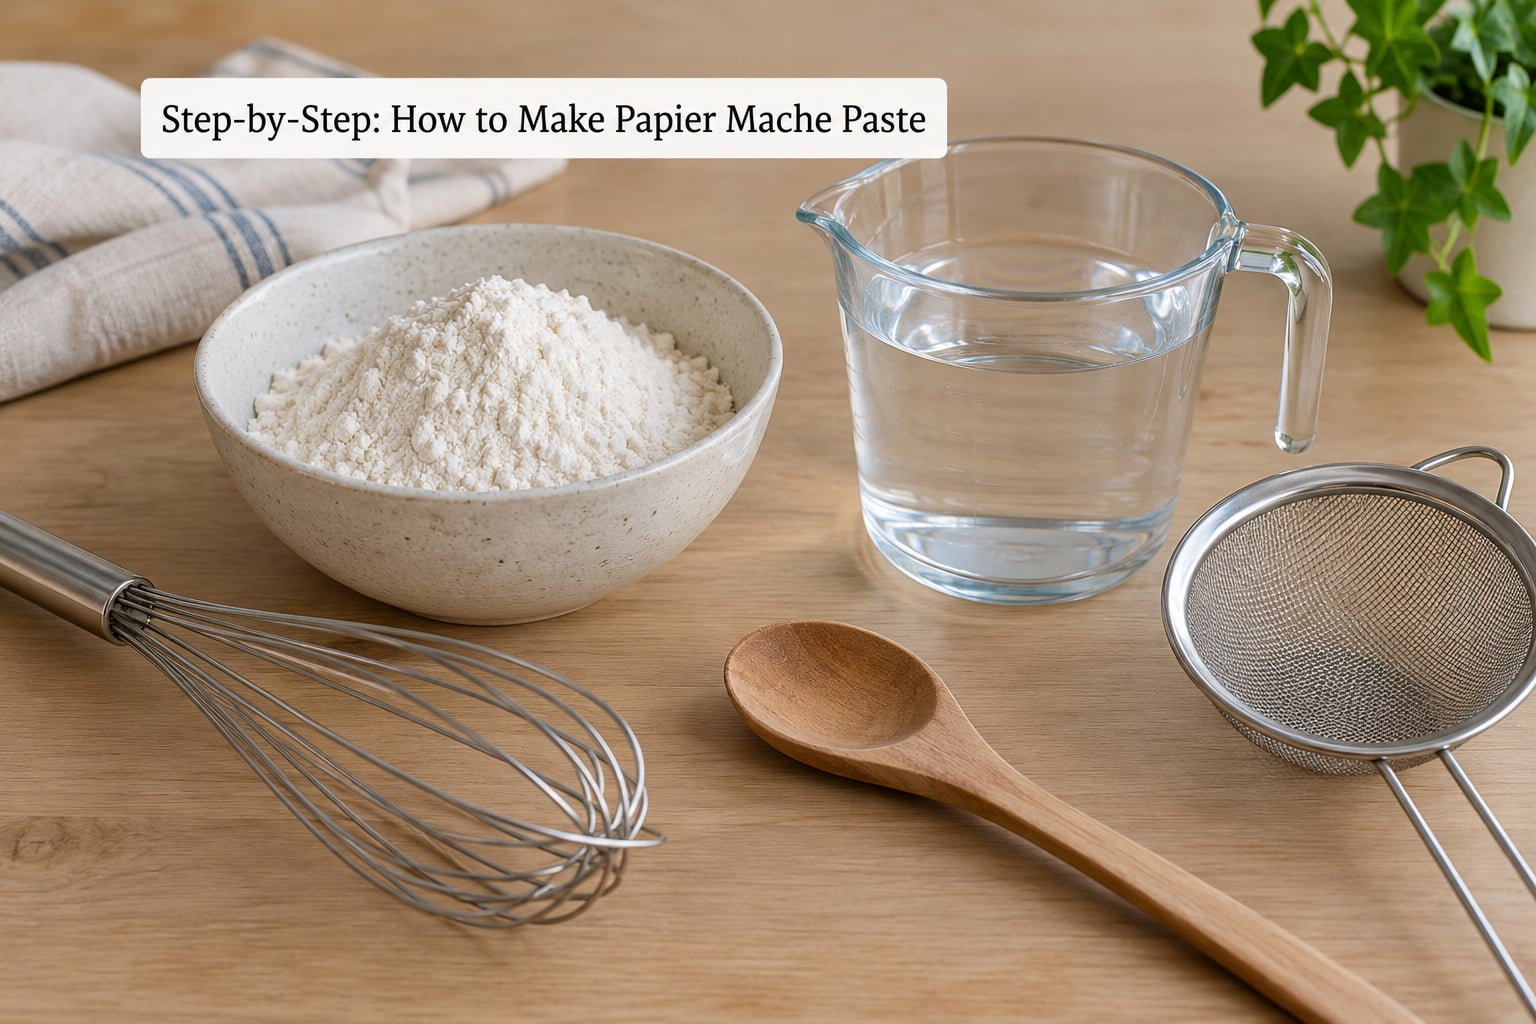
There are three ways to mix this, and they all start the same way. Cold mix is fastest. Microwave is the middle ground and gives a stronger paste in about two minutes. Stovetop is the most reliable and the one I use when the model needs to take some handling.
Step 1: Mix the Flour and Water
Put the flour in the large bowl and pour in roughly half the water. Whisk hard until every bit of flour has disappeared and you have a smooth, thin slurry, then stir in the rest of the water. Add the flour gradually rather than the water, because a slurry made from flour into water lumps far less than water poured onto flour.
How do you know it worked? Tilt the bowl and the mixture should slide off the bottom in one movement with no dry flour clinging to the base or the sides. If you see white streaks in the bowl, keep whisking for another thirty seconds before you add anything else.
For the cold version, this is the paste, minus strength. Push it through a sieve if you can and let it stand for ten minutes so the flour hydrates fully.
Step 2: Smooth and Adjust the Paste
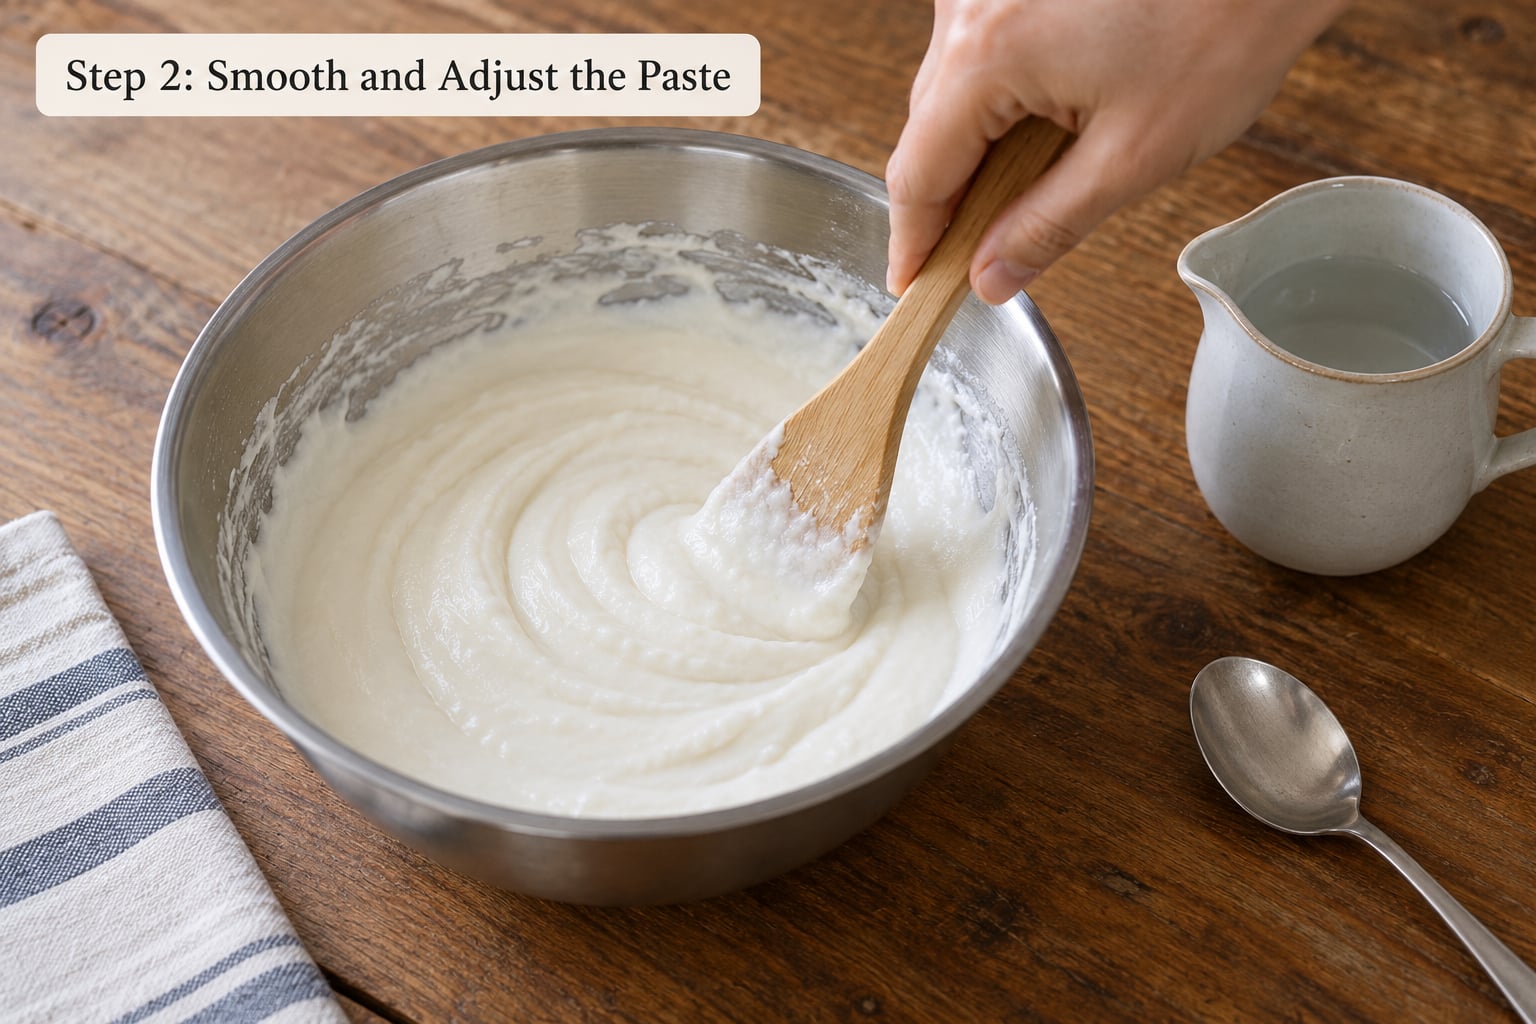
For the microwave method, put the bowl in uncovered and heat in bursts of 30 to 40 seconds, stirring between every burst. You will see it start to thicken and go from watery to the consistency of thick paint, and small bubbles will break on the surface. Two or three bursts is usually enough. Never microwave a sealed bowl, and expect it to be seriously hot afterwards.
On the stovetop, use the lowest heat you have and stir constantly with a whisk or wooden spoon. Two minutes of steady stirring gives the same result and gives you better control over the thickness.
Now adjust. If the paste falls off the spoon in a thin stream, add water a teaspoon at a time and stir, then wait a minute and check again. If it sits on the spoon like wet cement, dust in one tablespoon of flour and whisk. Small steps beat big ones, because you cannot take water back out of a paste that has already set.
Adding two tablespoons of white PVA glue at this point, before the paste cools, gives you the strongest homemade batch there is. That is the recipe art teachers tend to quote: one cup flour, one teaspoon salt, two tablespoons glue, and the water.
Step 3: Test and Use the Paste
Lift a spoon and tilt it. The paste should fall off in a slow, continuous ribbon, thicker than pancake batter and thinner than yoghurt. Then rub a dab between two fingers, and you are looking for a silky, non-gritty feel. Grit means unhydrated flour and it will show up as rough patches on the finished model.
Tear your paper into strips roughly the width of your fingers, dip a strip into the paste, and drag it along the edge of the bowl to knock off the excess. Too much paste is the single most common reason models stay soft, so wipe the strip rather than pouring.
Lay the strips over your form in overlapping directions, press out air pockets with your fingertips, and let each layer dry before adding the next. Good airflow helps more than heat, so a fan pointed at the project beats a hair dryer every time.
For children, this paste is safe on skin, but wash hands afterwards, keep bowls off low tables, and expect a mess on clothes because there is no way around it.
Common Mistakes
Most papier mache problems trace back to the paste, not to the paper. These are the five I see again and again, and what each one needs.
1. Lumpy paste. The cause is almost always adding all the water at once or not whisking long enough. Fix it by pushing the lumps through a sieve, or press them flat against the side of the bowl with the back of a spoon and stir in more water. Prevention beats repair here, so make a slurry first.
2. Paste that is too thin and soaks the paper. Soggy strips never firm up and the layers slide apart as they dry. Add flour one tablespoon at a time, or put the bowl back over low heat and stir for a minute to drive off the extra water. Once paper is soaked, that layer is usually a write-off, so start the form again.
3. Paste that dries too fast and cracks. Thin coats on a warm or dry surface dry almost on contact and the strips lift at the edges. Work in smaller sections, lay a sheet of plastic loosely over the top between coats, and move the project somewhere cooler and less breezy while it sets.
4. Paste that drags and clogs the brush. Diluted PVA goes stringy and sticky once it warms up, which pulls the paper instead of laying it down. Thin it with a splash of water and clean the brush often, or switch to the flour paste, which stays smooth and rinses off tools in seconds.
5. Overmixing after the paste thickens. Beating a cooked paste whips air into it, and air bubbles turn into cracks as the paste dries. Stir gently with a spoon once it reaches the thickness you want.
Two more worth knowing: not letting layers dry fully between coats gives you a floppy model that stays soft for weeks, and leaving mixed paste on the counter overnight gives you a bowl of something that smells sour by morning. Refrigerate any leftovers within a day, covered, and expect around three to five days in the fridge, or a couple of months in the freezer if you freeze it in a sealed tub. A spoonful of salt, or a few drops of vinegar or clove oil, slows mould down without changing the finish. Nobody can stop mould on an unsealed project in a damp room entirely, which is one reason flour paste is a poor choice if mice or rats live nearby.
Frequently Asked Questions
What is the best recipe for papier mache paste?
The best all-round recipe is 1 cup all-purpose flour to 2 cups water, heated for a minute or two until it thickens. Add 1/2 teaspoon salt to help it keep, and 2 tablespoons of white PVA glue if you want a hard shell that takes handling. The glue version gives the strongest finish; plain flour and water is the cheapest and safest with young children.
Can I make papier mache paste without flour?
Yes. Mix equal parts white PVA school glue and water, about one cup of each, and stir until smooth. It dries clear, hardens better than flour paste and keeps for weeks without refrigeration. You can also use diluted Mod Podge, wallpaper paste, or a cornflour and water mix for anyone avoiding gluten. Each gives a slightly different finish, so pick one and stay with it for a project.
How do I make papier mache paste thicker?
Add flour one tablespoon at a time and whisk until each addition disappears, then check again. Alternatively put the paste back over low heat and stir for a minute or two to cook off excess water. Small steps are the trick, because you cannot thin a paste that has already cooked thick. Aim for a slow ribbon falling off a tilted spoon.
How long does homemade papier mache paste last?
At room temperature, flour paste starts smelling off within a day or two, so do not leave it out. Covered in the fridge it usually keeps three to five days, and six to eight if you added salt. It also freezes well in a sealed tub for a couple of months, though it separates in the fridge and needs a quick whisk before use. Glue-based paste keeps far longer.
Is homemade papier mache paste safe for kids?
Yes. Flour and water paste is nontoxic and widely used in classrooms, which is why it suits crafts with younger children. It is not suitable for anyone with a wheat or gluten sensitivity or coeliac disease, and a glue-based mix is the safer option there. Wash hands after handling, keep bowls out of reach of pets, and let projects dry fully before children put them near their mouths.
Conclusion
Whisk one cup of flour into half the water first, add the rest, and check the thickness before it goes anywhere near a paper strip. Mix a small batch, use it straight away on your papier mache form, and let every layer dry before the next one goes on.