Homemade sidewalk chalk is plaster of Paris mixed with cool water, colored with washable tempera paint, poured into molds and left to harden overnight. The active part takes about five minutes, and one batch usually yields a dozen or so sticks depending on how big your molds are.
That matters because the store-bought box is a treat that disappears in a week. Making it yourself lets you pick the colors, make toddler-sized grips instead of skinny sticks, and keep a batch in the closet for a rainy afternoon. The trick is the ratio, and it is easier than most recipes make it sound.
Knowing how to make homemade sidewalk chalk comes down to two habits: use cool or room-temperature water, never hot, and add the water to the powder rather than the other way around. Everything else on this page follows from those two things.
A few numbers worth having before you start:
- Prep time: 5 to 10 minutes
- Drying time: 18 to 24 hours on the counter, or about 1 hour in the refrigerator
- Yield: roughly 10 to 15 sticks, depending on mold size
- Best window for outdoor use: dry, overcast weather, since chalk fades in direct sun
Table of Contents
- What You Need
- Step-by-Step: How to Make Homemade Sidewalk Chalk
- Mix the Dry Ingredients
- Add the Water and Color
- Pour and Dry the Chalk
- Test and Store the Finished Chalk
- Common Mistakes and Easy Fixes
- Frequently Asked Questions
- What ingredients are best for homemade sidewalk chalk?
- Can I use liquid food coloring in homemade sidewalk chalk?
- How long does homemade sidewalk chalk need to dry?
- Is homemade sidewalk chalk safe for young children?
- How do I make the chalk more washable?
- Can I reuse the extra chalk mixture for another day?
- Conclusion
What You Need
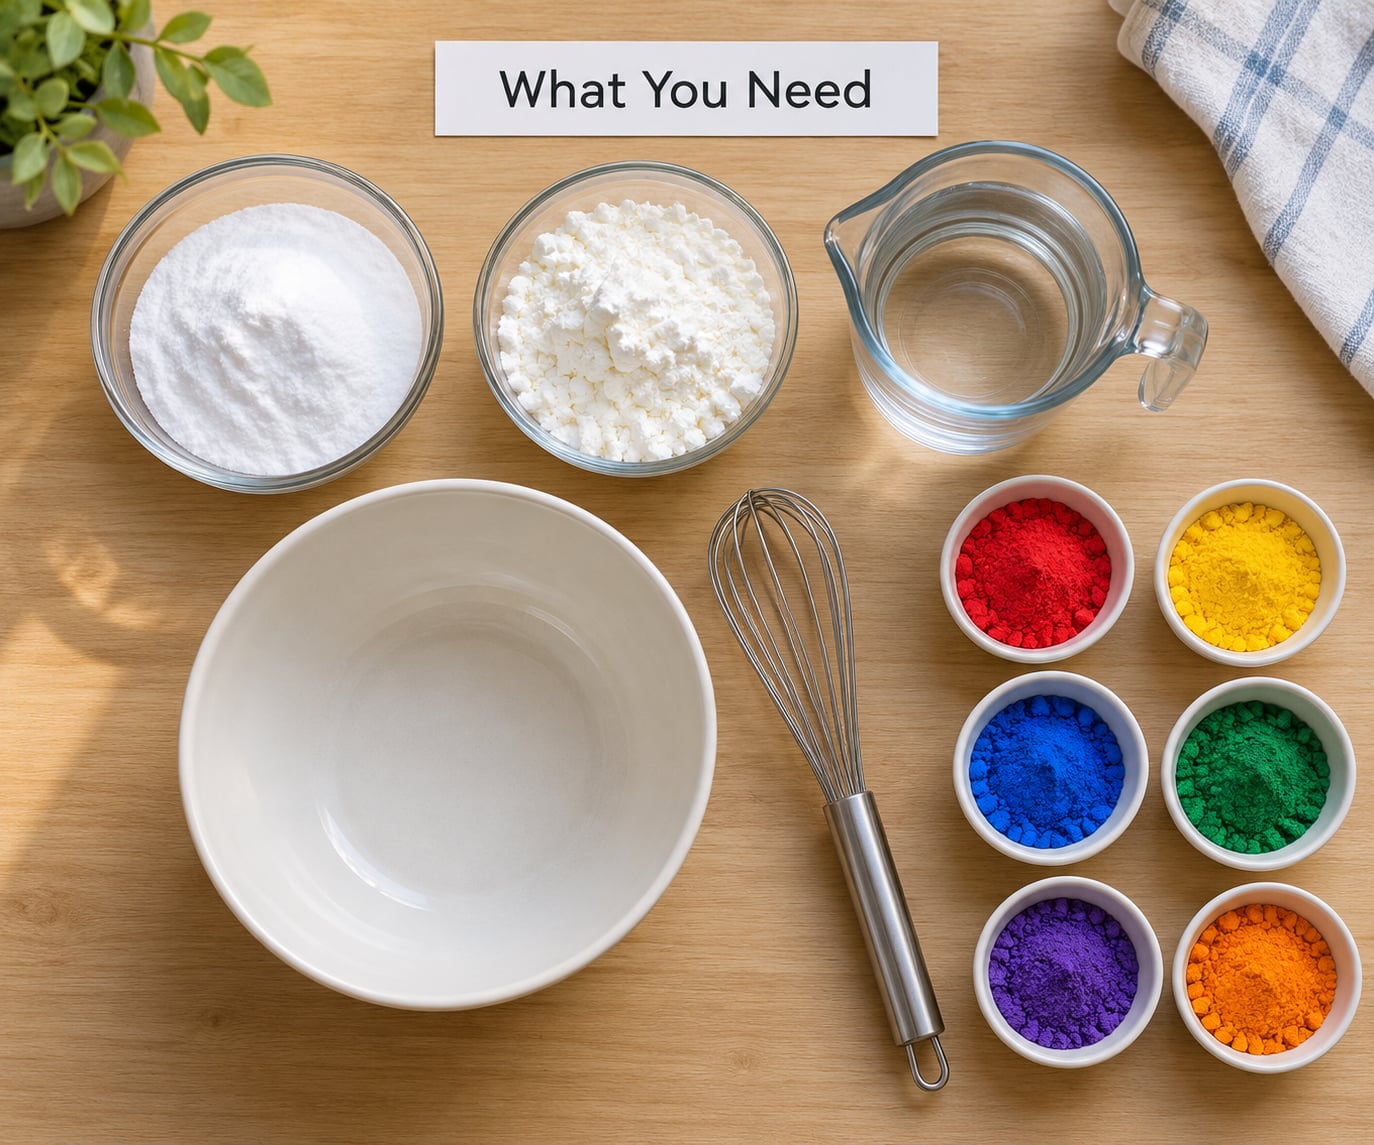
Three ingredients make the chalk itself. Everything else on this list is a tool.
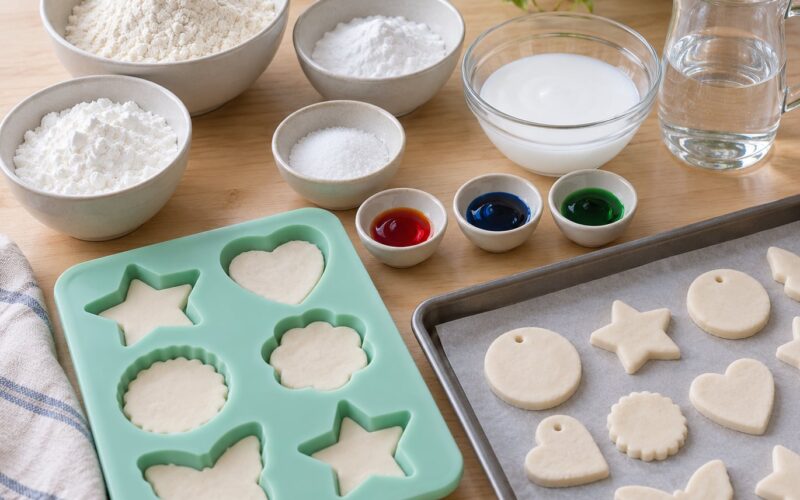
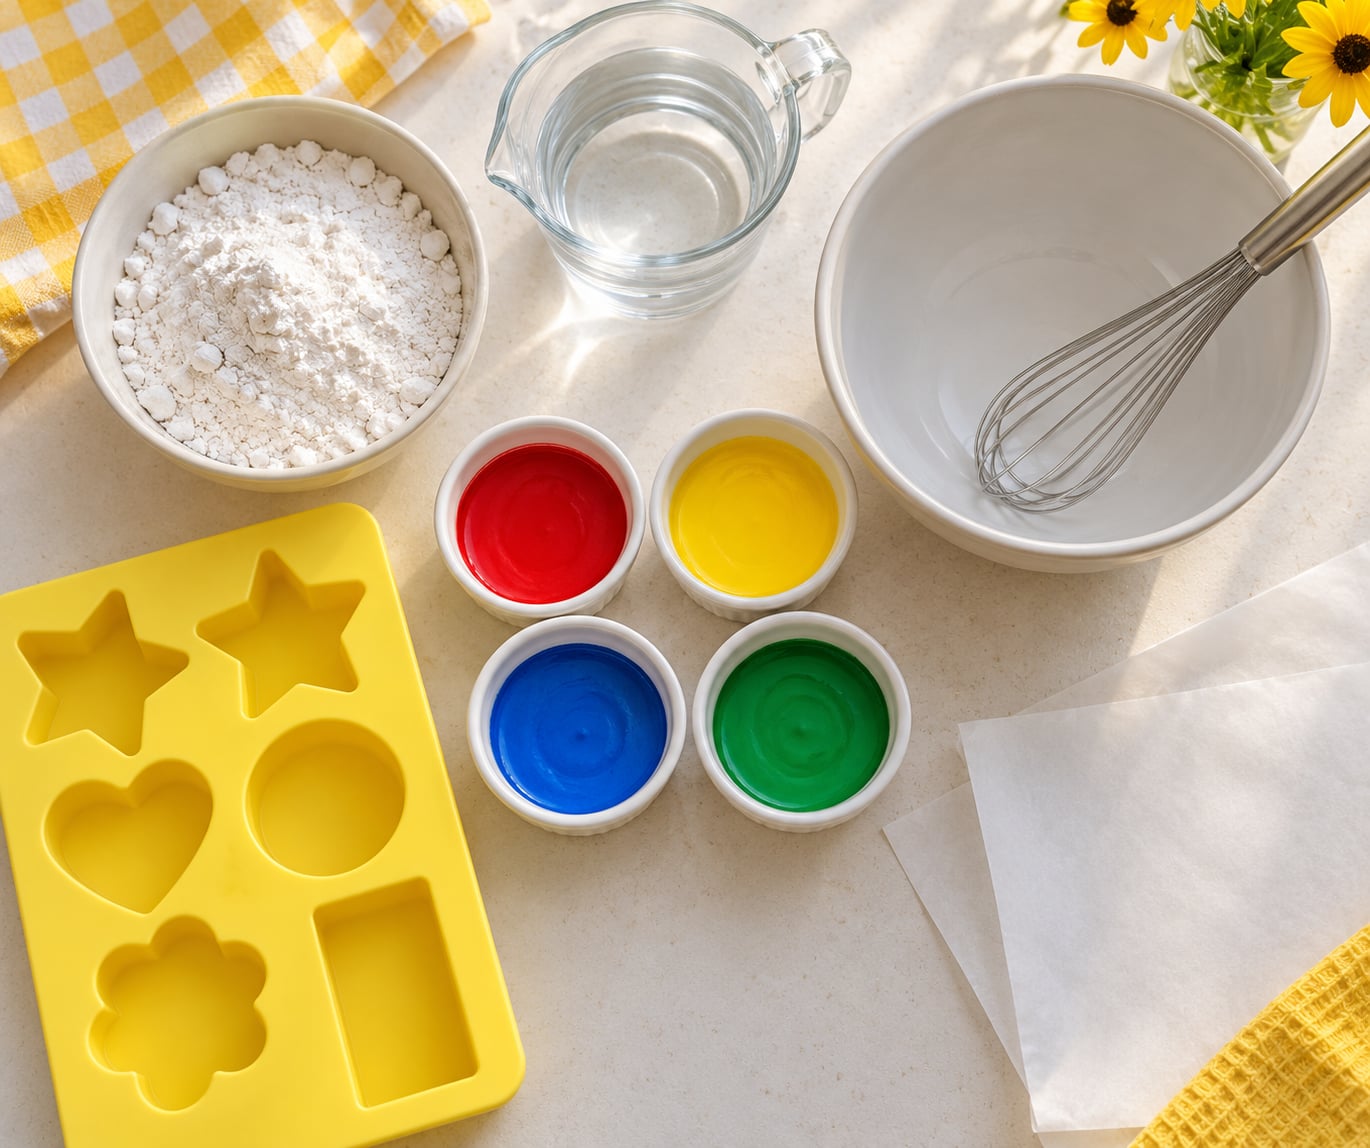
- 1 cup plaster of Paris (calcium sulfate), also sold as molding plaster
- 3/4 cup cool or room-temperature water
- 2 to 4 tablespoons washable tempera paint
- 1 cup more water, held back for adjusting thickness
- 1 teaspoon castor oil or a few drops of dish soap, optional
For the molds and tools, grab whatever of these you already have around the house:
- Silicone molds or an ice cube tray, for standard sticks
- Paper cups or empty toilet paper rolls, for jumbo chalk
- A muffin or cupcake pan, lined with wax paper or parchment
- A mixing bowl, a whisk or spoon, and a spatula
- A baking sheet lined with parchment, if you are making chalk paint instead
- Plain soap or a soft brush, for clean-up
If you cannot find plaster of Paris, it is usually sold in the crafts aisle near gesso and modeling compounds, or in the baking aisle near cornstarch. Molding plaster from a hardware or craft supplier works too, and gives you a longer set time, which is easier to work with.
The ratio is the whole recipe, so here it is mapped to what you will end up with:
| Plaster of Paris | Water | Consistency | What you get |
|---|---|---|---|
| 2 cups | 1 cup | Thick, holds a peak | The sturdiest, longest-lasting sticks |
| 1 cup | 3/4 cup | Milkshake, slow ribbon off the spoon | The all-purpose batch, brightest color |
| 1/2 cup | 1/2 cup | Loose, spreads flat | Soft chalk that wears down fast |
| 1/4 cup | 1/2 cup | Pourable | Chalk paint for brushes, not sticks |
For sticks, stay at or above two parts plaster to one part water. Anything runnier sets into something that crumbles the first time a toddler drags it across concrete.
Step-by-Step: How to Make Homemade Sidewalk Chalk
Mix the Dry Ingredients
Start by sifting the plaster of Paris. Pour it into the bowl and run a whisk through it, or push it through a fine mesh strainer with the back of a spoon. That single minute removes the lumps that would otherwise show up in the finished chalk.
If you want a slightly softer, more kid-friendly stick, stir in a teaspoon of castor oil or a squirt of dish soap with the dry powder. It slows the set a little and makes the surface smoother under small hands.
Add the Water and Color
Measure the cool water first, then add it to the dry mix a couple of tablespoons at a time, whisking after every pour. Adding water to powder is what keeps the mixture smooth; the reverse order is how you end up fishing dry pockets out of a bowl of lumps.
Stop when a ribbon falls slowly off the whisk and holds its shape for a second before disappearing. Then mix in the tempera paint, 2 tablespoons to start, and add more a teaspoon at a time until the color looks like the color you want wet.
Use cool water, never hot. Hot water speeds up the chemical set and the mixture can go thick and lumpy in the bowl before you have poured it. Warm water is fine if the pot is off the heat and has cooled for a few minutes.
Food coloring works, but it gives you thinner, paler colors than paint. For strong color on concrete, tempera wins, and washable tempera keeps clothes and fingers mostly clean. Most guides to how to make homemade sidewalk chalk get the water temperature wrong, and that one detail ruins more batches than the color does.
Pour and Dry the Chalk
Pour the mixture into your molds until each one is about a quarter inch deep, which makes sticks that are easy to grip and easy to snap off the tray. Tap the sides of the mold a few times to release air bubbles, then scrape the surface flat with a spatula so the pieces dry evenly.
Set the molds somewhere flat and dust-free for 18 to 24 hours. A shallow tray dries faster than a deep tube, and a dry, breezy room beats a humid one. If you would rather not wait a full day, the refrigerator works: the low moving air sets the chalk in roughly an hour.
Do not test a piece at the two-hour mark. Plaster that feels solid on the surface is still soft in the middle, and popping it out then is how you end up with a broken half-stick.
Test and Store the Finished Chalk
Pop the pieces out by flexing a silicone tray gently or by pushing from underneath onto your palm. Expect a few to need a nudge with a butter knife along the edge. Break any long sticks down into easy-to-hold lengths, roughly three inches for a preschooler and five or six for an older child.
Run one stick across a scrap of concrete before handing the batch out. It should leave a solid, even line and a little dust on the surface, not a watery smear.
Store the finished pieces in a sealed plastic tub or a zip bag with a silica pack if you have one, somewhere away from humidity. Stored dry, they keep for months and are still worth handing out in the middle of winter.
For clean-up, hose the sidewalk with plain water and sweep the runoff into a storm drain only if your local rules allow it. Scrub any marks off a porch or wall with warm water and a little dish soap while the paint is still fresh.
Common Mistakes and Easy Fixes
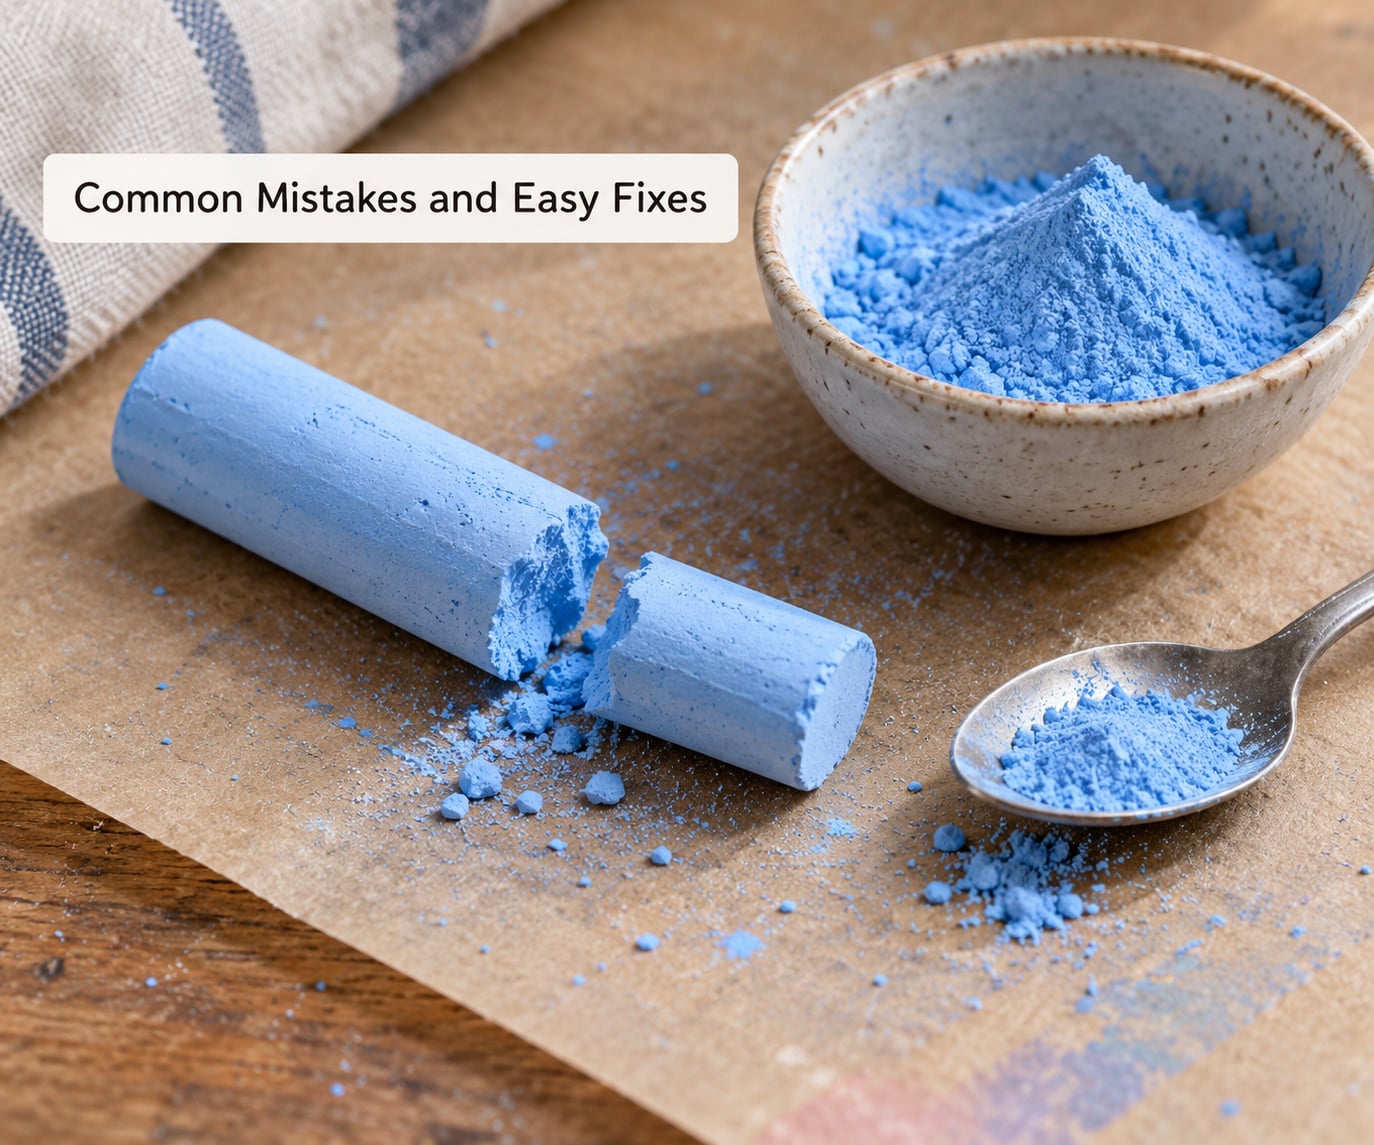
Nearly every disappointing batch comes down to water, color or impatience. Here is what went wrong and what to change.
The mixture is soupy. Too much water is the most common failure, and it cannot be undone once poured. Use less water next time, or add a spoonful of dry plaster and whisk it in. If you are already pouring, fill the molds only a quarter inch deep so you get thin, short sticks rather than flat, useless puddles.
The chalk crumbles as soon as a child picks it up. That is a drying problem, not a mixing problem. Pieces that snap in half were probably turned out at an hour, or set in a humid room. Wait the full 24 hours, and use a heavier ratio such as two cups of plaster to one cup of water for next time.
The color looks muddy or pale. Two causes: too much water diluting the pigment, and too little paint. Add another tablespoon of tempera to the bowl before pouring, and judge the color wet, since it dries a shade lighter. For true primary colors, mix each one in a clean bowl rather than reusing a tinted one.
The chalk smears instead of dusting. The mix was too loose to set properly. Next time, pull back a quarter cup of water per cup of plaster, and let the pieces cure a full extra day before the first use.
Sticks break out of the mold in pieces. Silicone molds flex and crack the chalk as you push it out. Chill the tray in the freezer for 15 minutes first, pop from underneath rather than prying at the edges, and pop pieces out one at a time instead of tipping the whole tray.
Sticks are fine, but they vanish after one afternoon. Expect about a week of heavy use per stick, and make a second batch rather than adding more water to the first. More water makes chalk that wears out faster, not chalk that lasts longer.
Two safety habits are worth repeating. Keep the mixing, the pouring and the breaking for adults, since plaster of Paris dust is a genuine concern for small children and for anyone with asthma, and pick a ventilated spot to work in. And never rinse plaster slurry down the sink; it sets inside the pipe and blocks it. Scrape it into the trash, then rinse the bowl.
Frequently Asked Questions
What ingredients are best for homemade sidewalk chalk?
The base is plaster of Paris, also sold as molding plaster or calcium sulfate. For one batch, use 1 cup plaster, 3/4 cup cool water and 2 to 4 tablespoons of washable tempera paint. Water gives the color, tempera gives the pigment, and a teaspoon of castor oil makes a softer stick for small hands. Store-bought chalk crushed with a little water also works if you have no plaster.
Can I use liquid food coloring in homemade sidewalk chalk?
You can, and the result is fine, just paler. Food coloring has a thinner pigment load than tempera paint, so expect a softer shade that fades faster in direct sun. Use more drops than you think, add them to the water before it meets the plaster, and let the color sit for a minute to see the true shade. Tempera paint is the better choice for bold outdoor lines.
How long does homemade sidewalk chalk need to dry?
Plan on 18 to 24 hours on a counter at room temperature. Shallow molds such as an ice cube tray dry faster than deep tubes or cups. A refrigerator cuts that to about an hour, because the moving air sets the surface evenly. The chalk is ready when it feels solid all the way through, not just on top, and it should come out of the mold in one clean piece.
Is homemade sidewalk chalk safe for young children?
The chalk itself is non-toxic once dry, since plaster of Paris and washable tempera paint are both low in toxicity. The process is the part to supervise. Plaster of Paris is a fine powder that irritates lungs and eyes, so let an adult do the measuring, mixing, pouring and breaking, and have toddlers join in once the sticks are hardened. Work outdoors or in a ventilated room, and wash hands afterward.
How do I make the chalk more washable?
Use washable tempera paint rather than acrylic or craft paint, and keep the water on the lower end of the ratio so more plaster ends up in the stick. Rinse marks with plain water while they are fresh, or with warm water and a little dish soap if they have already dried. Chalk on a sidewalk lifts easily; a dusty residue on fabric comes out with a brush, but expect a faint tint on dark clothing.
Can I reuse the extra chalk mixture for another day?
Not once it has been mixed with water. The plaster sets chemically, so a thin batch in the bottom of the bowl will be solid within a few hours and will not stir back into a usable paste. What you can do is mix only what will fit your molds, and if a batch turns out bigger than expected, spoon the remainder into small silicone compartments and let it set as extra pieces.
Conclusion
Start by sifting 1 cup of plaster of Paris, then add 3/4 cup of cool water a little at a time until the mix falls off the whisk in a slow ribbon. Color it with a couple of tablespoons of washable tempera, pour it quarter inch deep into molds, and give it a full day before anyone tries to pop a piece out.
That is the entire method. Everything else on this page exists to fix a batch that went wrong, so make the first one as a test pour, and once you know how the finished sticks behave in your own hands, you can scale it up for a whole summer of sidewalk art in 2026.