How to make non-toxic art supplies at home is easier than most people expect, because the recipes are basically flour, cornstarch, salt, sugar, water and colouring you already own. Below are six projects — finger paint, play dough, sidewalk paint, crayons, paper clay and paste — that each take about ten minutes and no special equipment.
One thing to sort out before you start: non-toxic and edible are not the same label. Non-toxic means a small amount is not harmful if it is touched or licked. Edible means every single ingredient is food. Most mixes on this page are the first, not the second, and I label each one so you know which you are making.
The honest pitch for making your own is control. You can read the whole ingredient list, skip synthetic colourings and preservatives, and rule out anything your child reacts to. It also means the tub that has been rolling around a craft room with a cracked lid is not in the drawer.
What you trade for that is shelf life and consistency. Homemade paint lasts days, not months, and it goes thin if you leave it. Plan small batches, mix fresh, and you will spend far less time throwing out a slimy jar than the store-bought version ever cost you.
Table of Contents
- What You Need
- Pantry staples
- Basic tools
- Protective supplies
- Optional: what to look for when you buy instead
- Step-by-Step
- How to Make Washable Non-Toxic Finger Paint
- How to Make Simple Play Dough
- How to Make Sidewalk Paint
- How to Make Crayons at Home
- How to Make Air-Dry Paper Clay
- How to Make Simple Paper Paste
- Common Mistakes
- Safety Rules for Kids’ Art Supplies
- Frequently Asked Questions
- What is the easiest way to make non-toxic art supplies at home?
- Are homemade art supplies actually non-toxic?
- Can I use flour, cornstarch, or baking soda in place of commercial art materials?
- How long do homemade finger paint, play dough, and paste stay usable?
- What materials are best for children with allergies or sensitive skin?
- When should parents buy certified supplies instead of making them at home?
- Conclusion
What You Need
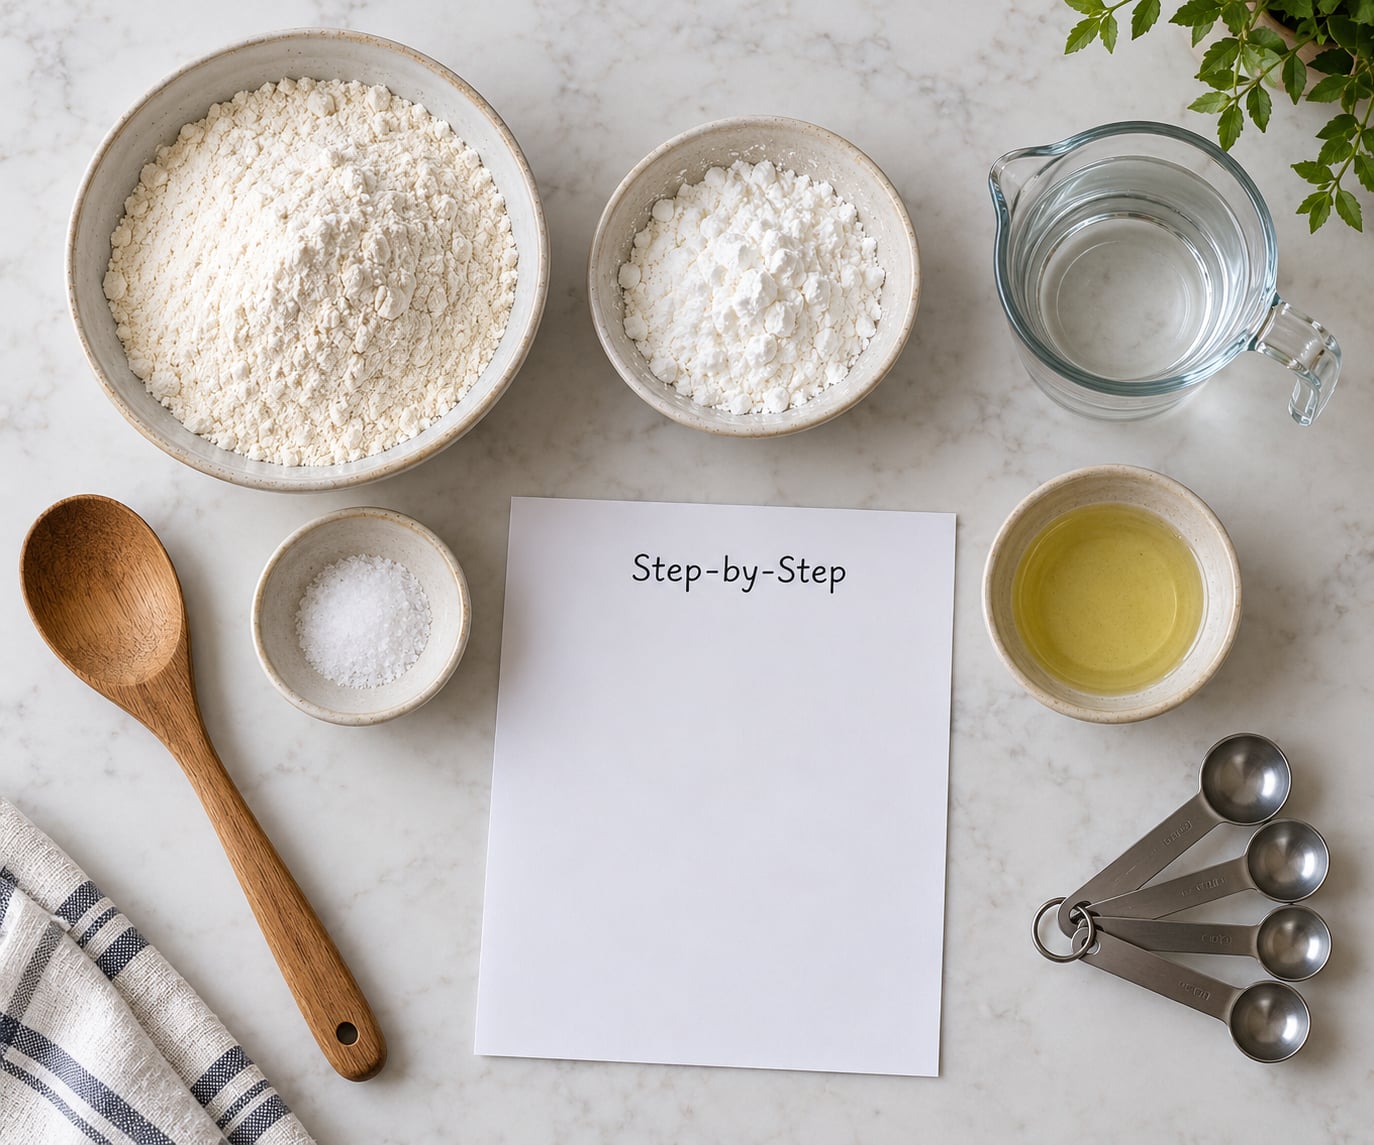
Everything here comes from a kitchen cupboard, a craft drawer, or the hardware store shelf. If you have flour, water and salt on hand, you can make the first two projects before you buy anything at all.
Pantry staples
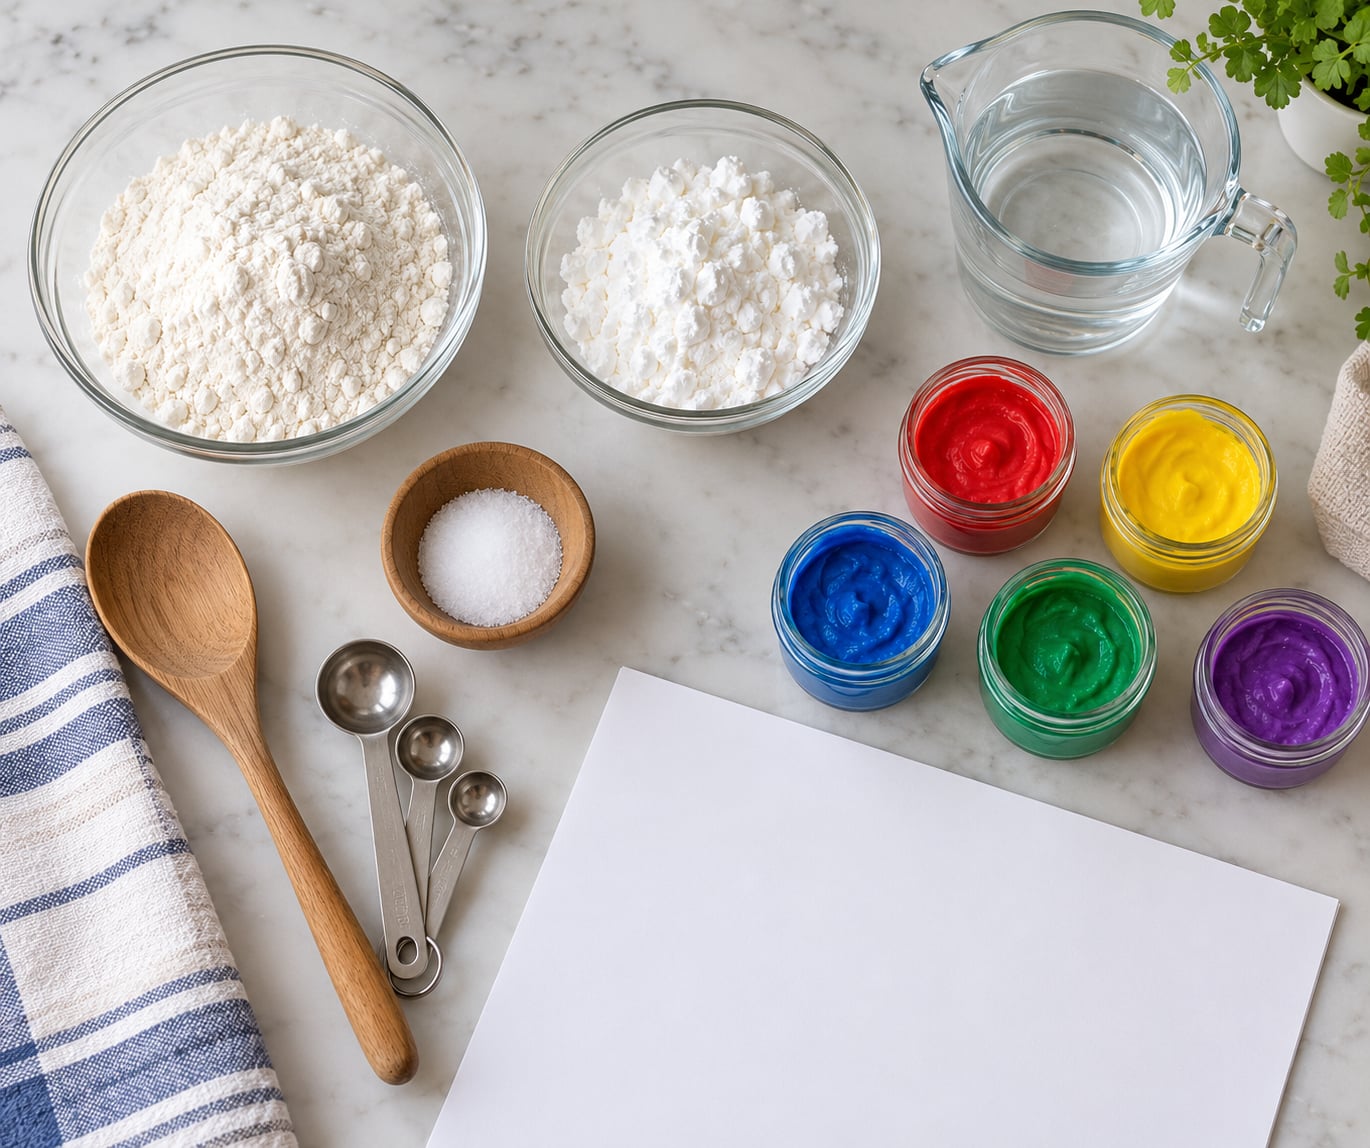
- Plain flour — the workhorse binder for cooked finger paint and salt dough.
- Cornstarch — gives a clearer, thicker no-cook paint and smooths out lumps.
- Salt — a natural thickener and a mild preservative in play dough.
- Sugar — helps paint spread and keeps dough pliable for longer.
- Water — warm for cooking, cool for mixing.
- Food colouring, liquid watercolours, or vegetable purees — for colour. Food colouring gives the brightest result; purees give the most natural one.
- Paper scraps, salt, or plain flour — filler for air-dry paper clay.
- Non-toxic crayons and wax crayons — for remelting, never for a baby who mouths things.
Basic tools
- A whisk and a rubber spatula. A fork works in a pinch.
- A small saucepan for the cooked recipes.
- Measuring cups and spoons, a rolling pin, and a muffin tin for portioning.
- Moulds for crayons: silicone ice-cube trays, an old muffin pan, or washed-out yoghurt tubs.
- Old jars with lids, or squeeze bottles, for storing finished supplies.
Protective supplies
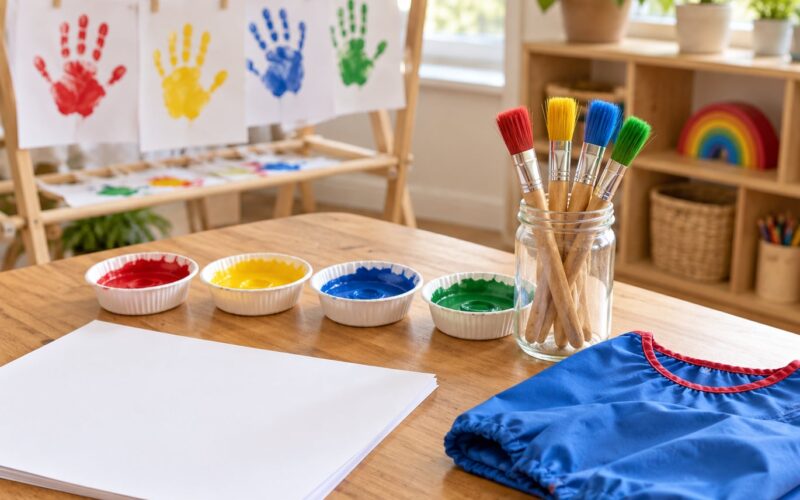
- A smock or an old shirt, and a tablecloth you do not love.
- Newspaper or a washable sheet under the work surface.
- A drying rack or scrap paper taped down flat — wet paper curls at the edges.
- Non-toxic wipes and a damp cloth for hands and surfaces.
Optional: what to look for when you buy instead
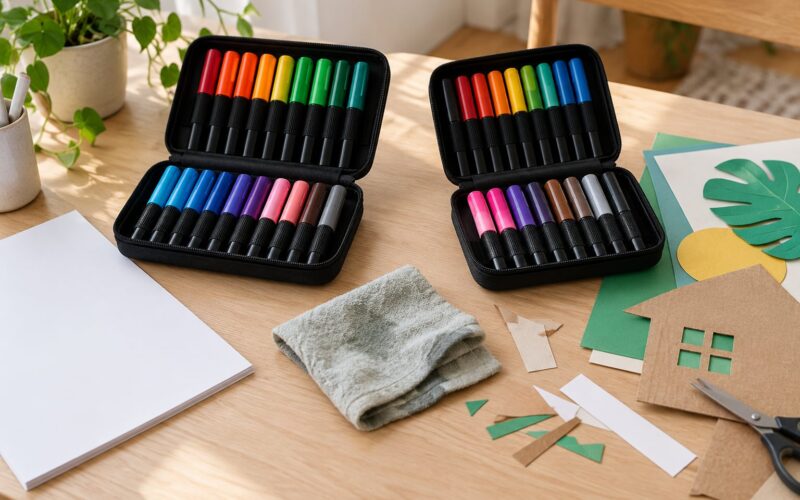
If you buy a supply rather than make it, look for two things on the package. The AP seal means an independent laboratory evaluated the product against safety standards, and an ASTM D-4236 label means each label lists the ingredients plus a warning about what the product does and does not contain. Those two together are a stronger signal than the word “non-toxic” printed on its own, which is not regulated the way people assume.
Step-by-Step
How to Make Washable Non-Toxic Finger Paint
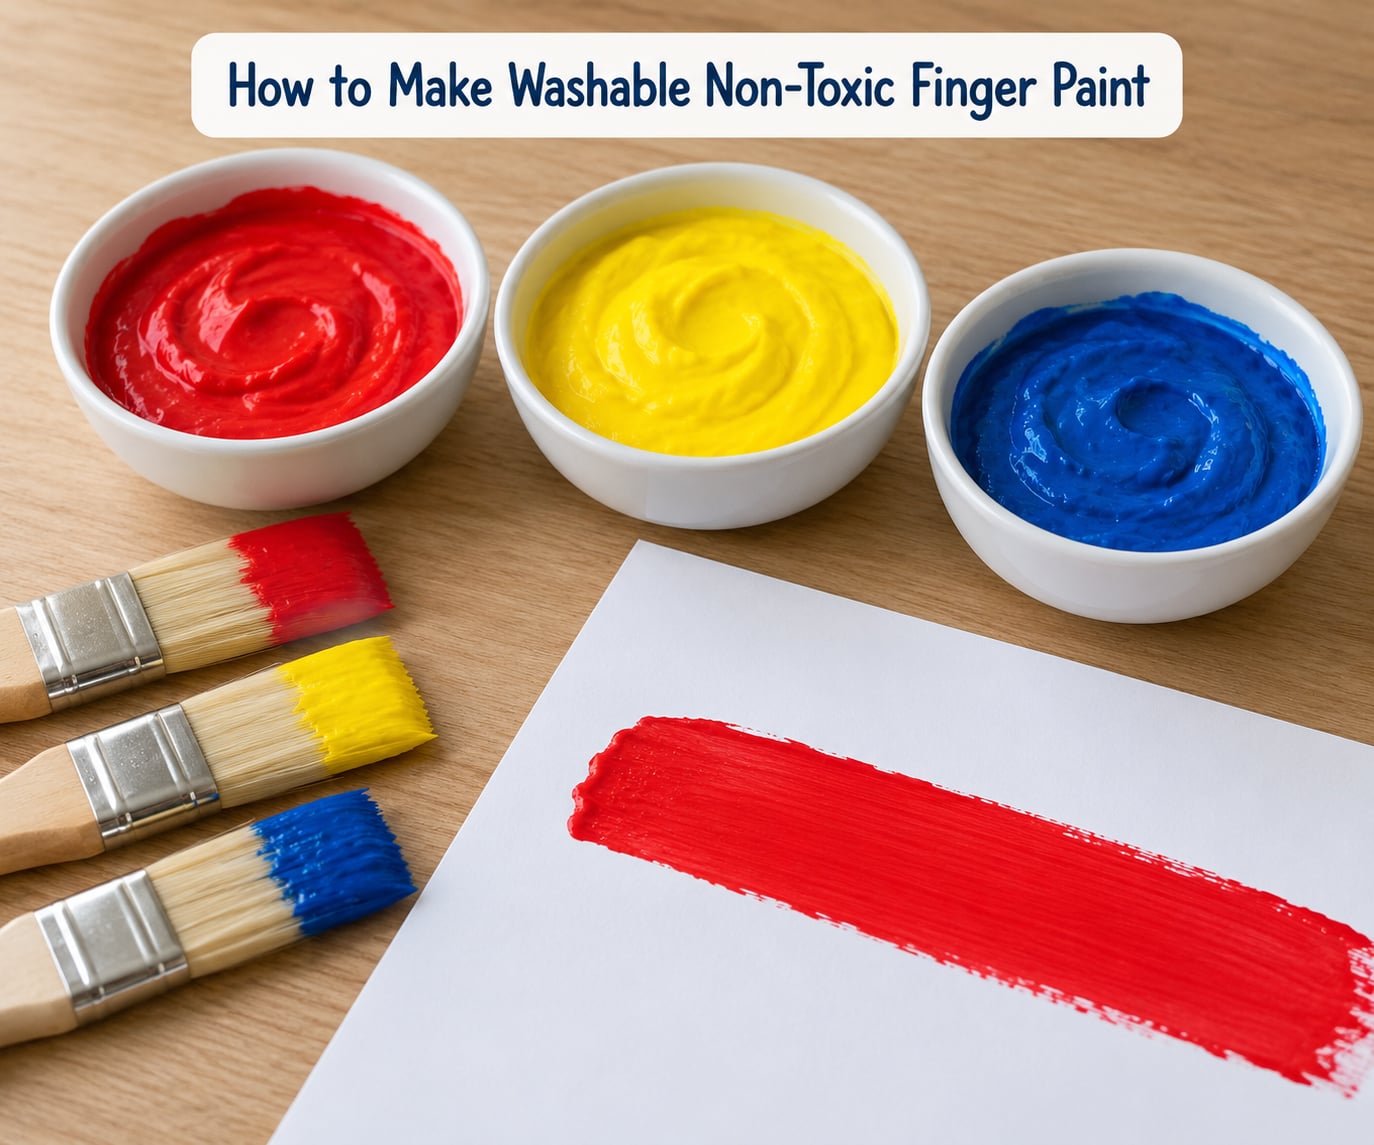
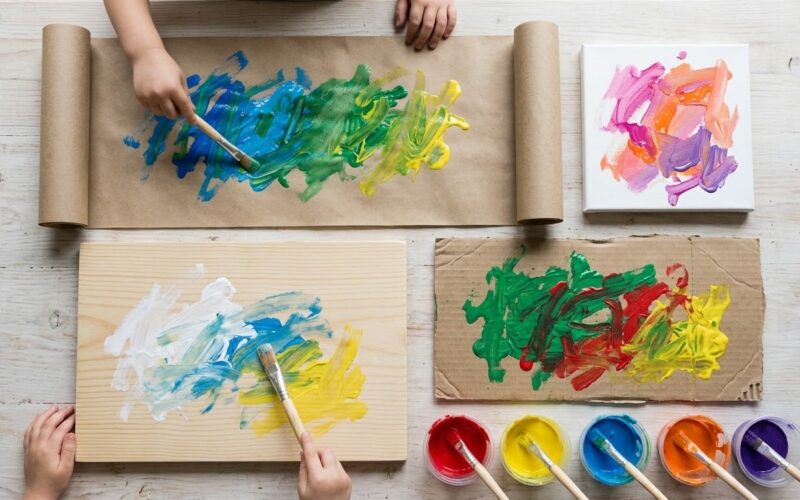
The simplest version is a two-to-one ratio of water to flour, cooked into a thin paste and coloured. It rinses out of most surfaces, it costs almost nothing to remake, and it is the batch I make most often.
Ingredients: 1 cup plain flour, 2 cups water, half a teaspoon of salt, a teaspoon of sugar, food colouring or a cooked vegetable puree.
- Combine the flour, salt and sugar in a saucepan and whisk in the water until no dry pockets are left.
- Cook over medium heat, stirring constantly, for two to three minutes until the mixture thickens to the texture of thin yoghurt.
- Cool it down completely. A warm pot will thin again as it sits, and a hot mixture stains more.
- Colour it a drop at a time with food colouring, or fold in two tablespoons of cooled puree for a softer, natural shade.
- Test the consistency by lifting the spoon. It should fall slowly in a ribbon, not run off in a thread and not sit in a stiff glob.
- Try a stripe on scrap paper. If it runs, add a spoonful of flour mixed into a little water; if it drags, add water a teaspoon at a time.
- Portion it into small jars or a muffin tin so each child gets their own colour.
You know it worked when the stripe dries matte within a few minutes instead of pooling at the edge, and a damp cloth lifts most of it while it is still fresh.
Storage: airtight in the fridge for two to three days. If it smells sour, has fuzz on top, or has gone watery and separated, bin it rather than skimming the surface.
How to Make Simple Play Dough
Cooked dough holds its shape and stays usable for weeks, which makes it the version worth the fifteen minutes. The no-cook version is fine for a single afternoon if you need something now.
Cooked ingredients: 1 cup plain flour, half a cup salt, two thirds of a cup water, one to two tablespoons of vegetable oil, and food colouring.
- Mix flour and salt in a bowl, then add the oil and rub it through with your fingertips until it looks like damp sand.
- Add the water a little at a time, mixing with a spoon, until the dough clumps and pulls away from the sides.
- Knead on a clean surface for two minutes until it is smooth and no longer cracks at the edges.
- Colour it by kneading a few drops of food colouring into a small piece first, then working that piece through the rest.
No-cook option: mix 1 cup flour with half a cup salt and enough water to make a soft, slightly tacky dough. It is usable the same day and will dry out faster.
You know it worked when a rolled-out piece holds a clean edge, and a pressed thumbprint springs back partway rather than staying as a deep dent.
Storage: an airtight tub at room temperature for one to three weeks. Press a damp cloth against the surface if it starts to look cracked, and add a drop of water during kneading to soften it. Early childhood educators often keep a damp towel over the dough tub for the same reason.
How to Make Sidewalk Paint
Sidewalk paint is finger paint with more body, so it survives a breeze and a slightly damp surface. Paint outside only when you have a way to rinse the pavement, because pavement dyes are stubborn.
Ingredients: 1 cup plain flour, 2 cups water, a teaspoon of salt, food colouring, and up to half a cup of fine sand for extra grip.
- Whisk the flour and water together in a bowl until smooth, or use leftover cooked finger paint from the recipe above.
- Thicken it until a spoon dragged across the bottom of the bowl leaves a channel that fills back in slowly.
- Stir in sand if the concrete is rough and slick in wet weather.
- Colour generously, since outdoor light washes out thin paint.
- Test on a damp patch of pavement. The colour should spread under the brush and stay put, not run downhill.
You know it worked when the test patch keeps its colour after a minute and lifts off in a flake rather than leaving a wet film that turns to powder later.
Storage: a lidded tub for a day or two. Rinse the pavement with water as soon as the paint dries, and keep sand out of the rinse water so it does not go down a storm drain.
How to Make Crayons at Home
Melted crayons make chunky, wobbly crayons that are fine for big colouring-in and terrible for writing lines. The trick is moulds with a small round cavity rather than the flat ice-cube tray most people reach for.
You need: broken non-toxic crayons, wax crayons or a beeswax block, a mould, and an old baking tray to catch drips. Melting is the only hot step in this guide and it is an adult job.
- Sort the wax by colour so one red does not turn a whole batch pink.
- Fill the mould about two thirds full. Crayons shrink slightly as they cool, so overfilling leaves a dome you cannot hold.
- Melt at low heat, stirring, or melt in a bowl set over hot water so nothing scorches. Crayons smoke quickly if the heat is high.
- Pour off any skin or debris floating on the top with a spoon before it sets.
- Cool undisturbed for an hour, then flex the mould to release.
You know it worked when the crayon comes out firm and holds an edge, without a dull, brittle outer ring where the wax cooled fastest.
Safety: molten wax burns. Children do not handle the pot, the mould, or the crayons until they are stone cold, and a toddler who mouths things should skip melted wax entirely and use solid crayons instead.
How to Make Air-Dry Paper Clay
Paper clay is pulp bound into a dough. It dries hard enough to sand and paint, which makes it the one homemade material that behaves like a real sculpting medium.
Ingredients: 1 cup torn paper, 1 cup warm water, 1 cup plain flour, and a spoonful of white glue if you want it extra firm.
- Soak the paper in the warm water for an hour, then blend or beat it until it is pulp with no lumps.
- Squeeze out the excess water until the pulp is damp but not dripping.
- Mix in the flour a bit at a time until the clay holds a shape without cracking.
- Work it on a clean surface for two minutes to even out the texture.
You know it worked when a rolled coil holds together and the surface is smooth rather than fibrous. Hairline cracks forming as it dries mean the mix was too dry while forming; add a little water and knead again.
Drying and storage: two to three days at room temperature, longer in humid weather. Turn pieces over halfway so the underside dries too. Covered, unused clay keeps for a few weeks in the fridge.
How to Make Simple Paper Paste
A cooked flour paste gives a smooth, brushable glue that does not go tacky halfway through a collage.
Ingredients: half a cup plain flour, one and a half cups water.
- Stir the flour into a third of the water until you have a smooth, lump-free slurry.
- Heat the remaining water to a simmer, then pour it over the slurry while whisking.
- Cook the mixture over medium heat for one to two minutes, stirring, until it is thick enough to slowly slide off the spoon.
- Strain it through a fine sieve into a clean jar.
- Cool before using, and thin with warm water if it has stiffened.
You know it worked when it runs off a brush in an even ribbon and dries clear rather than forming a white, floury film.
Storage: a sealed jar in the fridge for two to three days. Cooked paste is the fastest-spoiling thing in this guide, so make the smallest amount you can use in one session and throw the rest away.
Common Mistakes
Almost every failed batch traces back to one of these seven, and each has a quick fix.
- Too watery, runs off the page. Mix a little flour into cold water, let it sit for five minutes, then stir it back in. Never tip loose flour straight into the pot, or you will fight lumps.
- Too thick to brush. Add water one teaspoon at a time. Thinner paint takes longer to dry, so this trade-off is real.
- Lumpy. Strain it, or blend it smooth. Most lumps are dry powder that was dumped in after the liquid rather than whisked in.
- Sticky and tacky. Usually sugar in a cooked paint. Less sugar, and a little more flour to compensate, fixes it.
- Crumbly dough. Too much flour or not enough oil. Add a teaspoon of water and a drop of oil, then knead again.
- Colours bleeding into each other. Let each layer dry fully before the next, and keep purees out of the same jar as a strong dye.
- Slow to dry, smells off, or has fuzz. Discard. Heat that is too low and water that is too much both encourage mould, and no amount of stirring brings it back.
Safety Rules for Kids’ Art Supplies
Non-toxic means not poisonous in a small amount. It does not mean food, and it does not mean a child should eat it. Keep those two words apart when you label your jars.
- Label everything with the ingredients and the date you mixed it. Parents on forums say this one habit prevents most of the confusion in a shared craft cupboard.
- Supervise, and keep eating under control. Under-three-year-olds mouth nearly everything. Cooked flour paint is not a food and should be kept away from snack time, and any supply with a warning sticker stays out of reach of the under-fours.
- Watch skin contact. Any food allergy matters here, since these recipes are made from food. Beetroot, turmeric and berry purees stain permanently, so cover hands and sleeves or keep them for the highchair tray.
- Check for mould before every session. A sour smell, fizzing, or white fuzz means the batch is finished. Never scrape the top and reuse what is underneath.
- Do the hot steps yourself. Cooking paste and melting wax are adult jobs. Keep children well back from the stove, the pot, and a fresh crayon mould.
- Do not substitute a homemade mix for a regulated product such as correction fluid, solvent markers, or anything a child applies to skin. Ask your child’s doctor about ingredients for a child with a known allergy or sensitive skin.
Frequently Asked Questions
What is the easiest way to make non-toxic art supplies at home?
Start with the flour-and-water finger paint. Two parts water to one part flour, whisked with a little salt and colouring, gives you six small pots of paint in about ten minutes with no heat and nothing unusual in the cupboard. Once that works, the same base turns into play dough, sidewalk paint and paste.
Are homemade art supplies actually non-toxic?
Mostly yes, because the ingredients are ordinary foods, but read the label honestly. Mixes made from flour, cornstarch, salt, sugar and water are non-toxic in the usual sense: they are not poisonous if a child licks a brush. They are not certified, not sterile and not tested for a specific age, so treat them as non-toxic rather than edible unless every single ingredient is food.
Can I use flour, cornstarch, or baking soda in place of commercial art materials?
Flour and cornstarch work well as binders, and both are easy for a child to digest in small amounts. Baking soda is not a binder and does not replace one; a spoonful thins a watery batch and makes it grainy. Skip anything sold as modelling compound, and read the label if your child reacts to wheat or corn.
How long do homemade finger paint, play dough, and paste stay usable?
Finger paint keeps about two to three days in the fridge in a sealed jar, and cooked paste is about the same. Dry play dough and salt dough last one to three weeks in an airtight tub, and air-dry clay keeps for months once hardened. Throw out anything that smells sour, has fuzz on the surface, or has separated and gone thin.
What materials are best for children with allergies or sensitive skin?
Start with the simplest bases: flour and water, cornstarch and water, or salt and water. Skip anything coloured from a jar, particularly synthetic food colours, and use paper or card rather than skin as the surface. For a child with a known allergy, ask their doctor before the first session and test a small amount on the forearm first.
When should parents buy certified supplies instead of making them at home?
Buy certified supplies when you need colour that lasts, a surface that takes scrubbing, or a product made for a specific age group. Look for the AP seal and an ASTM D-4236 label, which means the product was evaluated by a toxicologist and every label lists the ingredients along with a warning about what it does and does not contain.
Conclusion
Start with one small batch of finger paint or one colour of play dough, mix it while the kids are watching, and let them pour the colours in themselves. It takes ten minutes and it turns the first session into a cooking activity as well as an art one.
Write the ingredients and today’s date on a strip of masking tape and stick it on the jar. That habit matters more than any recipe on this page, because it is what stops a child mistaking a bowl of paint for something to drink.
When durability, colourfastness or a certified age rating matters more than knowing every ingredient, buy supplies carrying the AP seal and an ASTM D-4236 label instead. Knowing how to make non-toxic art supplies at home is useful precisely because you can then read what a store-bought label does not tell you.